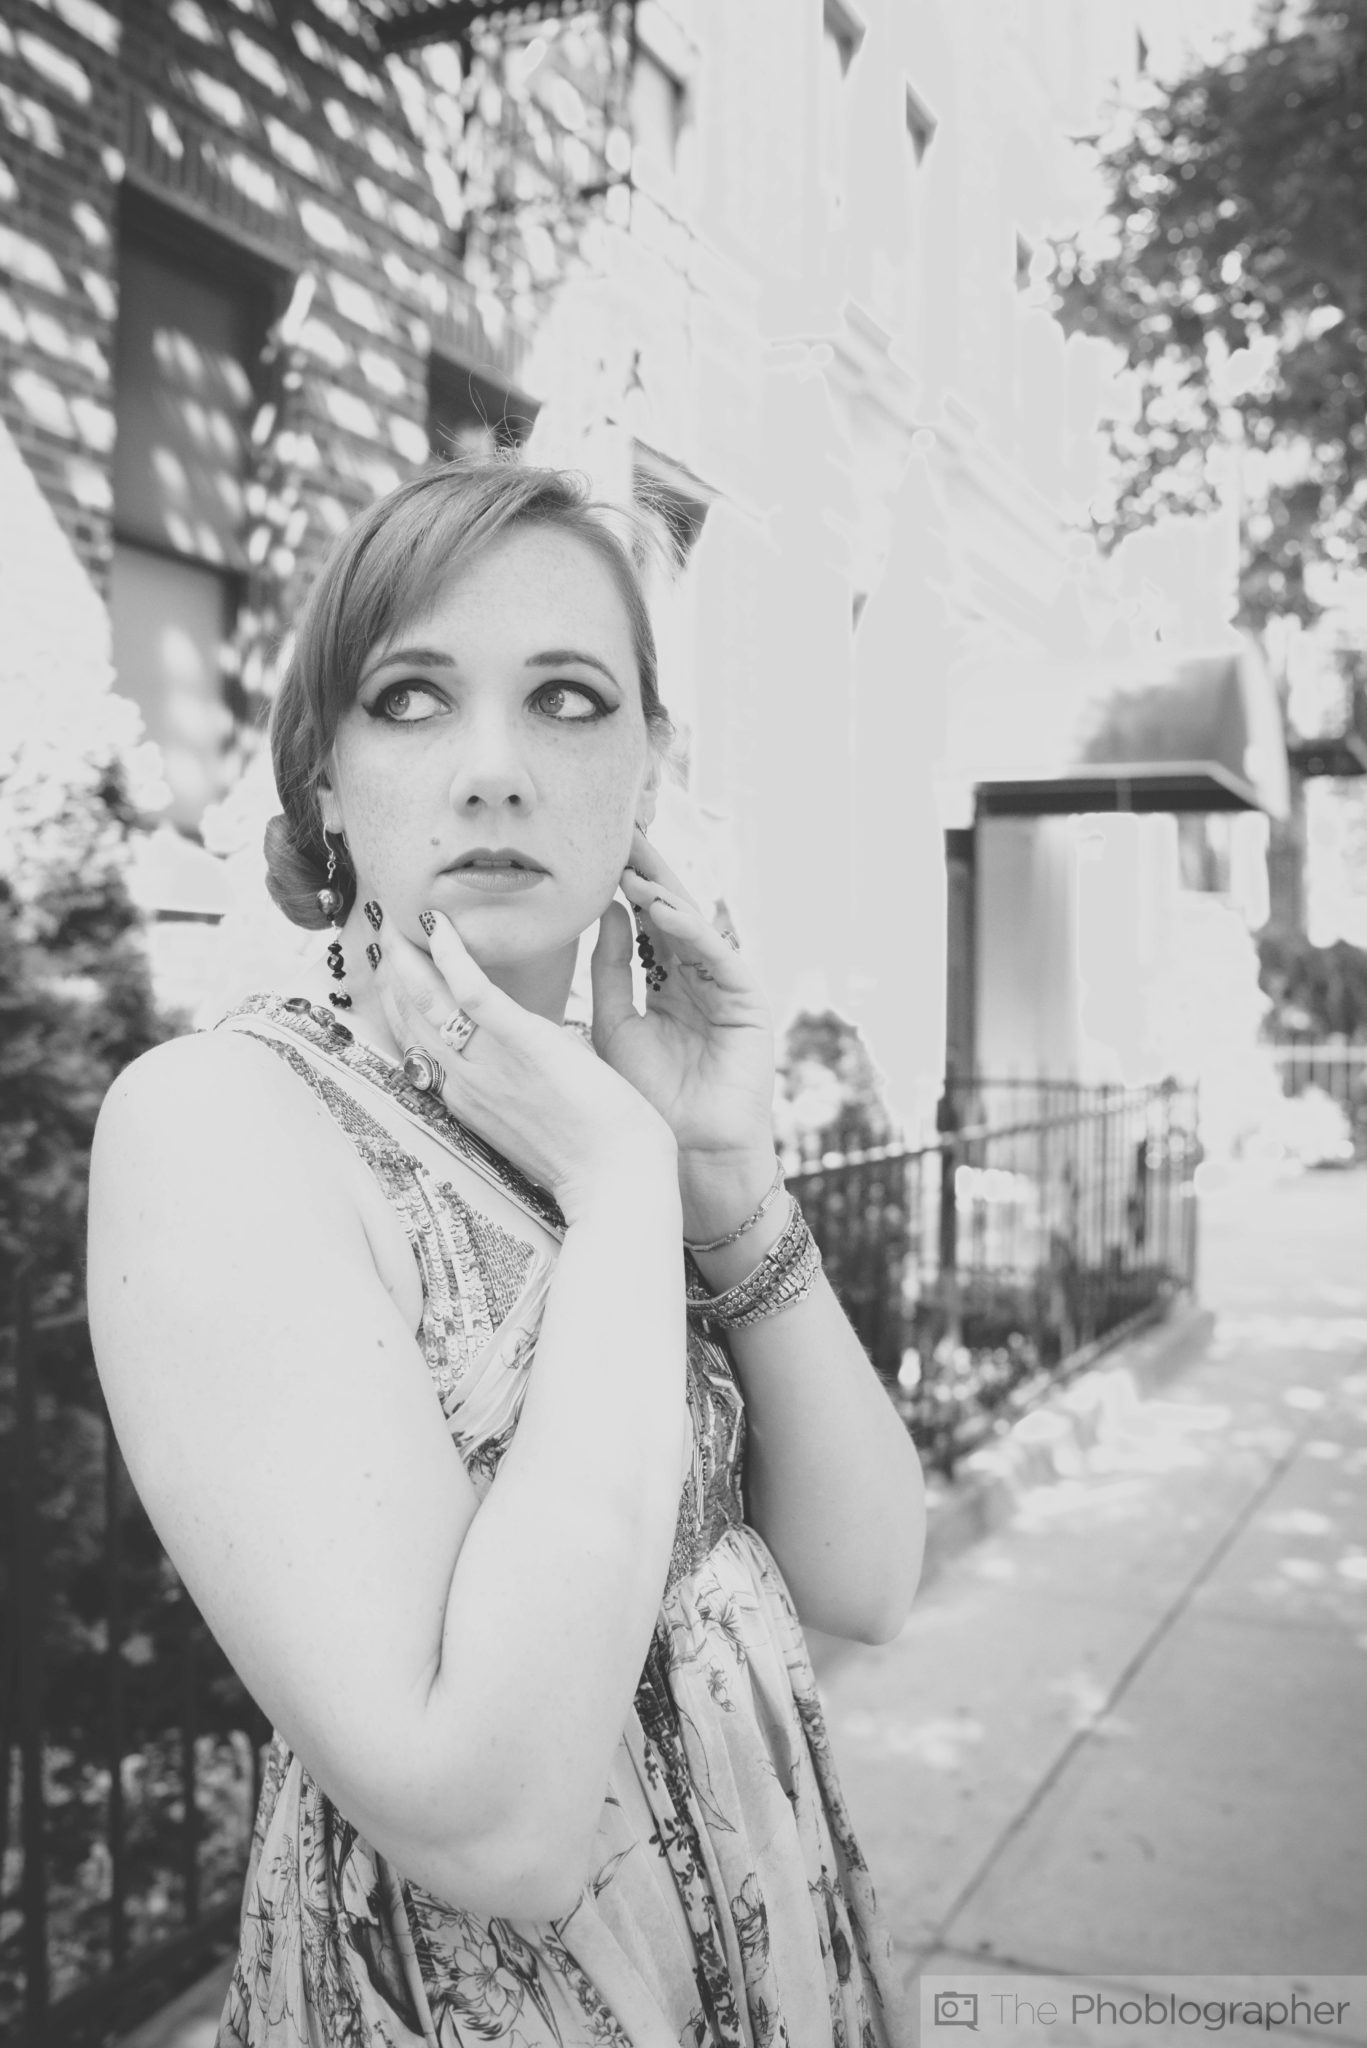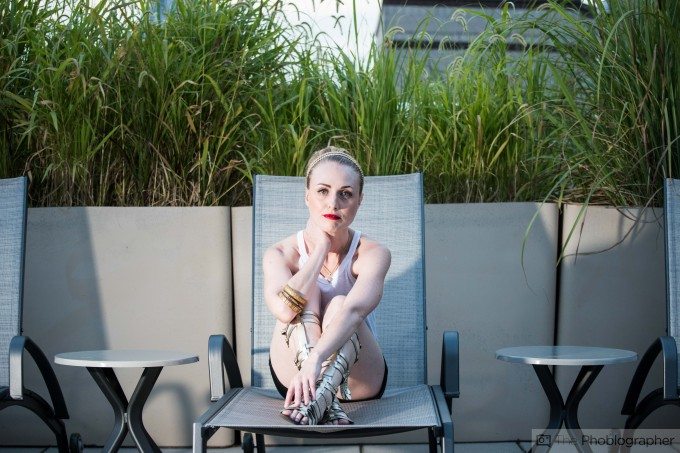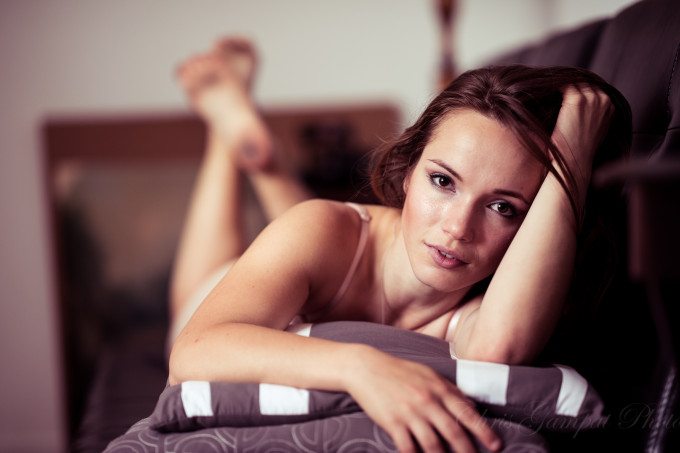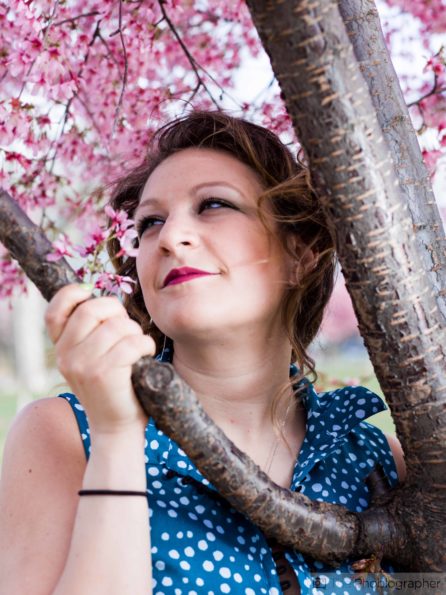
One of the absolute toughest technical things that you can learn in photography is how to create images that effectively blend both natural and strobe lighting. It’s a fine art in and of itself that requires carefully paying attention to certain aspects of the scene and having a distinct knowledge of shadows and how they can affect the final image. Then it also requires knowing how to either boost the abilities of natural light or filling in areas that you feel your final scene needs.
Here’s how to do it with some knowledge from the very start.
The Basics

First off, when it comes to blending strobes you should know the basics of exposures. The moment that strobe lighting is added, the following happens to standard exposure parameters:
– Shutter speed controls ambient lighting. The slower the shutter speed, the more of it will soak into the scene. Keep this in mind very carefully as you can usually only shoot up to a certain shutter speed (usually no higher than 1/250) because of flash sync speed. Of course there are many exceptions to this rule, but we’re not going to cover them in this tutorial. For that, check out our guide to overpowering the sun.
– Aperture controls the flash exposure and depth of field. If your manual flash/strobe is set to 1/4 of its power, then whatever you set your aperture to will affect how much of that light seeps into the final scene.
– ISO controls the overall scene sensitivity. We strongly recommend that you set your ISO first when working with a scene and then changing the other settings based on that.
Getting the ISO Right
Given that you’re looking at the scene and making the natural light the key light (or the main light), we think you should start out by getting a good idea of what kind of ISO you should be using. If you’re in a living room of some sort or a place with soft shadows, then anywhere from 200-400 ISO would be a great place to start. If you’re doing something in very low light settings, ISO 1600 is a safe bet but you may need to add many strobes.
Shooting outside? Start at your camera’s lowest organic ISO setting.
Again, the ISO setting will determine every single other exposure parameter from shutter speed, aperture, flash output, etc.It’s very important that you set it up based on whatever creative idea you have in the end.
Make the Natural Light the Key

When you approach your scene, one of the easiest ways to begin blending your strobe lighting with natural/ambient lighting is to simply make the strobe light the fill. In this way, the natural light becomes the key: which is essentially the main light.
Then when you take a photo with natural light (after you’ve correctly metered it of course), you’ll see the scene for what it is based on whatever exposure you have. Perhaps you’ll find some sort of shadow that you really want to get rid of. You’ll deal with that later, but right now it’s important that you get the shutter speed correct or at least get an idea of what you want. To do this, we recommend getting at least the reciprocal shutter speed of your lens focal length (or approximated field of view.) So if you’re shooting with a 105mm lens of some sort, then we think you should stay at a minimum of 1/125th. This will help ensure that your images are sharp and free of camera shake.
Adding the Strobe

When using strobes, you have two options:
– Making the strobe lighting the fill by using it to literally fill in shadows in a scene. This is great for when you shoot indoors because the natural light can most likely come from windows of some sort.
– Making the strobe lighting boost the natural lighting abilities. This is when you shoot at a lower ISO setting and place the strobe against something like window blinds or make the flash output come from the same direction as the natural lighting. The result is much sharper images and more data captured in a scene due to not blowing out highlights or shadows due to just raising your ISO setting.
Either of these methods work just fine. We often do the latter for many product photos and portraits here at the Phoblographer and we’ve found that it works out so well that companies end up wanting to purchase the images. Of course, it also requires you to have a great creative vision to begin with, and once you have that you can figure out how the scene should be lit.
When you’re outside in bright daylight, a safe place to start at with strobe lighting is 1/128th or 1/64th then adjust the aperture based on that. But when you’re inside, we recommend working with 1/4 power. Again, this depends on various factors, but most hot shoe flashes should be set to this. If you’re working with more powerful studio strobes of anywhere from 600 watt seconds and above, then consider a lower power setting like 1/10th–which essentially comes out to 60 watt seconds. It’s your safest bet.
Getting the Right Light Modifier
Finally, adding light into a scene requires you to usually get the right light modifier. You can do many things like use an umbrella reflector, octobox, softbox, umbrellas, or even just bounce the light off of a wall or ceiling. If you’re working with a studio strobe, the light modifier will mean all the difference. But with a standard hot shoe flash, you can control how narrow the beam is with the zoom head. Setting the flash output to the widest setting will bounce the light across a very wide area and theoretically also make it softer. It’s worked for us many times.

