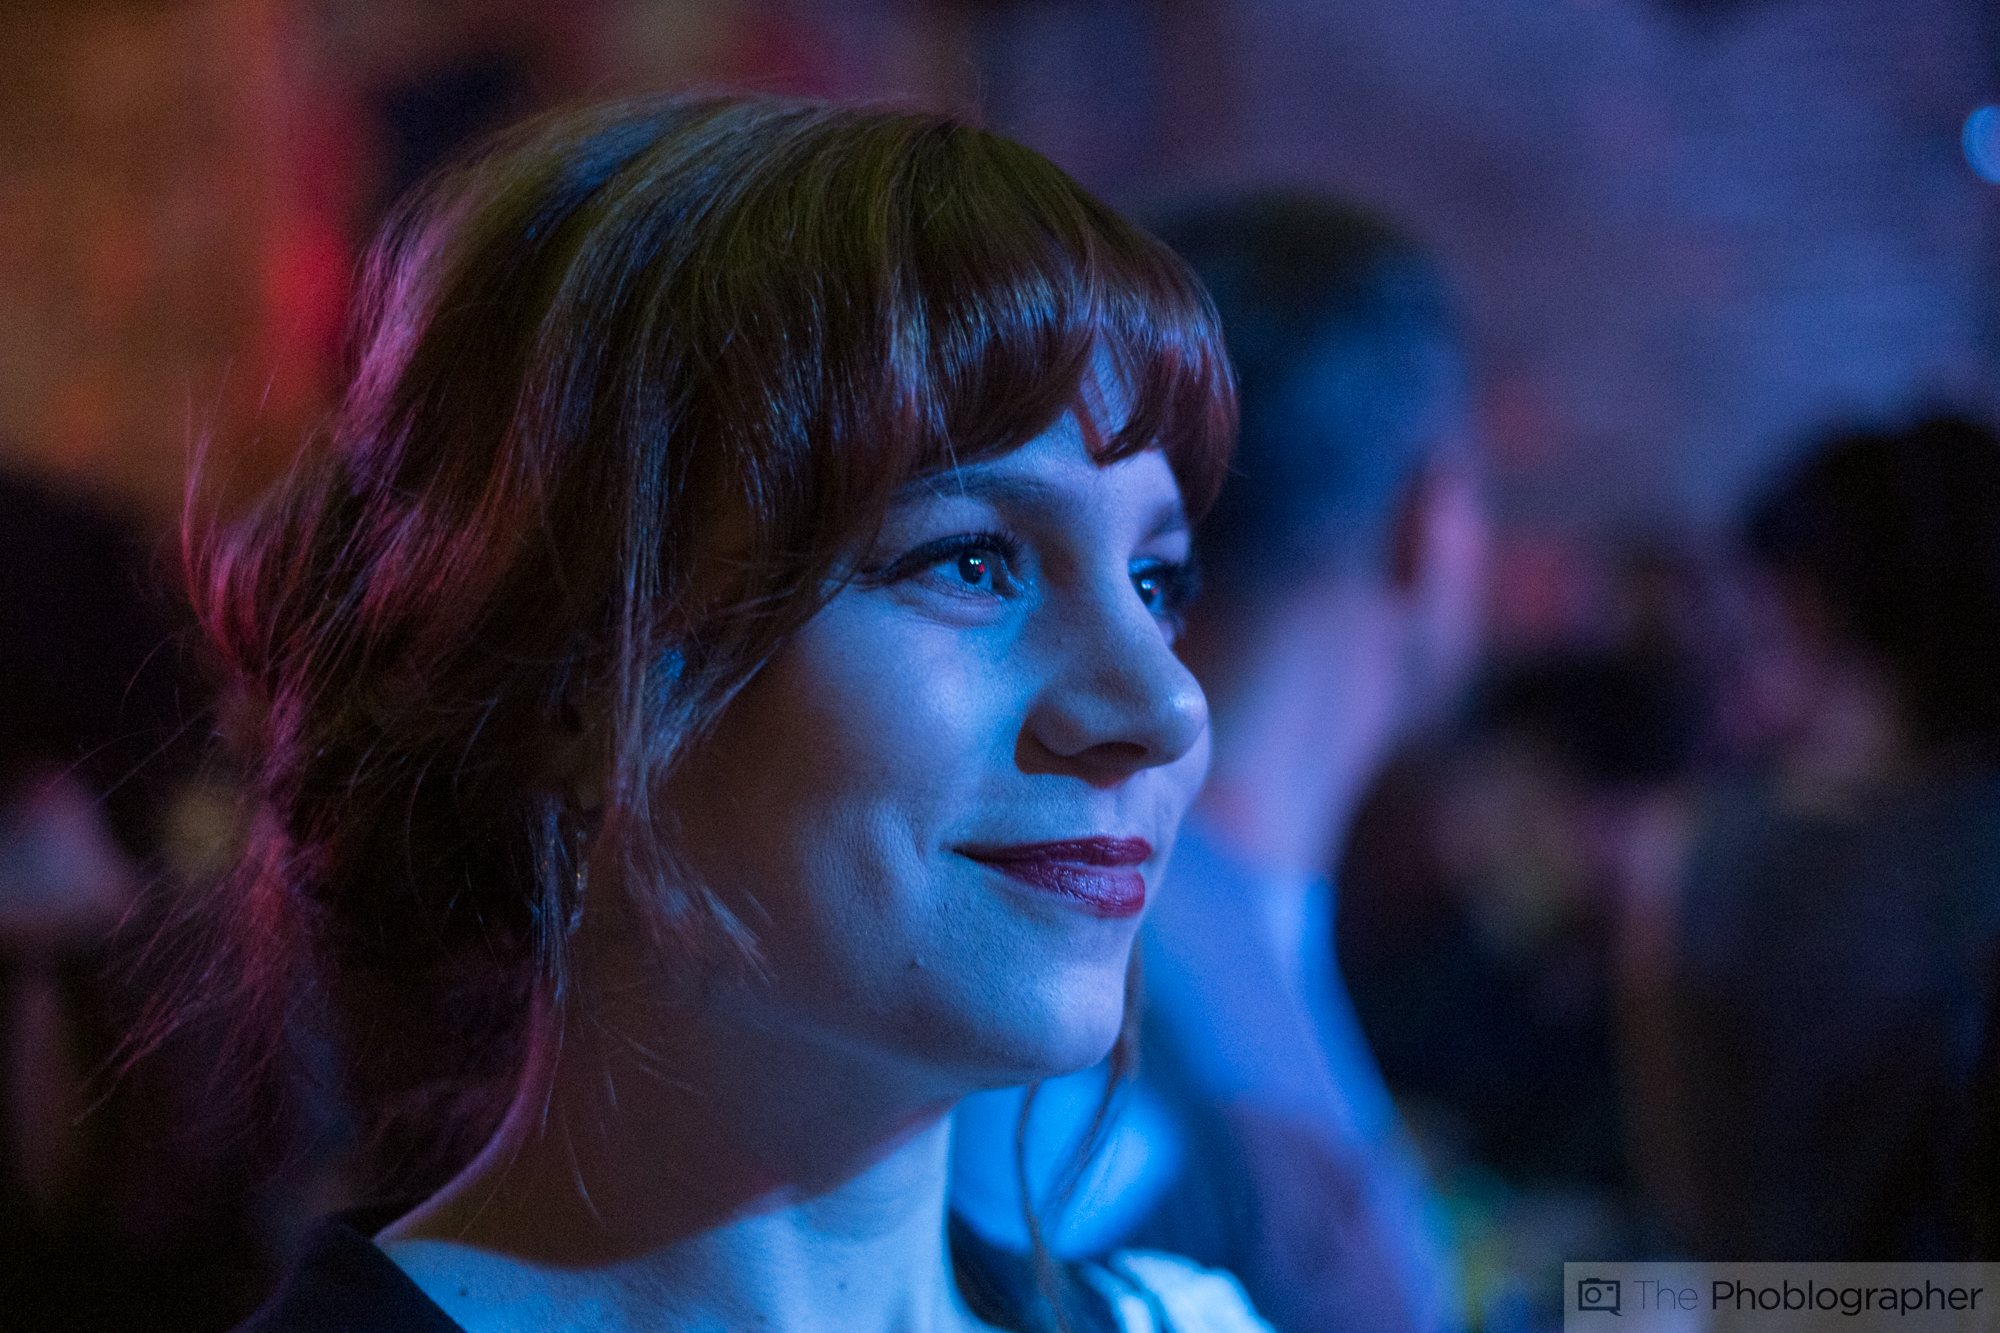
If you’re shooting photos at a concert or some other venue that gives you odd lighting, one of the first things that some photographers will try to do is fix it. But by messing with the overall color scheme, they end up creating an image that looks like an alternative photo process happened, or film that was processed using the wrong chemicals. That can be a very cool look, but sometimes it’s not the one you want.
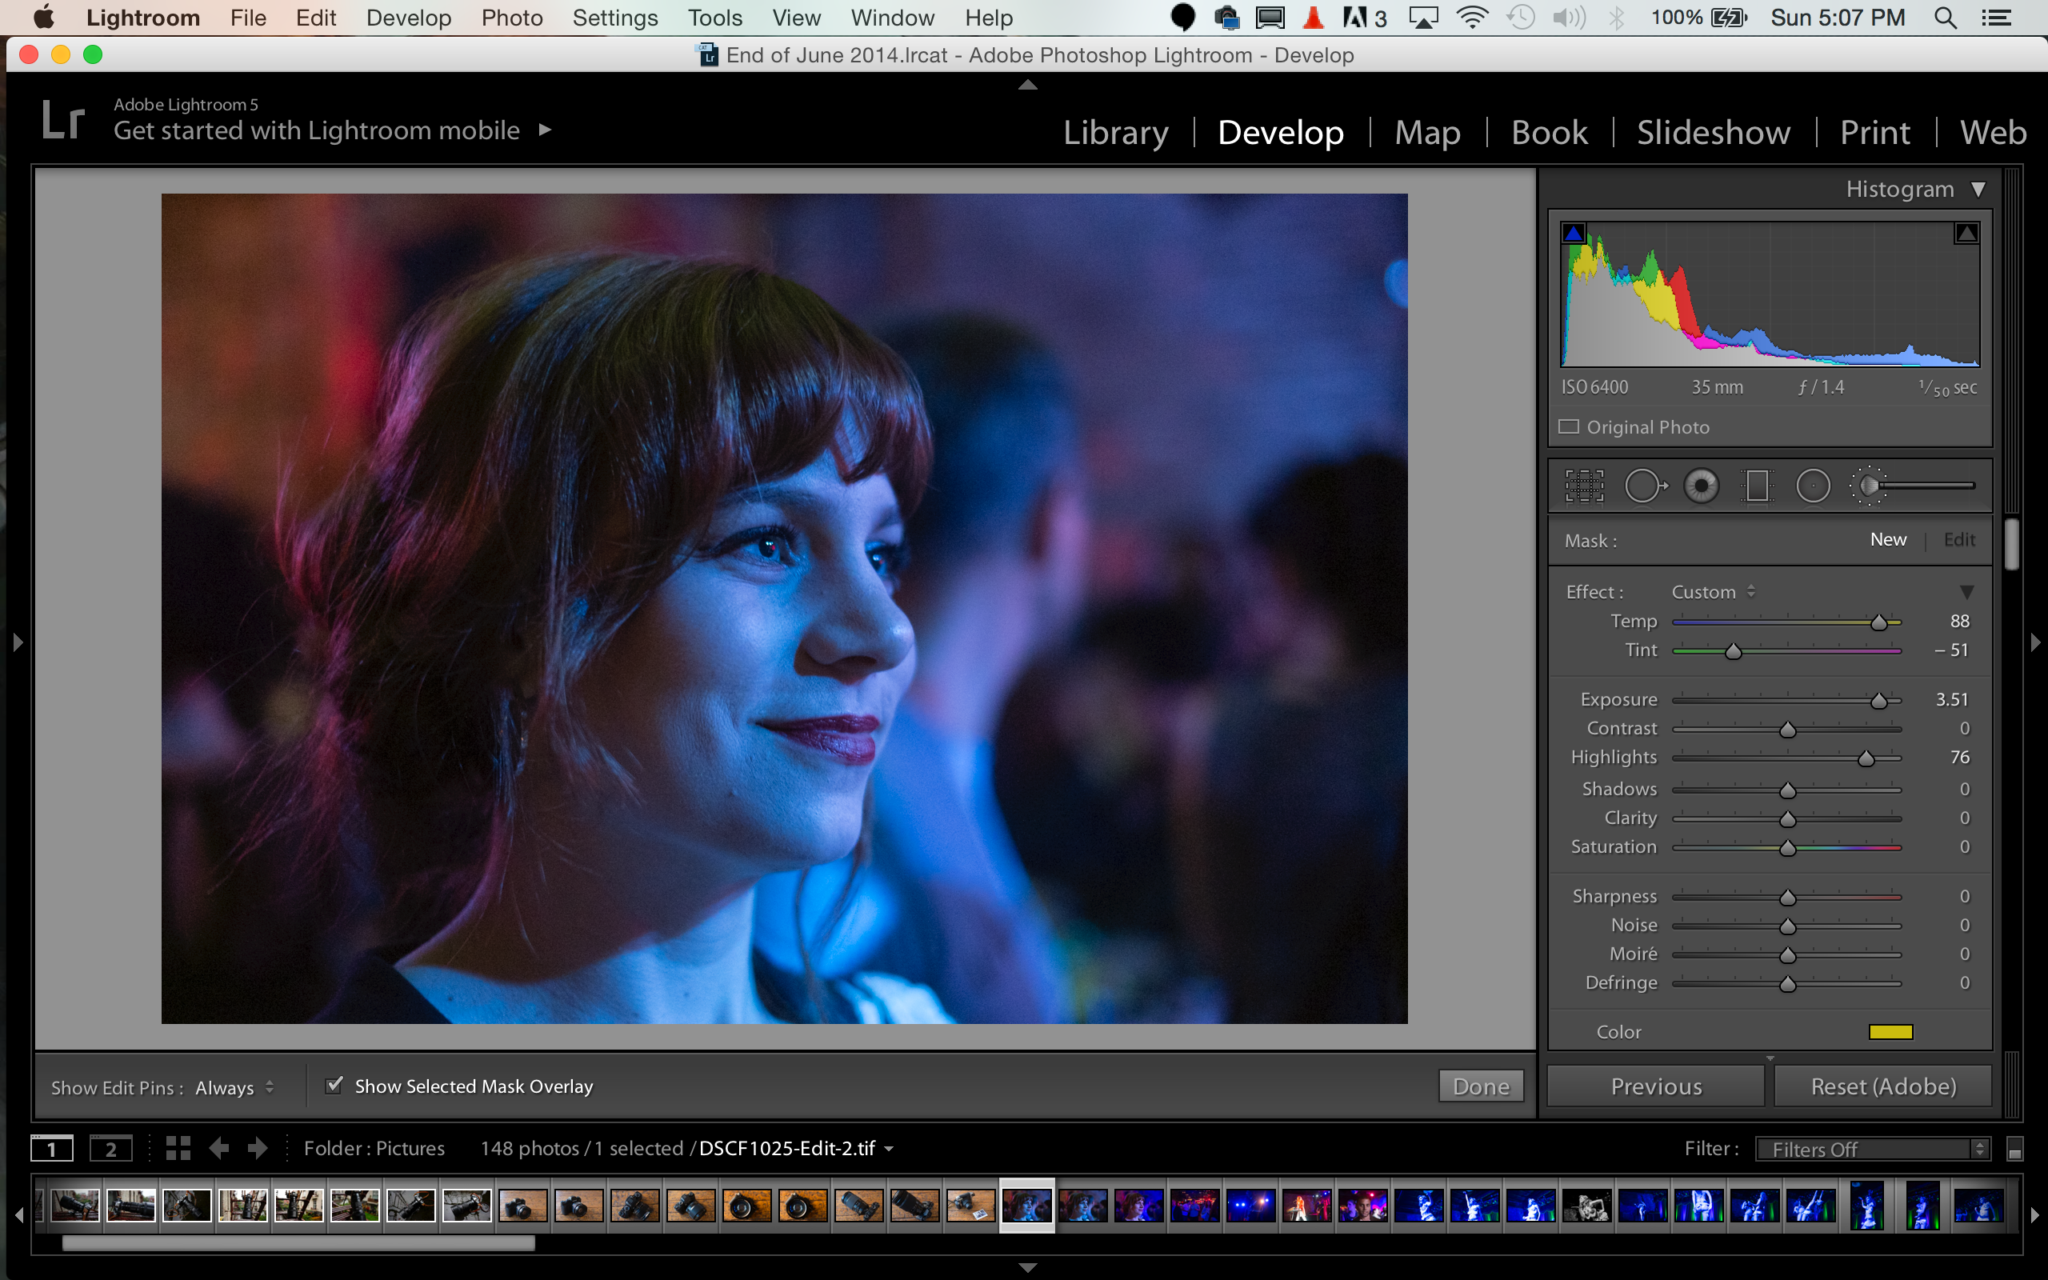
Instead, if you want to only work with a specific area, you’ll need to use the white balancing brush in Adobe Lightroom. Here’s a quick tutorial on how I usually do something like this.
PS: Some folks love to embrace the colors that they get at concerts.

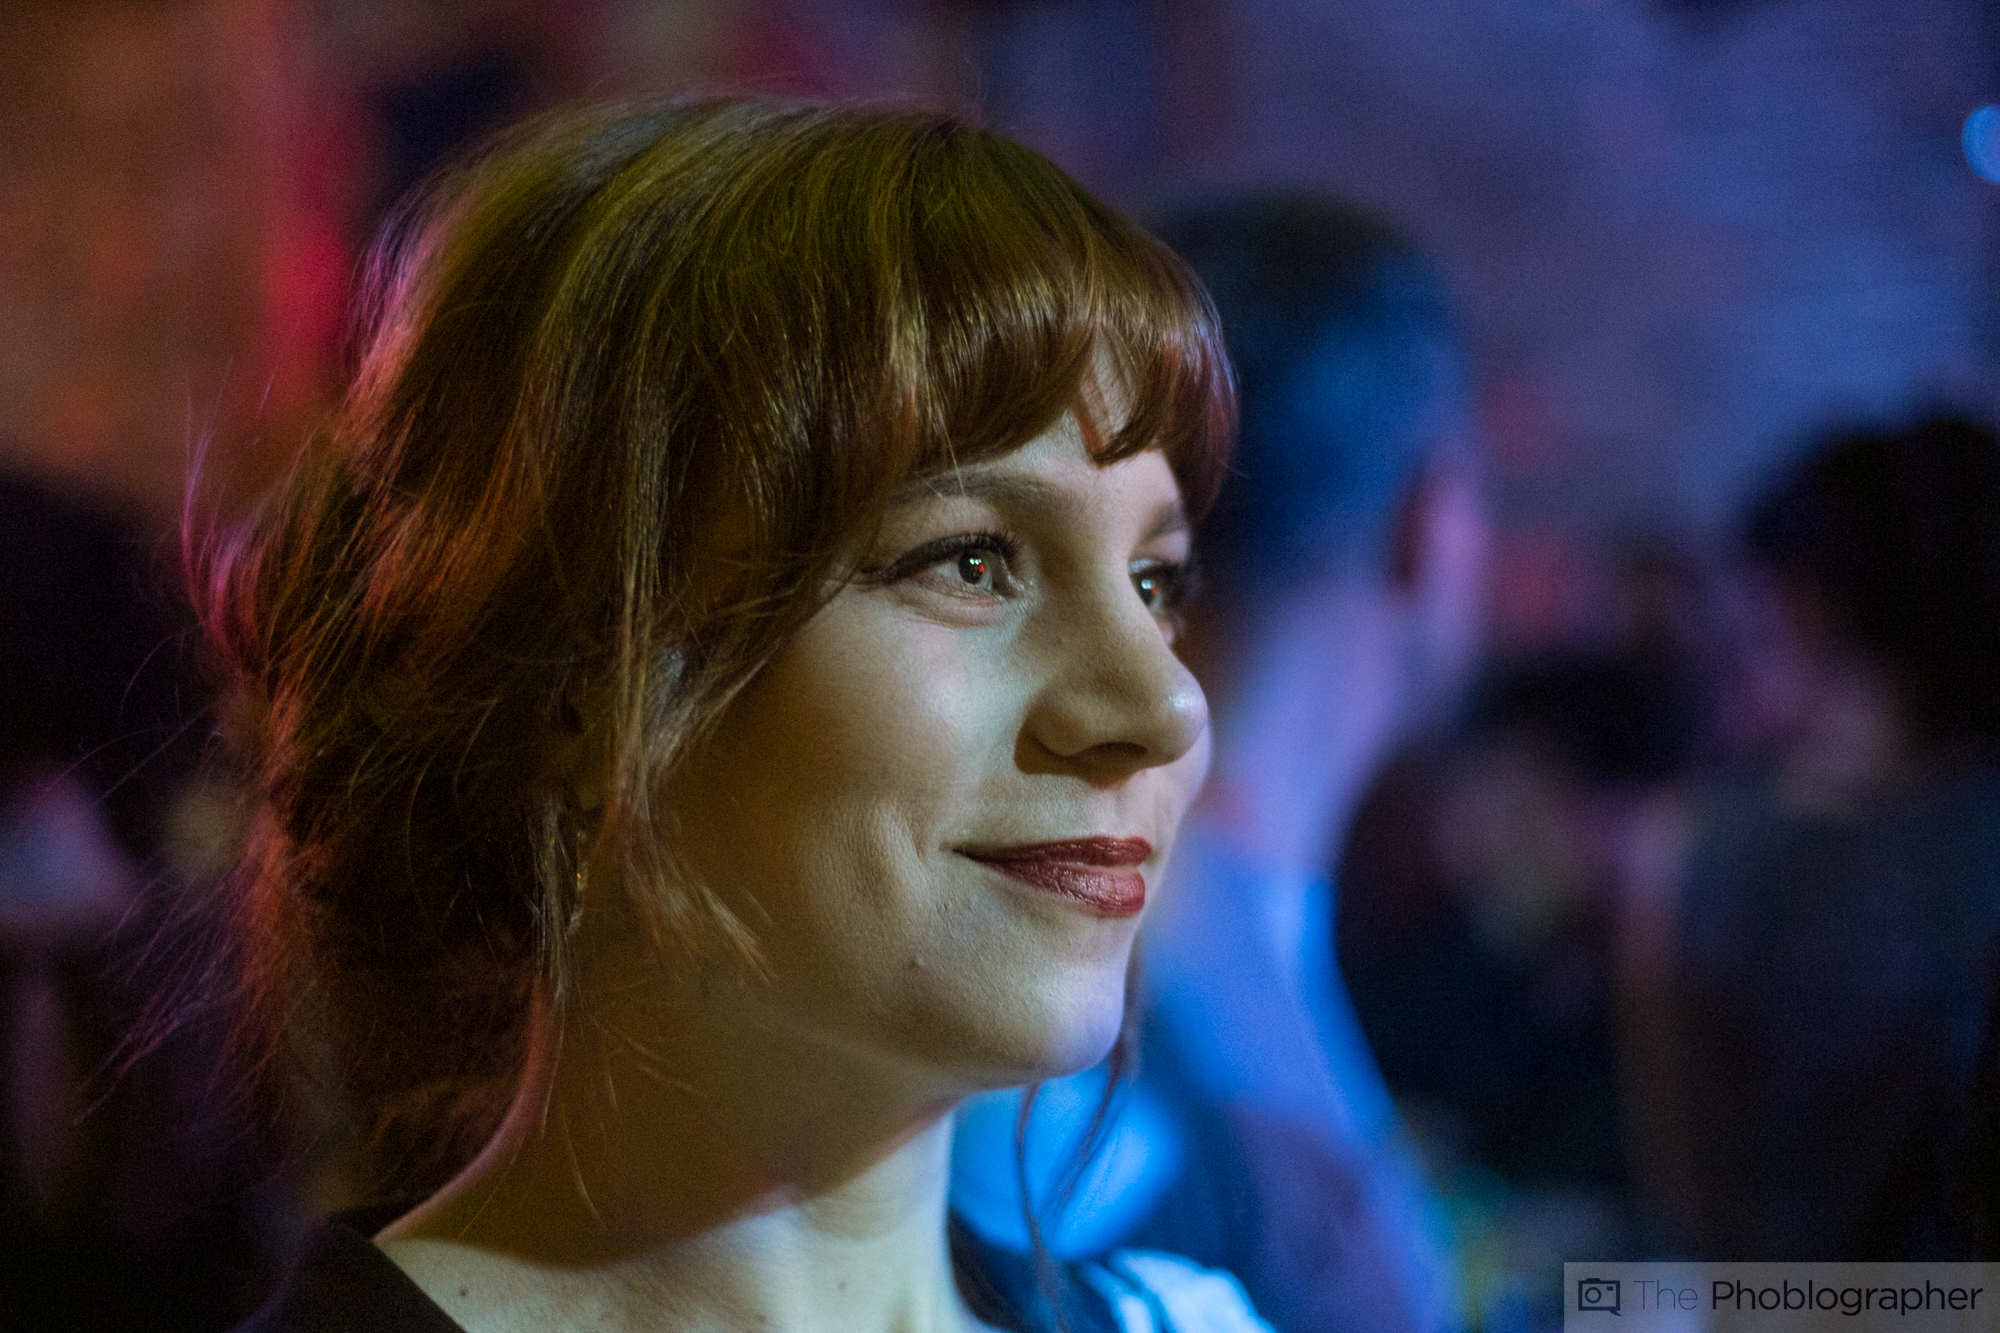
First off, try to white balance it yourself using only the temperature and tint tools. When you’ve created something close to what you want, take note of it and reset the image back to way it was. You should not do any sort of editing to the image because this is already messing with the file properties and won’t allow you to have the maximum amount of versatility. So instead, you’re going to immediately open up your adjustment brush mask in Lightroom in order to do selective editing. Then you’re going to paint over your subject.
Lightroom shows you what is being adjusted–once you have the area selected go ahead and mess with the white balancing and saturation depending on what type of image you want to finally end up with. But beyond this, be sure to choose a color that you feel the RAW file should try to emulate the most given what you’re doing with the white balancing.

To be very, very fair, this requires you to know a lot about white balancing and have a better idea of what editing the image will do. After lots of tweaking and adjusting to the closest way that you want it, you’ll then need to do some very fine adjustments based on how it renders the image. These adjustments will all vary and will include things like highlight work, saturation in certain areas, etc. It depends. But have fun with it.
Big note: not every camera can do this very well. Color depth editing is something that many cameras can handle within reason of what the everyday person wants to do, but not every sensor can pull this off very cleanly.
This was done using a RAW file from the Fujfilm X Pro 1. When we tried to do it with other images in the set, the results were very hit or miss.
Get rid of the ads!
Did you enjoy reading this article as much as we enjoyed writing it? There's a way to support us and our reporting, getting ad-free navigation and more as a bonus. Subscribe to us for less than a coffee per month —just $3.99— or take advantage of our yearly subscription with a hefty discount for only $25.- An ad-free experience
- A free mystery box for Lightroom or Capture One
- All the books in our store
- 20% discount on Capture One
- 30% discount on Imalume Photo Theft Protection
- 20% off Herbs and Kettle Tea Company.
- 20% off your order from MPIX printing services.
- 5% off Viltrox Products via their eCommerce store.
- 10% off all film developing, printing and scanning services from Blue Moon Camera and Machine
- 15% off 7Artisans products: The lens and accessory maker is offering a sweet discount for Phoblographer's readers.