Your lenses are much more important than your camera is. They do a big job of helping to determine what kind of image quality comes out of the camera. And in the same way that you’d treat your camera with lots of care, you should be treating your lenses even better. You know some of the basics already–or at least you think you do.
To get the most from your lenses, you’ll need to understand how they work.
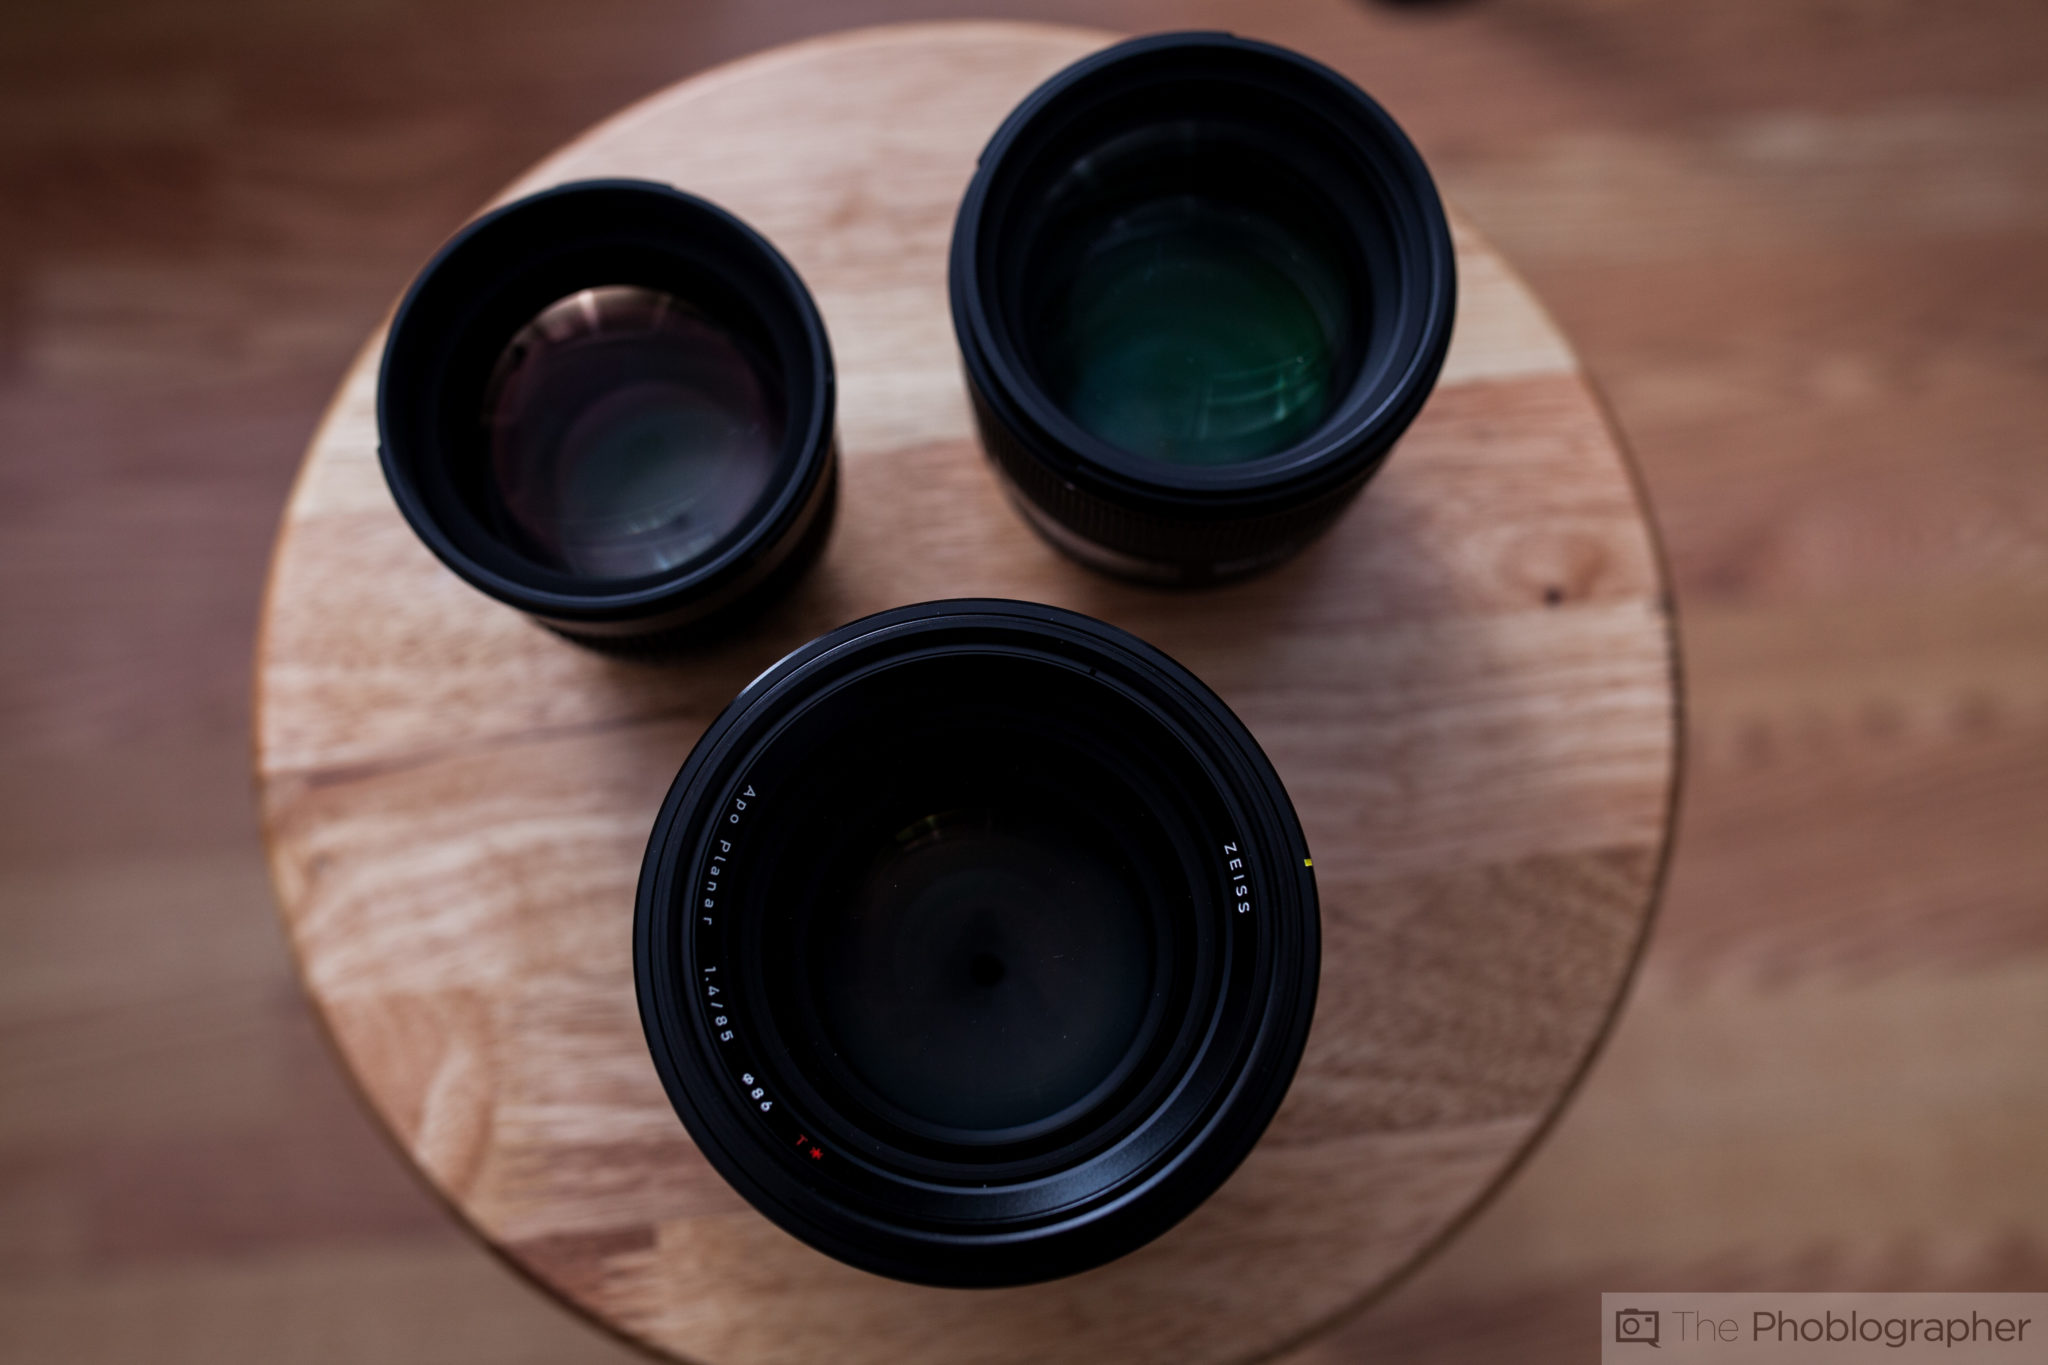
Stopping Down in Relation to Sharpness and Bokeh Quality
We all know that in order to get sharper images, you’ll need to stop your lens down. But there is a big question of how much.
Full Frame 35mm: f5.6-f11
Canon APS-C 1.6x Crop Factor: f3.5-f6.8
Nikon/Sony/Sigma/Pentax APS-C 1.5x Crop Factor: f3.7-f6
Micro Four Thirds 2x crop factor: f2.8-f5.6
After this point, you’ll experience what’s called diffraction, which degrades image quality. Sometimes, you absolutely need to stop down that much. Many lenses these days are optimized to be very sharp wide open. Our favorite thing to do is to stop down very slightly from what the original wide open aperture is to get the best balance of both bokeh quality and sharpness with the results not leaning too heavily on either side but just enough to make the difference.
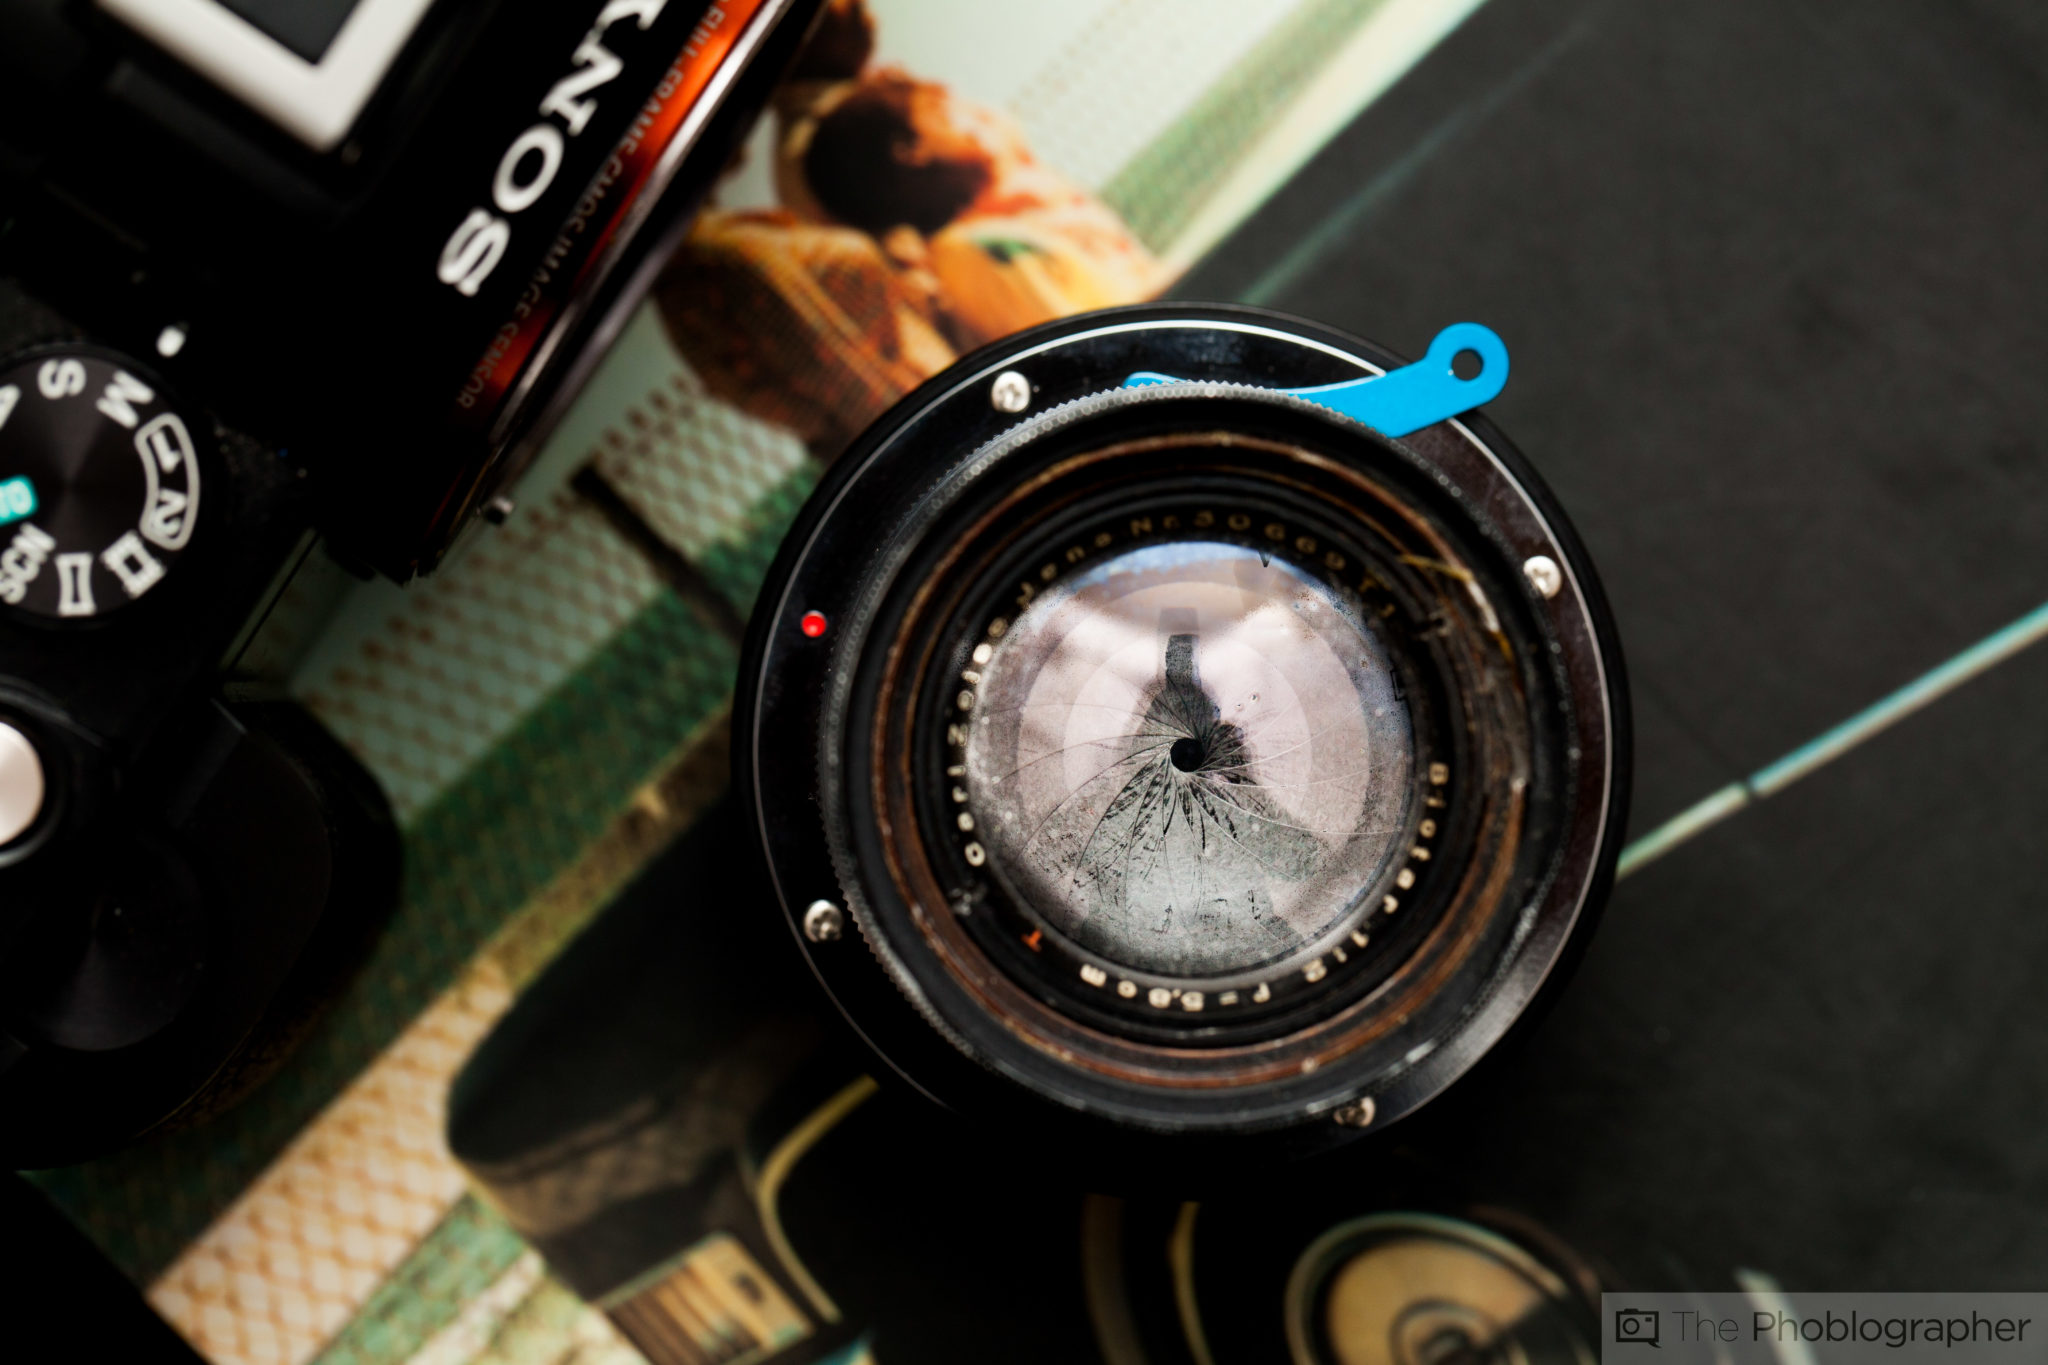
The more aperture blades that your lens has, the better the bokeh will be–or at least that’s the general rule. Bokeh quality can be very subjective.
Contact Cleaning and General Lens Cleaning
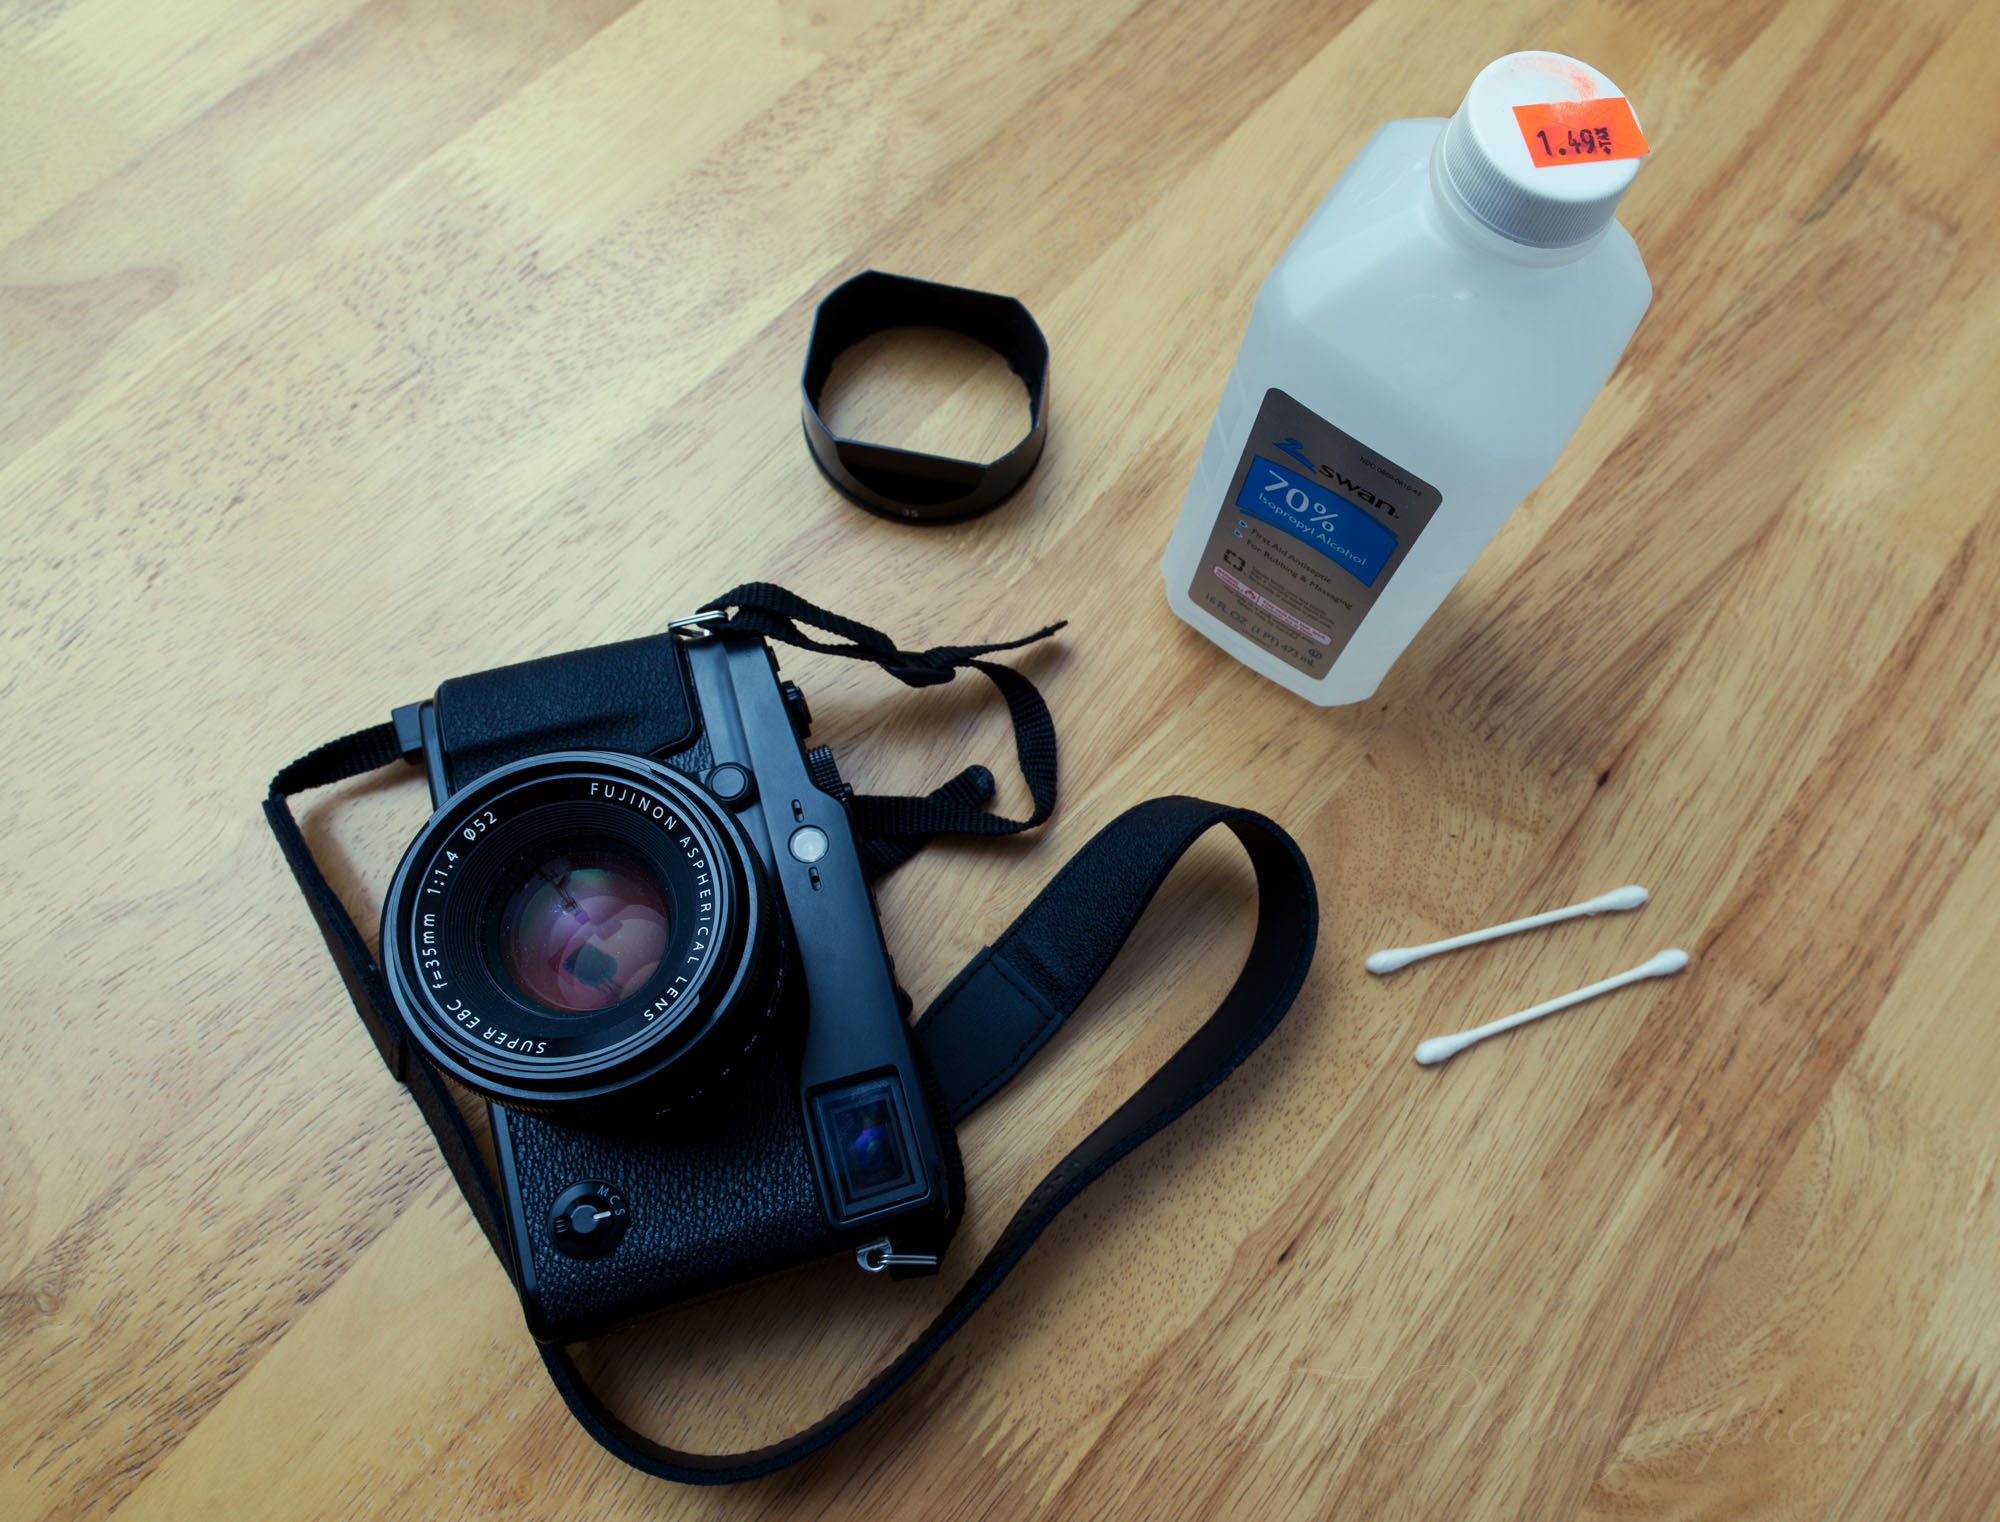
In order for your lens to work correctly with your camera, you’ll need to clean the contacts of the lens. Unscrew your lens from the camera and you’ll notice metallic looking communication contacts. These should be wiped down with a dab of isopropyl alcohol–and you should also clean down the camera’s contacts with it too. Cleaning the contacts ensure that no dust, dirt or grime gets into them to damper communication. Problems in the communication can result in problems with focusing.
But beyond this, you can use a microfiber cloth to clean the lens’s front element otherwise.
Lighting

Yes, you know that your lens can be very sharp when working in lighting situations involving ambient light, but do you know that adding a flash to the scene can make the results even sharper?
When a camera shutter fires and triggers a flash, a combination of things happen to help produce a sharper image. One is more light being added to the scene to deliver more details into the final image, but the other is the result of a short flash duration. This acts together with the shutter speed to stop any sort of movement. It also helps deliver a clear, crisp image.
If you think that the portrait that you shot with someone’s eye in focus was sharp with your lens, you haven’t seen anything until you add a flash to it.
To be fair, we’re specifically talking about a scene with flash metered correctly and not blowing out any sort of details. TTL flashes tend to do a good job, but so do well diffused manual exposure flashes.
The Question of Filters
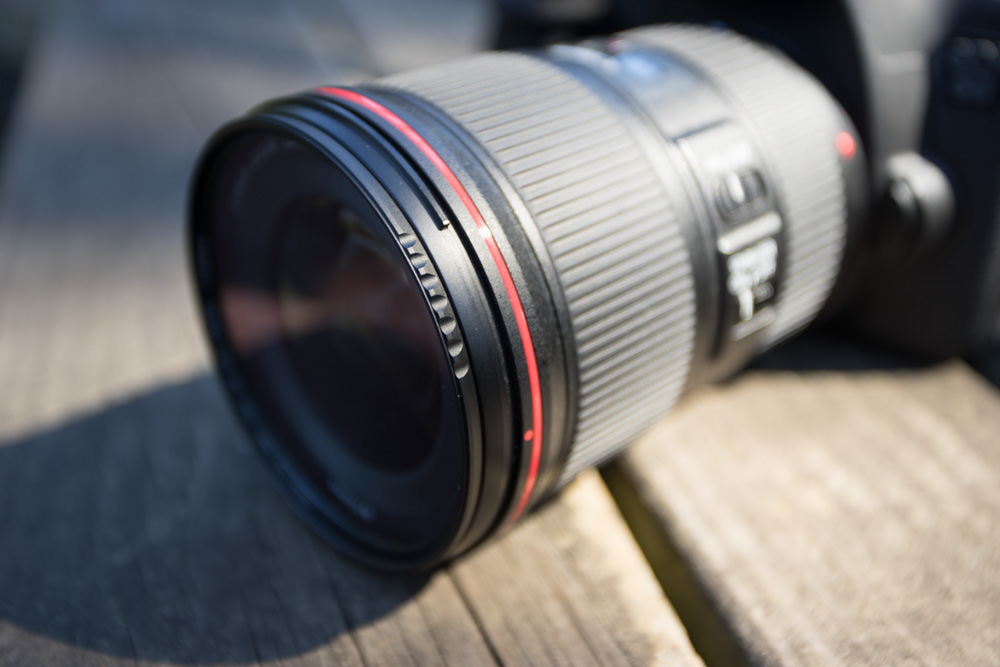
Years ago, photographers would use UV filters on their lenses to not only cut down the effects of the sun’s light, but also to protect their lenses. Today, modern optics have become so good that it can be argued that we don’t need UV filters to protect against abnormalities with the sun’s rays. But the filters help to protect the lens from dings and scratches.
There was also a myth about the UV filter degrading image quality, but that is mostly gone as long as you don’t purchase the uber cheap filters.
Accurate Focusing
Is your lens focusing accurately? This can depend on a number of factors, but in general many lenses need to be adjusted when they are used. DSLR lenses in particular need adjustment, and you’ll need to go into the menu system and fine tune the autofocus by a millimeter at a time to ensure that the focusing is perfectly spot on. To do this, set up a shooting situation with a tripod, focus to a subject, and shoot. Repeat the test to ensure that the focusing of the camera isn’t the problem. Then determine whether the combination are focusing cloer or further away. Make the necessary adjustments in the settings and repeat the test.
It can take a while, but the process will help you get perfectly calibrated lenses.
Get rid of the ads!
Did you enjoy reading this article as much as we enjoyed writing it? There's a way to support us and our reporting, getting ad-free navigation and more as a bonus. Subscribe to us for less than a coffee per month —just $3.99— or take advantage of our yearly subscription with a hefty discount for only $25.- An ad-free experience
- A free mystery box for Lightroom or Capture One
- All the books in our store
- 20% discount on Capture One
- 30% discount on Imalume Photo Theft Protection
- 20% off Herbs and Kettle Tea Company.