Otherwise known as the Brenizer Effect but colloquially called panoramic portraits–this is the act of taking multiple images of a static subject and stitching them together in Photoshop. The result is something that looks like it was shot on a medium format lens and sensor/film plane due to the wide field of view but very shallow depth of field.
Doing them is fairly simple–though there are considerations that you’re going to need to remember along with having a lot of patience while your software of choice processes through an image like this.
Shooting
When you’re shooting there is a process that needs to be done. First off, we recommend that you shoot in manual mode. The reason for this has to do with consistent exposures all around when you stitch the image together. Next, we recommend that you shoot wide open on a telephoto lens because it will render the most bokeh and therefore the medium format look that we’re going after. Additionally, always be sure that you’re using a telephoto lens. Again, it’s all about compression.
To shoot the image, you’ll need to first lock focus on your subject and exactly what you intend to have in focus. After this, you’ll need to switch your lens into manual focusing mode to keep it locked in. When this is done, simply just shoot a panoramic image around your subject. Ask your subject to keep very still during the process.
If you’re using artificial lighting (ie flash) then you’ll need to set the flash to manual output in order to retain consistent lighting output for the panorama. Also consider whether or not your flash will recharge quickly enough.
As an extra step to ensure nothing goes nuts, we think that you should manually set your white balance so that there is less of an issue to deal with later on.
Processing
To start, we recommend importing your images into Adobe Lightroom. Now, you don’t have to do this but if you want to make the same minor edits to the images in the series then sync them up, feel free to.
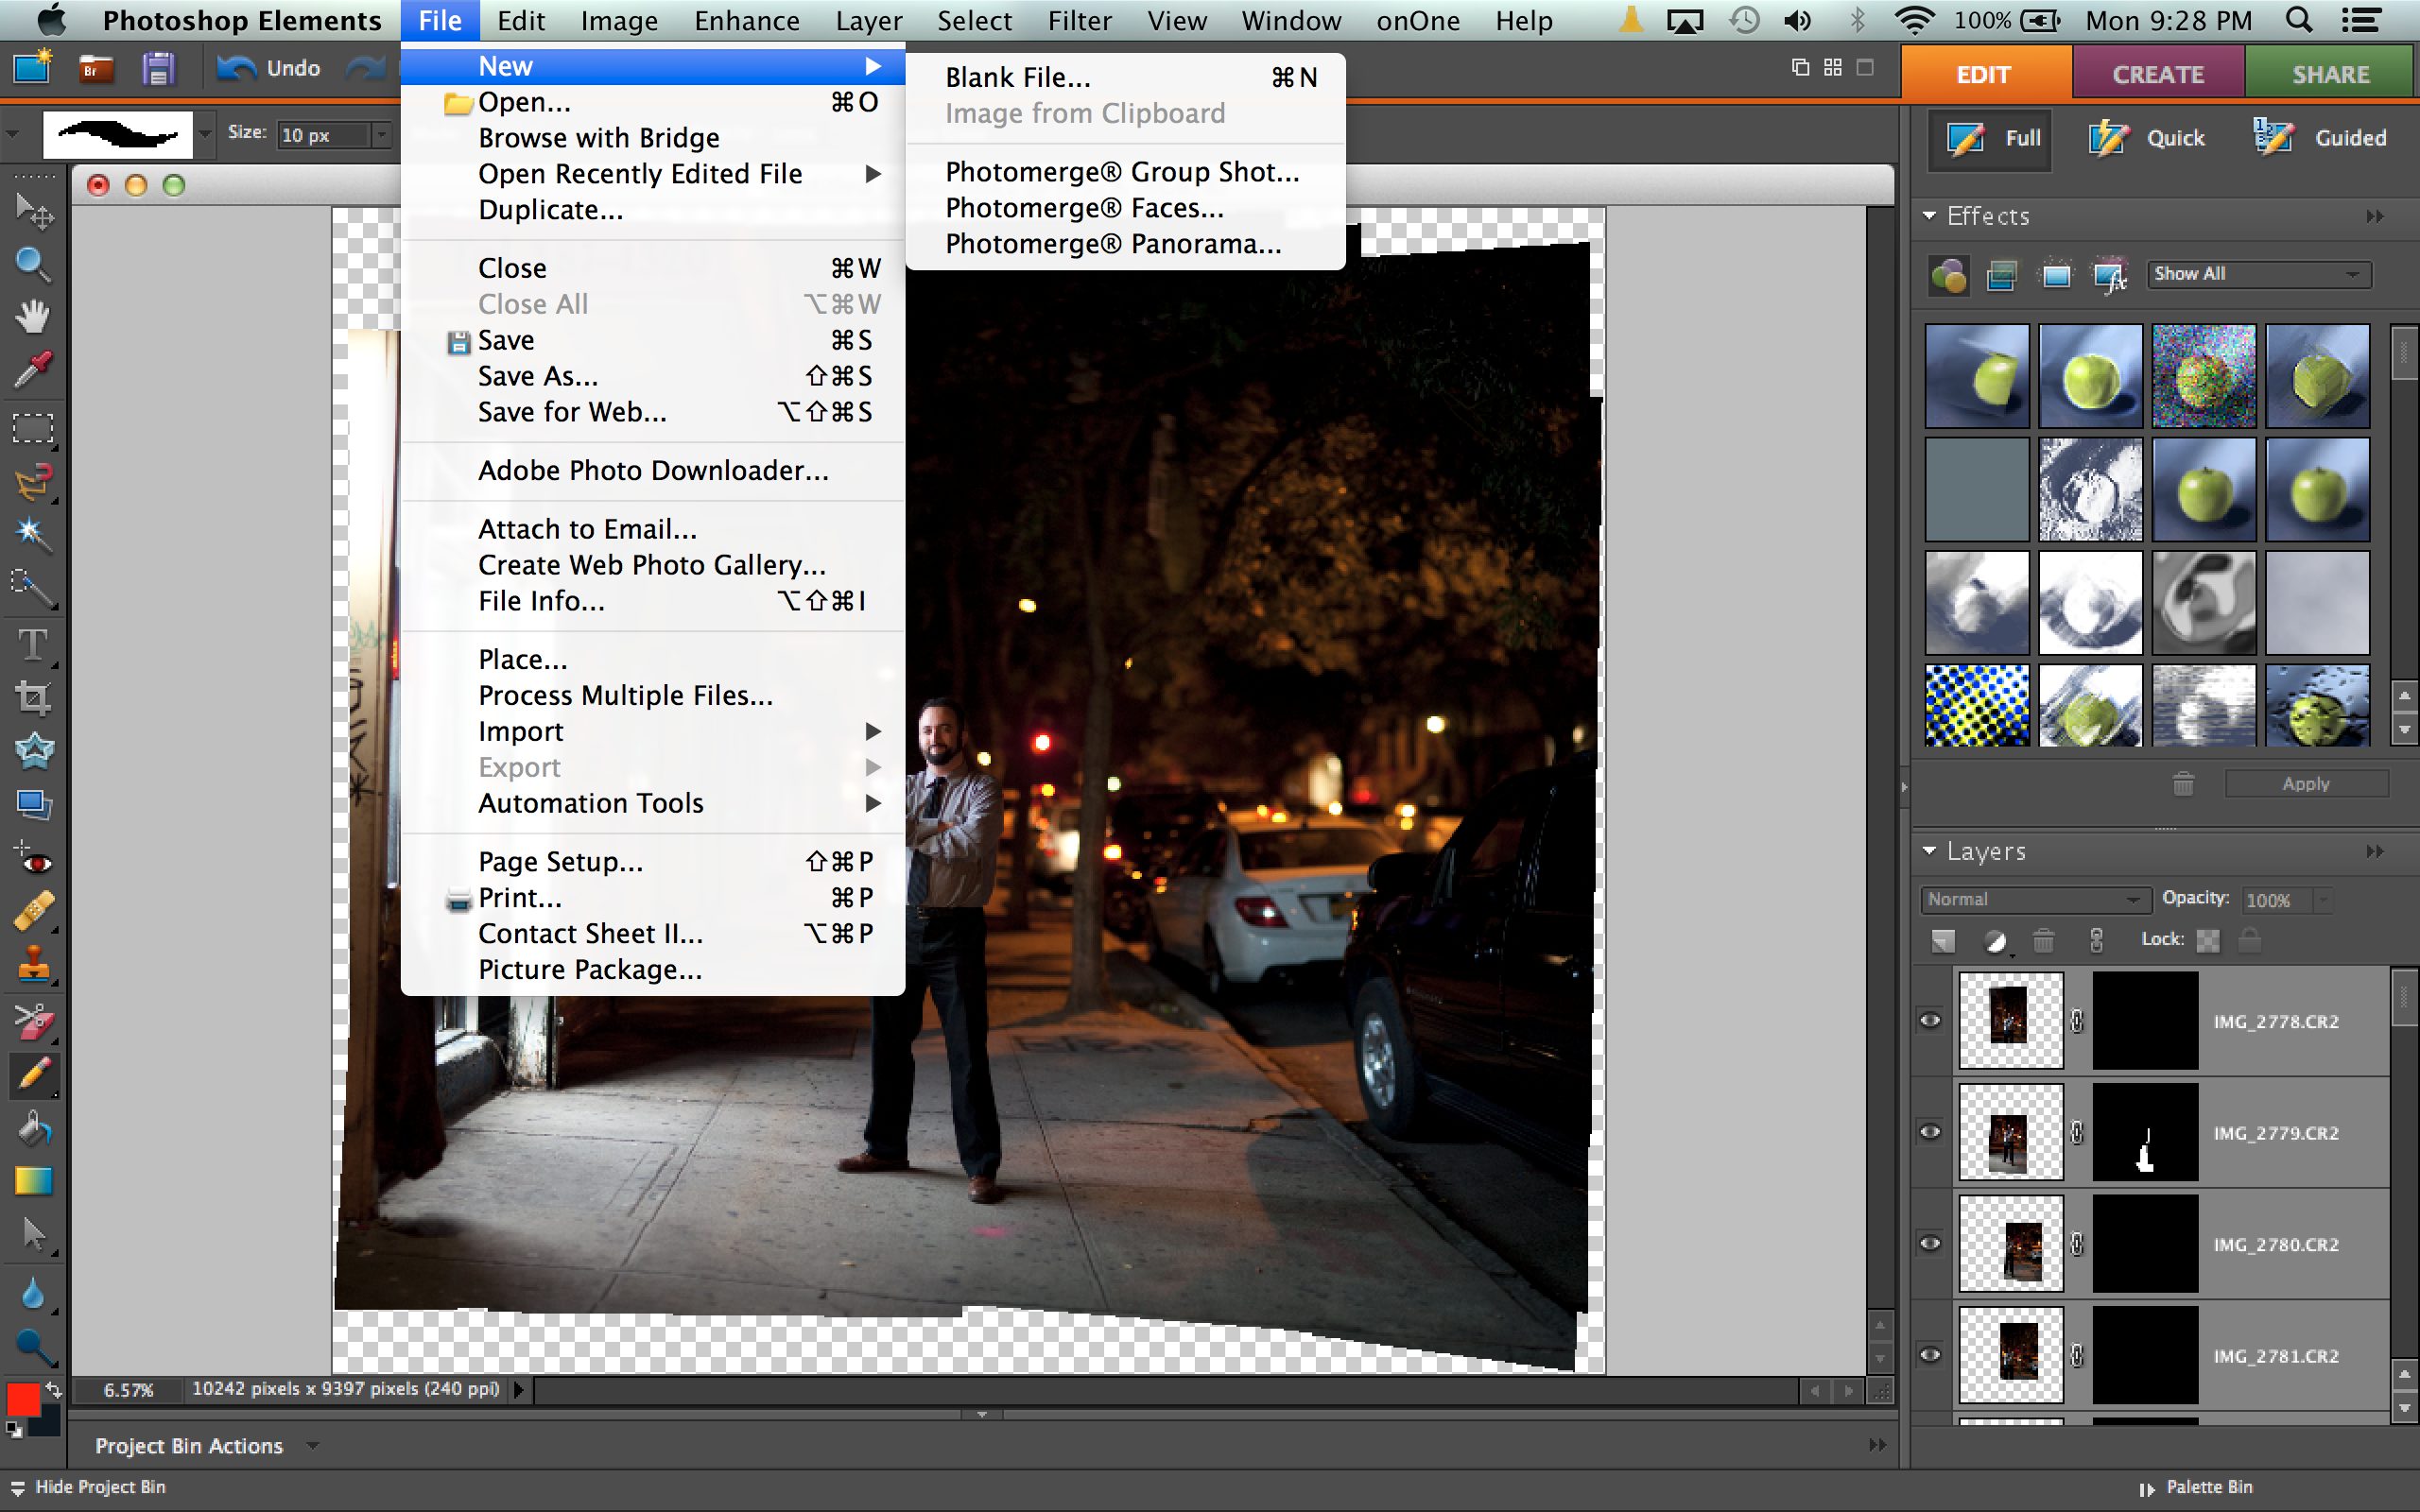
When it comes to processing the images, bring them into Photoshop or Photoshop Elements. Use the Photomerge Panorama feature and select the auto function. Then click on browse and import the images from the series into the Photomerge.
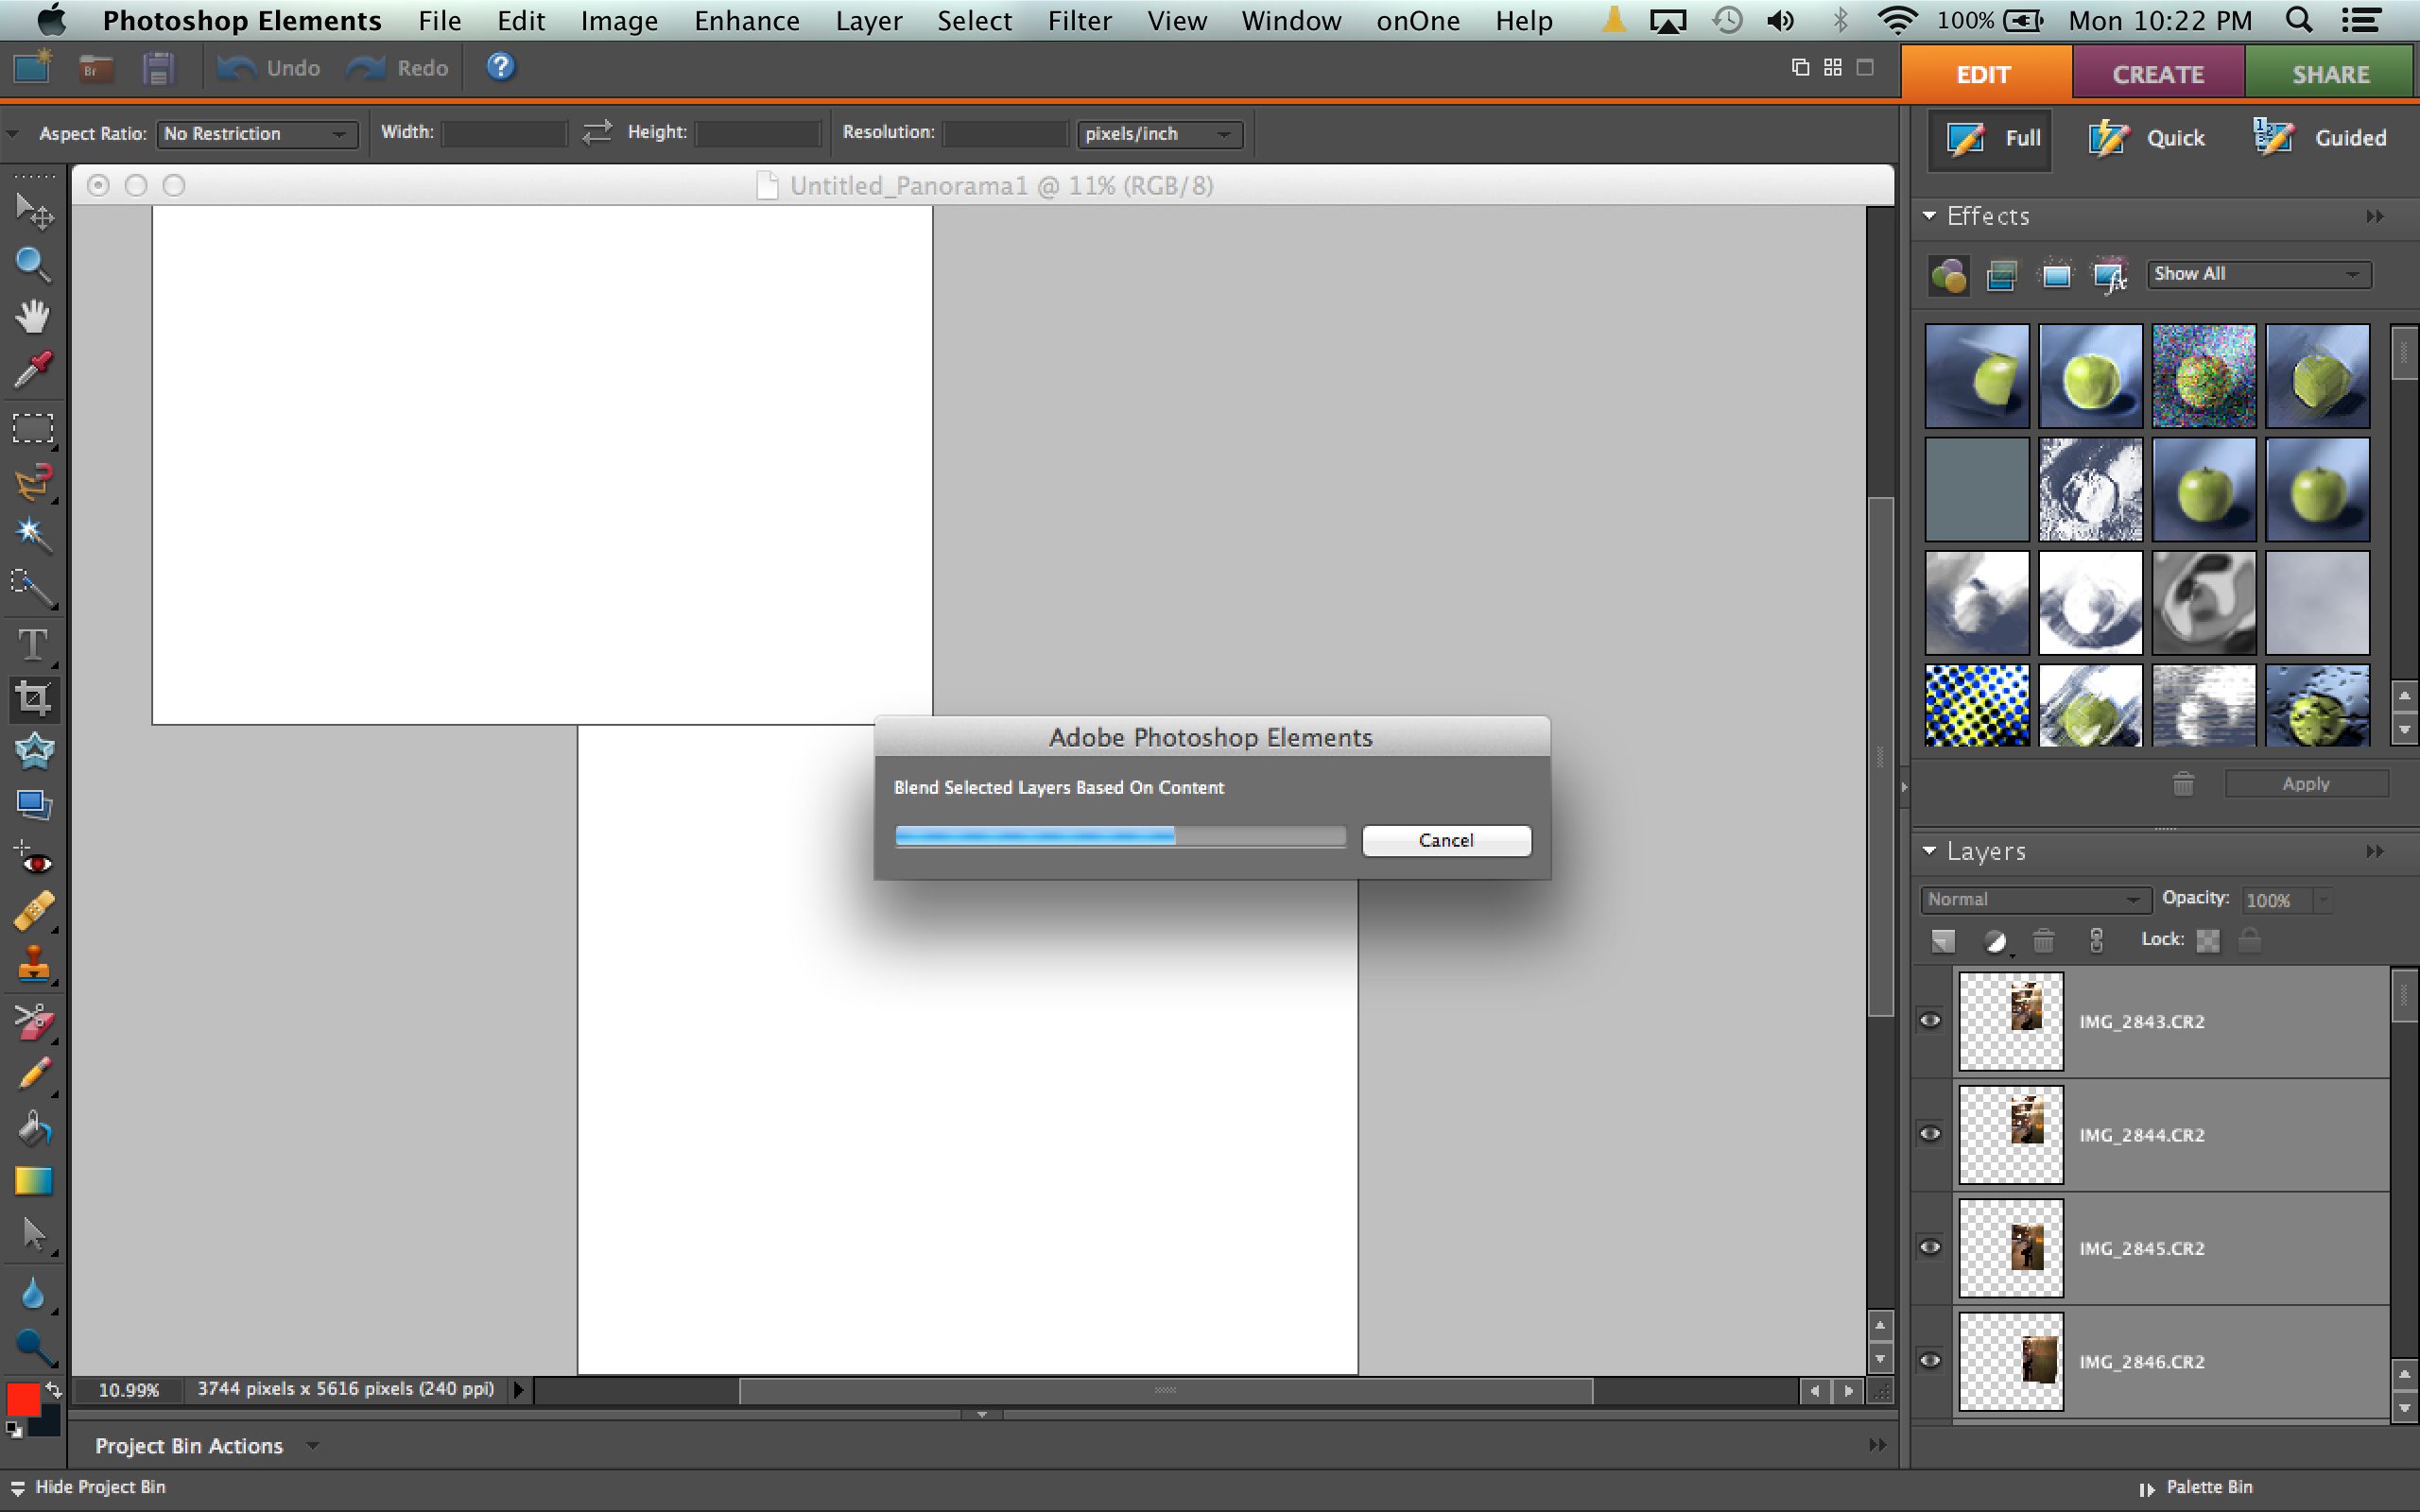
Photoshop will take a while to import the images, read them and figure out where they should be placed accordingly in the panorama. Also remember that the higher megapixel count, the larger the files and the longer it will take.
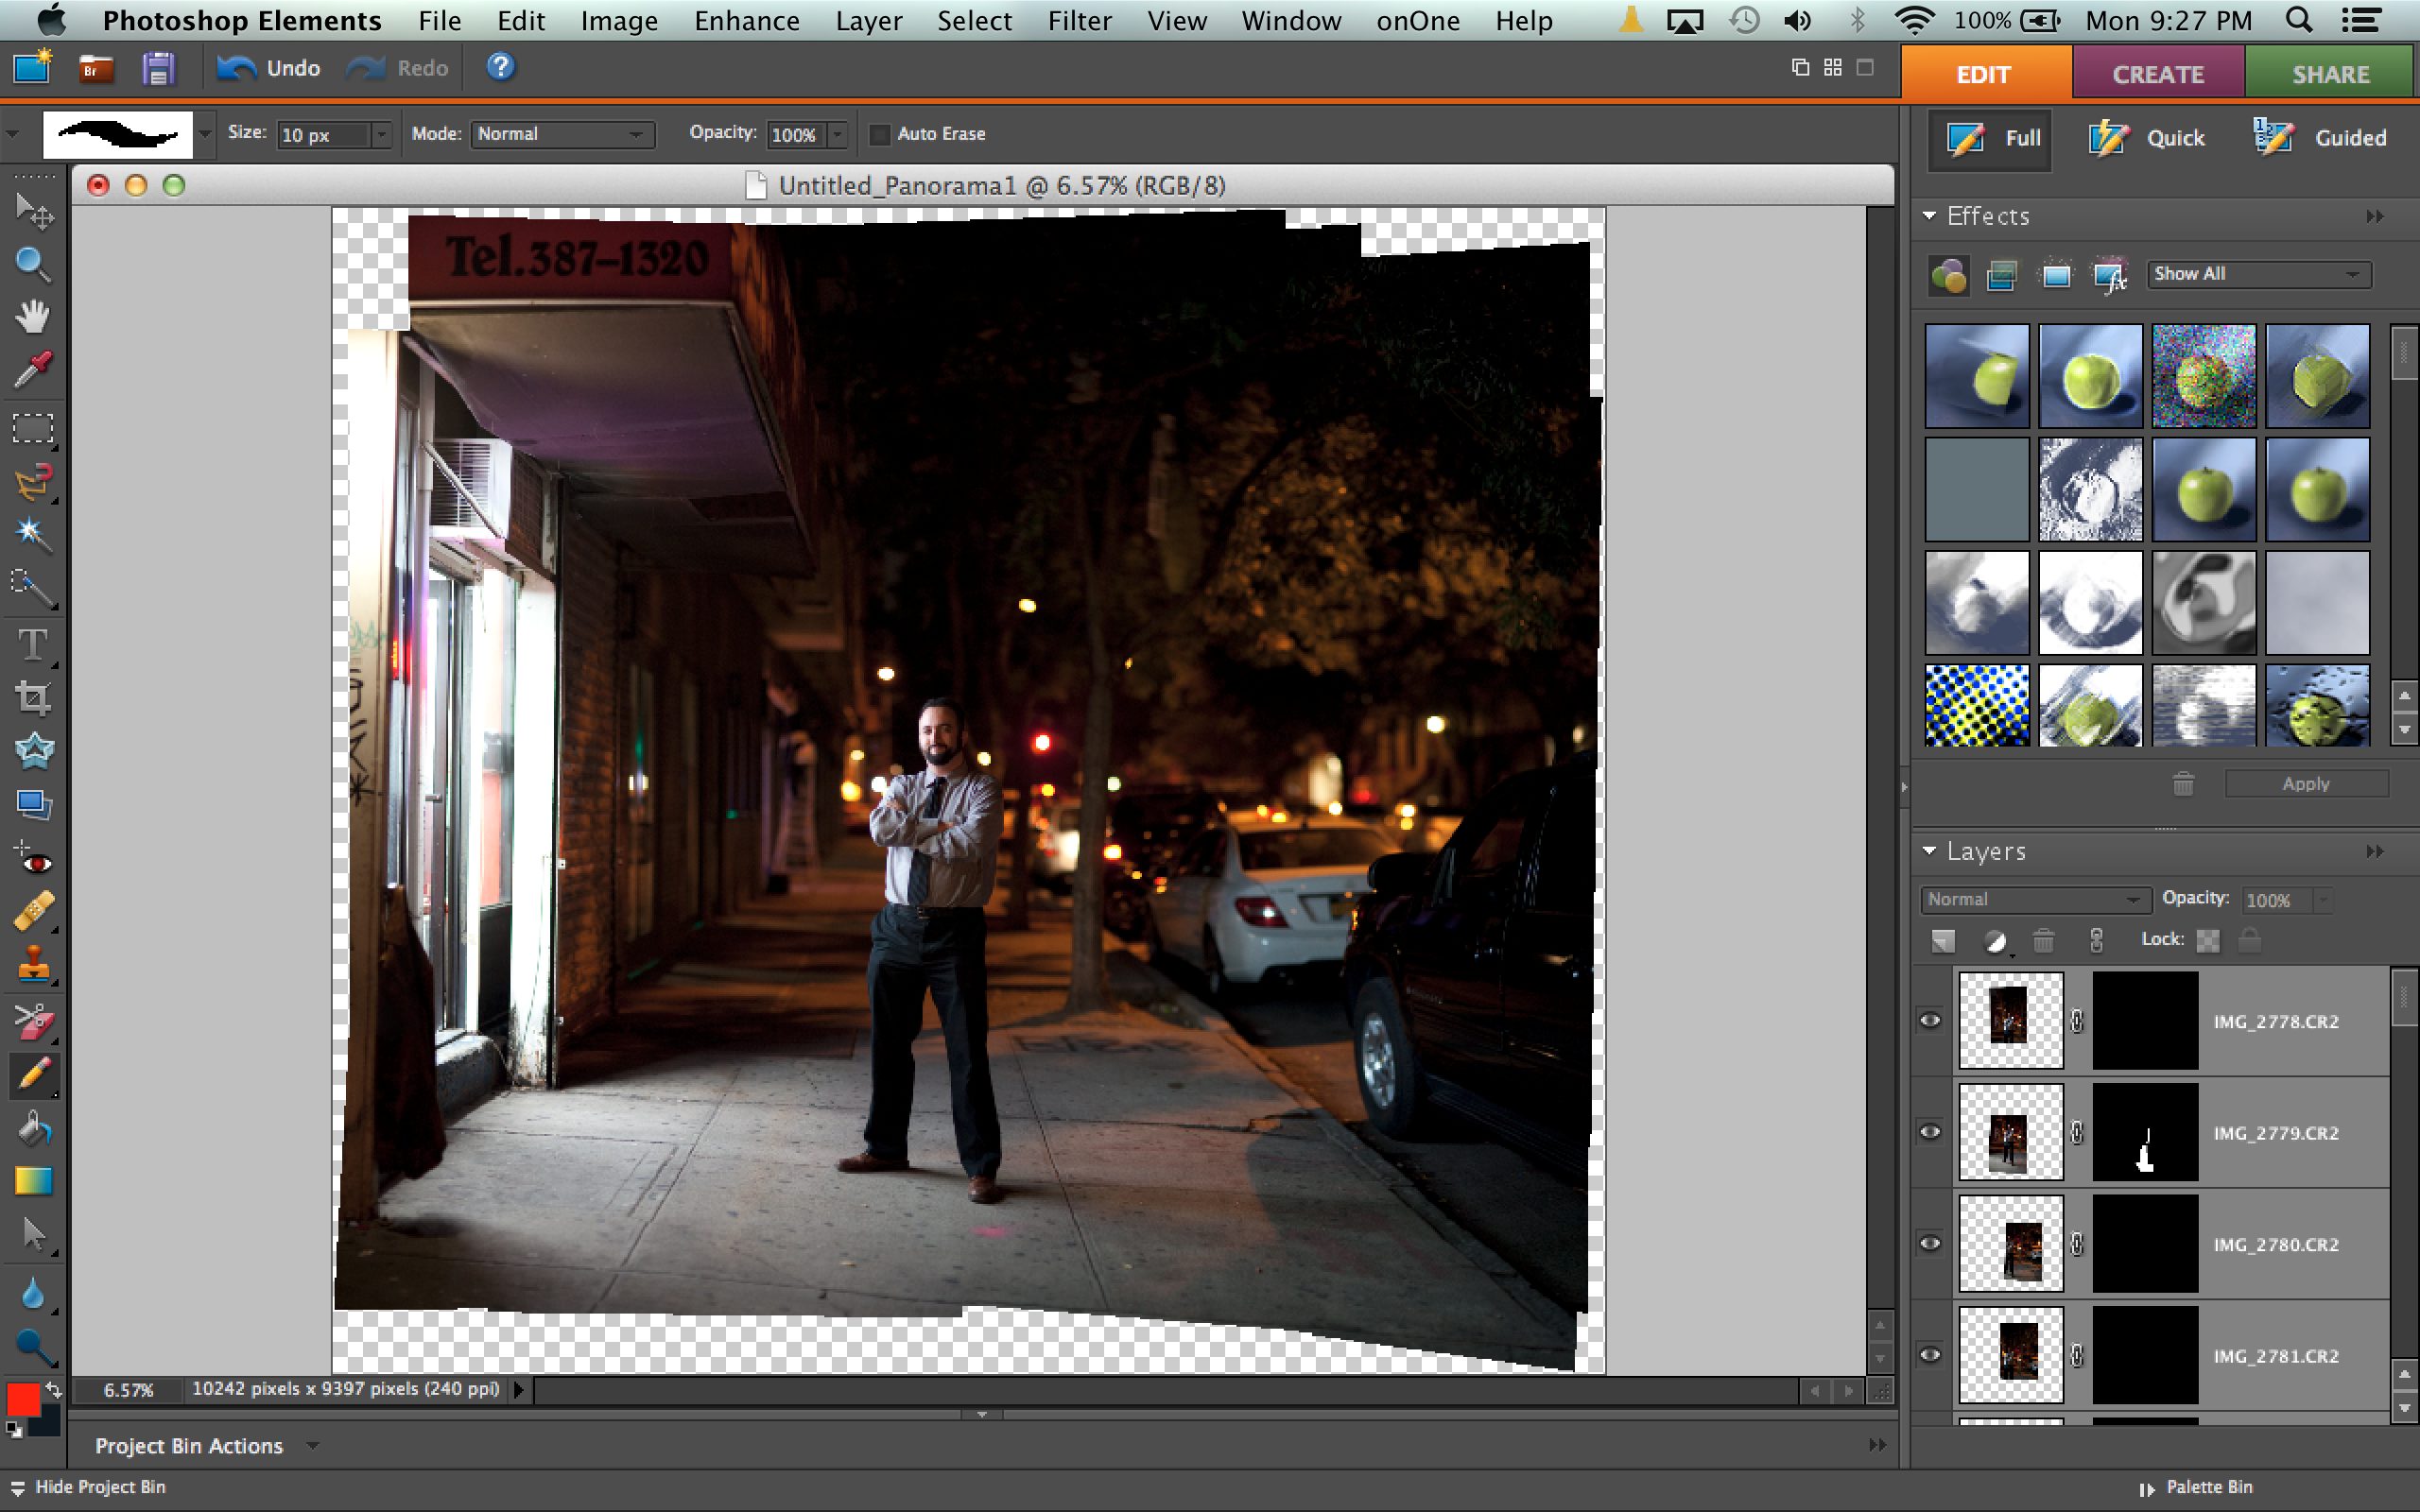
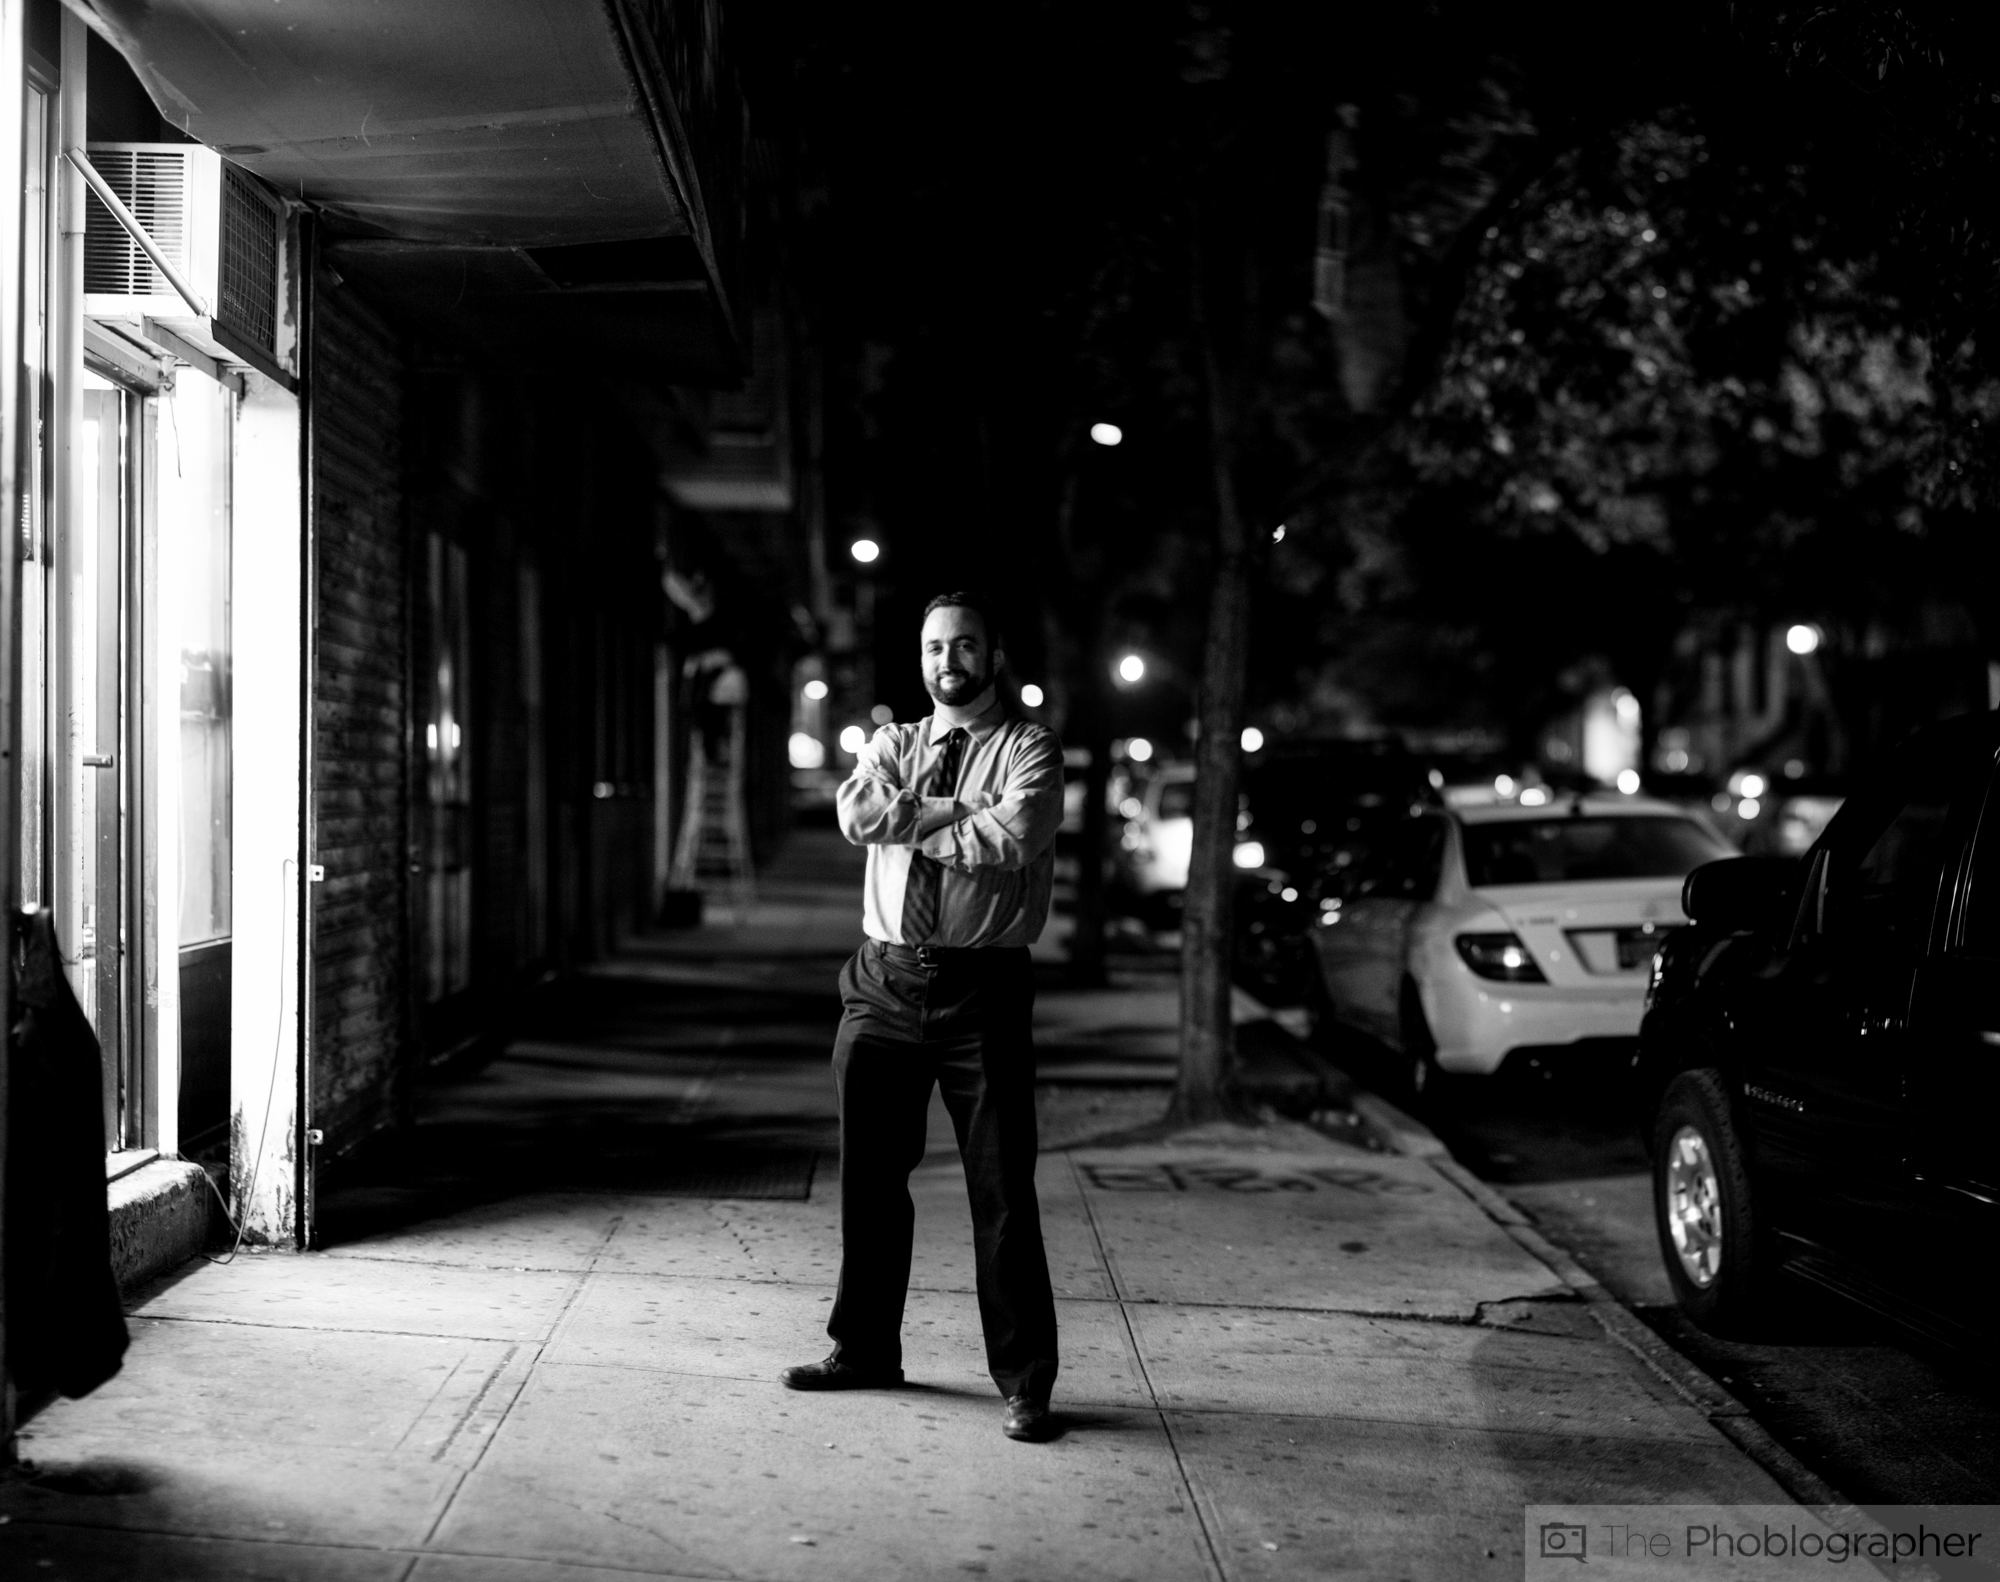
Lastly, Photoshop will give you your stitched panorama. In this case, I cropped in closer to get rid of anything not necessary then I converted the image to black and white.
Exporting
Then when you export your image you’re going to want to keep in mind that the file size is going to be massive. A TIFF that we rendered from this session came out to just under 2GB. Yes, 2GB. With all this information, we recommend highly compressing the image since you’re most likely going to put it on the web and no one wants to wait forever for an image to render.
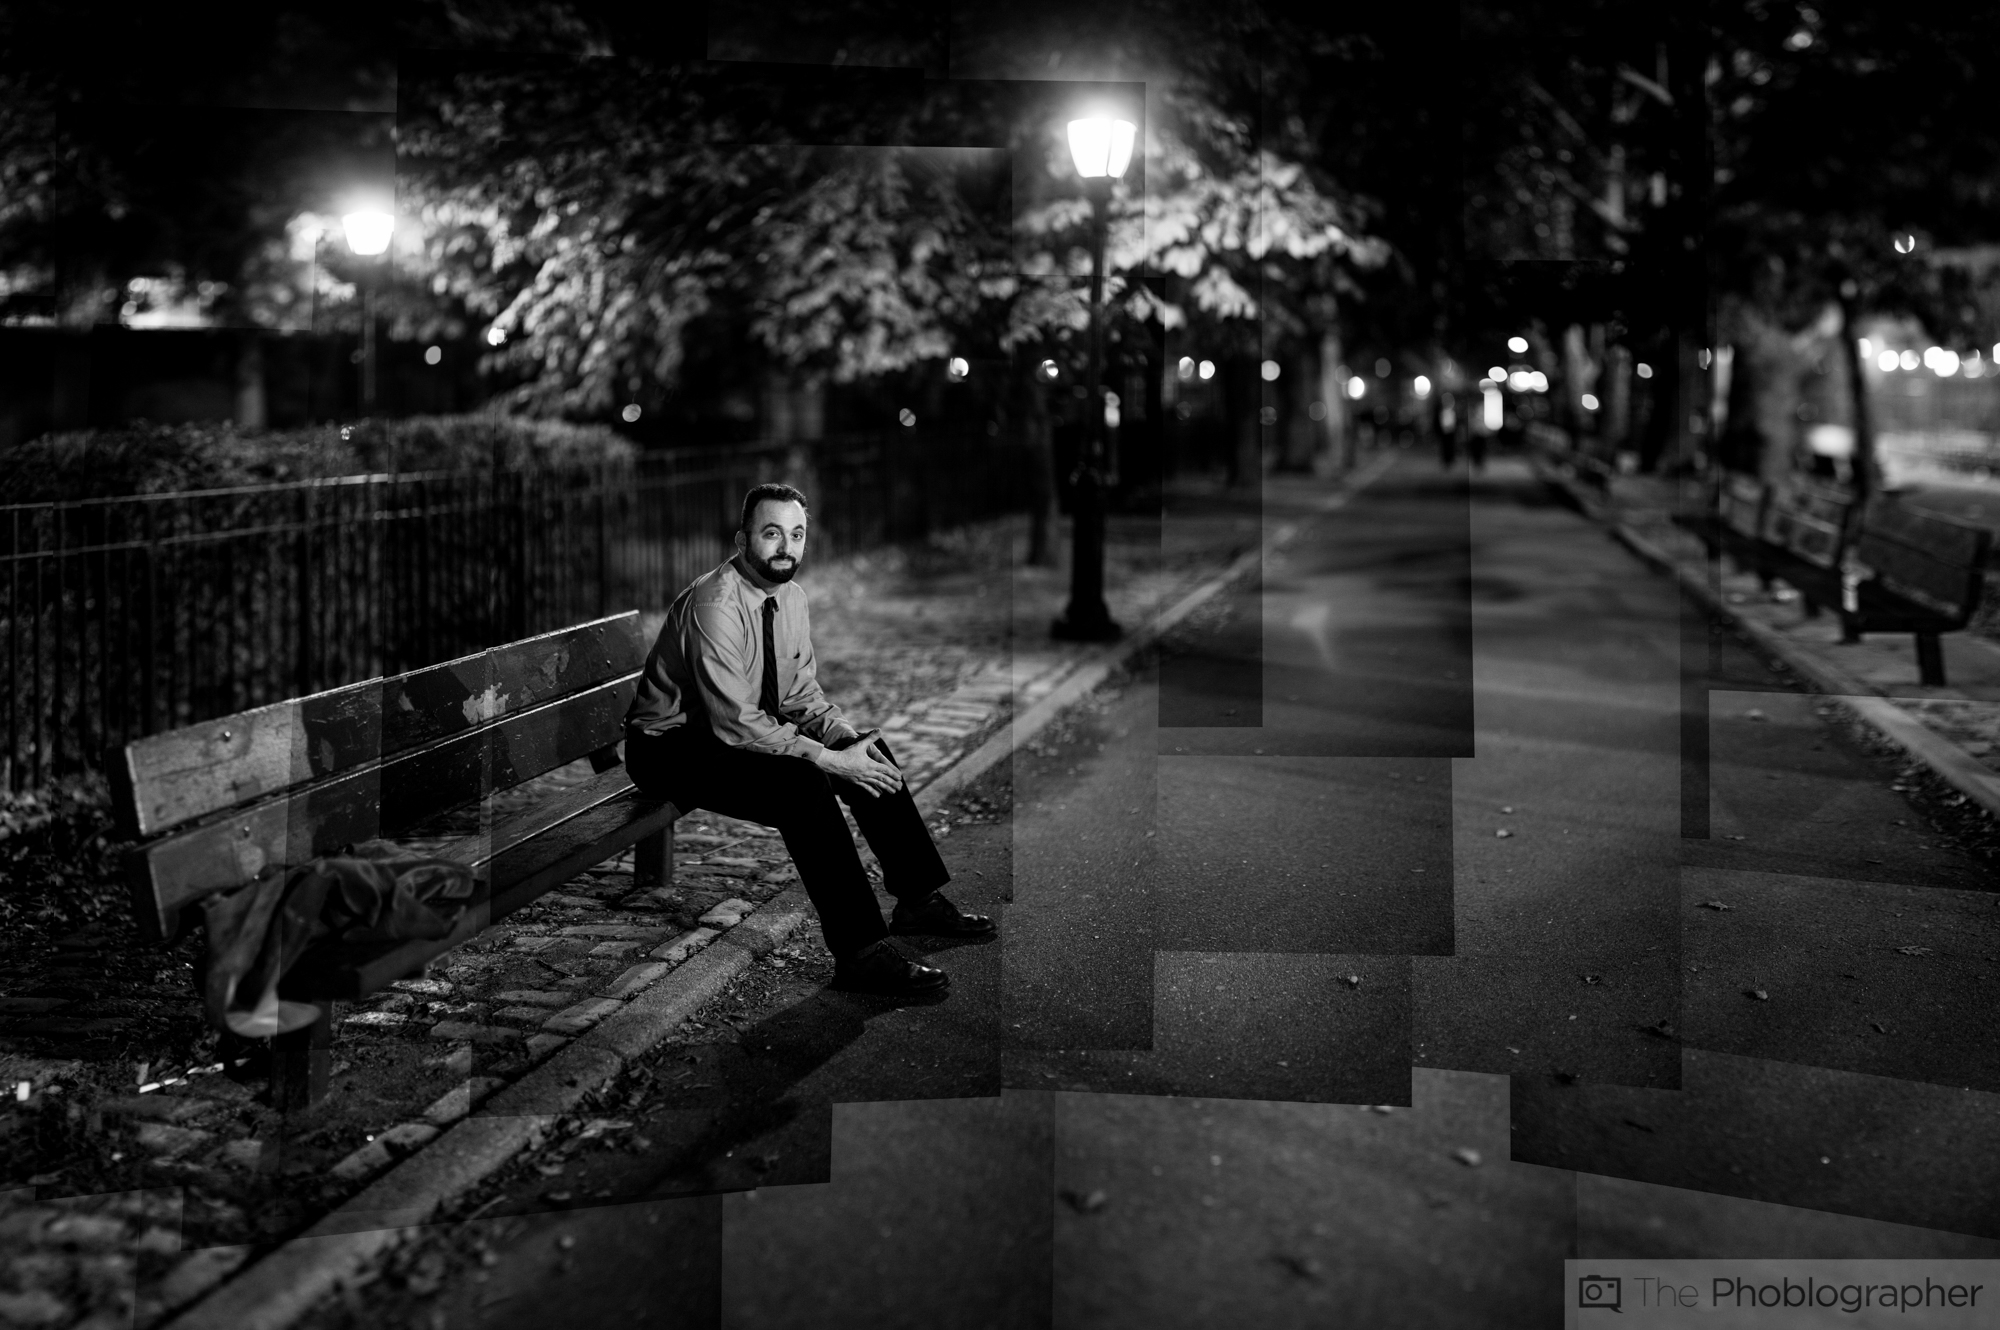
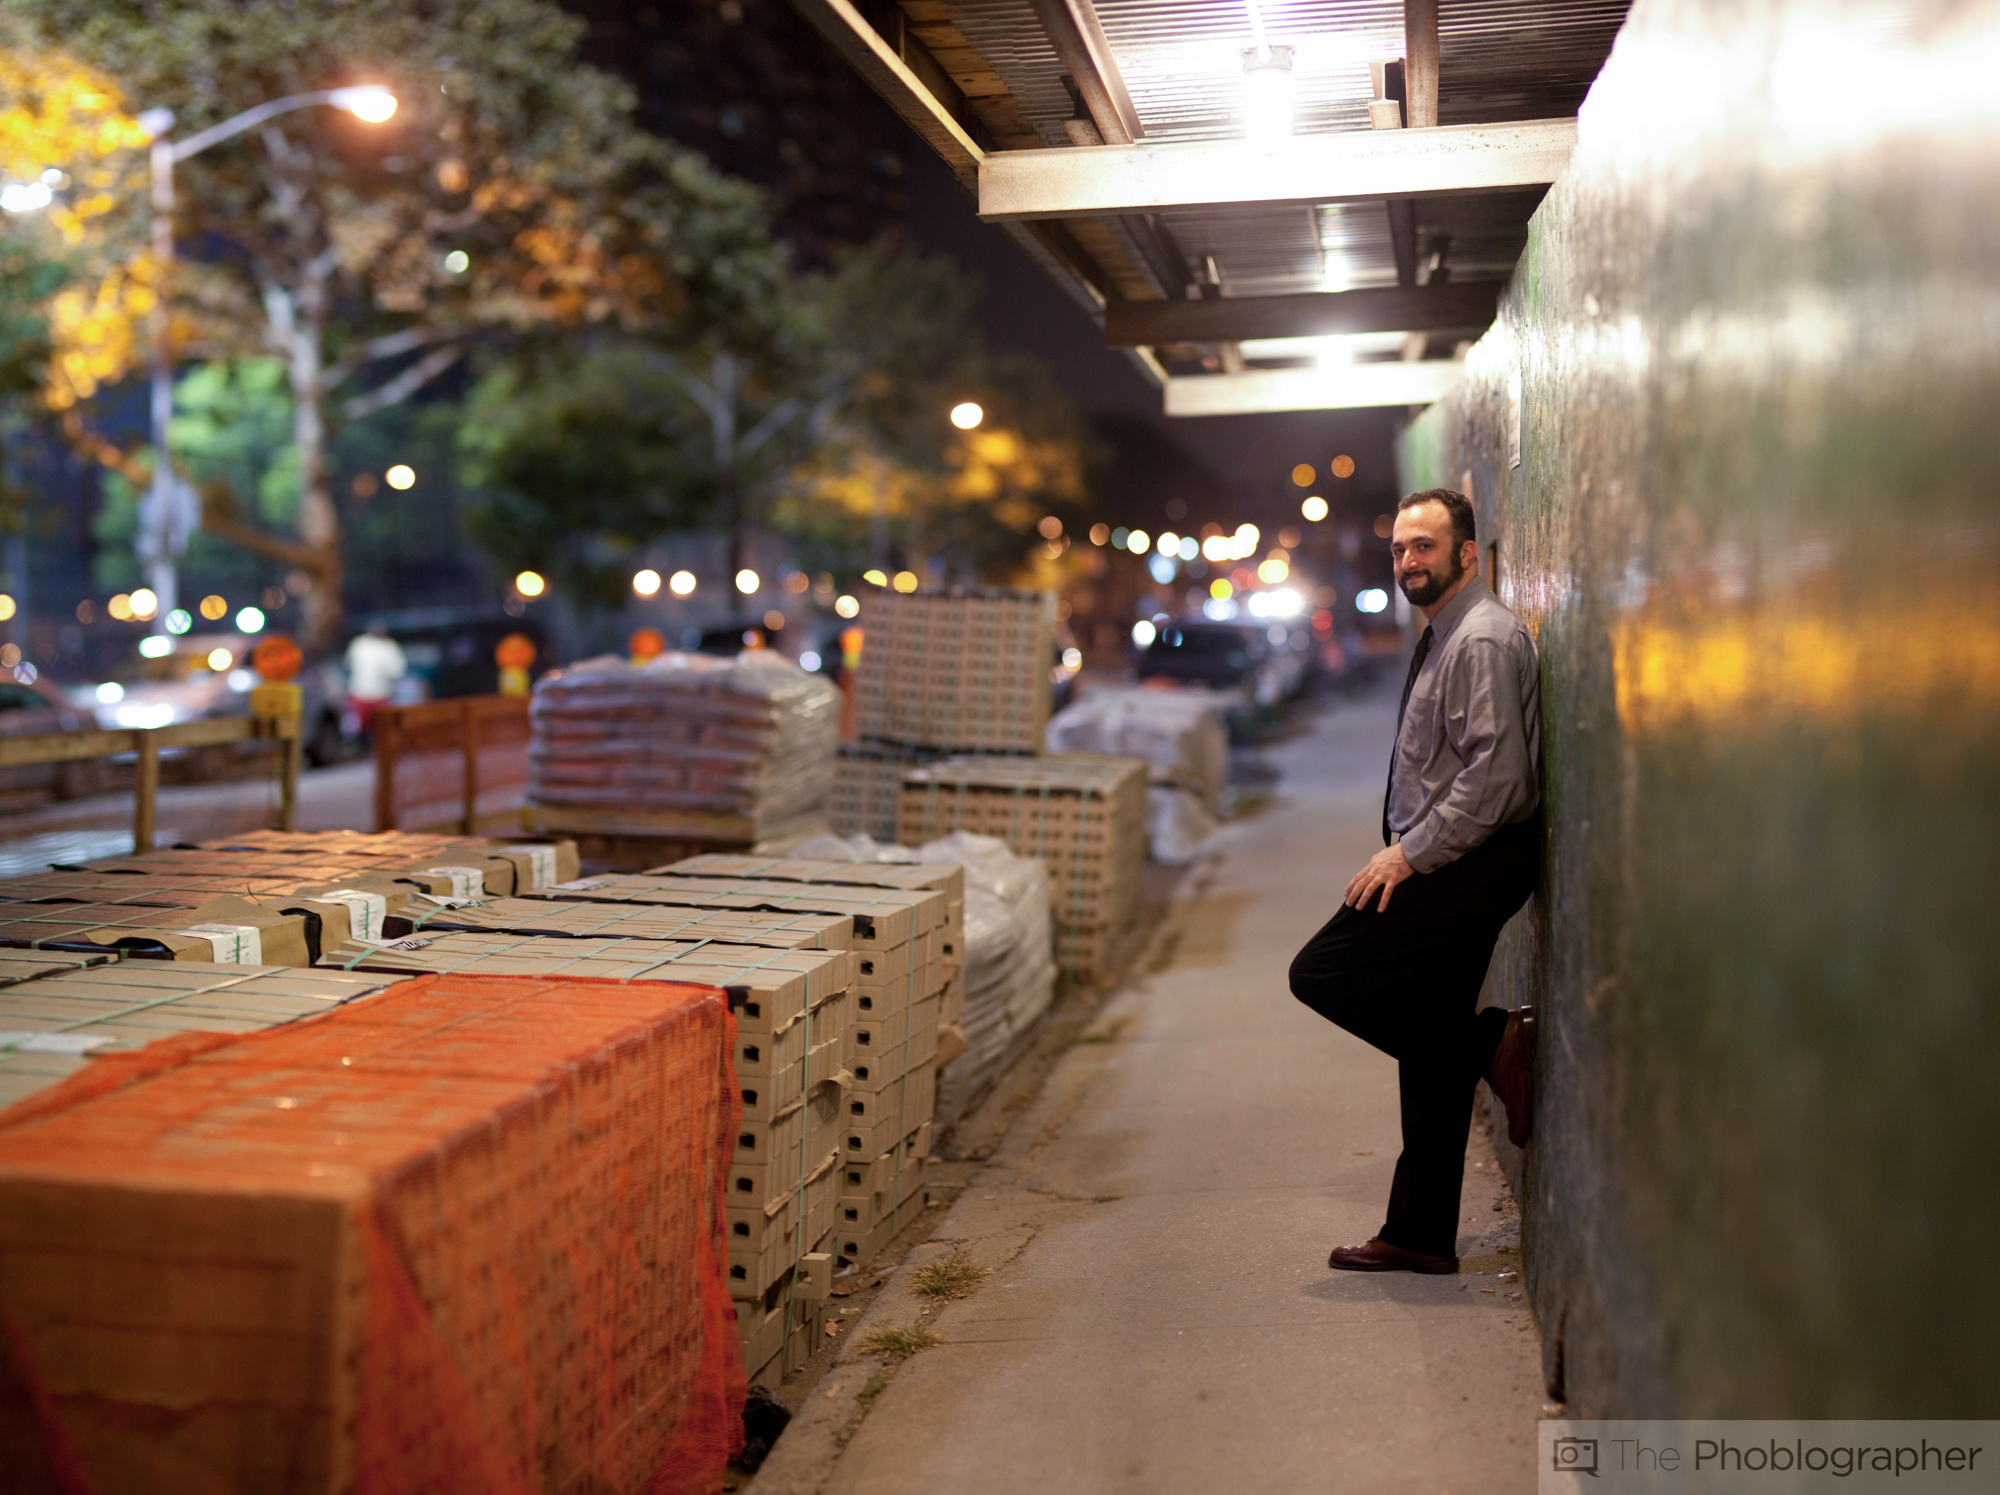
During this session I got a happy accident that looked like the photos were actually stitched together. It had to do with vignetting with the lens. Either way, we actually like the look of this image artistically, but it’s not what is supposed to come out from it.
Now go give it a try and be patient.
Get rid of the ads!
Did you enjoy reading this article as much as we enjoyed writing it? There's a way to support us and our reporting, getting ad-free navigation and more as a bonus. Subscribe to us for less than a coffee per month —just $3.99— or take advantage of our yearly subscription with a hefty discount for only $25.- An ad-free experience
- A free mystery box for Lightroom or Capture One
- All the books in our store
- 20% discount on Capture One
- 30% discount on Imalume Photo Theft Protection
- 20% off Herbs and Kettle Tea Company.
- 20% off your order from MPIX printing services.
- 5% off Viltrox Products via their eCommerce store.
- 10% off all film developing, printing and scanning services from Blue Moon Camera and Machine
- 15% off 7Artisans products: The lens and accessory maker is offering a sweet discount for Phoblographer's readers.