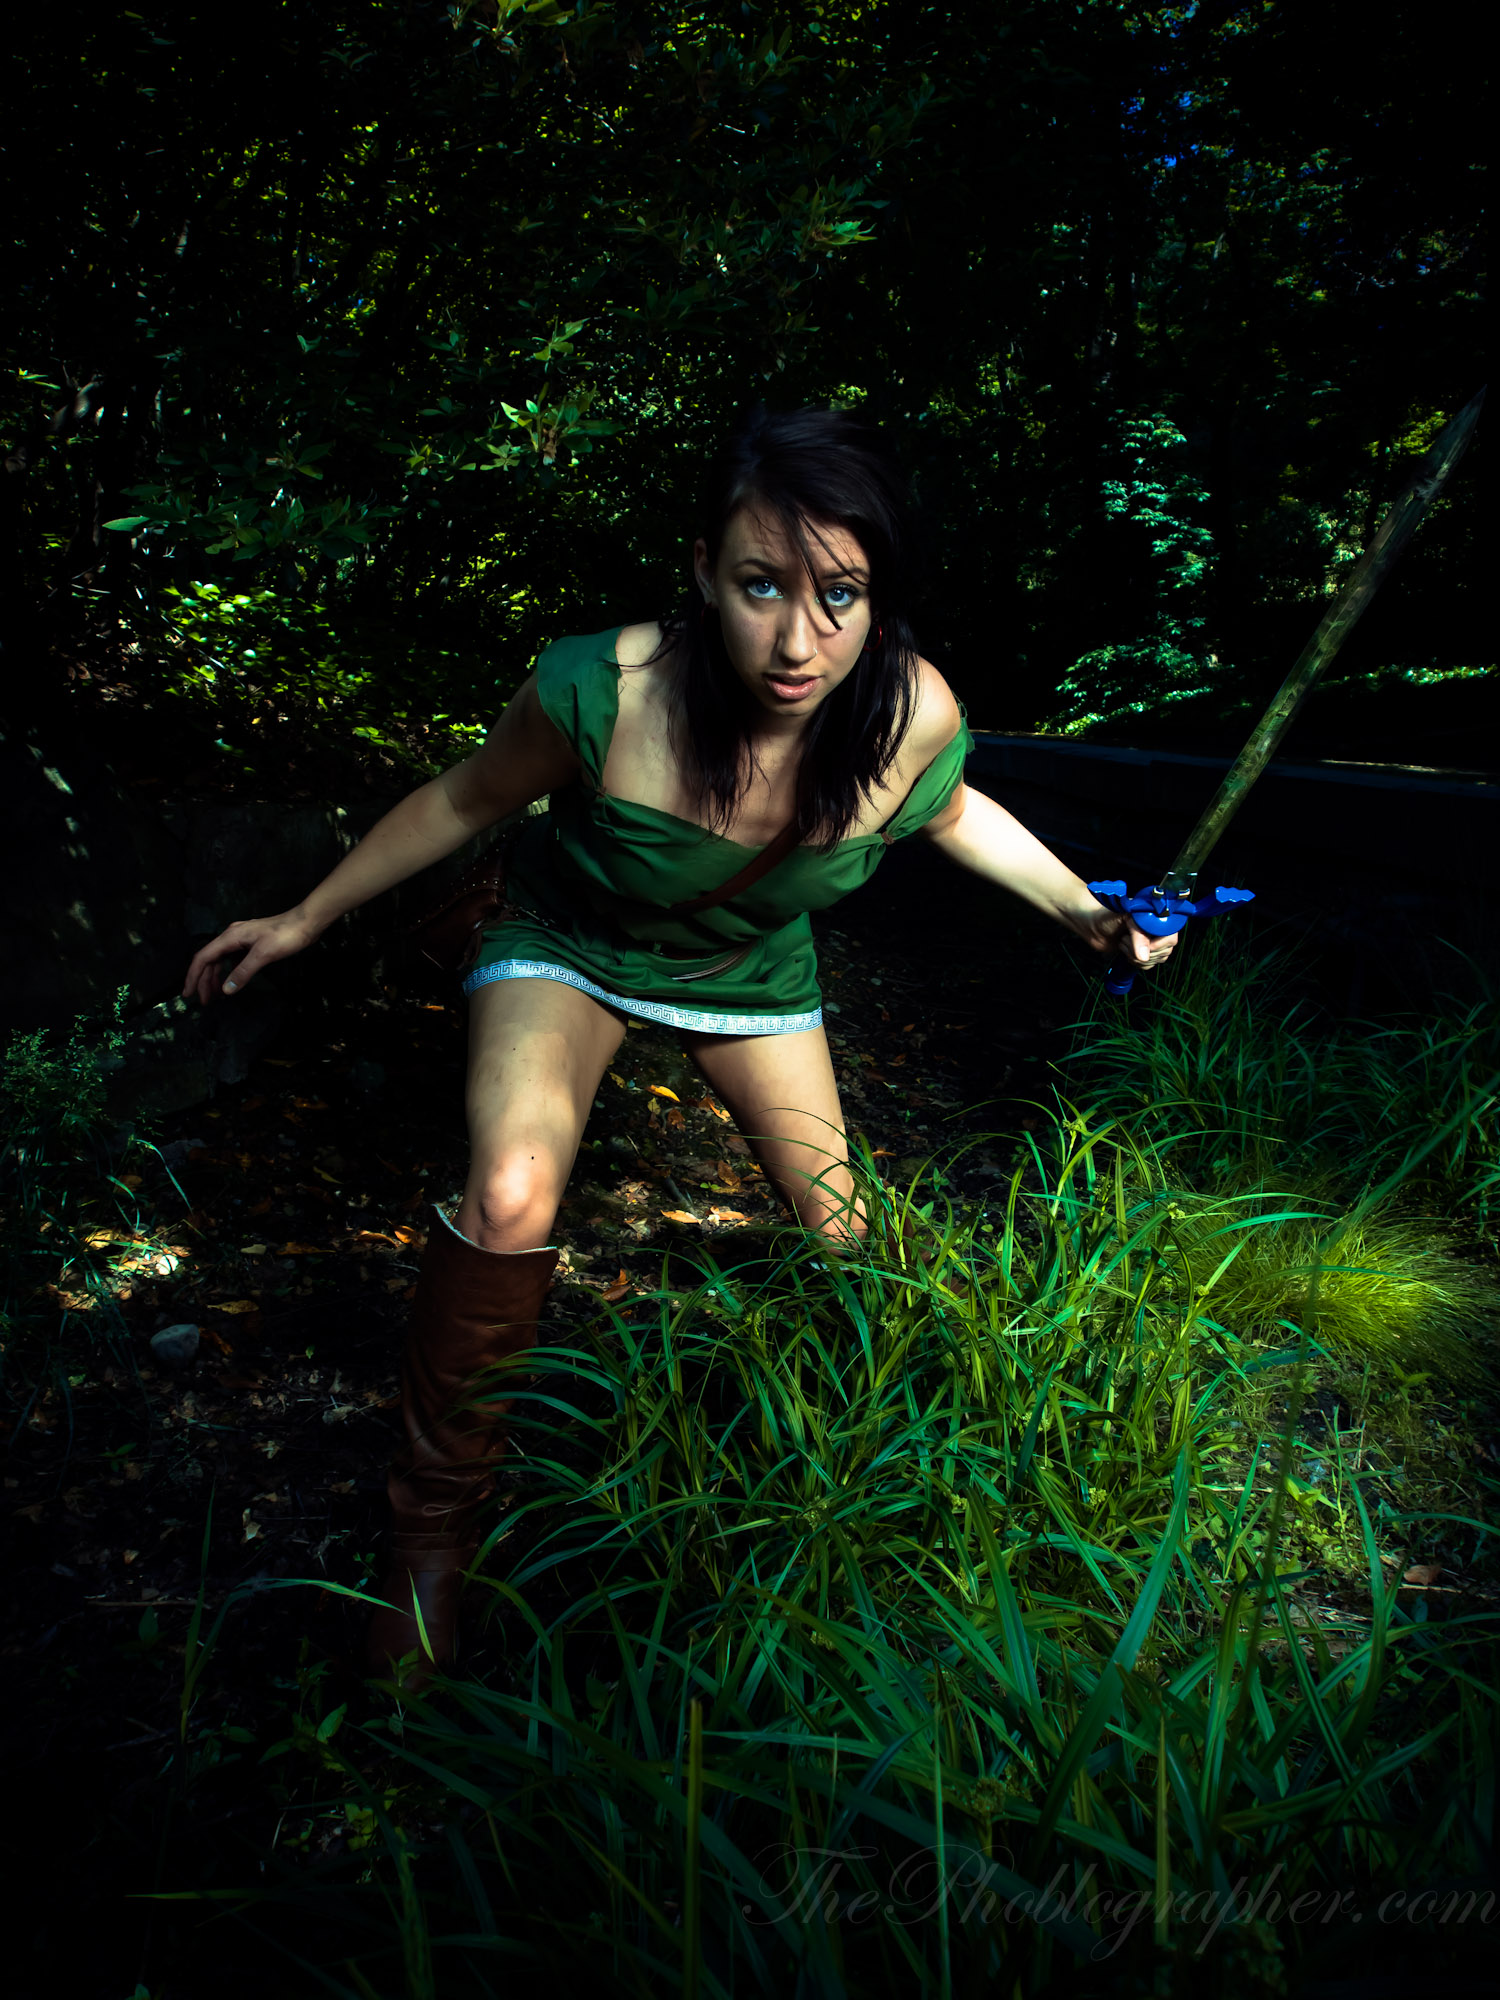
Photographers have been using photographic reflectors for years because of the pure simplicty they offer when trying to fill in shadows on a subject or even diffusing a large light source. Oh, right! They can also block light. And while we’re at it, they can even add some sort of specular color to the scene. In fact, collapsible photo reflectors are incredibly useful and very versatile. It’s totally worth it for every photographer to have one in their kit because of everything that they can offer in a smaller and portable package.
Let’s take a look at some of the things that they can do.
Sizes
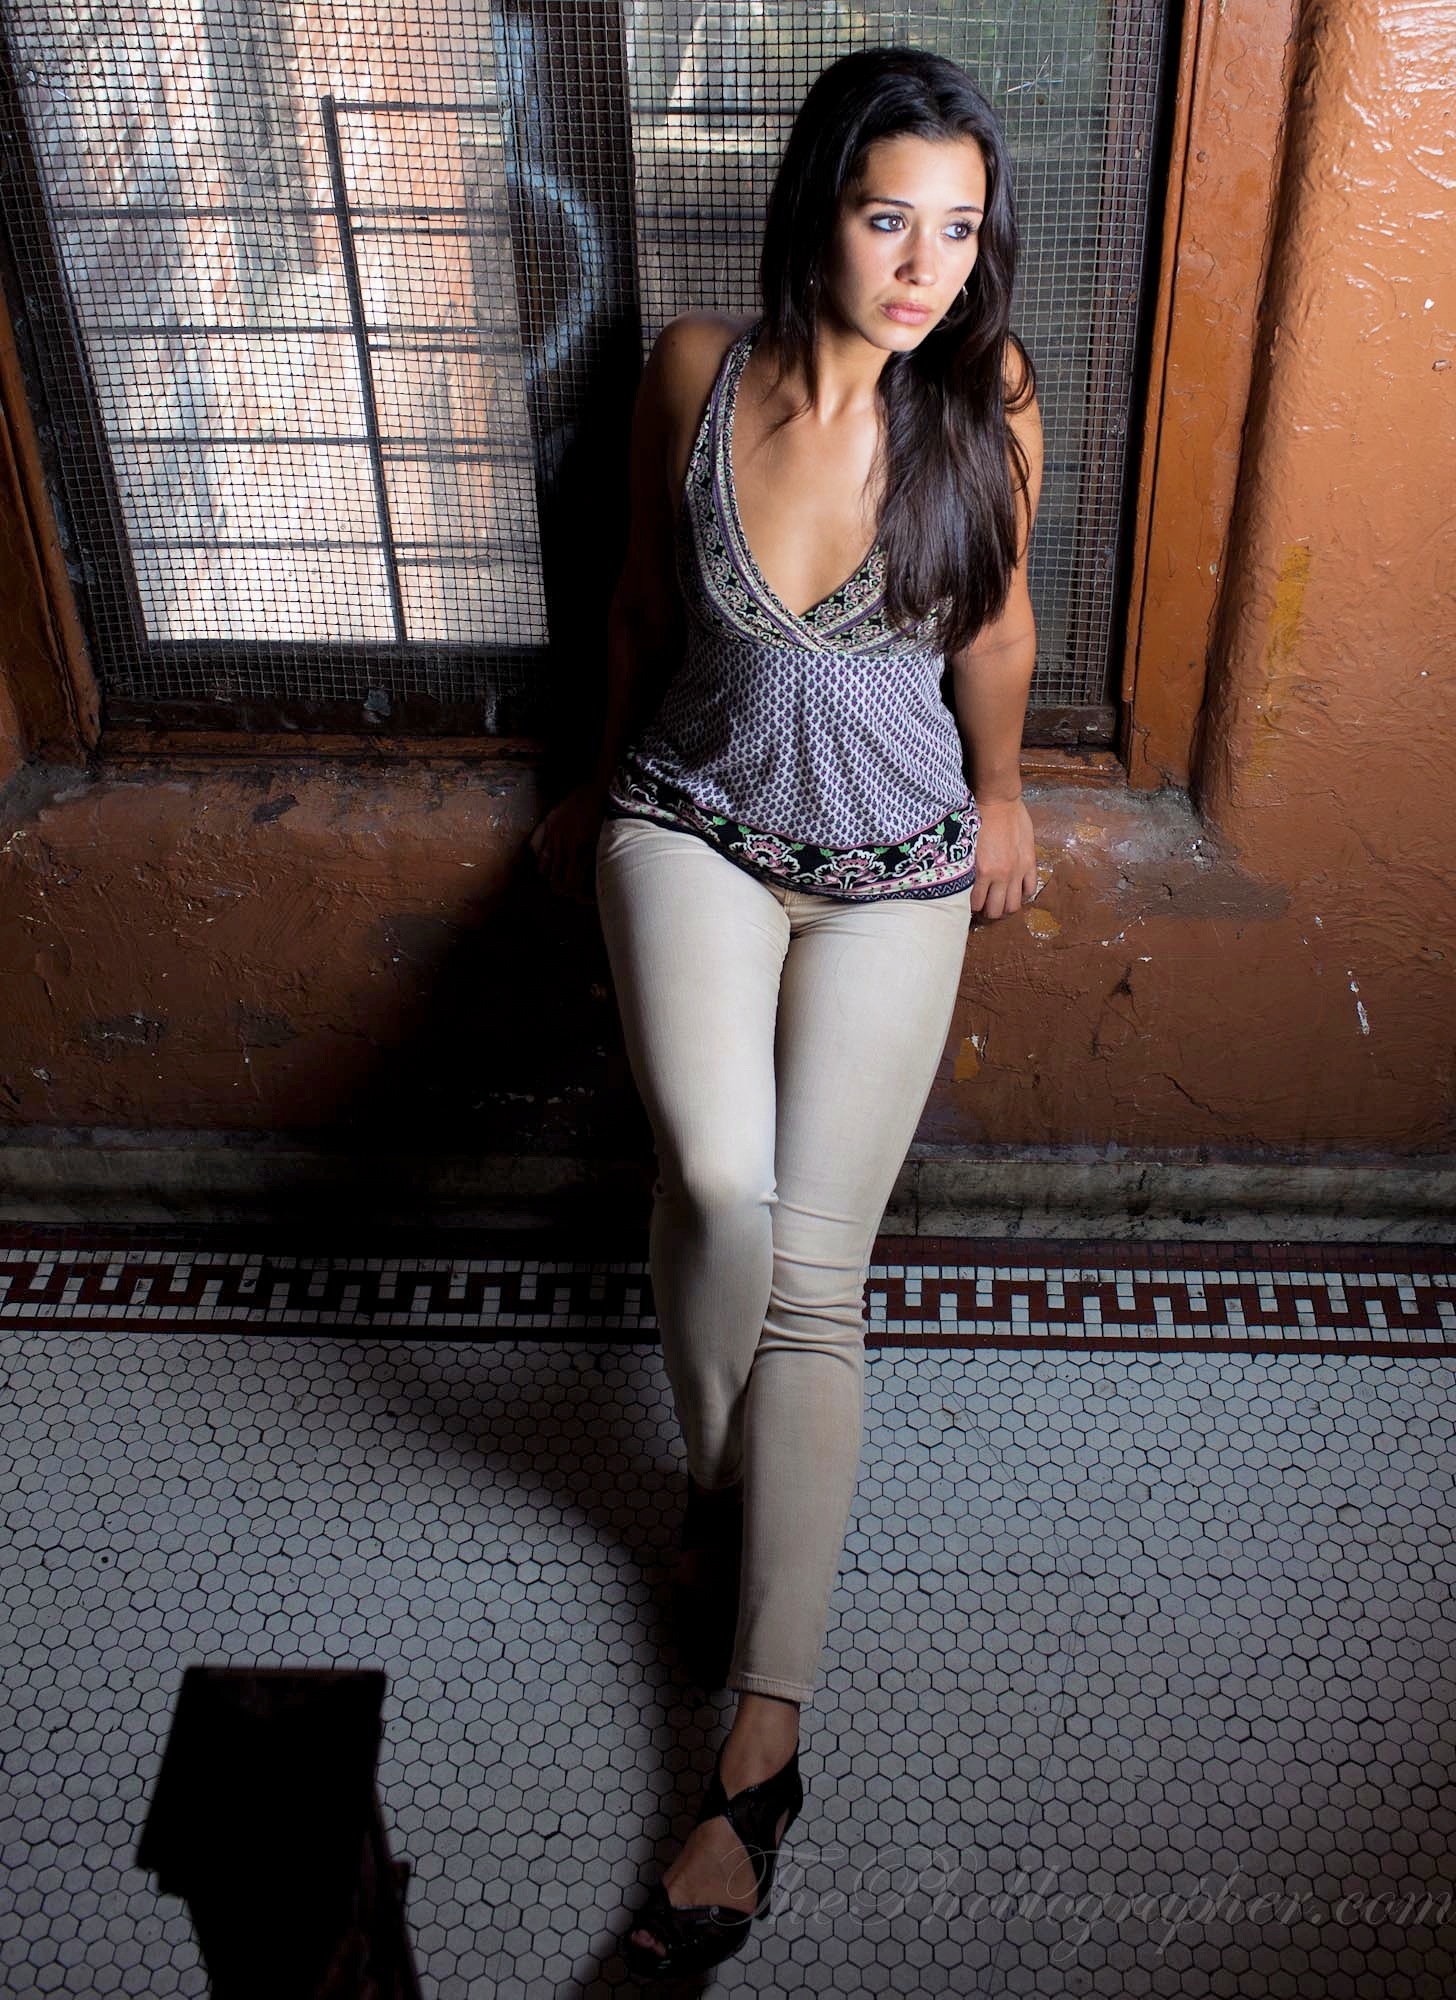
Reflectors come in loads of different sizes: but the one that’s right for you all depends on the type of work that you’re doing. For example, a food photographer most likely won’t have a major need for 64 inch reflectors but instead may need a lot of small ones. On the other hand, a portrait photographer will need anything from 36 inches to 42 inches on average to get the job done.
In general when working with reflectors, the rules of lighting always apply. Specifically what we’re talking about is that the larger the light source is in relation to your subject, the softer the light will be. So with that said, larger reflectors will always deliver softer light. But like anything in life, it’s possible to have overkill.
What I find works best for me personally on a daily basis is a 42 inch reflector. It’s large enough for me to be able to bounce flashes off of, diffuse large strobes, fill in the shadows on a subject when taking their portrait, and adding enough fill light when shooting photos of products for the website.
While reflectors have such amazing versatility, keep in mind that they won’t be able to fulfil every single need no matter how large a surface you’re working with. You’ll still need other light modifiers. Additionally, think of them as a portable wall/ceiling for a speedlight if you’re working with a flash/strobe. But if you’re just using natural light, then consider them to be another small light source that leaches off of some other type of light output.
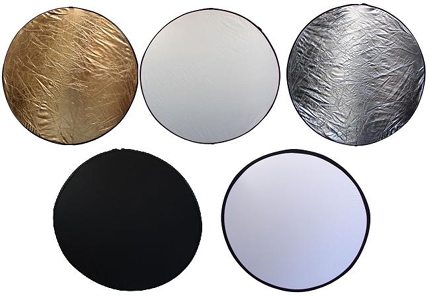
Colors

If you want to really use a reflector to its fullest possibility, we recommend experimenting with the many different colors that are offered. Here’s a list of some of the most common offerings:
– White: does the standard job of simply bouncing light.
– Black: blocks light out of a scene. I’ve used this at conventions when I want to set up a shoot very quickly and don’t want other flashes affecting my scene.
– Silver: Adds some punch to the light reflected off it. The light that is bounced off of the silver surface brings out more details in a subject as a result.
– Gold: Does pretty much the same thing as the silver, but works better for certain skin tones and color tonality. Think darker colors.
– Soft-Gold: a mix of silver and gold that gives a little bit of both effects to a scene. We barely use this but we totally see how it can be useful.
– Translucent: Also known as shoot through. It diffuses sunlight or it diffuses flash output.
Versatility
One of the best things about reflectors once again is their versatility. Besides the fact that they can provide loads of different lighting options for you, they also can come in a crazy package. The best bang for your buck when it comes to getting a reflector is going for a five-in-one. This allows you to have many options from a single reflector. the one that we keep around often has black, white, translucent, silver and soft gold. It’s large and able to do quite a bit when it comes to lots of our weekly shooting needs.
So with one light modifier you can:
– Diffuse sunlight (translucent)
– Fill in shadows by bouncing light into an area (gold, soft gold, silver and white.)
– Block light (black)
– Give your hot shoe flash a portable wall/ceiling to bounce light off of.
To use reflectors to their fullest potential though, we recommend that you grab a lighting assistant or a friend. Otherwise, there are tripods that work well with reflectors. In that case though, note that reflectors can easily be blown away or fall down. So in an event like that you’re also going to need to lug around sand bags.
We hope this tutorial was helpful. For more, we recommend that you check out our other lighting introductions:
Get rid of the ads!
Did you enjoy reading this article as much as we enjoyed writing it? There's a way to support us and our reporting, getting ad-free navigation and more as a bonus. Subscribe to us for less than a coffee per month —just $3.99— or take advantage of our yearly subscription with a hefty discount for only $25.- An ad-free experience
- A free mystery box for Lightroom or Capture One
- All the books in our store
- 20% discount on Capture One
- 30% discount on Imalume Photo Theft Protection
- 20% off Herbs and Kettle Tea Company.
- 20% off your order from MPIX printing services.
- 5% off Viltrox Products via their eCommerce store.
- 10% off all film developing, printing and scanning services from Blue Moon Camera and Machine
- 15% off 7Artisans products: The lens and accessory maker is offering a sweet discount for Phoblographer's readers.