Last Updated on 05/12/2014 by Chris Gampat
All images by Matthias Hombauer. Used with permission.
Matthias Hombauer has been a concert photographer for many years and taught himself the way many other shooters do. Today, he’s contributing a guest blog post for all the aspiring concert photographers out there.
Take a look.
Start in Small, Local Venues!

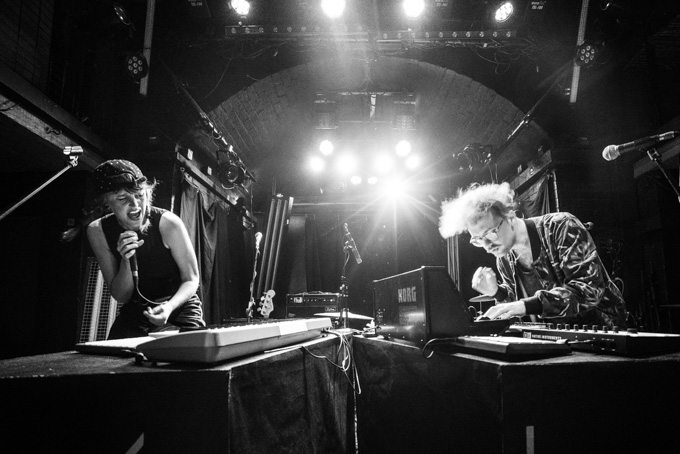
When beginning your career as a concert photographer, start in small, local clubs. This is the easiest way to get experience, as you’ll almost always get in with your camera equipment without any restrictions. The advantage is that you don´t need press accreditation for these concerts. Just search your local magazines, blogs or event webpages for bands you’d like to take photos of and you’ll be ready to go. In the beginning, everything will be new and scary, so just keep it simple and don´t get frustrated if you’re not allowed to shoot your first concert at Coachella!
Use fast lenses!
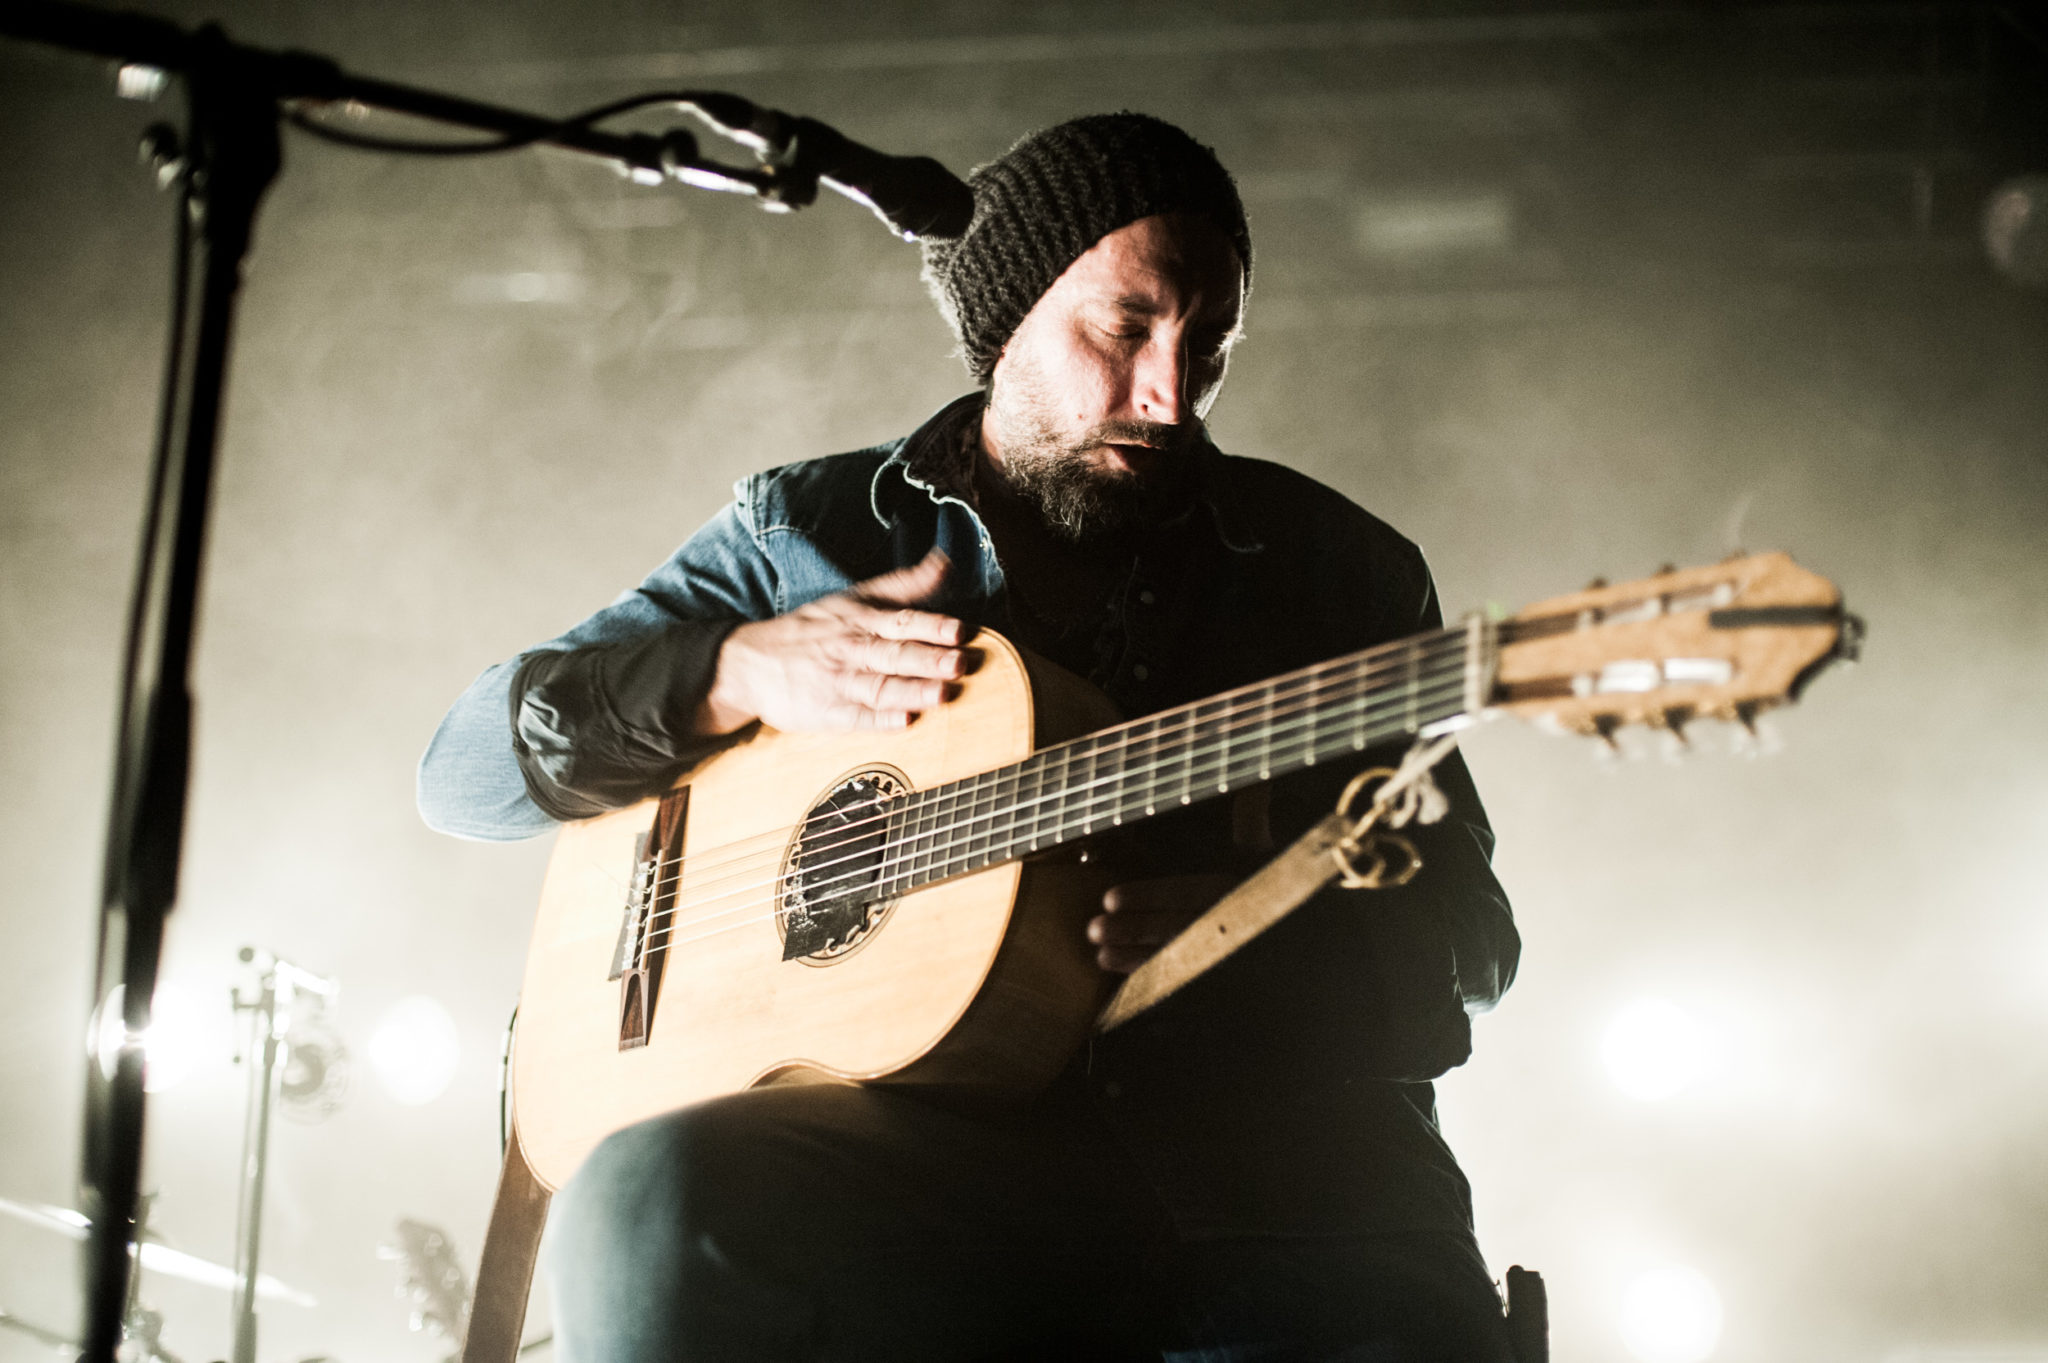
When deciding which lenses will work best for concert photography, you’ll always come to the same conclusion: use fast lenses and shoot them wide open. What does this mean? Fast lenses refer to the aperture of a lens. The aperture is the opening within the lens which enables you to select how much light hits the digital sensor of your camera. The larger the opening, the more light can enter (this corresponds to a small f-number). The maximum aperture is written on the lens itself e.g f1.8, f2.8. Why is this important? In concert photography you have to deal with ultra low-light situations and you need the smallest f-number possible to get a decent exposure. These lenses can be very expensive but there is one no-brainer lens that every concert photographer should have in their bag. For beginners on a budget, there is no better choice than the 50mm f1.8 prime lens. This lens is available for almost all camera brands and enables you to start as a concert photographer right now without any excuses.
Get a Camera with Great High ISO Capability
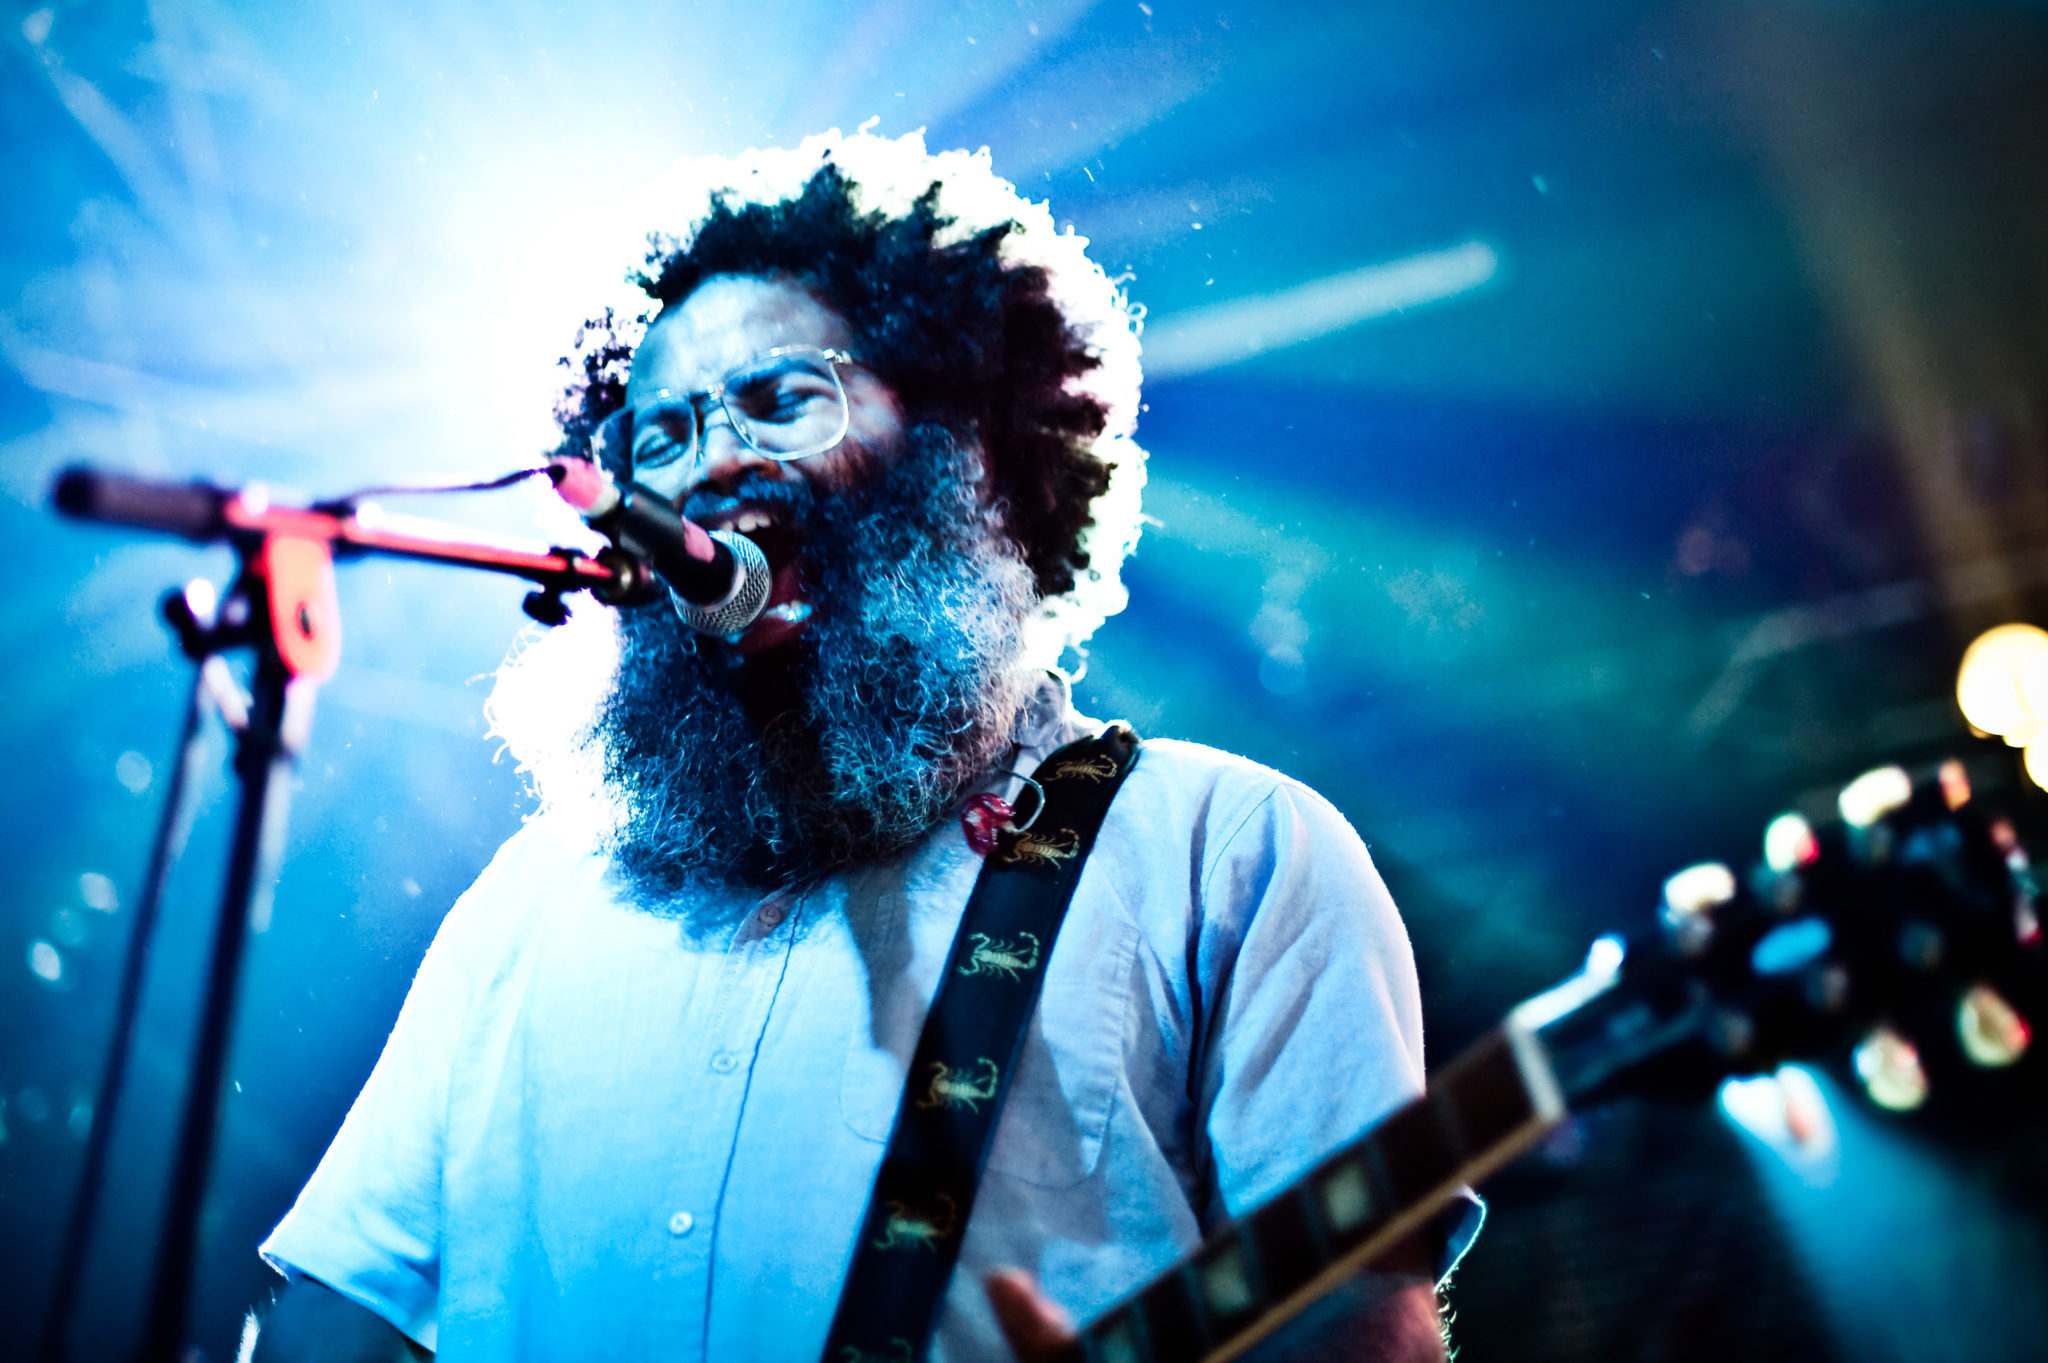
Another important setting on your camera is the ISO value. ISO refers to the sensitivity of your camera sensor. The higher the ISO setting , the less light needed to achieve a correct exposure. However, the higher the ISO value, the warmer the sensor gets resulting in more noise being visible in your photos. As we’re dealing with low-light situations in concert photography, you´ll find yourself changing your ISO setting up to 1600 ISO or higher to get a decent shutter speed.
As a beginner, your best option is to get a DSLR camera with the highest ISO possible within your budget. I would suggest at least ISO 3200.
The Best Camera Settings that Work!
Choosing the correct camera settings are key to getting awesome photos in concert photography. As you have to deal with low-light situations, your camera will already have a hard time keeping up with your needs. The automatic mode won´t get the job done and you’ll have to tell your camera exactly what it should do for you.
Here are my personal preferred settings for beginners:
- – Shoot in Aperture Priority Mode (AV,A). This mode lets you set the aperture whilst the camera takes care of the shutter speed and ISO settings.
- – Use your lens’s lowest aperture number. If you are using the 50mm f1.8, set your aperture to f1.8. Not only will you get the most amount of light possible hitting your camera sensor, but you’ll also get a great blurred background or bokeh.
- – Use spot metering mode: Most of the time, the artist is lit by a spotlight on-stage and the background is pitch black. Therefore, set your camera to use spot metering, place the artist’s face in the middle of your viewfinder and you´ll get the right exposure for it.
- – Use the single Autofocus point: Set your autofocus to the single autofocus point in the middle of your viewfinder. This one is the most accurate one and believe me, you´ll need all the help you can get from your camera to focus in low-light conditions!
- – Use burst mode: shoot 3-4 pictures to ensure you get one that is in focus
Shoot RAW!

I am a 100% RAW shooter like Jared Polin, as it gives you the most flexibility when post-processing your concert pictures. When you shoot JPEG, the internal camera processor will apply adjustments such as saturation, contrast, sharpness and more to your pictures. These files look great on the computer, but don´t leave much freedom in post-production. When shooting your first concerts, JPEG might be a good compromise to get some shots without having to deal with too much during the post-production process. But once you’ve taken your first concert photos, it’s almost a must to change to using the RAW format. If you shoot in RAW format, you can change any parameter you can dream of in a dedicated program such as Lightroom or Aperture.
The disadvantages are, however, that the file size is much bigger and you’ll have to learn how to develop your digital files. But personally, shooting RAW is the only choice when shooting concert photos and it should be for you as well.
Matthias Hombauer is a self taught music photographer and the founder of How to Become a Rock Star Photographer where he shares his experiences as music photographer. He is also the author of „The Guide To Rockstar Concert Photography“.
For more, please follow us on Facebook, Google+, Flickr and Twitter.
Get rid of the ads!
Did you enjoy reading this article as much as we enjoyed writing it? There's a way to support us and our reporting, getting ad-free navigation and more as a bonus. Subscribe to us for less than a coffee per month —just $3.99— or take advantage of our yearly subscription with a hefty discount for only $25.- An ad-free experience
- A free mystery box for Lightroom or Capture One
- All the books in our store
- 20% discount on Capture One
- 30% discount on Imalume Photo Theft Protection
- 20% off Herbs and Kettle Tea Company.