
Capture the superior in-studio portraits that will set your work apart with five tips from pro Kirk Tuck, who has photographed President Bill Clinton and Academy Award winner Renée Zellweger. Plus, enter for your chance win Kirk’s online Craftsy class Studio Portrait Lighting here (a $59.99 value!)—an exclusive offer for PhoBlographer readers!
Editor’s Note: This is a sponsored post by Craftsy.
1. Prepare your client ahead of time in order to avoid wardrobe conflicts.
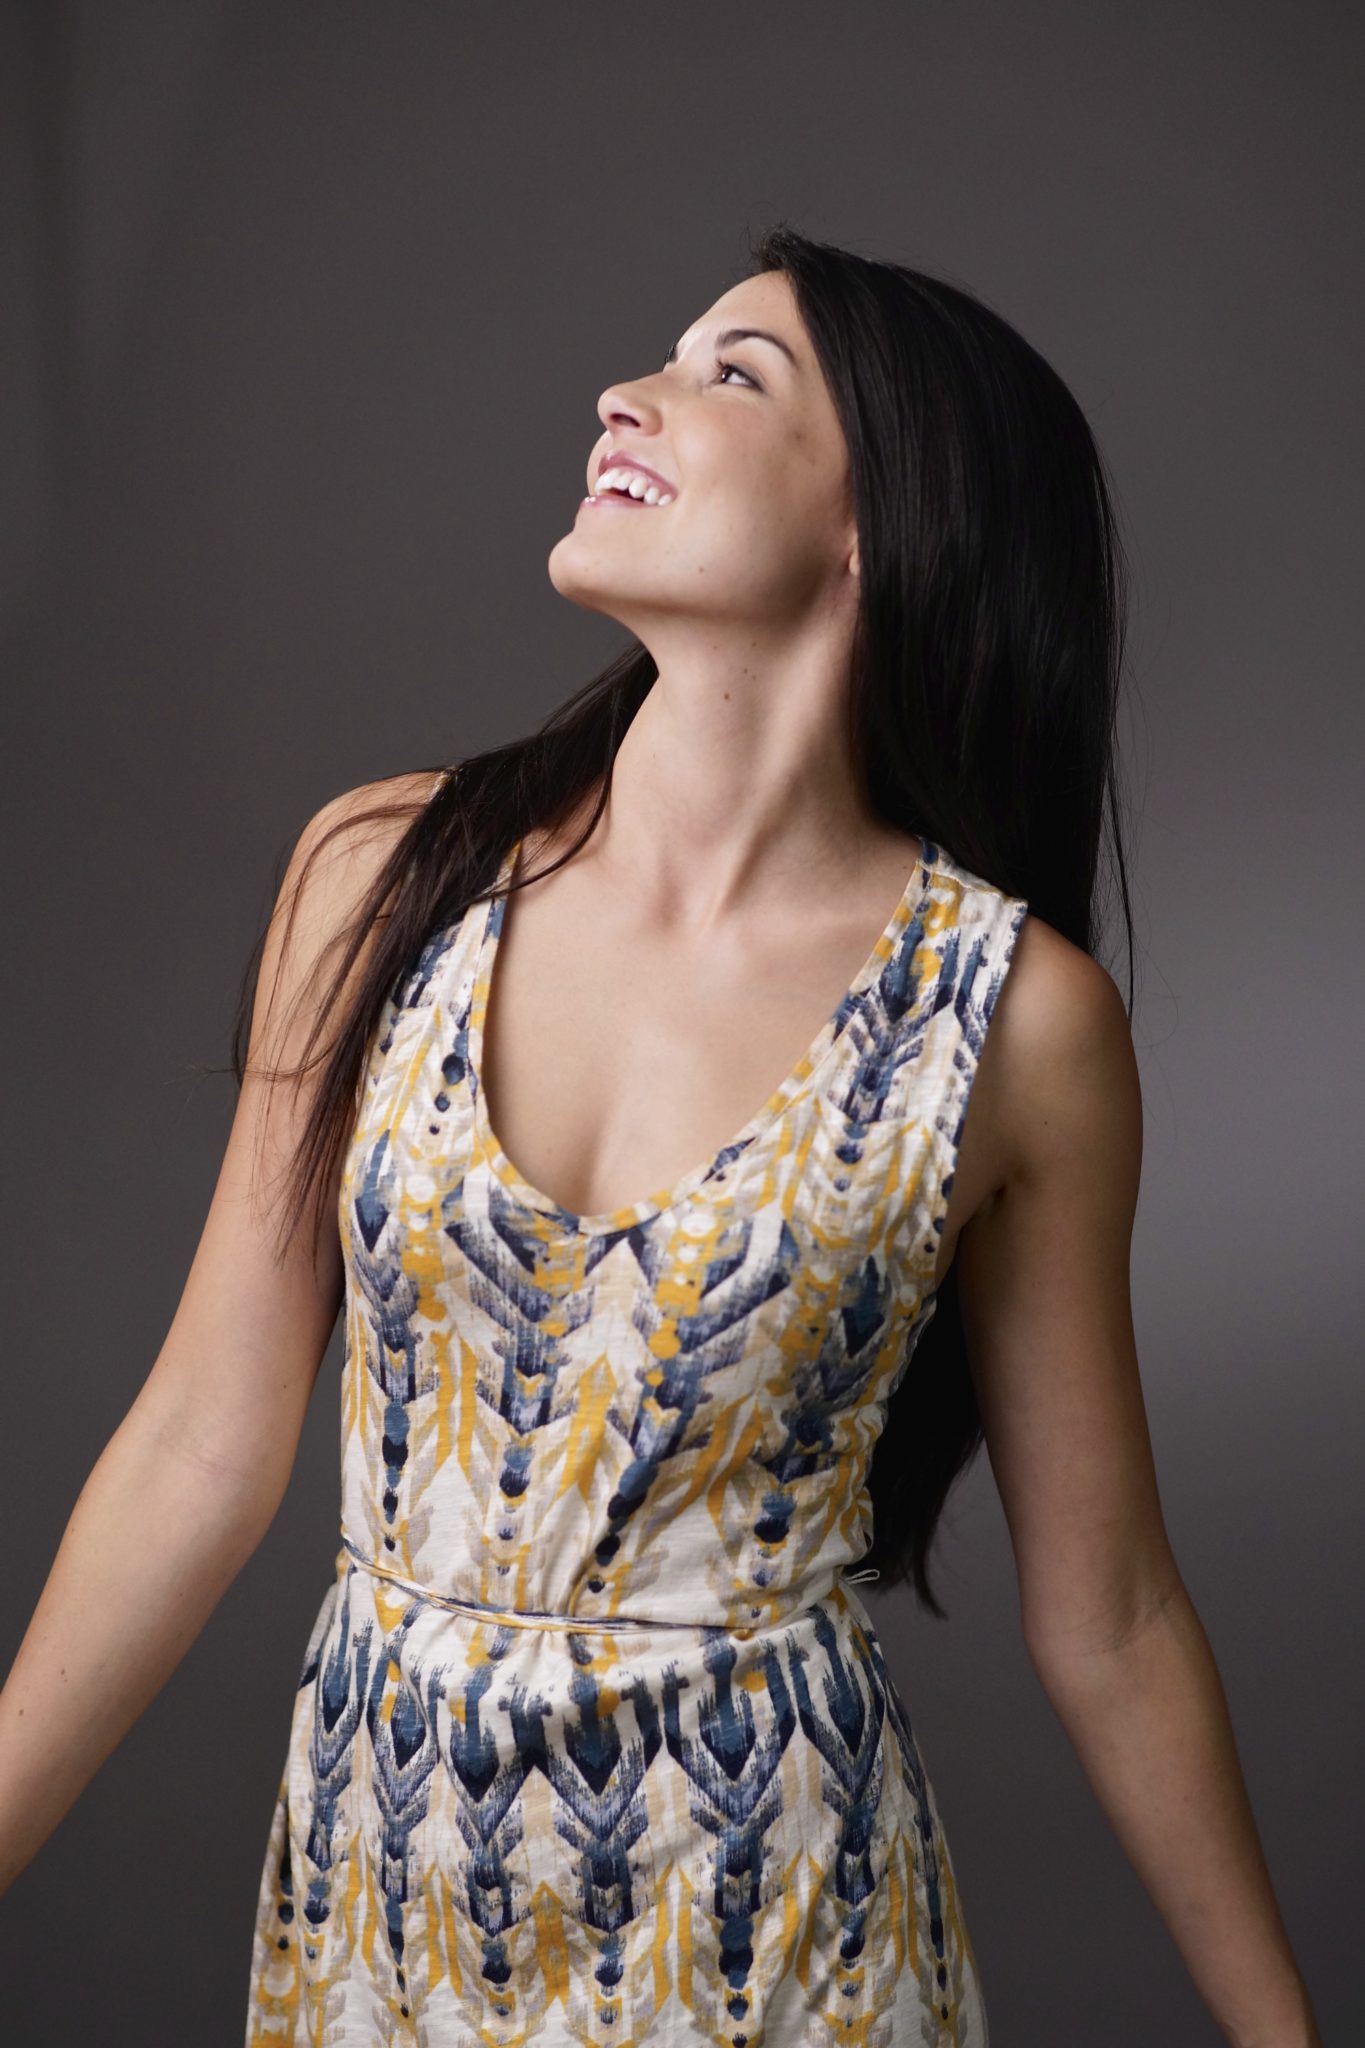
When a client is wearing clothing that conflicts with the background and doesn’t have a change of clothes, one solution is to switch to a different color or style of background. However, it’s important to consult with clients prior to their appointments and really discuss what to wear and why. If you let them know which colors are slimming and flattering and which aren’t, you can help prevent a less than happy session. Ask clients to wear subdued, solid colors: for example, a long-sleeved, gray knit shirt with a crew neck or a collar. This will allow the viewer to focus on the subject’s face (the important part!) instead of their clothing, and will also help to avoid portraits from becoming dated quickly.
2. Act as your own model so you can practice, practice, practice.
There are a few ways you can easily get in some practice. Most cameras have a self-timer mode that you can use to act as your own model so that you can shoot and experiment to your heart’s desire. The benefit is that you are available all the time, and you probably take direction from yourself fairly well.
Stick a light stand in the shot where you intend to stand, put your camera on manual focus to lock in focus on the light stand and then trigger the self-timer and walk over to where the light stand is. Then, move the light stand and get a nice test shot. Once you have the focus determined, you can put a spot on the floor and get repeatable focus. Use an infrared remote or a long cable to trigger the camera instead of the self-timer. It is more convenient and you can try multiple poses before heading back to the camera to see what you got.
Another cheap and easy idea is to get a used mannequin as a model; you can dress it up any way you want!
3. Set the best aperture and ISO for portraits.
To begin, “zero out” your camera and set all the controls from scratch. If you’re shooting anything longer than 85mm and you’re not trying for the slimmest depth of field, try f5.6. Lenses are sharpest there (or at f8), and you should be able to get sharp focus from the subject’s nose back to their ears. When shooting commercial portraits, it’s best to use strobe lighting so that you can use your full film speed range (ISO). Set your ISO as low as you can to maximize your image quality and reduce noise.
4. Use softboxes when shooting full-length portraits.
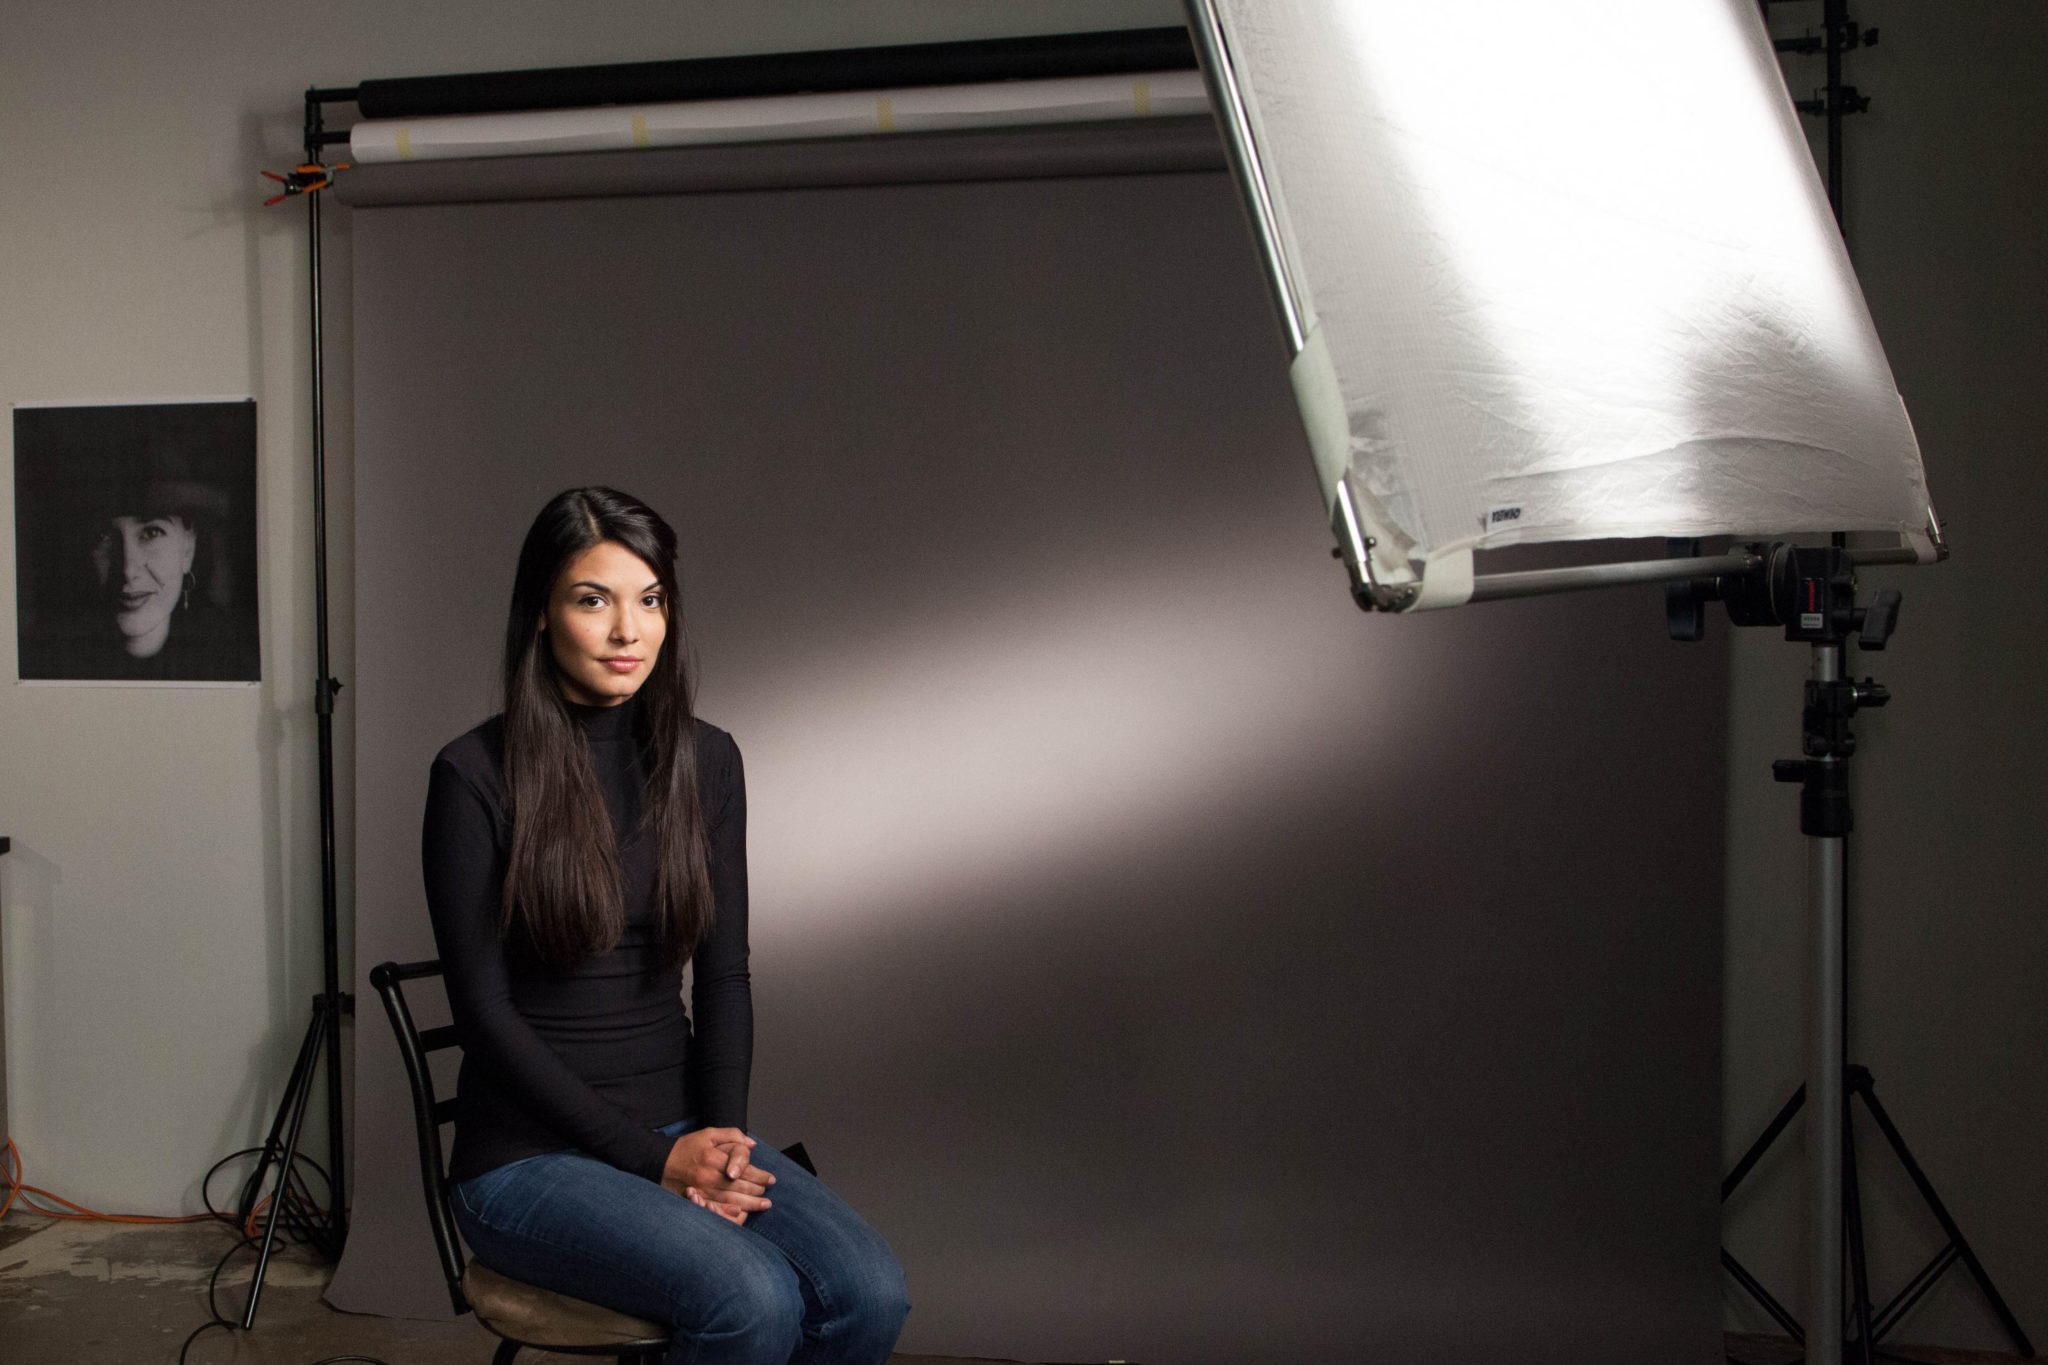
Use large light modifiers or softboxes set back from your subject for good, even lighting coverage. Try a 4×6 foot softbox for an even distribution in the front with a secondary light source behind your subject to define edges and give a few highlights.
5. Maximize your success with white umbrellas.
Umbrellas that have silver linings tend to reflect a more heavily contrasting light than white umbrellas. The advantage of silver umbrellas is that they are more efficient, so you get more light out of them at the same power setting. Nowadays we don’t worry much about a lack of power, and you should think about keeping your light source soft and flattering. If you can only buy one version, go with the white. Need more contrast? Move the umbrella further away from your subject.
Now that you have a few tricks under your belt, take the next step when you enter for your chance to win Kirk Tuck’s online Craftsy class Studio Portrait Lighting today!
Don’t miss out on the opportunity to join along (in the convenience of your own home!) as Kirk reveals how to master equipment, setup and lighting methods that will help you get the perfect shot—from fun senior photos to professional business profiles—every time. Kirk will even critique your photos and answer any questions you have as you go.
What are some of your favorite tips for shooting in-studio portraits?
One winner will be randomly selected on May 17, 2014 at midnight MT. This has been a sponsored post kindly brought to us by Craftsy.
Get rid of the ads!
Did you enjoy reading this article as much as we enjoyed writing it? There's a way to support us and our reporting, getting ad-free navigation and more as a bonus. Subscribe to us for less than a coffee per month —just $3.99— or take advantage of our yearly subscription with a hefty discount for only $25.- An ad-free experience
- A free mystery box for Lightroom or Capture One
- All the books in our store
- 20% discount on Capture One
- 30% discount on Imalume Photo Theft Protection
- 20% off Herbs and Kettle Tea Company.