Image taken from Chris Gampat’s VSCO Grid.
With VSCO Cam recently opening its doors to the Android world, lots of new users have joined but not everyone (even iOS users) know how to use the app. There is a lot more that you can do than just apply some beautiful filters. Indeed, your images can be massaged to become beautiful showcases.
In this post, we’re going to show you a quick guide to what all the terminology means.
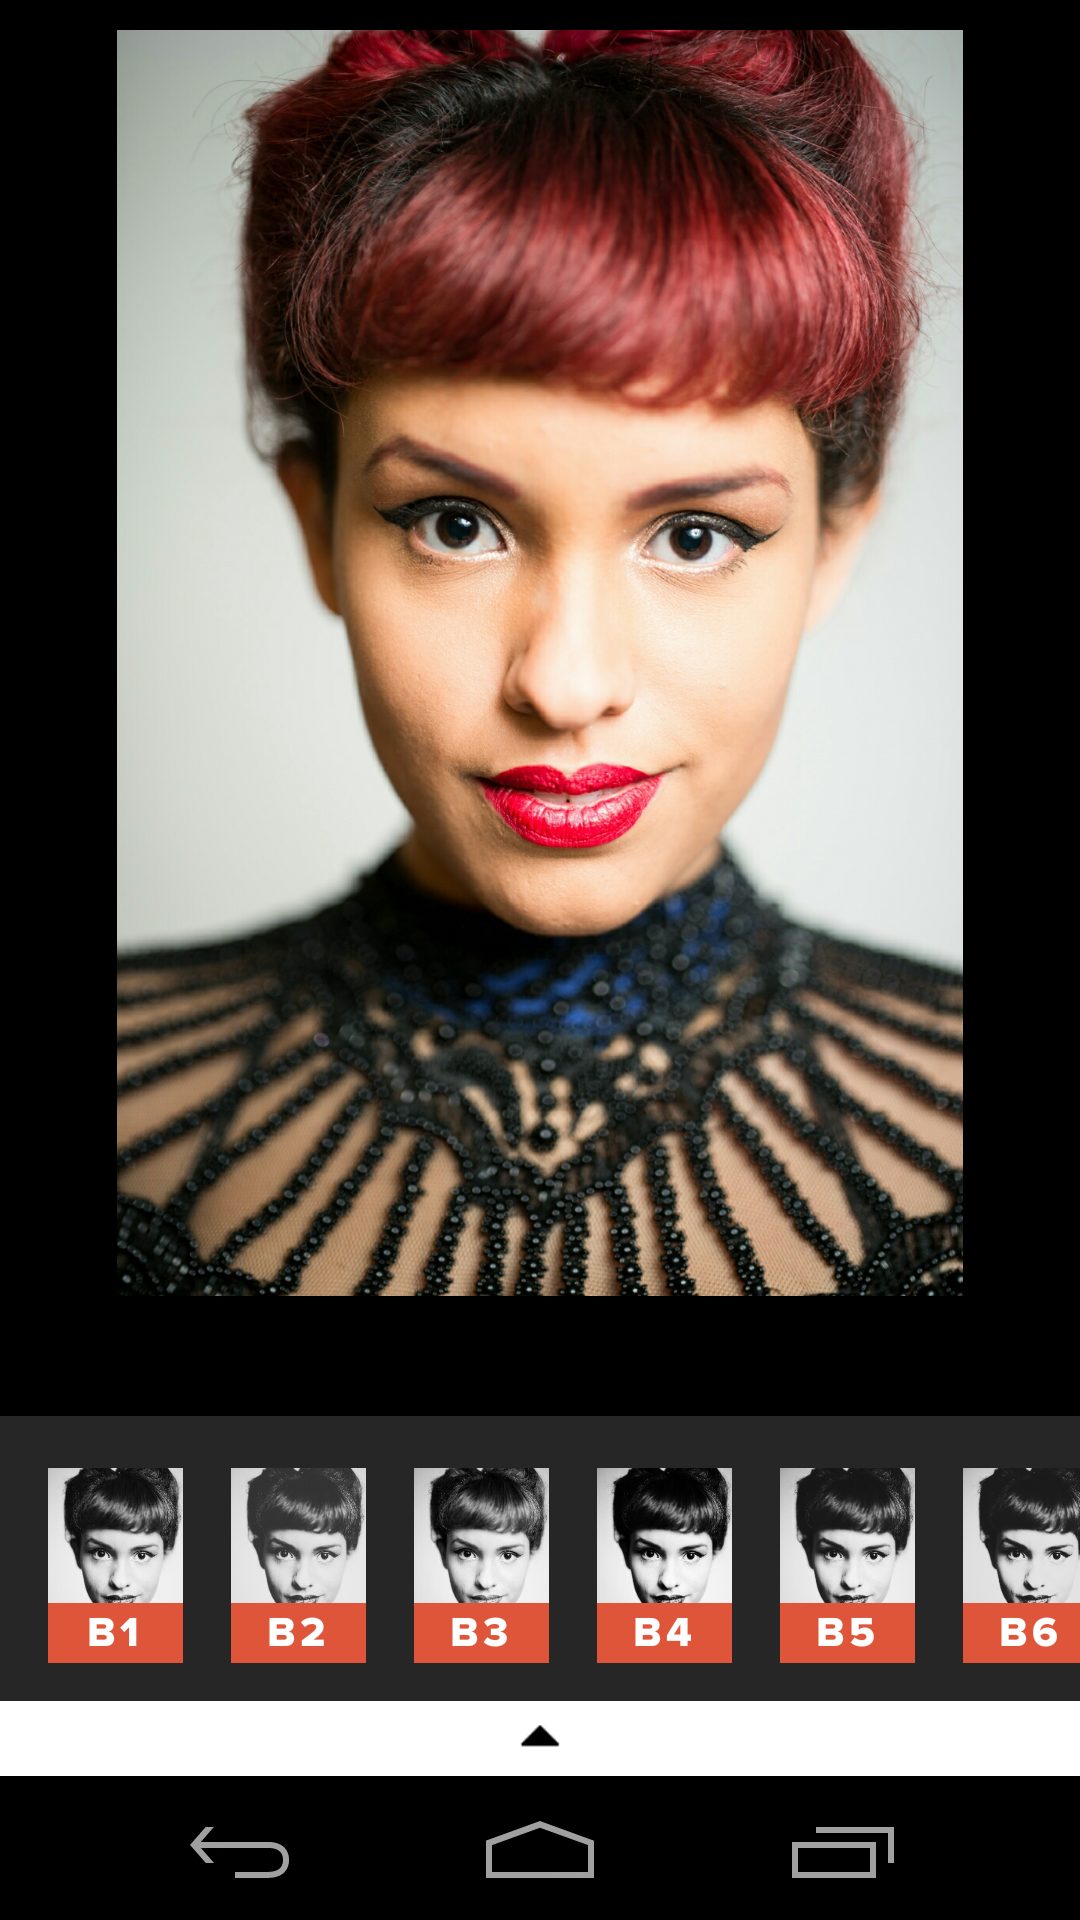
First off, many of you should know that you’ve got a lot of filters to choose from once you’ve selected the image that you want to edit. You can also buy a lot more. In our general opinion, it’s best to just purchase the bundles.
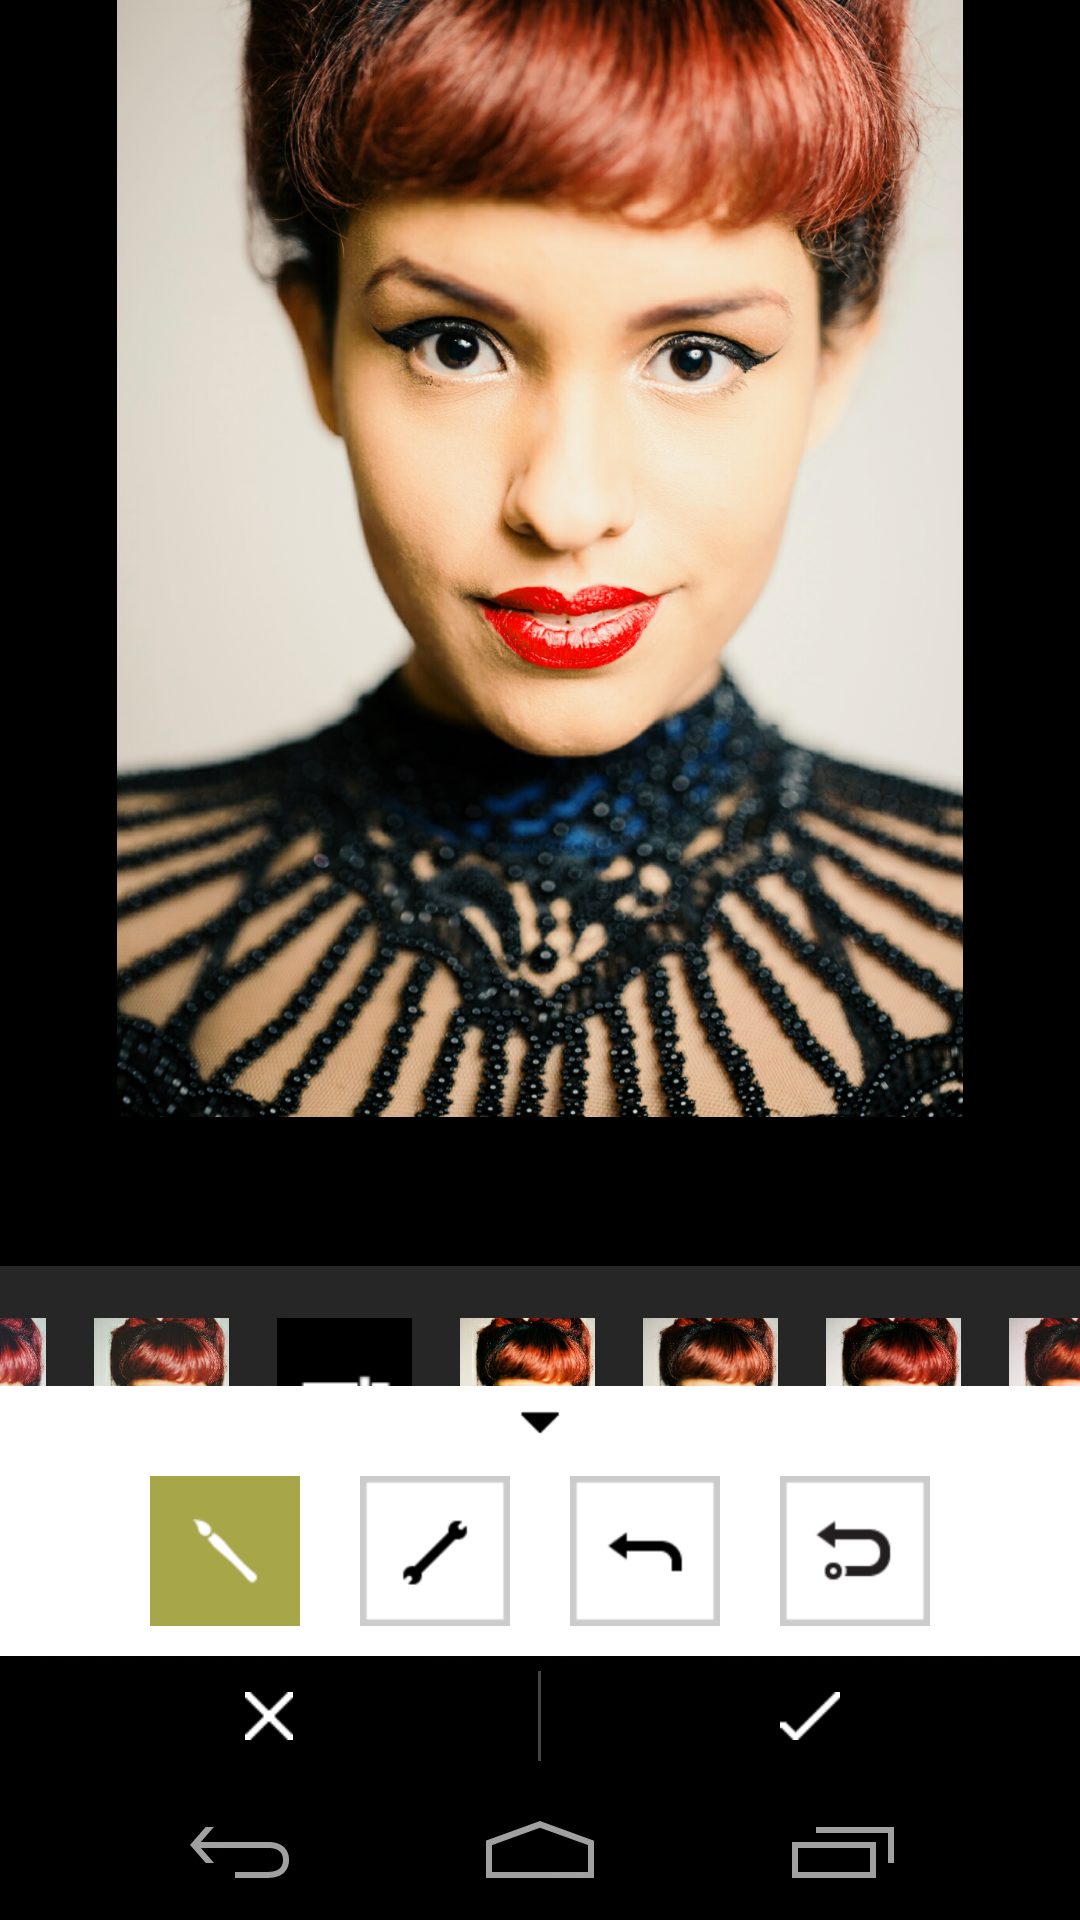
Once you’ve got your filter squared away though, you can click on the little up button to unlock even more editing potential. And when you click on the wrench, you’ll get a lot more editing capabilities.
And right here is where it may become even more complicated for lots of folks. In talks with many people that love the app, they seriously have no idea about what any of the editing parameters are. So here’s the break down:
– Exposure: Exposure has to do with the overall brightness or darkness of the image. Want it darker? Then slide it one way. Want it brighter? Slide it another way.
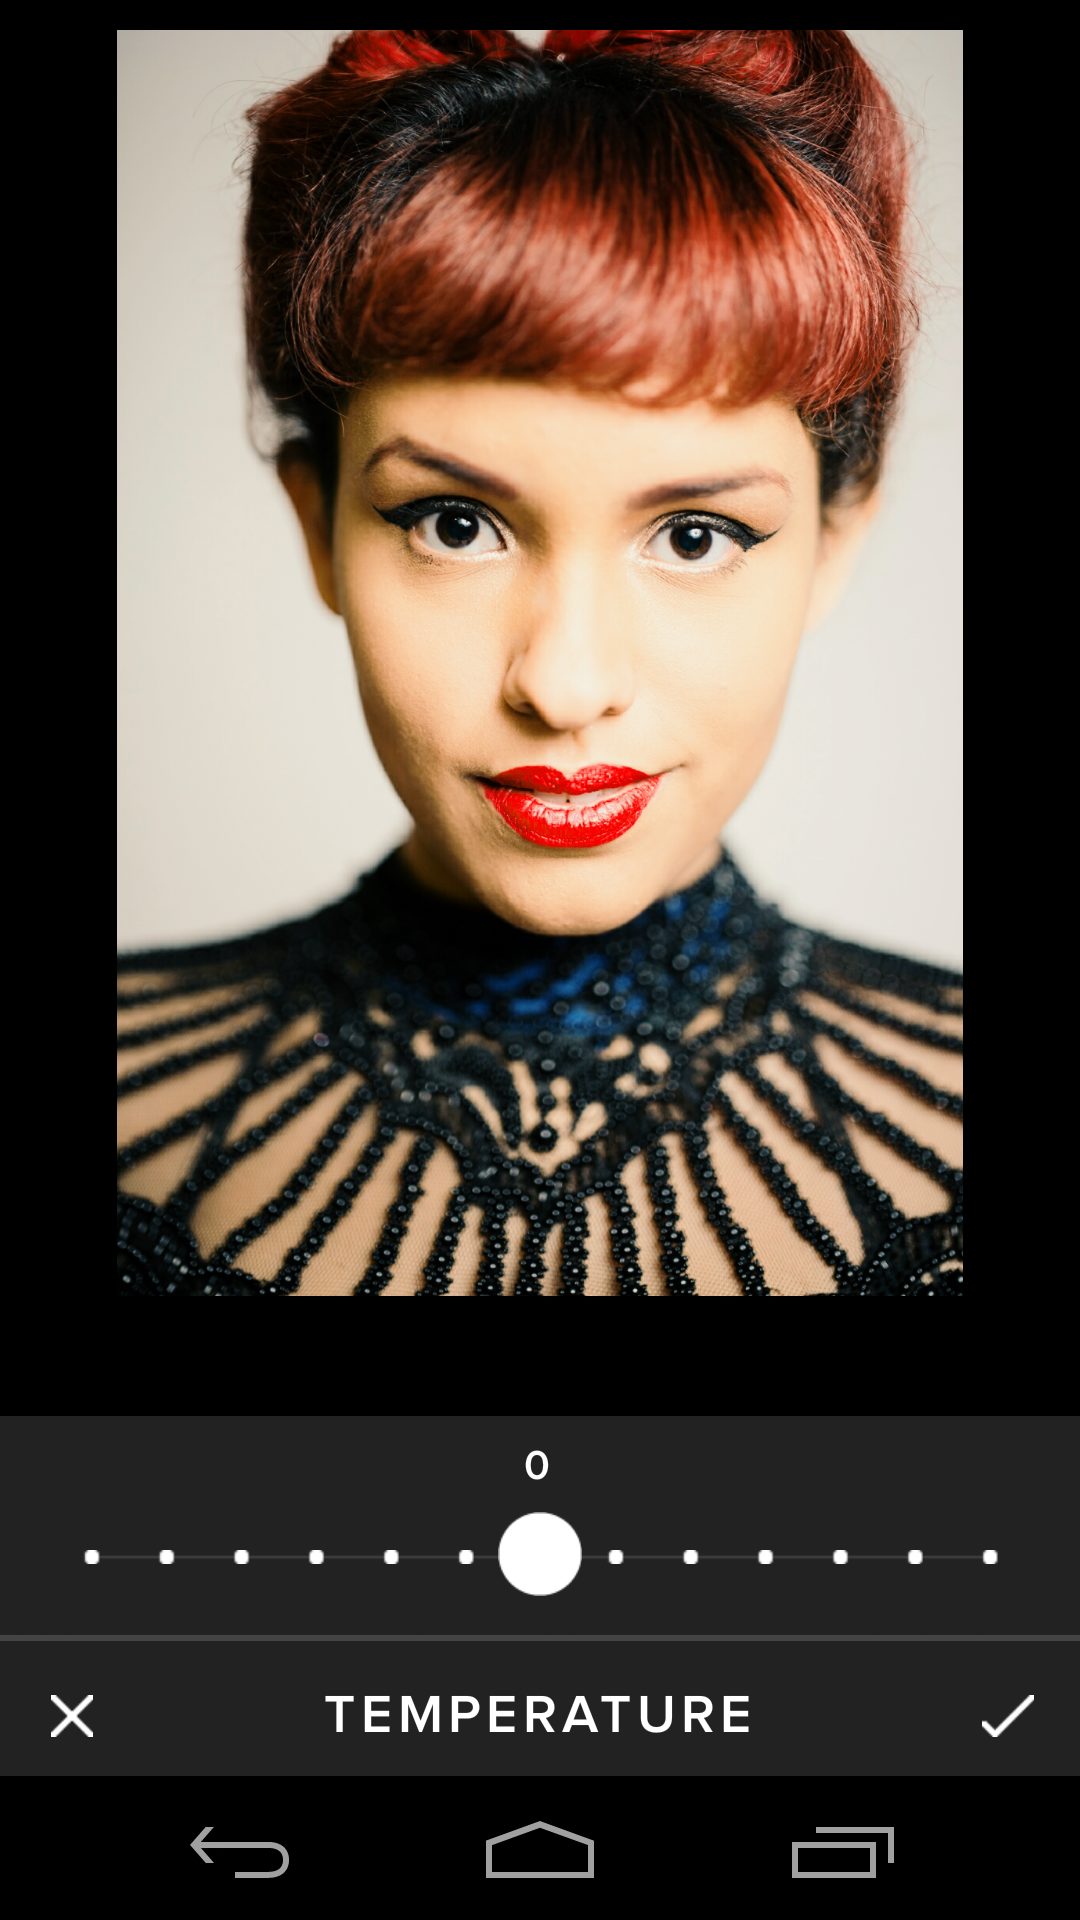
– Temperature: Color temperature has to do with either how orange or blue the image looks. Some scenes look better with a more blue feel while others look better with a more orange feel. You’ll need to figure out what you like the most.
– Contrast: Contrast has to do with how much a difference there is between the brightest parts of the images and the darkest parts of the images.
–Rotate: Quite literally rotating your images.
– Crop: Cropping the image in a certain way to get extra clutter out or put all emphasis on one thing.
– Fade: Lightening the entire image to look faded and old.
– Vignetting: This adds a beautiful black edge to the image depending on how strong you want it to be.
– Tint: Tint has to do with how much of a green or purple hue is in the image. Moving it one way may be better for skin tones while the other way could give off a cool cross-processed effect.
– Saturation: This has to do with how wet and vibrant the colors are overall in the scene.
– Shadows Boost: Shadows boost recovers extra details that may have been lost in the shadows and makes those areas have more detail.
– Highlight Recovery: Highlight recovery pulls details out of the highlights that you didn’t have before. This of course depends on your original exposure though.
– Sharpen: This brings out more details in your image. Too much of it can look terrible though unless you’re in black and white.
– Grain: Grain is otherwise known as digital noise in this day and age. The more grain you have in your image, the grittier it can often look.
– Highlights Tint: Highlights tint gives a specific color to the brightest parts of the images.
– Shadows Tint: This gives a special tint to the darkest parts of the images.
– Skin Tone: Skin tone preserves the colors most typically associated with skin tones. You’ll need to play with it a bunch and it will also depend on other edited parameters. Plus skin tone only comes if you’ve downloaded this setting.
Please Support The Phoblographer
We love to bring you guys the latest and greatest news and gear related stuff. However, we can’t keep doing that unless we have your continued support. If you would like to purchase any of the items mentioned, please do so by clicking our links first and then purchasing the items as we then get a small portion of the sale to help run the website.
Also, please follow us on Facebook, Google+, Flickr and Twitter.
Get rid of the ads!
Did you enjoy reading this article as much as we enjoyed writing it? There's a way to support us and our reporting, getting ad-free navigation and more as a bonus. Subscribe to us for less than a coffee per month —just $3.99— or take advantage of our yearly subscription with a hefty discount for only $25.- An ad-free experience
- A free mystery box for Lightroom or Capture One
- All the books in our store
- 20% discount on Capture One
- 30% discount on Imalume Photo Theft Protection
- 20% off Herbs and Kettle Tea Company.
- 20% off your order from MPIX printing services.
- 5% off Viltrox Products via their eCommerce store.
- 10% off all film developing, printing and scanning services from Blue Moon Camera and Machine
- 15% off 7Artisans products: The lens and accessory maker is offering a sweet discount for Phoblographer's readers.