Last Updated on 10/15/2012 by Chris Gampat
When you shoot for a while and become very proud of some of your work, there comes a point where you might want to display your pieces of work in a physical form vs on websites. After moving into my new apartment, that was exactly the situation I was in. Then a whole bunch of questions come up: what should I print the photos on? What rendering should I use?
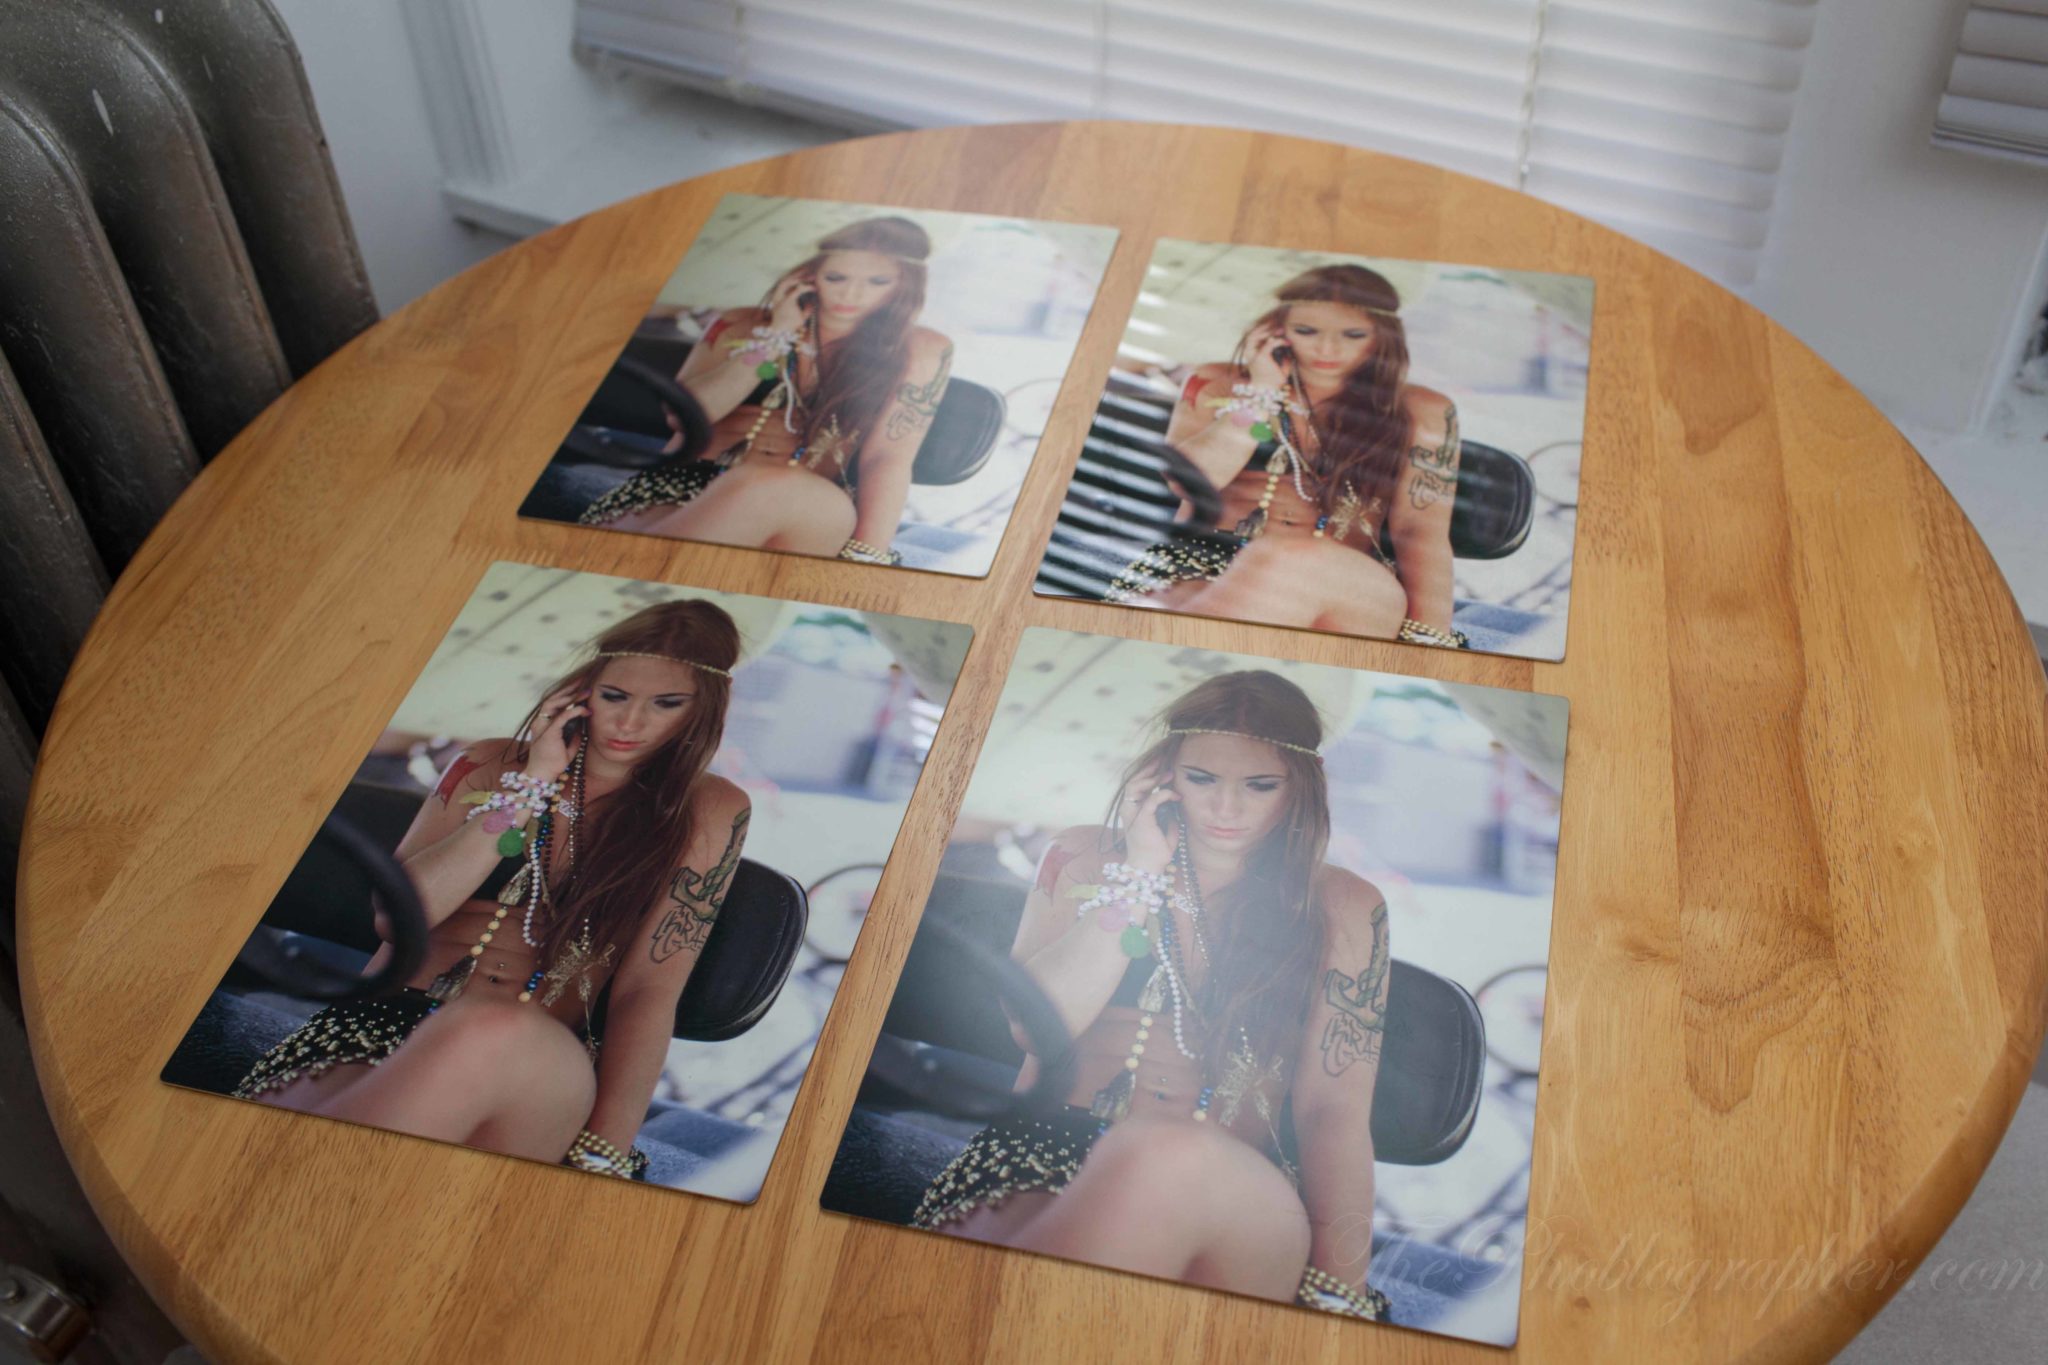
And then after that: where should I put them? I was luckily pitched by a company called ChromaLuxe, who actually does a wonderful job of printing. Specifically, I received one of my photos from my last roll of Kodak Ektachrome printed on Aluminum Panels with four different finishes. And then it was a matter of figuring out where to place my favorite. Based on my knowledge of lighting, this came fairly simply.
You can also check out more Useful Photography Tips if you’d like.
Light
First off, if you have a working knowledge of light then you can figure out how to hang your images. In the photo above, I shot with only natural light coming from my window. The lead image for this story was accomplished using both natural light and strobe being balanced to provide a very natural look.
With this said you have to consider the factors that affect how a printed image will look in a room, such as:
– The placement of the image
– How is the light hitting it?
– When will it look best?
– How will it look if artificial light is added to the mix?
– Where is your artificial light in the room? Is there a ceiling light?
– What kind of diffusion does that light have? Is it a lamp shade? A China Ball? A semi-beauty dish? A frosted glass plate?
– What colors are the different lights?
The lighting of the image is paramount to also setting the mood for the final print.
Their Finishes
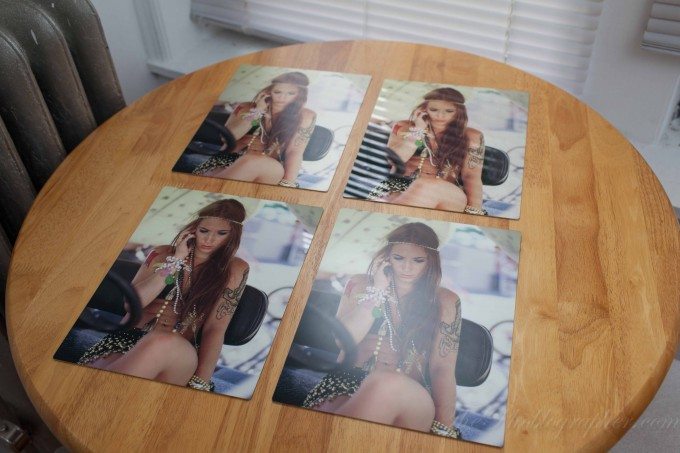
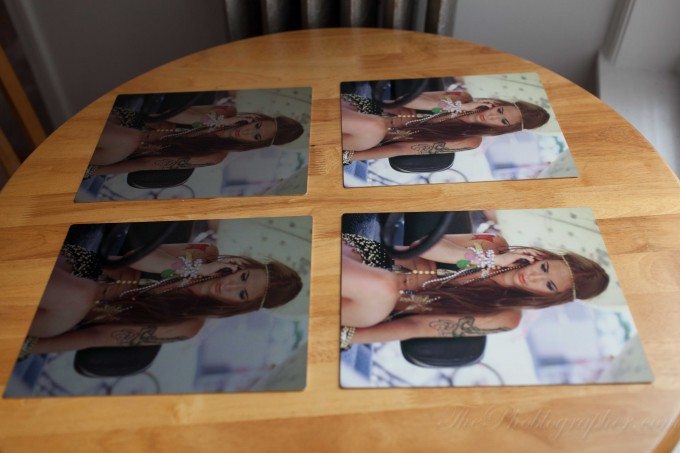
The panels have different finishes depending on the type of look you’re after. To do this test, I shot the images in roughly the same area and put my flash on my camera. I then bounced the flash towards the ceiling exactly where the light bulb is placed to illuminate the room. That way, it simulated the light in the area.
This test was done in my kitchen and I’m actually considering really hanging some of the work in my kitchen but still haven’t totally figured out where to put it.
On a personal note, some Polaroid emulsion lifts would look like here due to the colors in the photos. Something like this photo pictured would probably look better against a white background.
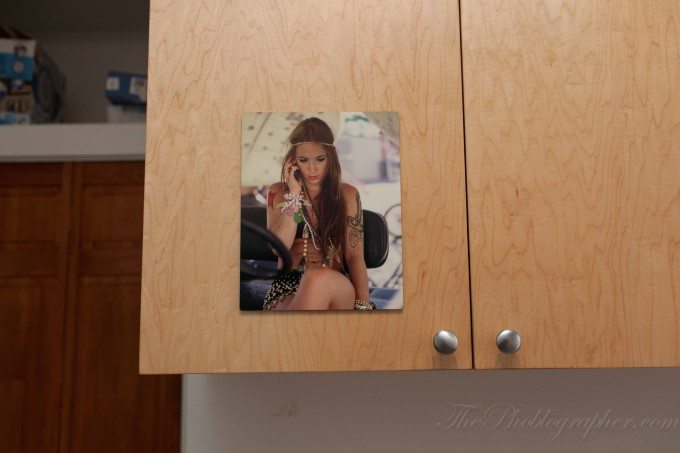
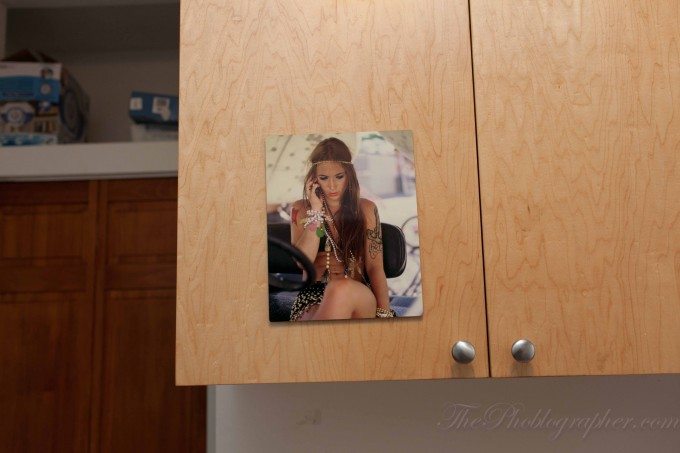
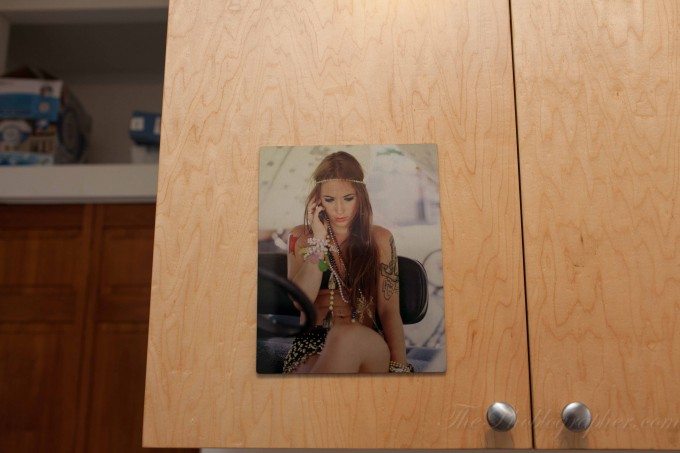
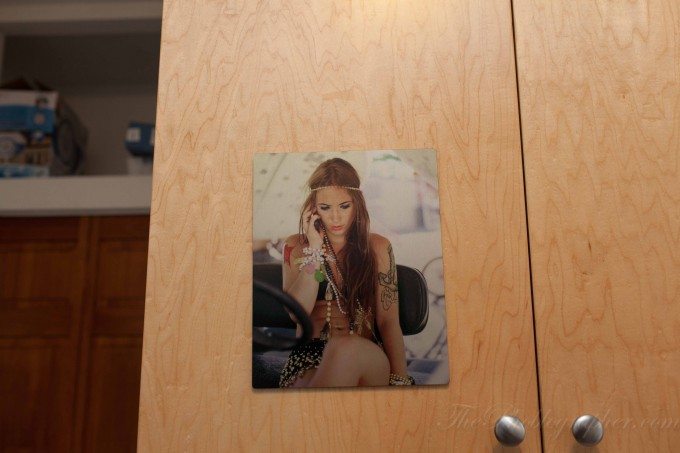
My personal favorites are the White finishes, specifically the Gloss white. Depending on how the light is hitting the whites, they can either look absolutely beautiful or way too shiny. I’m not a fan of the clear finishes because you can actually see the Aluminum in the image. that just isn’t pleasing, but in the right light it could work. Once again, it is all about the lighting in the area and how it works with the finish.
Give it a try, you’ll see.
Please Support The Phoblographer
We love to bring you guys the latest and greatest news and gear related stuff. However, we can’t keep doing that unless we have your continued support. If you would like to purchase any of the items mentioned, please do so by clicking our links first and then purchasing the items as we then get a small portion of the sale to help run the website.


