Last Updated on 11/18/2012 by Chris Gampat
Adobe’s Lightroom series of products have often been championed as the best software out there for photographers to use for most jobs. Indeed, most of the staff uses Lightroom. When the Beta came out, I sat there at a cross-roads. I’ve used Capture One Pro before, and loved it. The color rendering engine blew my mind away. It still does in many ways. But Lightroom has the advantage of quicker updates for various RAW files types from newer cameras.
Then Adobe provided a review copy of Lightroom 4 for me for evaluation; and I started to compare the two much more.
Tech Specs and Requirements
Windows:
Intel Pentium 4 or AMD Athlon 64 processor
Microsoft Windows Vista with Service Pack 2 or Windows 7 with Service Pack 1
2.0 GB of RAM
1.0 GB of available hard-disk space
1024 x 768 display
DVD-ROM drive
Internet connection required for Internet-based services
Mac OS:
Multicore Intel processor with 64-bit support
Mac OS X v10.6.8 or v10.7
2.0 GB of RAM
1.0 GB of available hard-disk space
1024 x 768 display
DVD-ROM drive
Internet connection required for Internet-based services
Adobe online services and other third-party online services are available only to users 13 and older and require agreement to additional terms and/or Adobe’s online privacy policy. Online services are not available in all countries or languages, may require user registration and may be subject to change or discontinuation without notice. Additional fees or subscription charges may apply
Notable Upgrades
The major upgrades in Lightroom 4 that we will focus on for our audience include the following:
– Develop module tweaks
– Softproofing
– Video editing
– Map Module
However, Lightroom 4 does include other updates such as the book making feature.
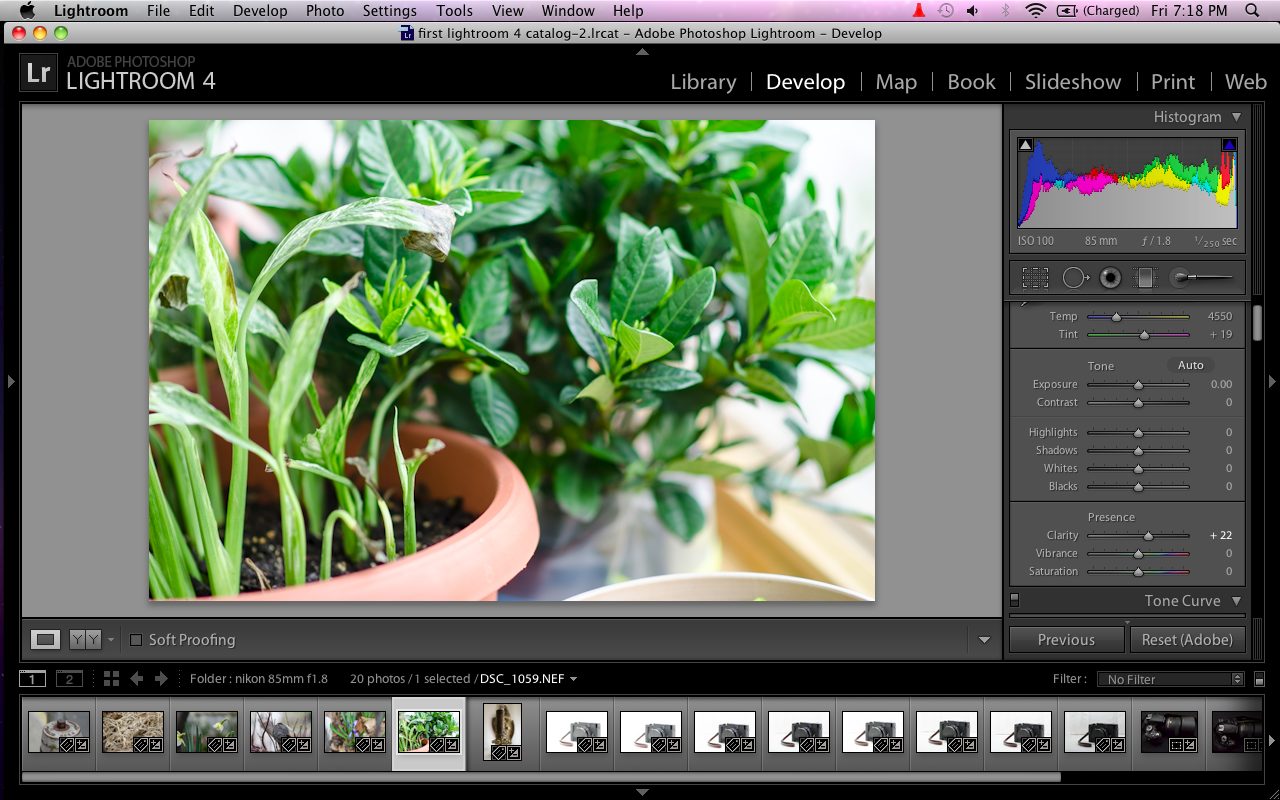
Develop Module and Editing
In the beta version of Lightroom 4, we were introduced to some new sliders that I really didn’t like. Lightroom 3 made me so familiar with the recovery, brightness, clarity and fill light sliders. Truthfully, it also made editing much easier in general. Lightroom 4 got rid of all of those except for clarity: but clarity has now been tweaked to also increase the exposure/brightness at certain points. It can be a bit annoying but overall, it does a great job. It has overall just made me rely more on the sharpening tools in anything.
New to the module is:
– Highlights: Which controls the highlights level and after some playing around with it found that it did the same thing as recovery did. However, it seems to be much smarter than recovery was and controls other areas of the image that you sometimes may not want modified. So you’ll often need to tone it back a little.
– Shadows: This provides the same functionality as fill light, but only seems to touch the deepest, darkest areas of the image.
– Whites: This is a brand new one that really throws some interesting play into the mix. The whites bar literally controls the white levels and can sometimes have an affect on the highlights.
In Lightroom 3, I was often able needing to only adjust those previously mentioned bars. In Lightroom 4, I’m adjusting each of the new ones often little by little as well as almost every other slider in the interface. The result is that it forces me to become a more creative and careful editor and also therefore can give me better images.
There are also a few more presets.
Softproofing
Being a photographer who rarely prints, I often rely on softproofing more for editing images for the web. However, I also actually rarely use the feature. But it’s a nice one to have. When it is enabled, a virtual copy of the image is made that keeps your original image (typically the RAW) in its untouched state so you can apply all the adjustments you need first and then sync the changes to the master copy. What I used to do before was simply just press Command + Z to constantly go back to my previous edits or simply use the history panel to go back to a certain point in my edit.
To take the most advantage of this, I recommend having a calibrated monitor.
In all fairness though, I still often feel that the editing workflow in Capture One Pro gives me better colors with less work. However, the way Lightroom 4 was designed forces me to become a more careful editor.
Video
Perhaps the biggest feature that I looked forward to the most is also the one that let me down the most. While one can view videos in the Library panel and also apply minor adjustments, I wanted to be able to do more such as stitch multiple videos together and splice them in a timeline and finally export them. With the way I’ve been trained to shoot (I actually come from cinematography school, not photography) all I would really need is color and exposure adjustments.
If we really wanted to get into this, sound editing would also have been excellent, but then we’re asking for too much.
Map Module
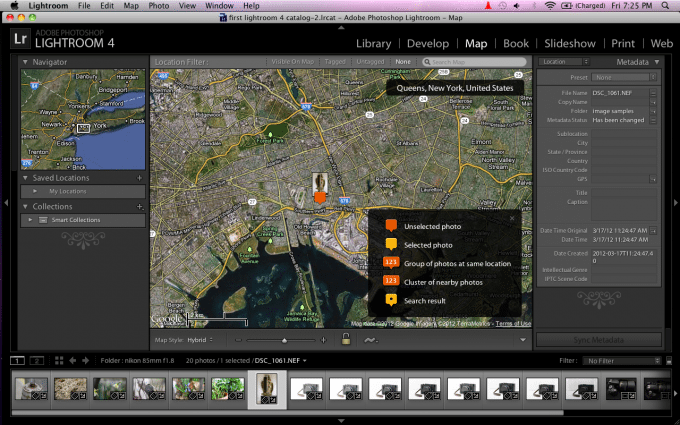
The Map Module further embraces the needs that people have for GPS tagging.
Wait…what?
Not many people Geo-tag their images, but it is often seen on Flickr for example when someone wants to know where a scene was photographed. There are consumers though that don’t want people to know where something was shot.
The mapping module is fairly simple to use though. Once you click far enough into a map, you can simply drag an image there and it will work with Google to Reverse Geo-tag the image. It’s quite interesting, but hardly very useful.
Conclusion
Adobe chose to not make major updates to Lightroom 4 because many photographers were very happy with it to begin with. However, what they did update makes sense for where the industry is going. Adobe acknowledged that many photographers also do minor video editing and want that in one software: but they didn’t take it further enough. They also decided to work with photographers that want to print and those that work a lot with the web.
In the end though, Lightroom 4 still leaves me wanting more. For example, I really wish that the clone and heal functions would have been made into actual brushes instead of spots. That’s something we really need. Additionally, I personally feel that Softproofing could have been eliminated if photographers overall were just a bit more careful, paid attention to the history panel, and took lots of great care. The way that Lightroom 4 is already set up, it forces you to take better care when editing.
However, I can’t fault the program except to say that Capture One Pro still gives me better colors without as much hassle. But I’ve already entrenched myself into Lightroom’s workflow and management of metadata: which is far superior to anything out there.
Please Support The Phoblographer
We love to bring you guys the latest and greatest news and gear related stuff. However, we can’t keep doing that unless we have your continued support. If you would like to purchase any of the items mentioned, please do so by clicking our links first and then purchasing the items as we then get a small portion of the sale to help run the website.


