Natural light photographers have become wildly popular in the past several years. Many photographers actually market themselves purely as natural light photographers. There’s a good reason for this: natural light can create some of the most beautiful images that you’ve ever seen. Using natural light whenever possible is a no-brainer to give your images that beautiful, natural, dreamy quality that is synonymous with Weddings. However, there is more to it than just not using lights. People who have mastered natural light photography did more than just not use lights while shooting. You must really learn and understand how light behaves, reacts, and interacts with your subjects.
Click on through to view some tips to start you off down the right path for shooting weddings using natural light.
Let me first clarify that many professionals do shoot weddings with flash and they are able to obtain very beautiful images. In fact, I’d say most wedding photographers actually mix the two lighting methods. Natural light when you have it available and flash when you don’t (think inside the church or on the dance floor where you need action stopping shutter speeds).

Tip #1: Keep Your Eyes Open
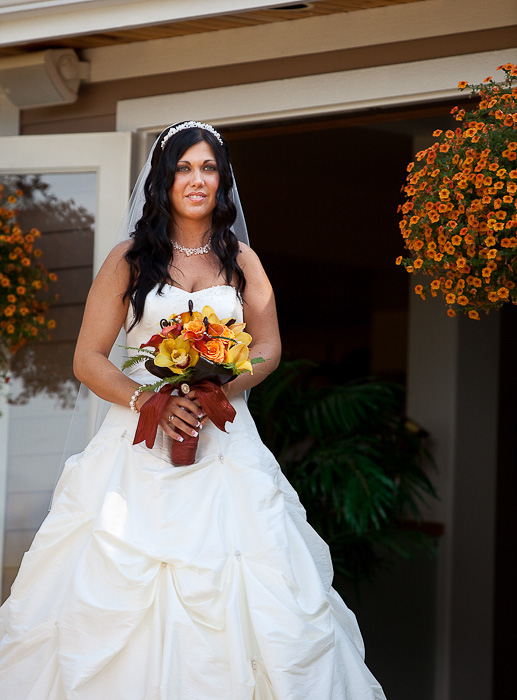
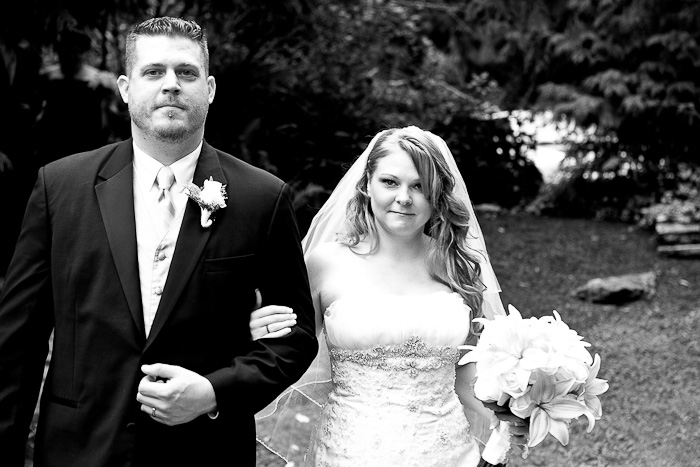
You have to train yourself to always be looking for the best light in any scenario. Right when you step out of your car at the venue, put your head on a swivel and look for that light. If you’re shooting outdoors in the sun, look for a nice shady spot so you can dial down the exposure to keep some of the background a tolerable brightness while correctly exposing for your subjects.
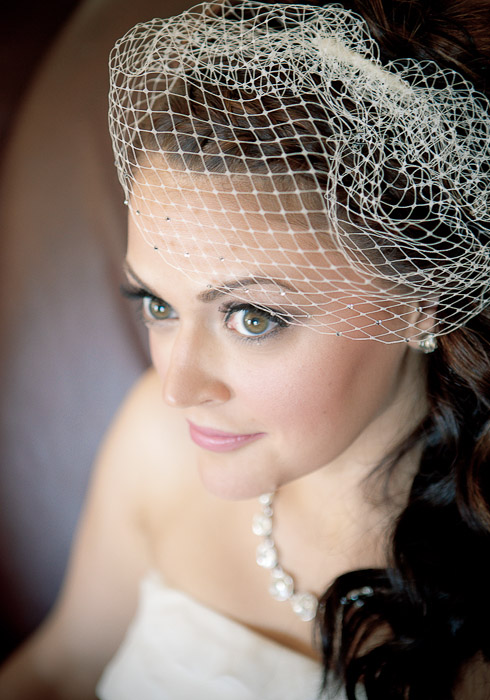
How about the always beautiful bride looking out a window shot? There is a reason why photographers have latched onto this shot. The contrast between the natural light hitting the bride who is wearing all white and the room which will be slightly under-exposed results in a dream-like focus on the soon-to-be Mrs. X.
Tip #2: Don’t Forget About Reflectors
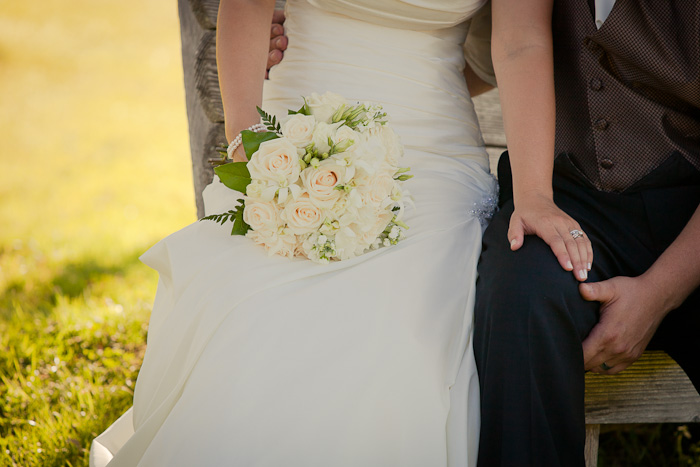
Now I know during weddings there isn’t much time to mess around with traditional reflectors. And chances are if you do have an assistant with you, you’d rather have them second shooting rather than holding a reflector. What I’m talking about here is unassuming reflectors. There’s one that is right at the center of attention the whole day and that you probably take advantage of without even realizing it; the wedding dress. It’s a giant reflector to fill in those shadows on her face. Pay attention to where the light is coming from, how it’s hitting the dress, and where that light is being reflected to.
Another reflector to look for would be a nice big white wall. Moving your subjects closer to a bright wall might just give you those few extra stops to help with the image.

Tip #3: Watch What You Wear
This kind of goes along with tip #2, but as I stated, the brides wedding dress is a big ol’ reflector. It seems only obvious that what you where could possible be used as well. A shirt of lighter color can actually make more of a difference that you might think over say a black shirt.
Tip #4: Keep That Aperture Low
One thing that is synonymous with natural light photographs is creamy bokeh. Odds are that if you are shooting using natural light primary, you’re more than likely using prime lenses so you can grab as much light as you can, perhaps the ever so popular 50mm f/1.8 or 85mm f/1.8. The pay off to this is the shallow depth of field that everybody knows and loves. It’s another beautiful isolation technique as well. Keep your aperture open as wide as you’re willing to go while still maintaining enough depth of field to capture your intended subject. Doing this will hopefully give you enough shutter speed to capture these natural light photographs.
Tip #5: Dust Off The ISO Button
Natural light photography can be tricky when you don’t actually have that much natural light. When shooting natural light, shutter speed will be your enemy. He will try to go as slow as possible to make you take blurry shots but it’s your job to grapple with your aperture and ISO to make Mr shutter speed happy. Nowadays, cameras can handle higher ISO’s quite well and you shouldn’t be afraid to push the limits of your camera (but not too much unless all you plan on delivering is blank and whites).
Personal, I think of ISO as (almost) free stops of light with the only downside being a little more noise which Lightroom or Photoshop can help me with. Every time you double your ISO, you double the amount of light coming into the camera without touching any of your other settings. Gone are the days of dreading having to up your ISO.

Conclusion
Many weddings these days are shot primary with natural light. If you want to try your hand at this difficult yet greatly rewarding genre of photography, you’re going to have to become a master of light. You have to know and understand how the light is going to play across your subjects as well as how it will make them look. You will have to play a dance with the light to make your subjects look the best they can given what light you have available. Following these tips will get you off to a good start.
If you found this post helpful and would like to be a part of helping them continue, please consider donating through PayPal.
Please Support The Phoblographer
We love to bring you guys the latest and greatest news and gear related stuff. However, we can’t keep doing that unless we have your continued support. If you would like to purchase any of the items mentioned, please do so by clicking our links first and then purchasing the items as we then get a small portion of the sale to help run the website.

