The art filters of the Olympus E-5 were cool, but they wouldn’t be able to help us in practical shooting situations (at least I couldn’t conclude that they could.) One of the major critiques of the Olympus E-5 is the high ISO abilities. I’m not going to lie, they are fairly horrid and anything beyond 1600 is something that I may not use, ever. This is what many studio or portrait photographers that are just starting out tend to do: in addition to ignoring what wireless strobes can do for you! Using a home made white box that I made over a year and a half ago, the E-5 and Olympus FL-50 flash went to work photographing items.
Portraits
First off, if you’re going to purchase the Olympus E-5, please make an attempt to learn how to light or already know how to. The reason for this is because when there is good lighting available, the camera can really excel at taking amazing images. But at high ISOs, not so much.
The above image and the below image were shot at ISO 3200. That’s some really ugly noise in there.
To be fair, I was using a fairly slow lens for the system. Keep in mind that since this is a 4/3rds sensor that it doesn’t absorb as much light as the APS-C sensors or Full frame: especially with 12MP.
But when the photographer has good lighting and they accompany it with the very good FL-50 to shoot their subjects, the results can come out fairly good. Take a look at the daper young man below.
Still not the greatest or perfect photo, but it is very good.
Product Photography in a White Box
These photos were shot using the white box I talked about earlier. They all shot at ISO 160. This is where I found the metering to be a bit faulty on this camera. Metering methods that would’ve seemed reasonable on a Canon, Nikon or Sony DSLR didn’t give me the expected results on the Olympus E-5. In general, I felt that everything needed to be exposed up to a full stop higher.
Then you throw the wireless flash control into there and at times scratching your head and trying to figure out how some of the typical rules of lighting and metering aren’t working in the situation. I switched between manual and TTL flash and still wasn’t able to achieve the results I wanted. This was also combined with adjusting the shutter speed to let more of the ambient light of the studio in and manipulating the aperture to control flash output as well.
Using this setup reminded me of my magazine days assisting the studio photographers and seeing the different results in Lightroom.
Besides learning that I need to take better care of my hats, I also still found the metering to be very wacky at times. As a result, if I wanted to use these photos to sell this crinkly piece, then I’d have to do quite a bit of photoshopping.
In fact, the detail captured in the images at ISO 160 is unbelievable and this is where we really start to see the fine tuning of the new Olympus processing engine.
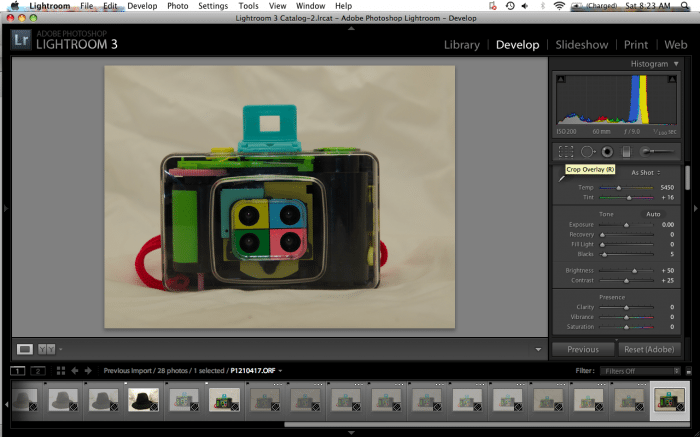
As you’ll see in the Lightroom screenshot, all of these photos were shot at different exposures. Once again proving that the Olympus E-5 metering can be a bit quirky.
To be quite honest, I’m a former Olympus shooter and it was quirky even when I used it. But if given sufficient time, I’m positive that I’d be able to master it again. Afterall, the human mind is very adaptable. If you’re a current Olympus shooter, you might be able to achieve better results that I did in this test. But even if you’re not, understand that:
– The E-5 is best used at lower ISOs with external lights (such as a flash)
– If you’re shooting studio portraits then you’ll be right at home with this method.
Got questions? Let us know in the comments.
Please Support The Phoblographer
We love to bring you guys the latest and greatest news and gear related stuff. However, we can’t keep doing that unless we have your continued support. If you would like to purchase any of the items mentioned, please do so by clicking our links first and then purchasing the items as we then get a small portion of the sale to help run the website.


