There are two major ways that many photographers know to convert their images to black and white. The first is a method used by many people new to photo editing: desaturation. When you desaturate the colors you literally take away any sort of vividness to them. The other method is converting to greyscale–and many more experienced shooters do this method instead.
So what’s the difference between desaturation vs grayscale? We asked Sharad Mangalick, the Senior Product Manager of Digital Imaging at Adobe about what each does particularly when working with the images in Adobe Lightroom or Photoshop. According to him “When you desaturate the image, you are toning down the color. The color information is still there though. Clicking on the black & white button (or using the B&W portion of the HSL panel) converts the image to grayscale. Converting to grayscale allows you to tweak the B&W mix, which is not something that can do when you desaturate the image.”
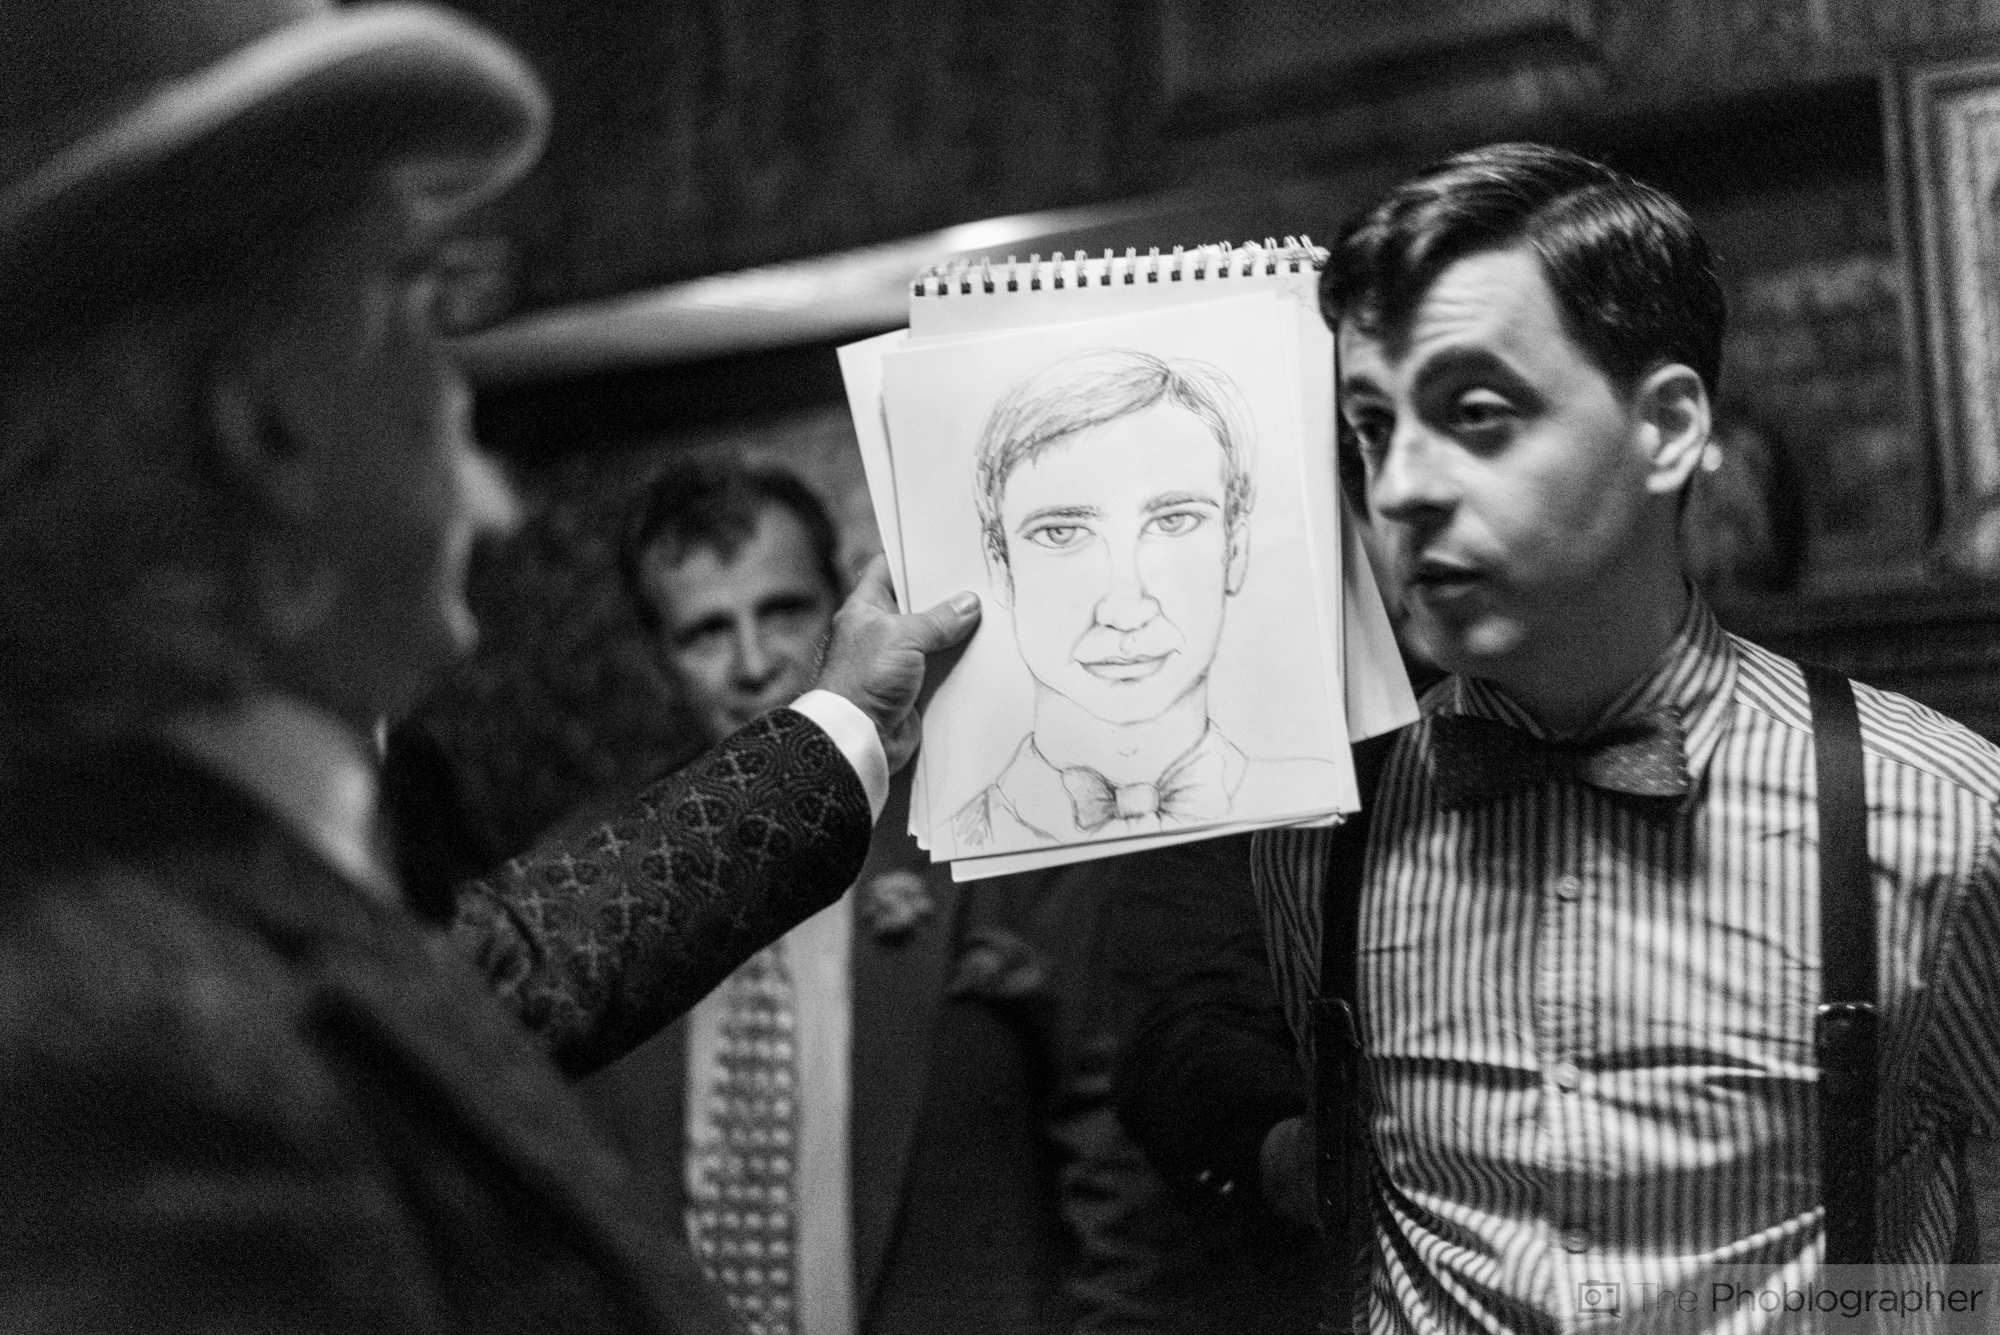
So more or less, it has to do with how much editing you want to do after you make the image into a black and white. If you just want to change it and not do any sort of extra editing, then desaturation could be okay. But otherwise, you may want to edit particular color regions to see what the results will turn into. For example, the image above was mostly in a blue cast, and choosing to boost the luminance in the blue levels made specific parts of the image brighter indeed.
Keep this in mind when you’re thinking about turning your images into black and whites.
Get rid of the ads!
Did you enjoy reading this article as much as we enjoyed writing it? There's a way to support us and our reporting, getting ad-free navigation and more as a bonus. Subscribe to us for less than a coffee per month —just $3.99— or take advantage of our yearly subscription with a hefty discount for only $25.- An ad-free experience
- A free mystery box for Lightroom or Capture One
- All the books in our store
- 20% discount on Capture One
- 30% discount on Imalume Photo Theft Protection
- 20% off Herbs and Kettle Tea Company.
- 20% off your order from MPIX printing services.
- 5% off Viltrox Products via their eCommerce store.
- 10% off all film developing, printing and scanning services from Blue Moon Camera and Machine
- 15% off 7Artisans products: The lens and accessory maker is offering a sweet discount for Phoblographer's readers.