
We’re streaming daily on Apple Podcasts, Google Podcasts, Stitcher, Pocket Casts, and Spotify!
What is Speed Edit? Speed Edit is a unique to Capture One feature, allowing photographers to edit photos without the need to navigate to any editing tools. Keyboard shortcuts hook up to designated adjustment tools and are then simply adjusted by scrolling your mouse or using another input method like your trackpad or Wacom.
Editor’s Note: All images in this post are ©Eric Ronald. They are being used with permission.
It allows for an extremely rapid and immersive adjustment workflow and one that allows for true precision and refined edits without the need for external devices like a Loupedeck or Tangent.
Setup
Let’s first look at the Keyboard Shortcuts Editor to see how Speed Edit Keys are designated.
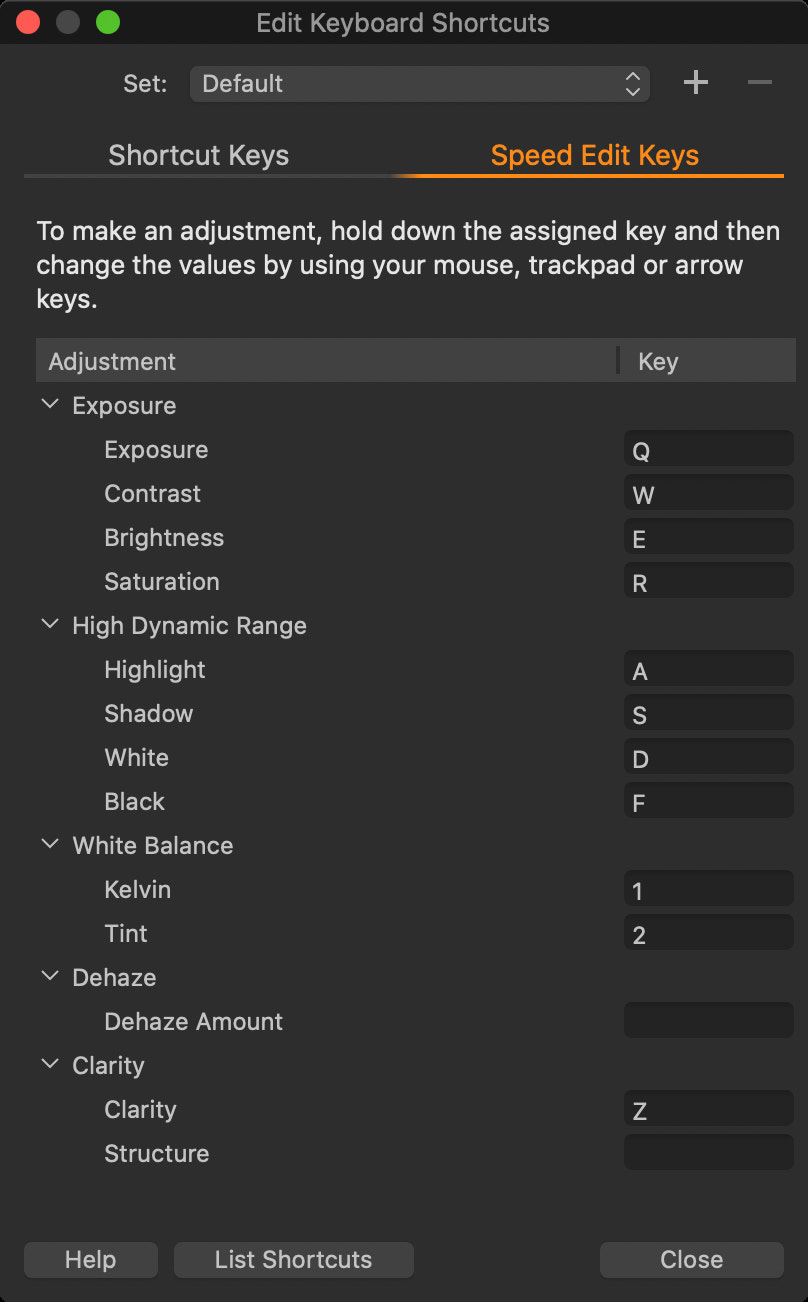
By default, several keys are already assigned to compatible Speed Edit adjustments. If it doesn’t make sense for you or your keyboard, feel free to change them!
It’s also important to mention that if you have any existing shortcuts that use the same keys as Speed Edit, they won’t be affected as Speed Edit requires you to hold the shortcut key, not tap it.
In Use
Let’s go! It’s incredibly simple to use Speed Edit. Let’s take the following photo and make a few basic adjustments.
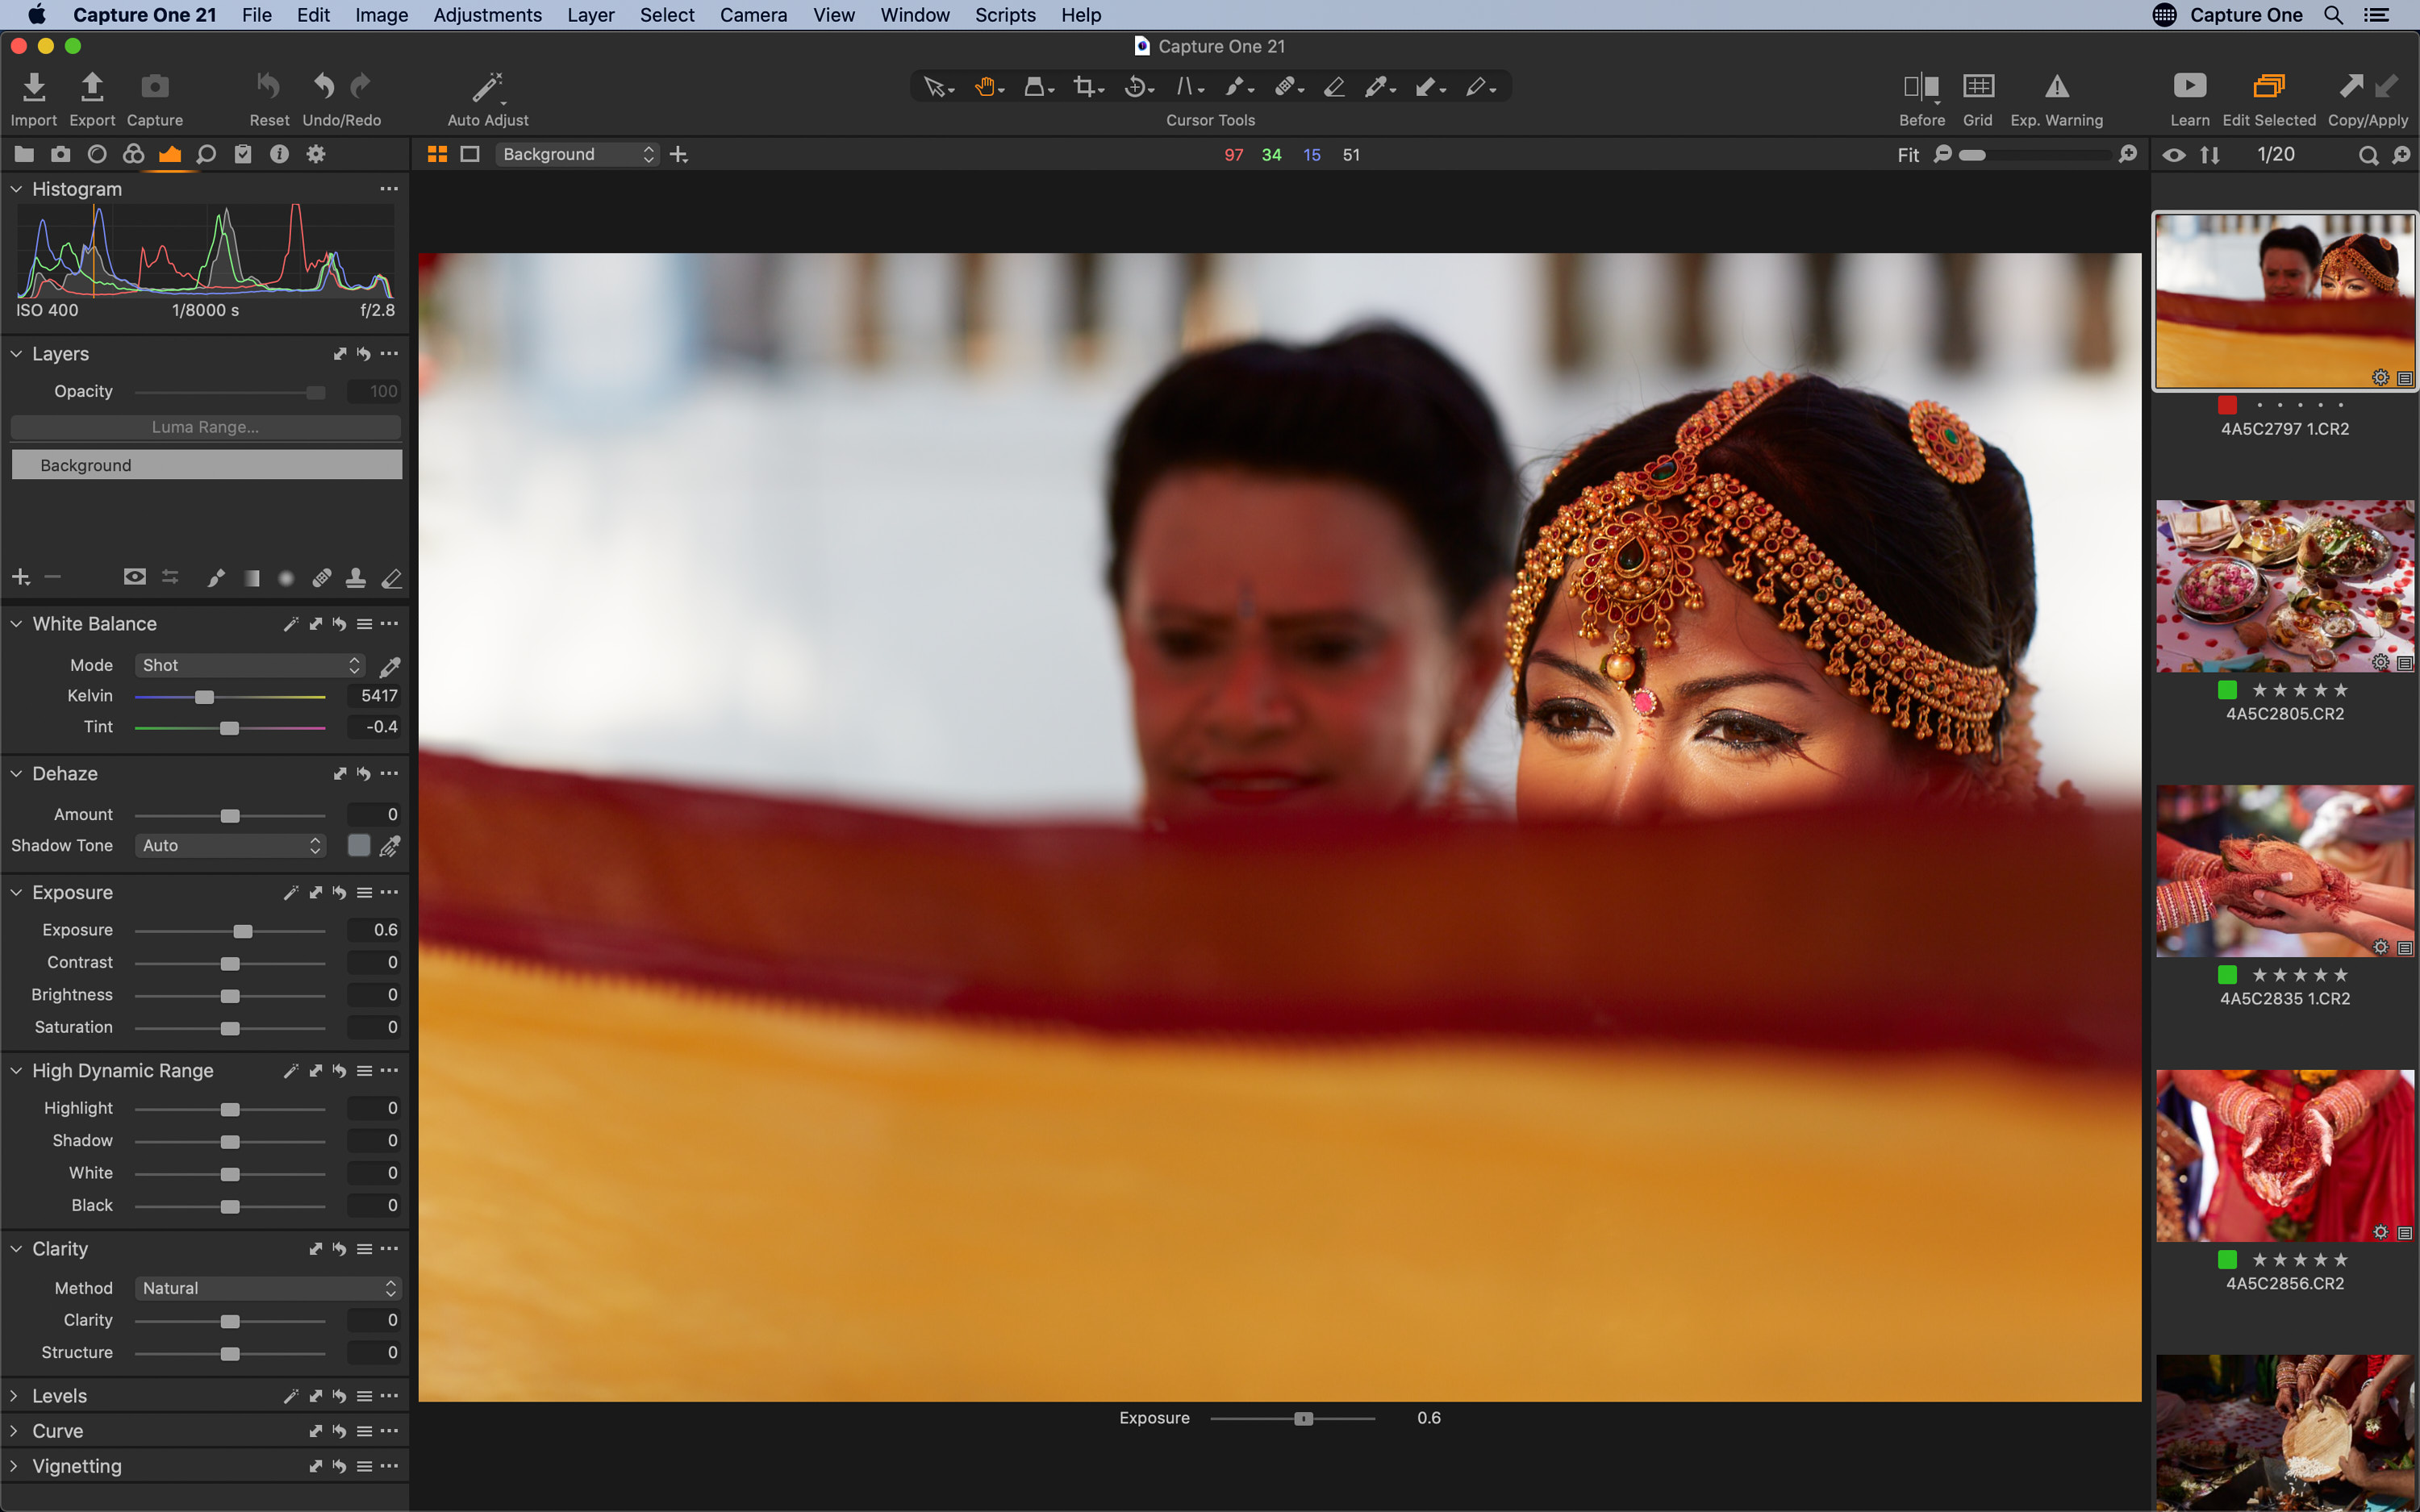
First, I’d like to increase the exposure. Simply by holding down “Q” on my keyboard, an exposure slider pops up at the bottom of the photo. Now, by scrolling my mouse, I can increase or decrease as I see fit.
If you prefer, you can also use:
- Arrow keys (up-down, or left-right)
- Click-drag with your mouse anywhere on the screen, just like adjusting a virtual slider! Again, you can go left-right or up-down.
- If you’re a Wacom user, the same applies; just click-drag.
Before long, the shortcut keys become muscle memory, and you can edit rapidly without taking your eyes off the photo.
Editing Multiple Photos
Selecting more than one photo in Capture One tiles them up in the viewer. Following the same method as above, the Speed Edit adjustment bar now shows up under each photo with the current adjustment for that photo. In this case, let’s take a look at the Kelvin adjustment in the White Balance Tool by holding the shortcut key 1.
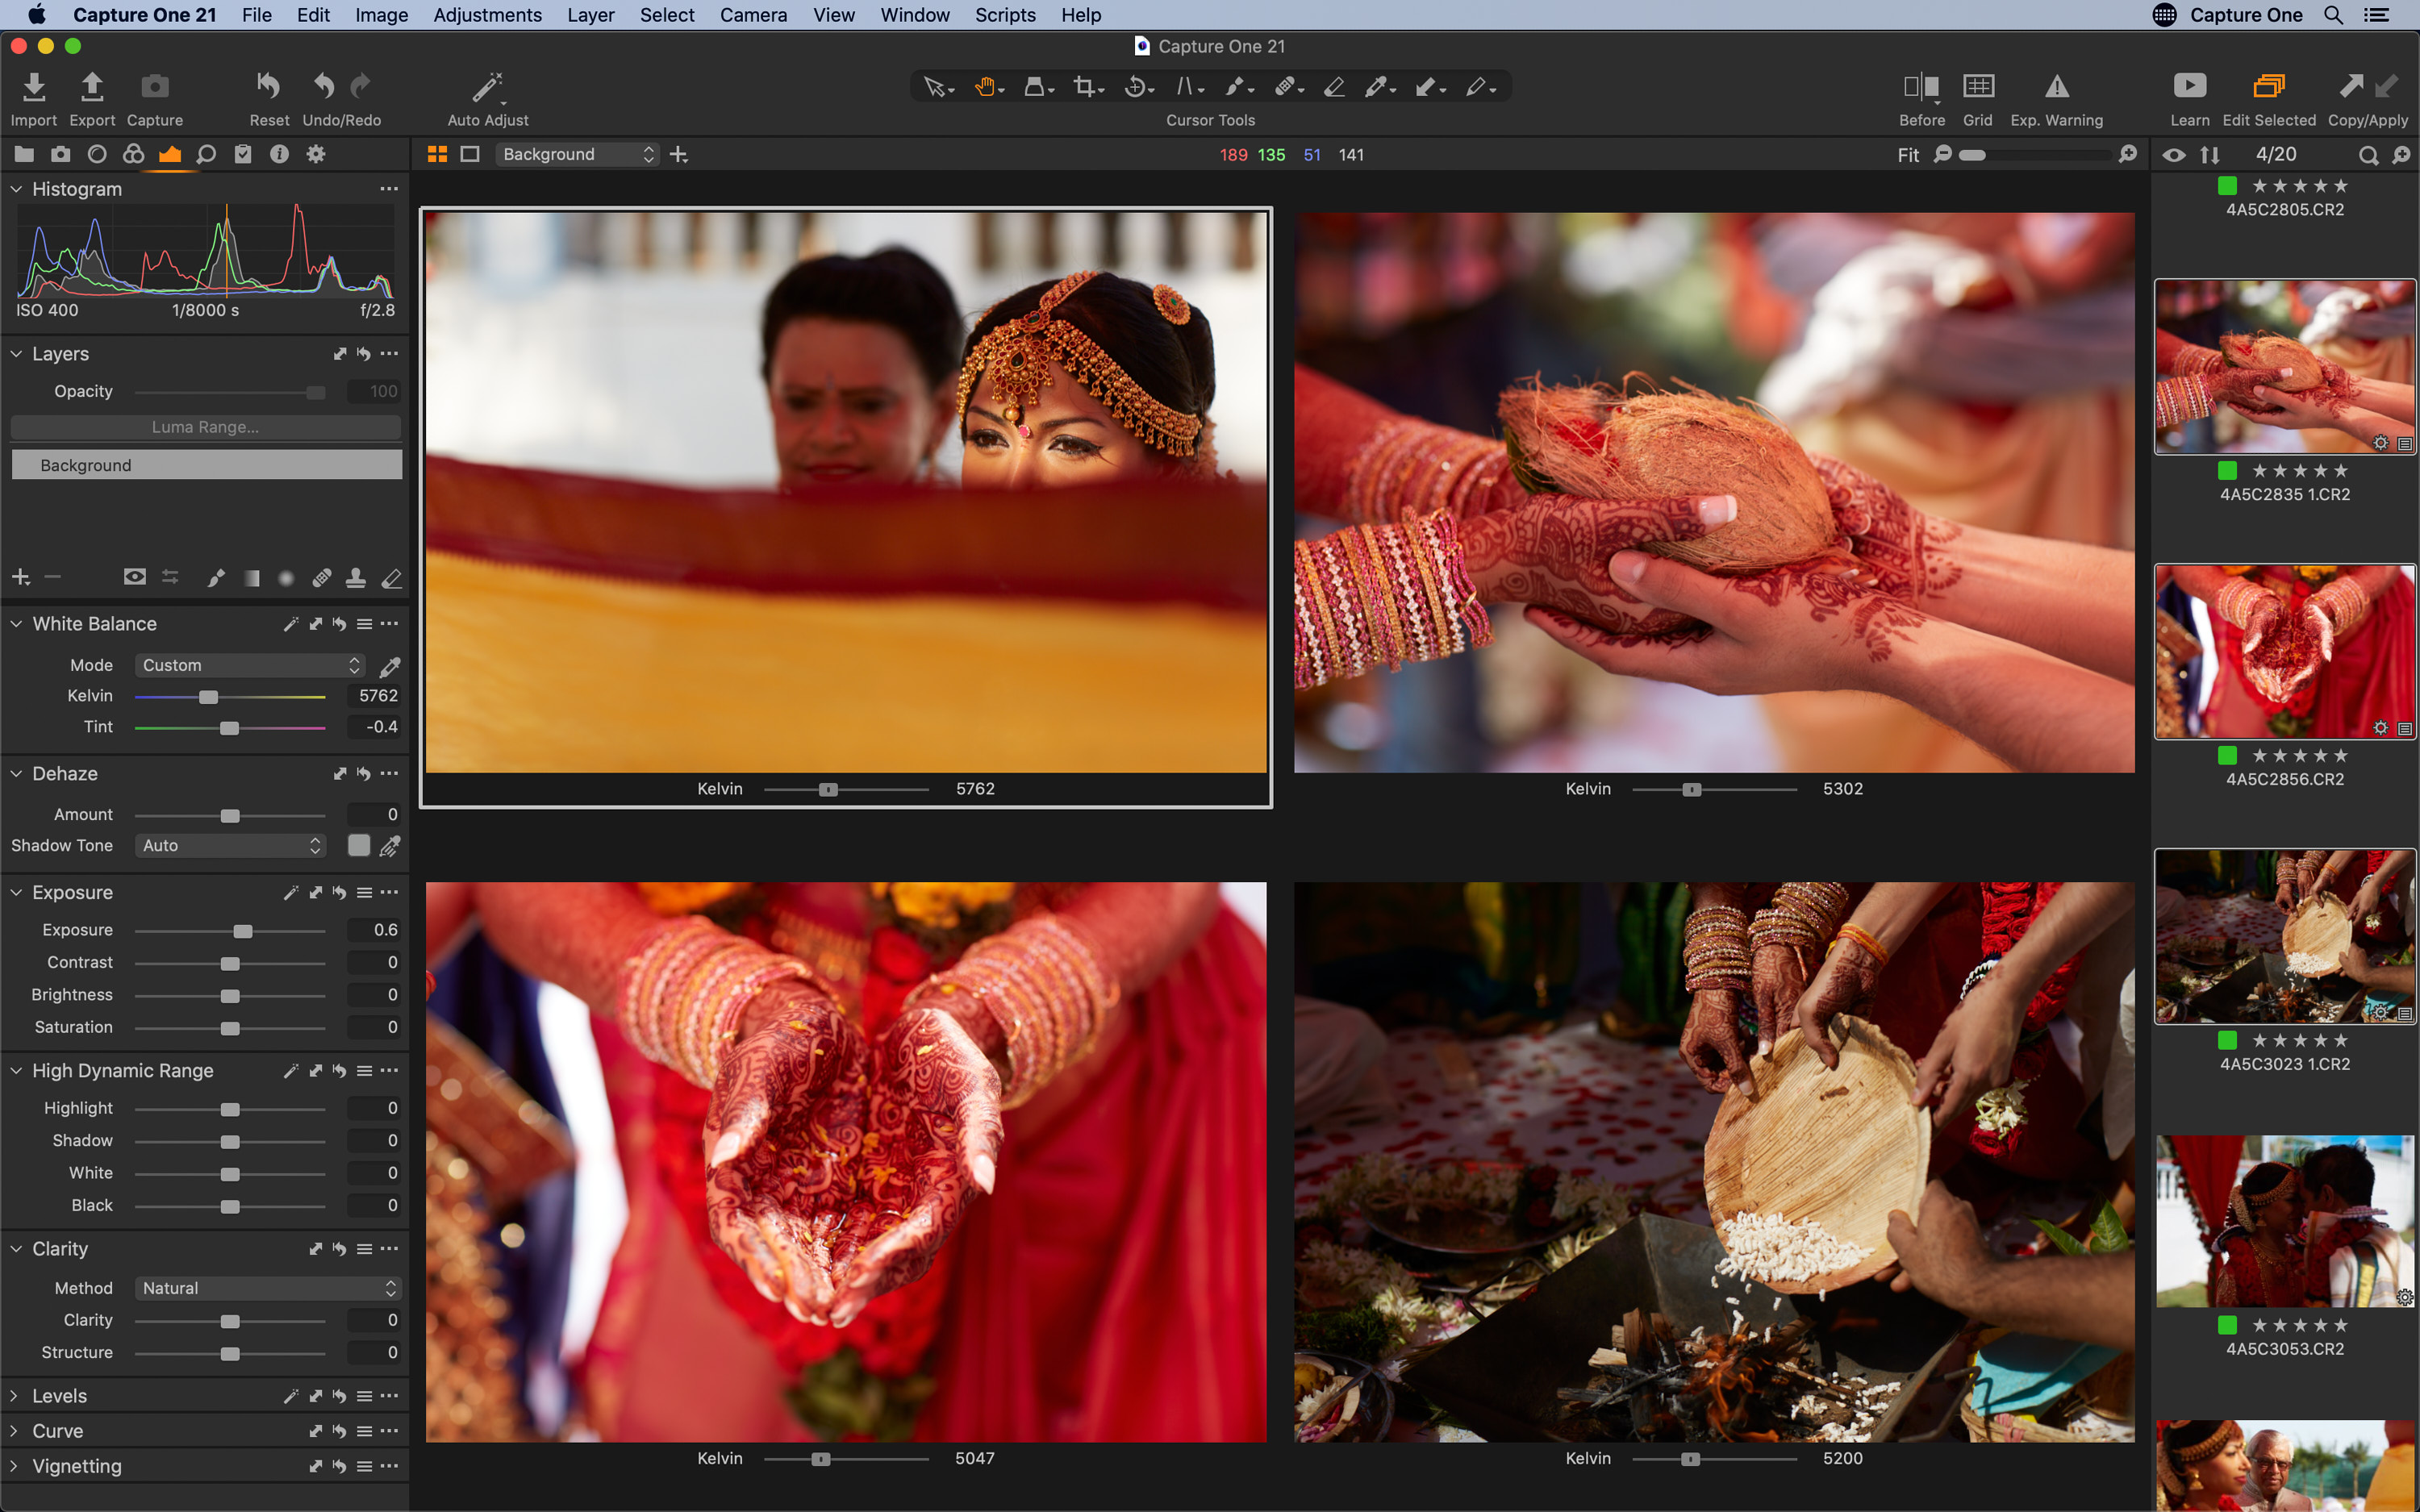
The useful thing here is that now a Speed Edit adjustment will be an incremental change to each photo. Therefore, if I want to warm up everything a little, a quick Speed Edit change lets me do that.
Each photo won’t end up with the same Kelvin value.
It’s also a great way to give a set of photos an Exposure bump, as another example.
Editing in Full Screen
Because you don’t have to physically see Capture One’s tools when using Speed Edit, editing in Full Screen is a great option. It really allows an immersive way to edit without the distraction of the interface.
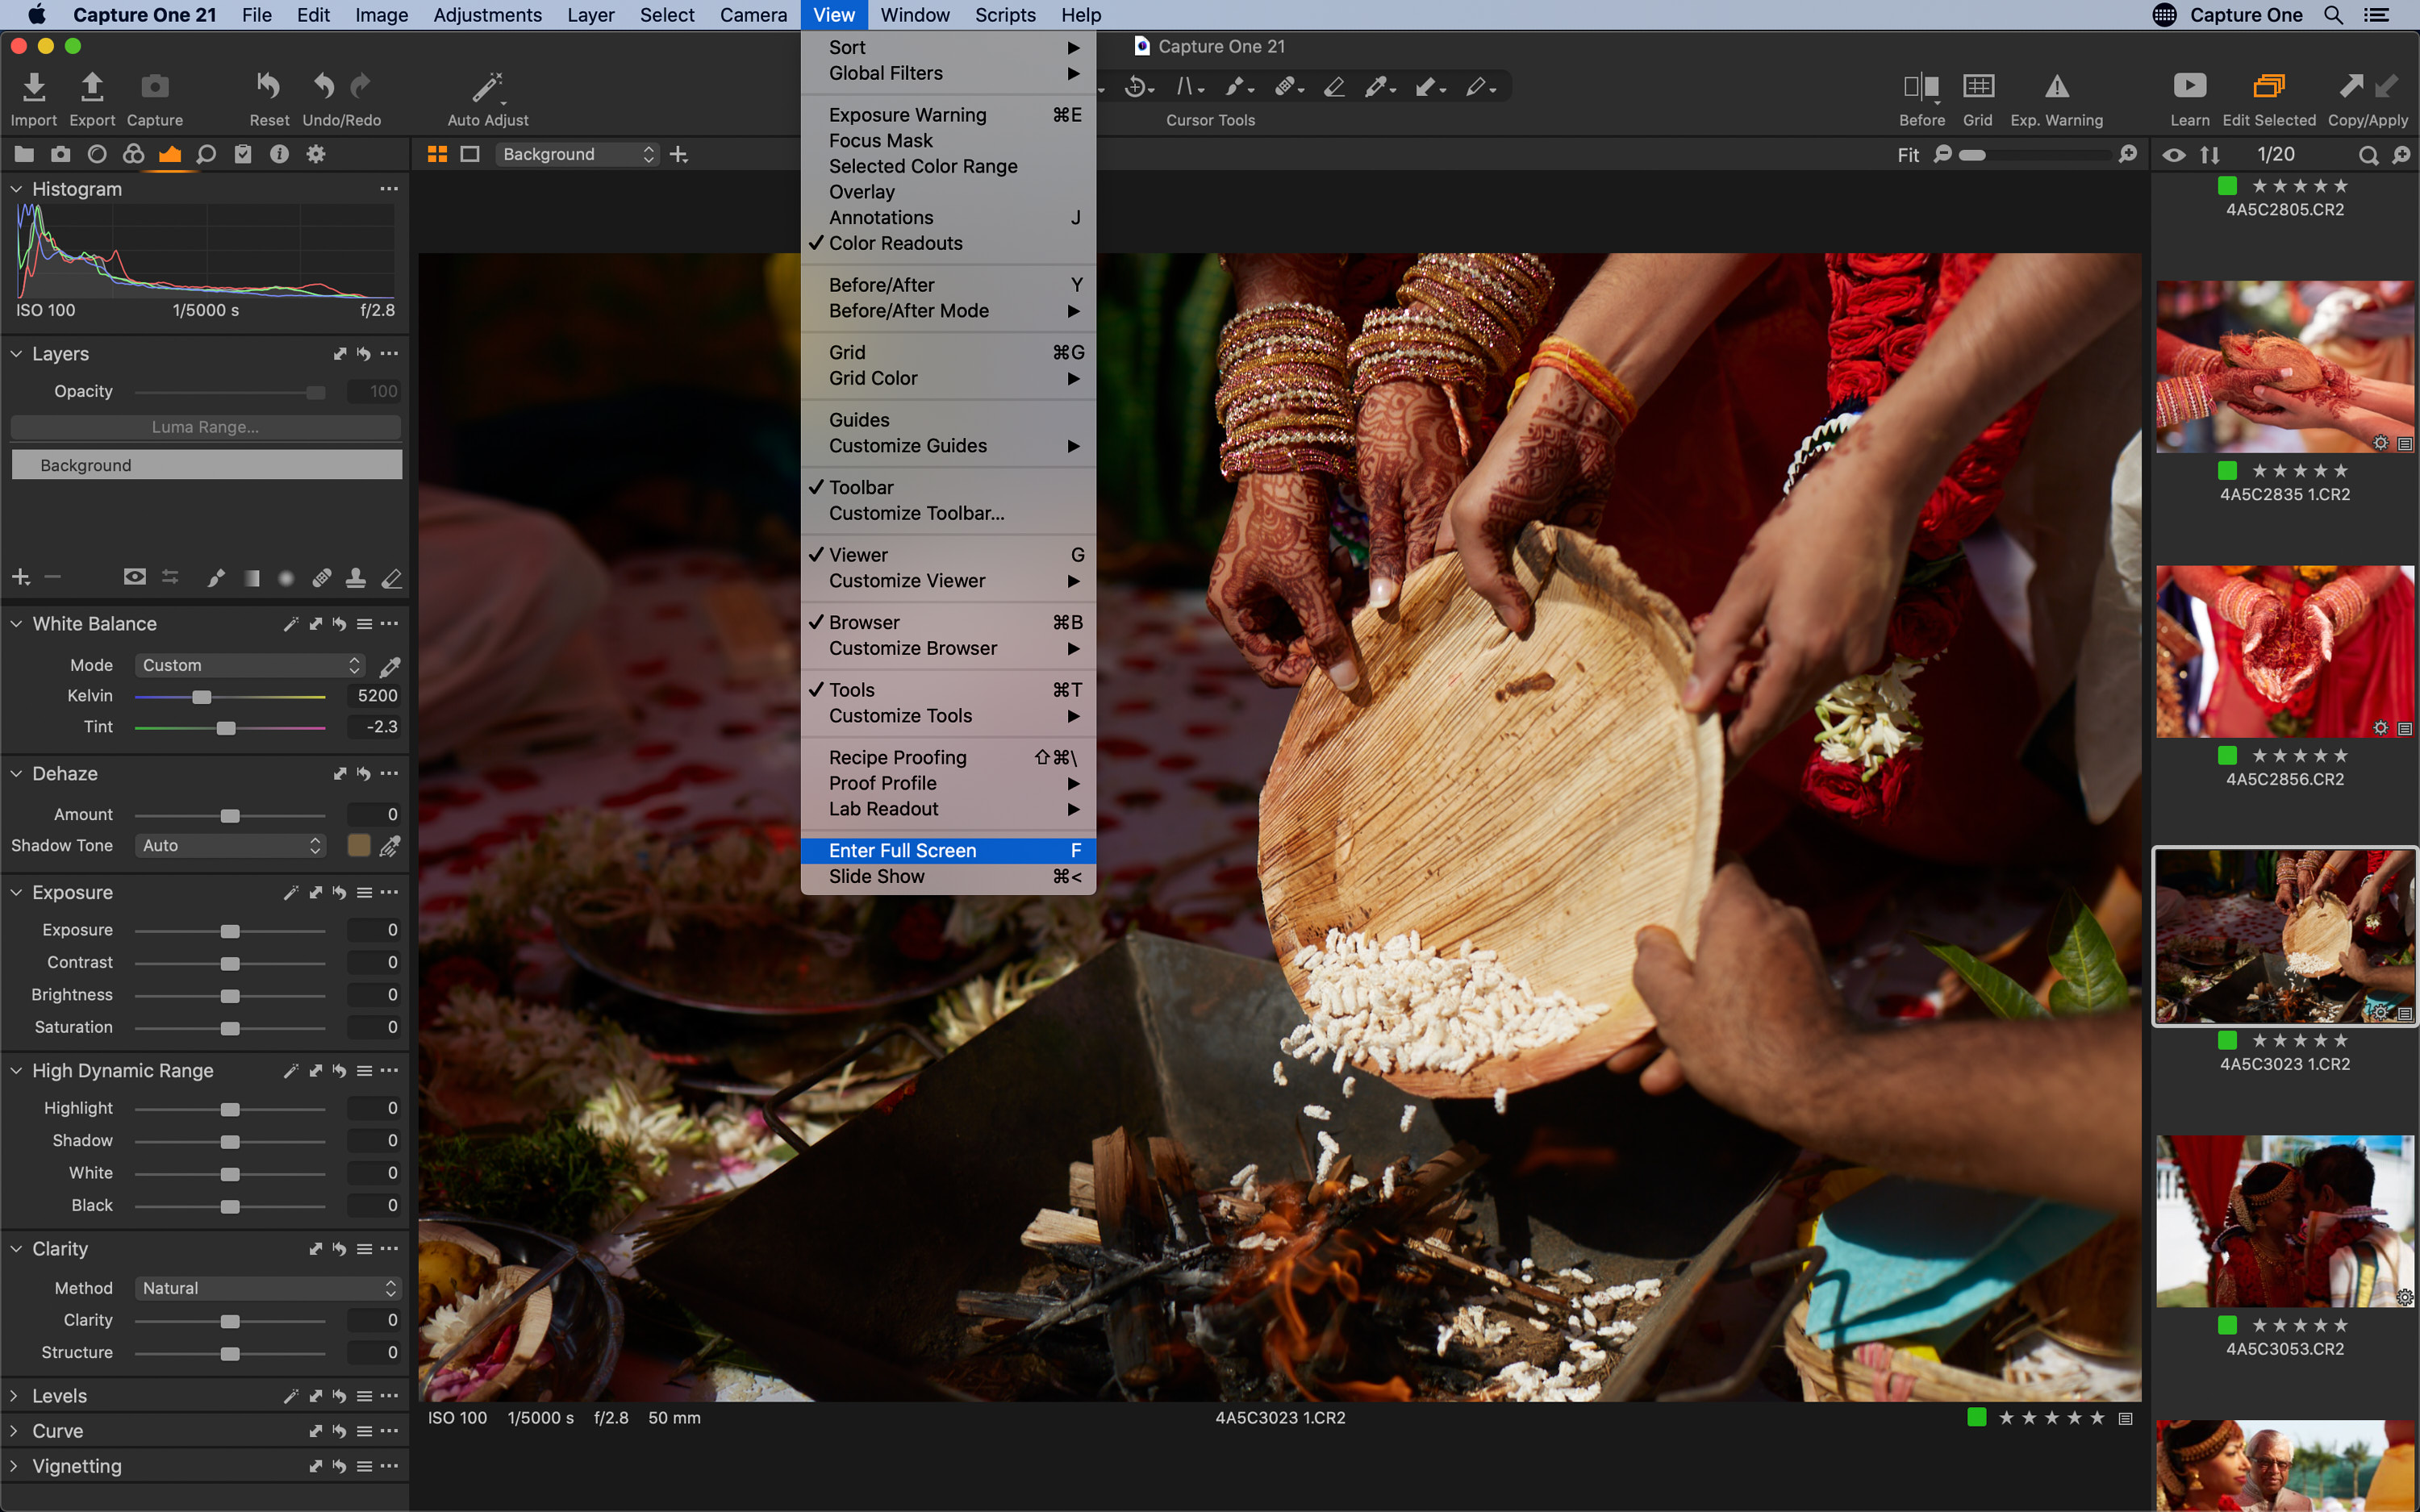
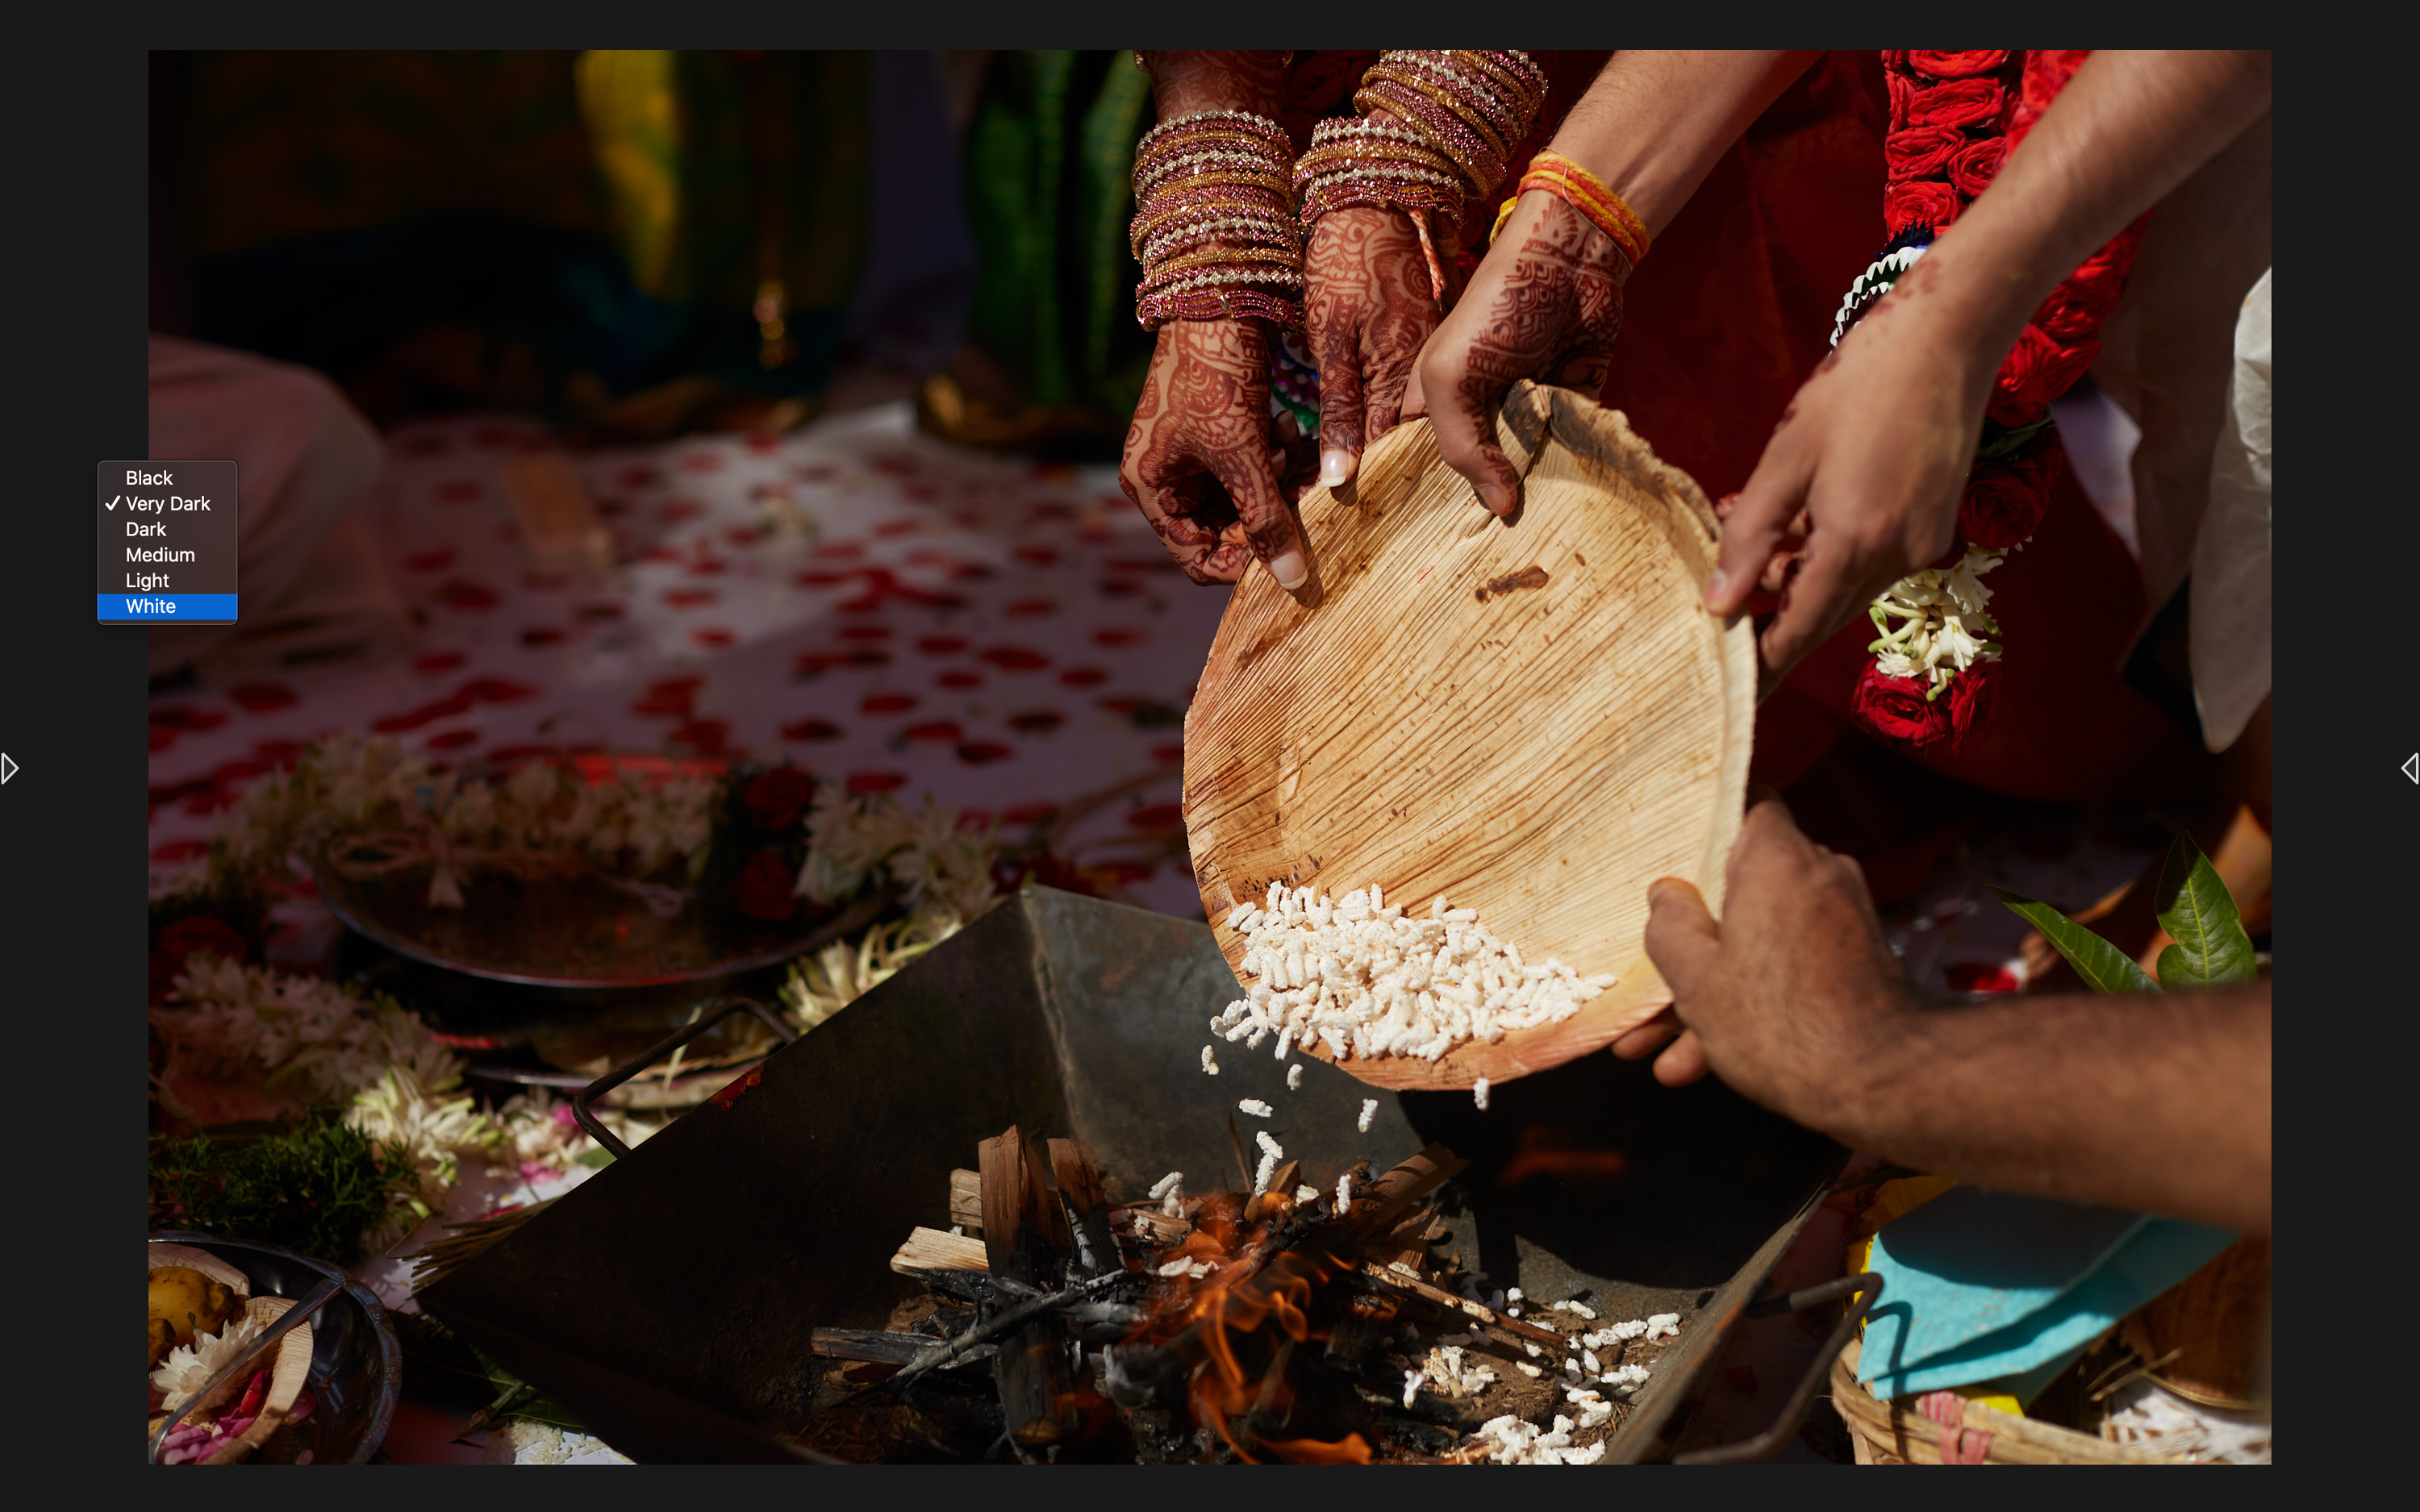
If you prefer to change the background color in full screen, just right-click anywhere on the background and choose a different one. I’ll choose white for this photo.
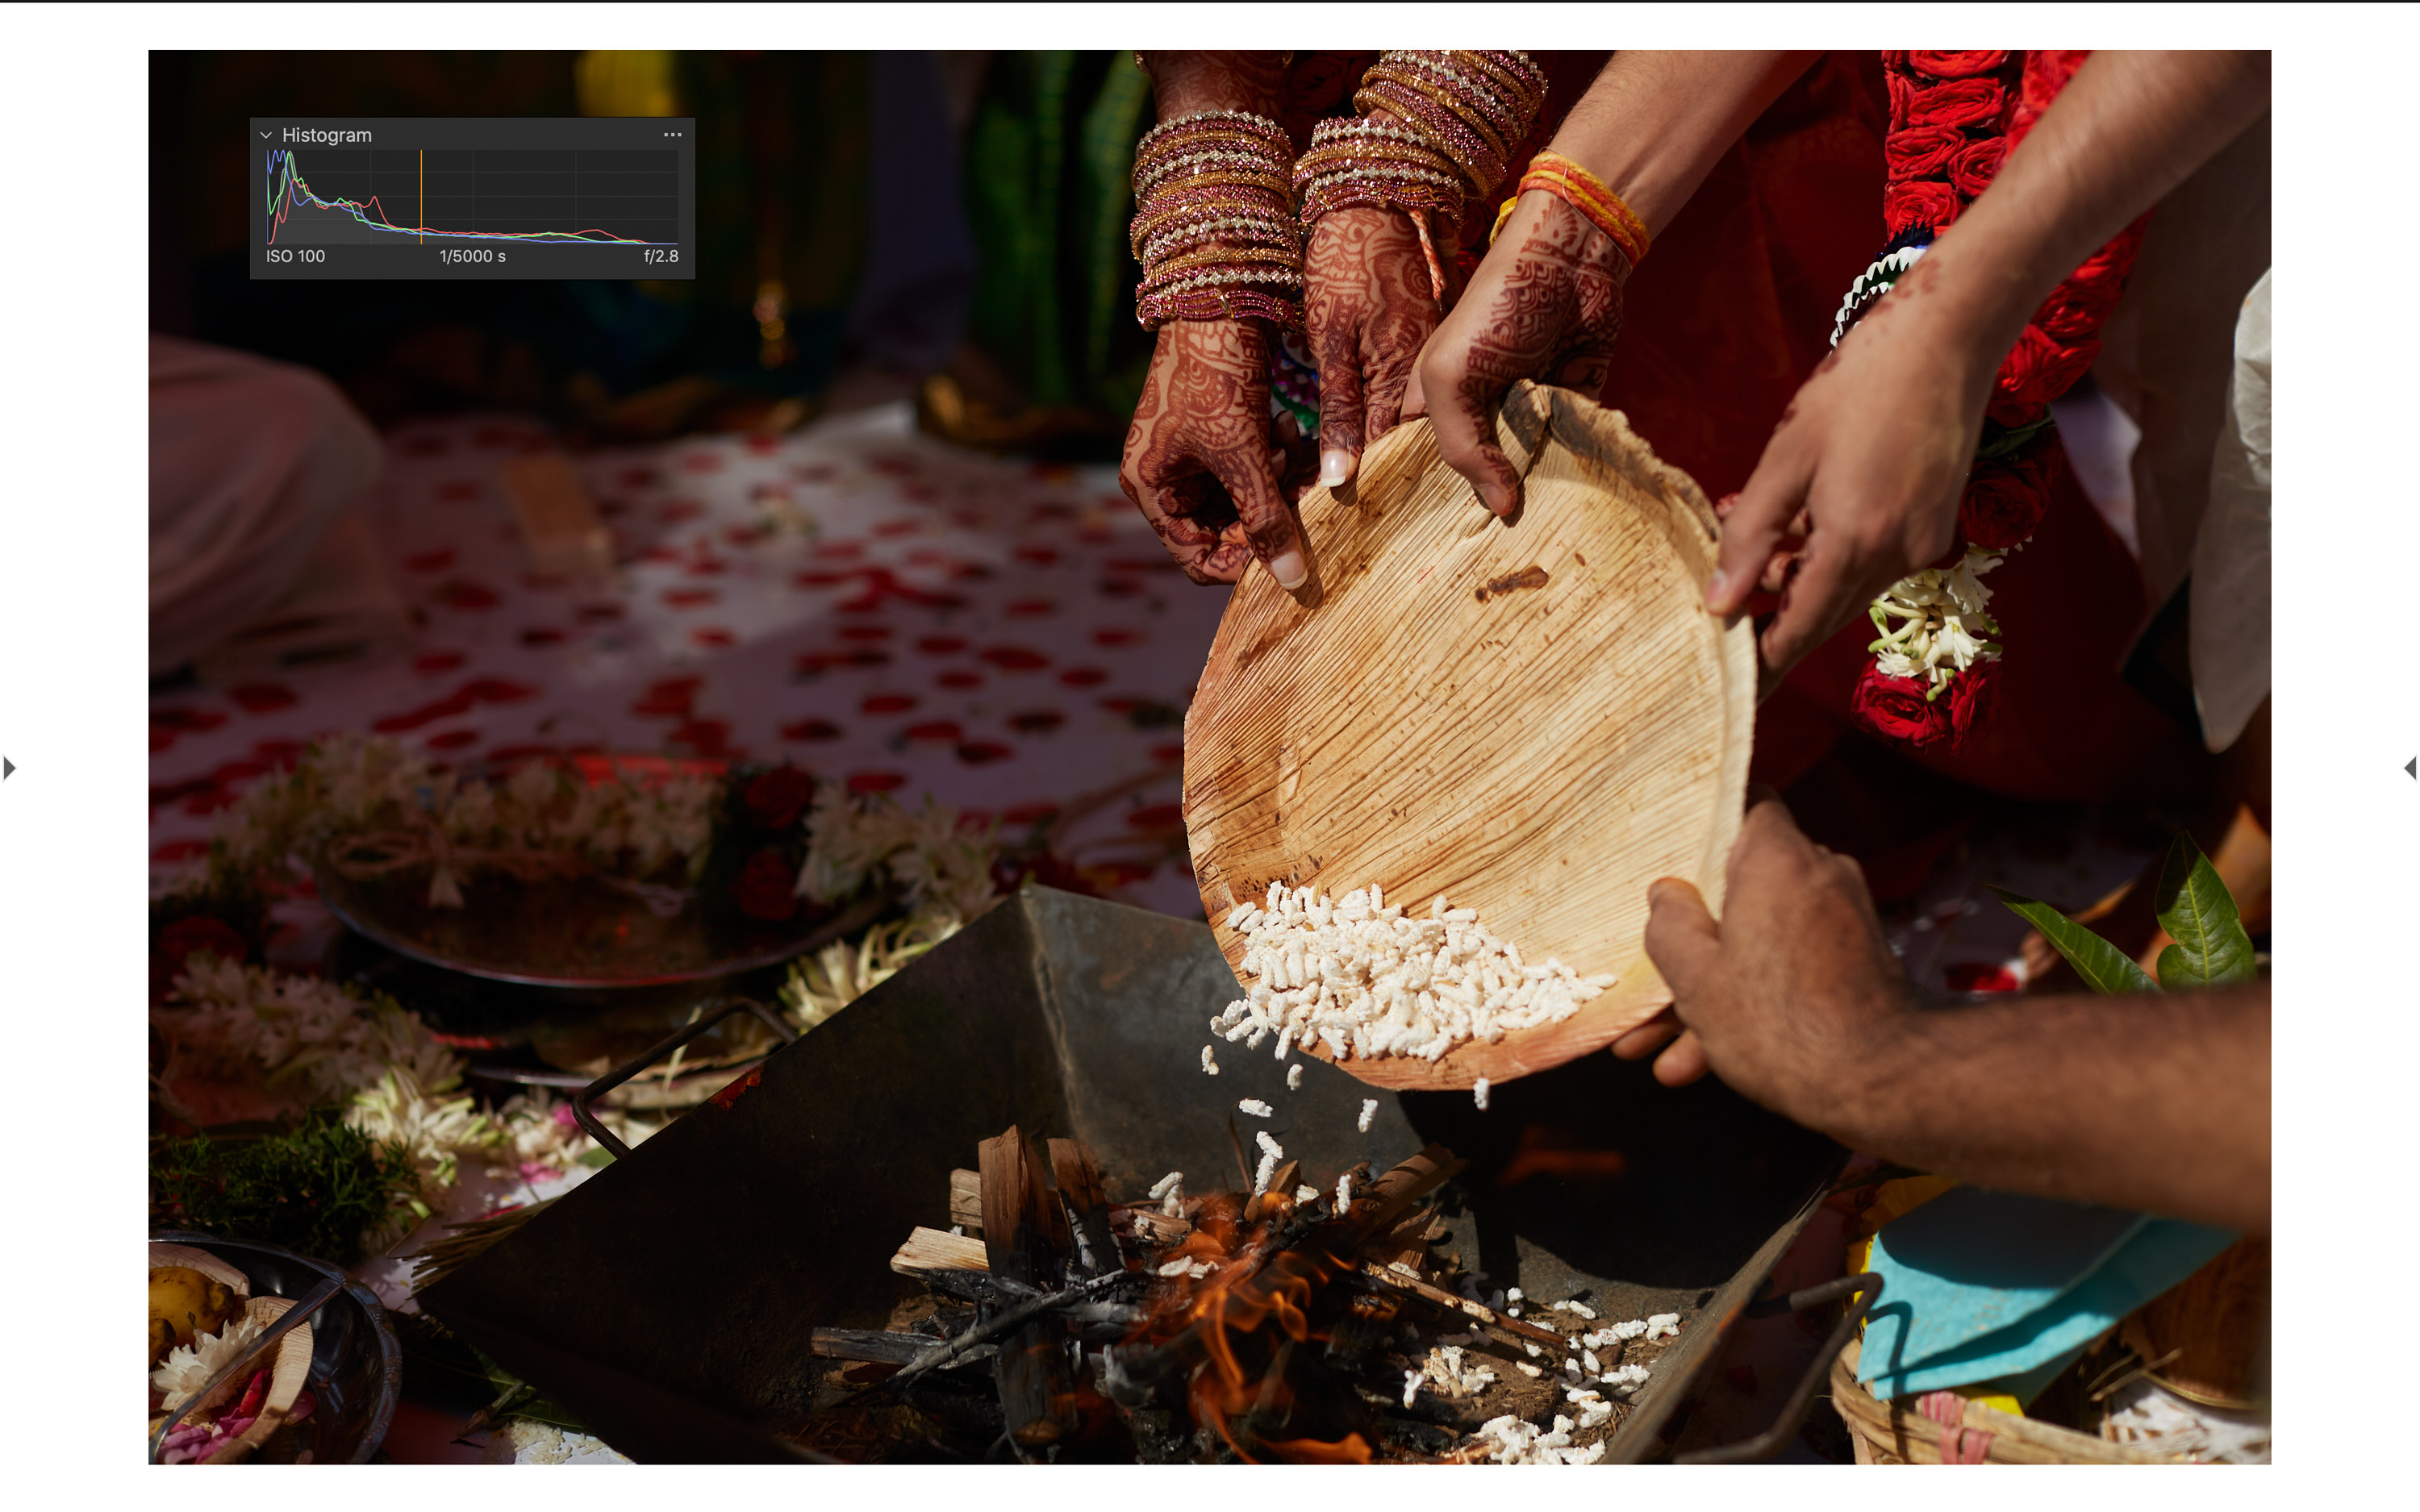
If you want to keep an eye on the histogram (or indeed have access to any other tools whilst in full screen), just drag them out of their tool tab before entering full screen.
Sensitivity
Finally, if you feel that the Speed Edit adjustments are not responsive enough or too responsive, they can be adjusted in Capture One’s preferences.
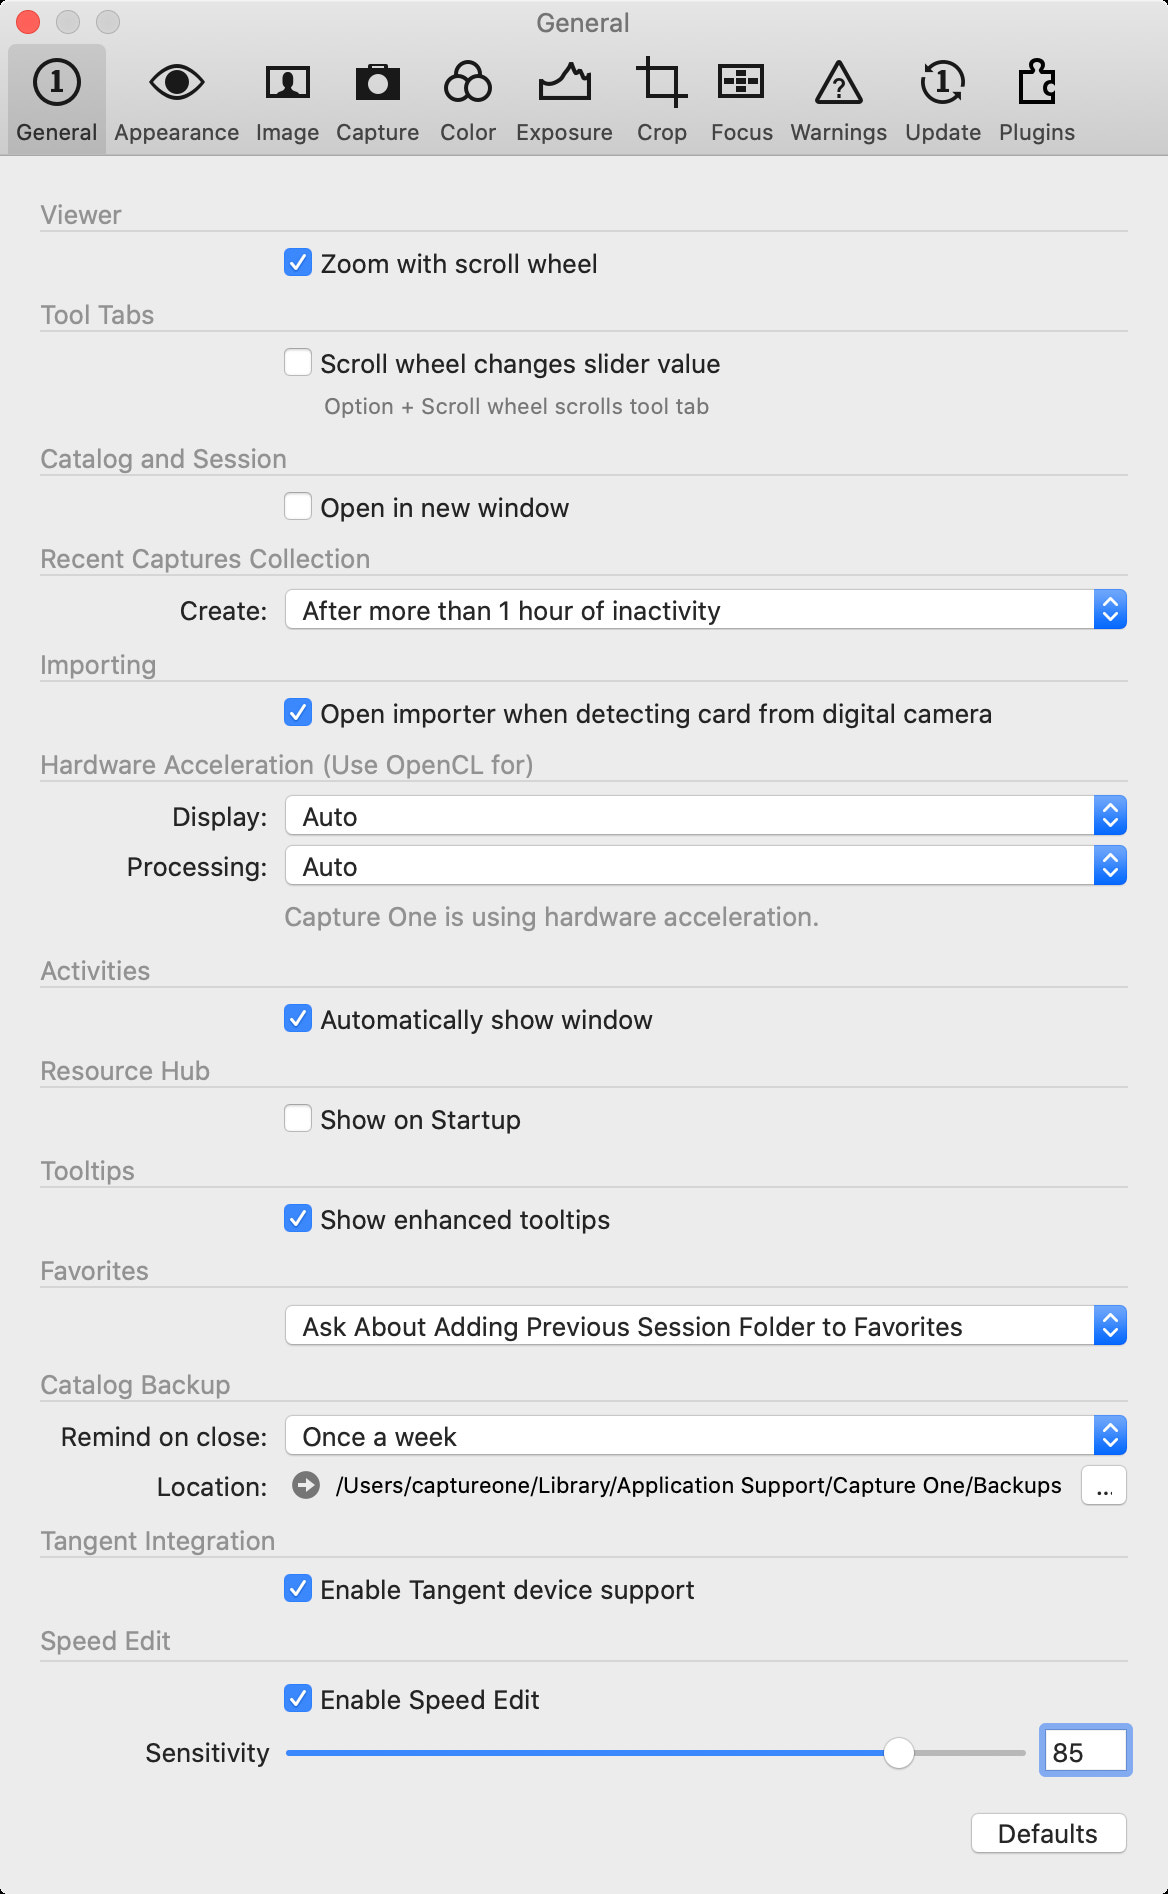
Increasing the sensitivity simply means your adjustments will happen more rapidly using Speed Edit.
Conclusion
Hopefully, this has given some insight into Speed Edit and its potential, as this only scratched the surface. It needs to be experienced to fully see what a difference it makes – and of course, it saves you from the need to purchase external devices and is more practical. You can learn more about it, and even better, download the trial of Capture One here and give it a go!
Editor’s Note: This is a sponsored tutorial from Capture One.
Get rid of the ads!
Did you enjoy reading this article as much as we enjoyed writing it? There's a way to support us and our reporting, getting ad-free navigation and more as a bonus. Subscribe to us for less than a coffee per month —just $3.99— or take advantage of our yearly subscription with a hefty discount for only $25.- An ad-free experience
- A free mystery box for Lightroom or Capture One
- All the books in our store
- 20% discount on Capture One
- 30% discount on Imalume Photo Theft Protection
- 20% off Herbs and Kettle Tea Company.
- 20% off your order from MPIX printing services.
- 5% off Viltrox Products via their eCommerce store.
- 10% off all film developing, printing and scanning services from Blue Moon Camera and Machine