")
Last Updated on 05/16/2020 by Mark Beckenbach
Alaistair Bird shows you how to process the scans of your slide film.
Recently, Mr. Bird showed us how he goes about scanning his slide film at home. Today, we’ve got a video from him showing how he edits the images. If you remember, he did it using a DSLR. It’s a fun project to keep yourself busy and to stay tuned into your hobby while quarantined. But in addition to that, it’s also just something to do. Some folks will like scanning their film using a conventional scanner. But no scanner is anywhere as robust as a full-frame sensor in a camera. So after you’ve got the right lighting, here’s what you do.
The Capture One Process
When you’re watching the video, know that Alastair is using Capture One. Capture One is arguably much better for doing this partially because it works directly with manufacturers, and uses significantly better editing algorithms. It’s easier to get better color, highlights, and details with Capture One than with Lightroom. In fact, it’s also not as easy to make mistakes or bizarre images. The halo effect from too much clarity? It’s tough to screw it up.
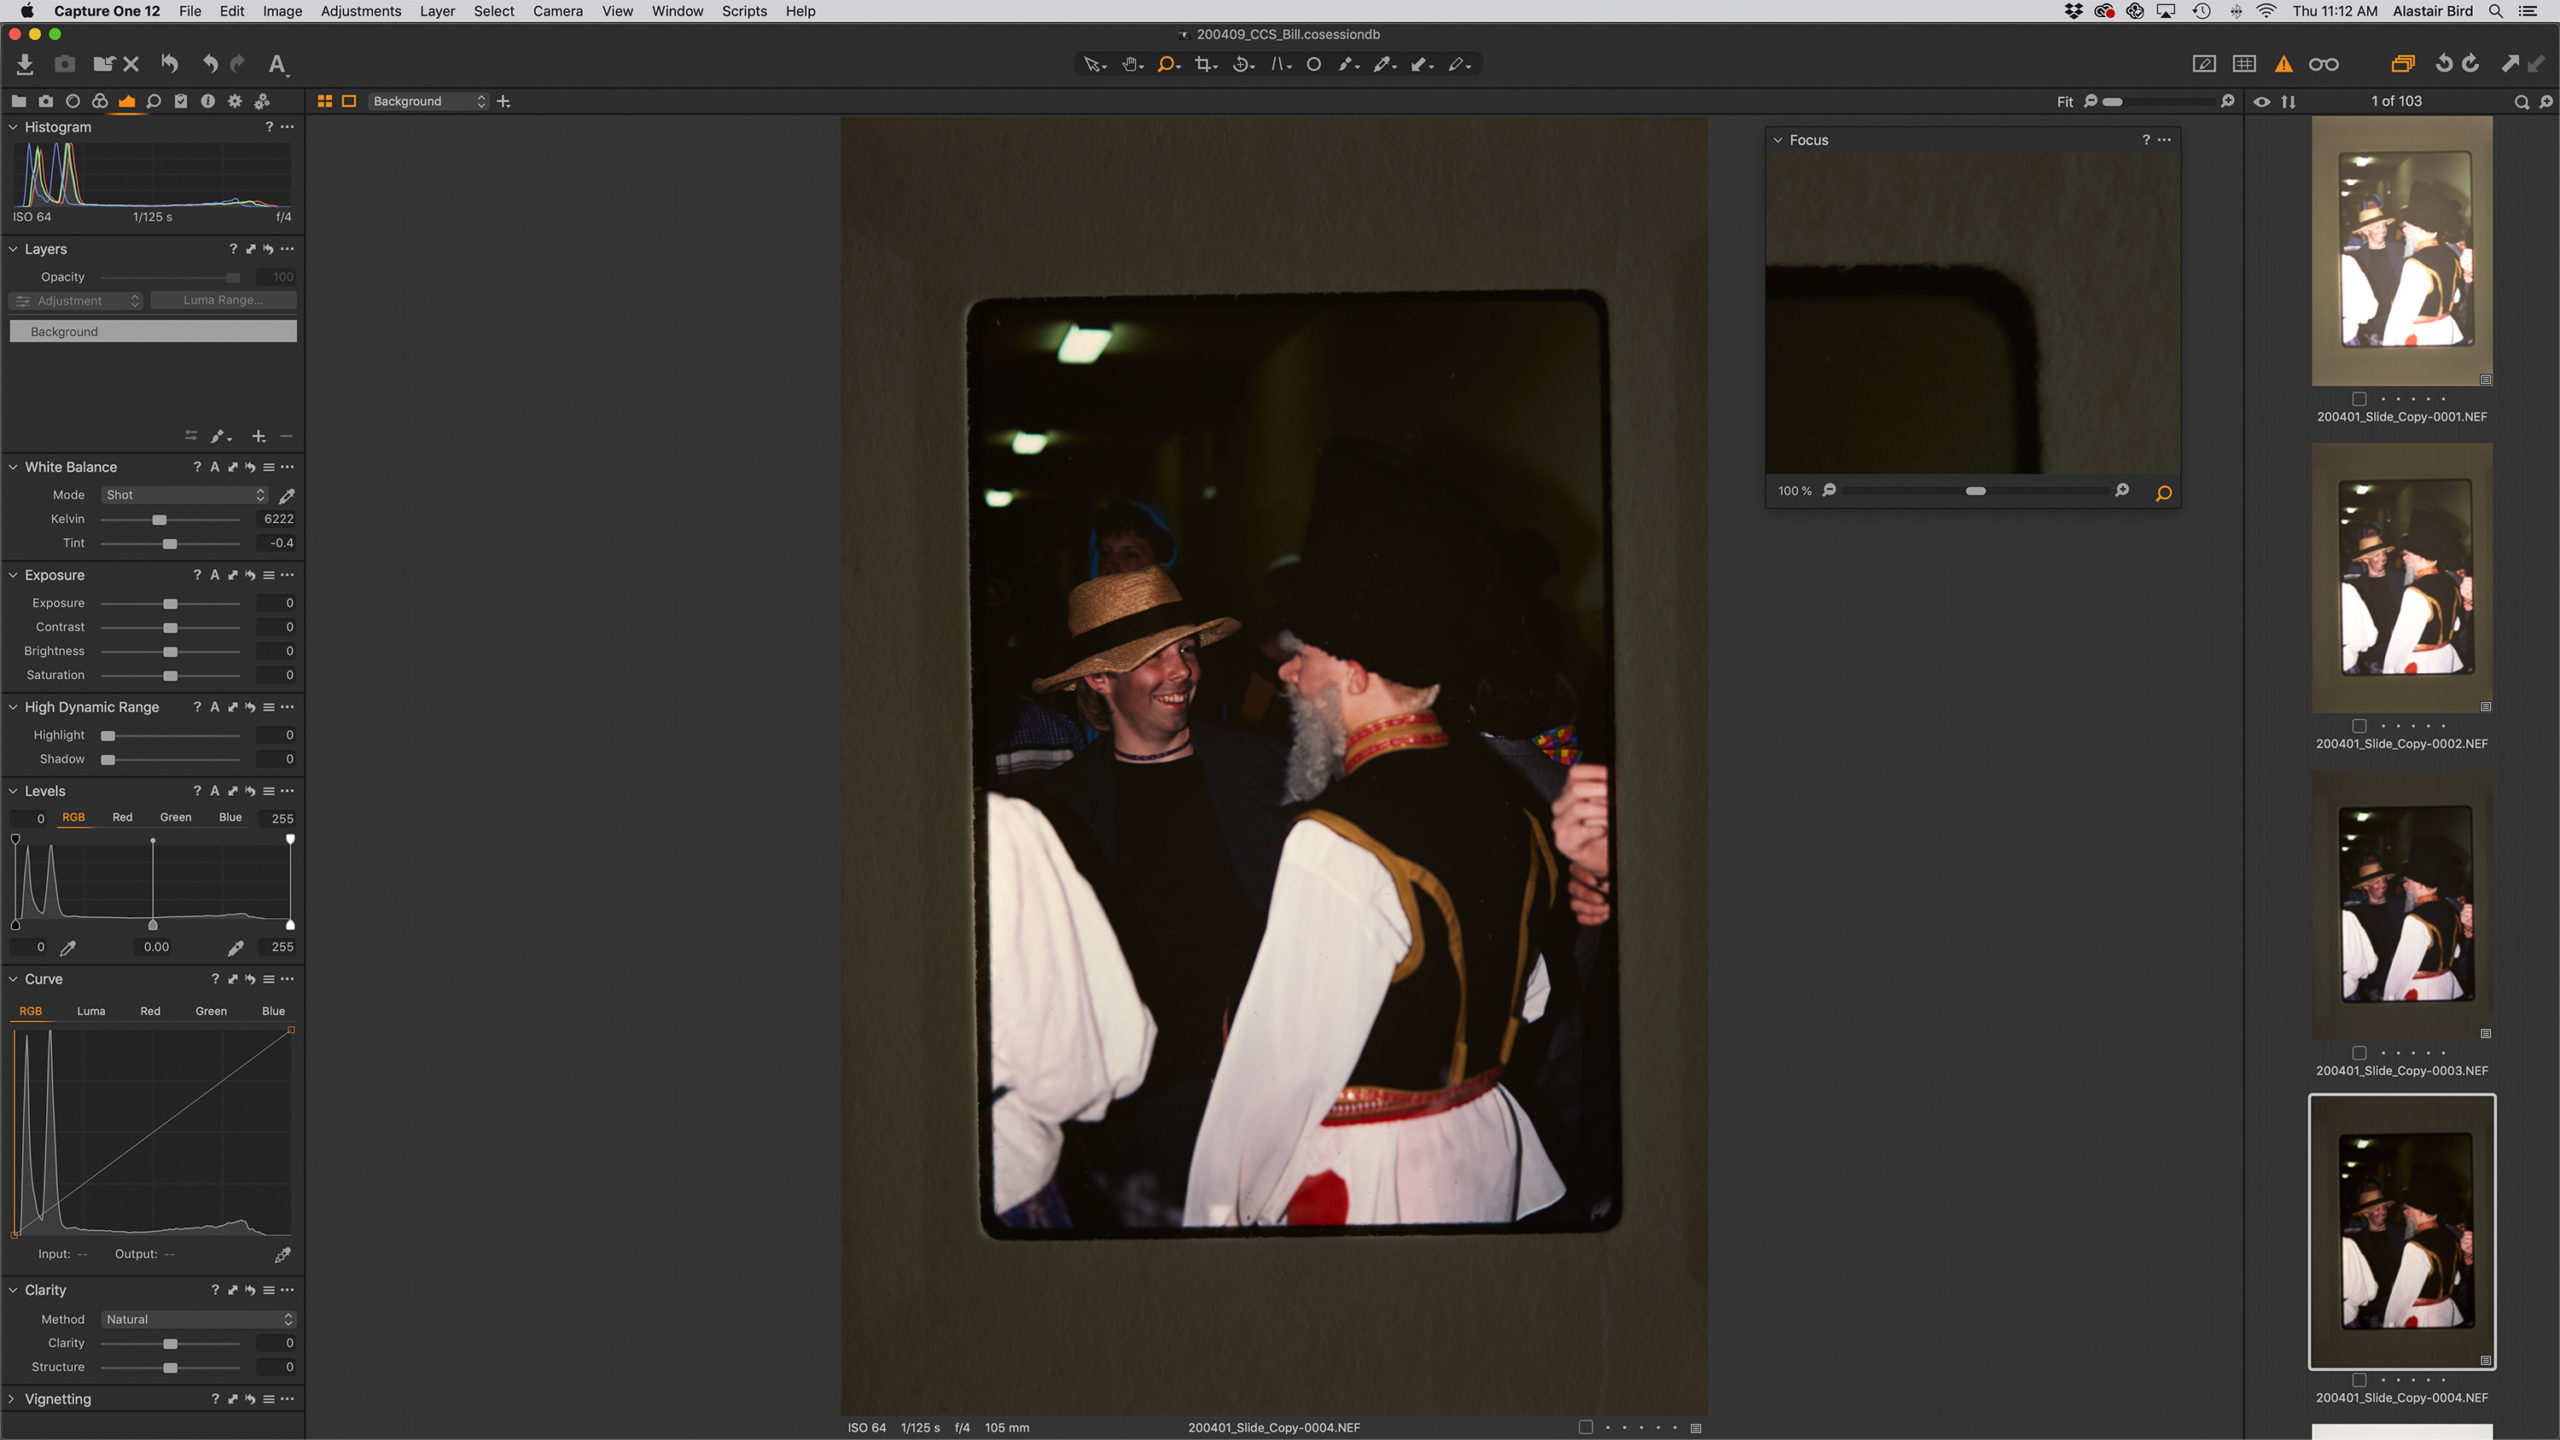
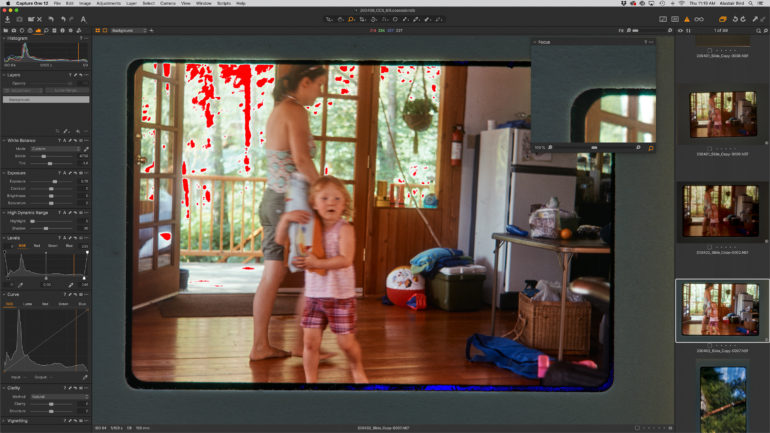
Alastair uses a tool that I seldom do in Capture One – the Auto adjustments. What he found is that the editor does a great job of getting lost details. Though this is how he does it, you may want to do something totally different. Also, notice how he sometimes overexposed and underexposed to get the desired feeling in the image. Of course, this is pretty complicated. Black and white would be far easier, but this and slide shooting as it is are very exacting.
What’s more, different films require their own editing approach. Ektachrome, for example, may render closer to the cooler side of things while Velvia will skew warmer. Then there are other factors like how a UV filter affected the image quality, possible color filters applied beforehand, the exposure, how it was processed in the darkroom, etc.
Ideally, this would be done using an HDR merge feature. Capture One doesn’t have it natively, but there are plugins to do it. Lightroom surely does, so if you’re editing in Lightroom, that process will be simpler and more straightforward. Lightroom’s algorithms for doing this are also excellent. If and when Capture One gets it, I’m sure it’s going to take some extra work.
 Into Photoshop

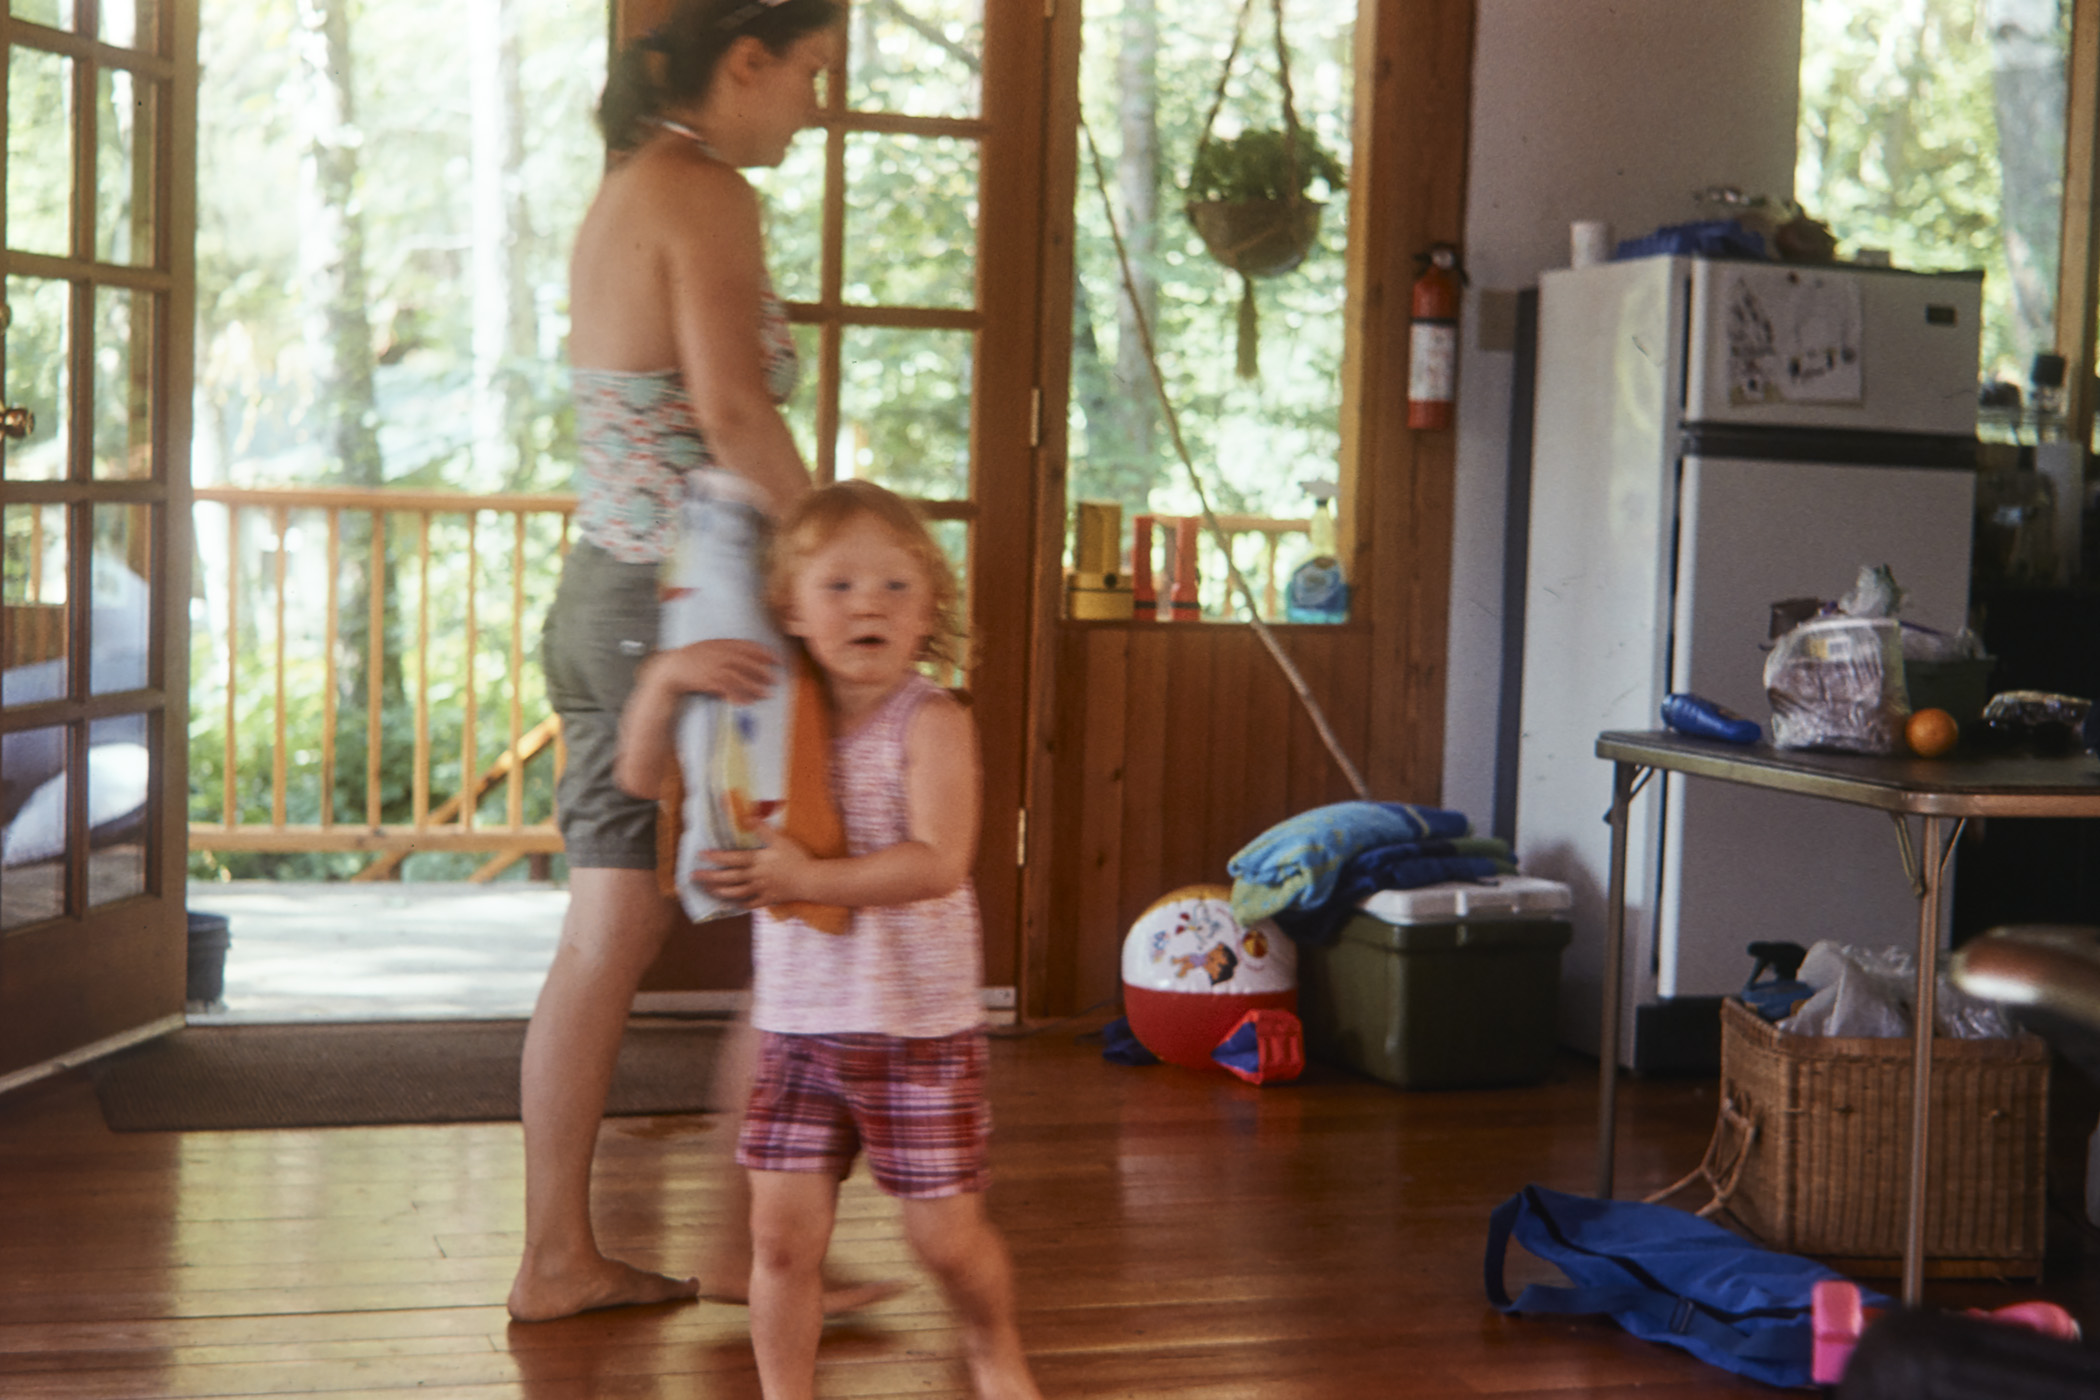
When he’s done editing in Capture One, he brings the images into Photoshop to do some final crops and touch-ups. From there, you can do things like intelligent up resolution and other adjustments to compensate for lens distortion.
Again, Alastair is doing this using a DSLR. DSLRs and mirrorless cameras are far superior to scanning film than typical scanners. In fact, I often wonder why a scanner doesn’t use a full-frame sensor. If this were combined with a tethering software like Capture One 20, you’d get one of the best ways to output scanned film. If you don’t use Photoshop, then you can do these things in Capture One too, but they’re a bit less intuitive.
Give this a shot at home. This is always best done with a camera, a flat surface, and a diffused flash. Flash is better than LED lighting because it’s consistent. That’s why scanners have a light that only comes on at certain times. But with a flash, you’re also getting extra sharpness due to the physics of flash duration.
Get rid of the ads!
Did you enjoy reading this article as much as we enjoyed writing it? There's a way to support us and our reporting, getting ad-free navigation and more as a bonus. Subscribe to us for less than a coffee per month —just $3.99— or take advantage of our yearly subscription with a hefty discount for only $25.- An ad-free experience
- A free mystery box for Lightroom or Capture One
- All the books in our store
- 20% discount on Capture One
- 30% discount on Imalume Photo Theft Protection
- 20% off Herbs and Kettle Tea Company.