Last Updated on 03/28/2020 by Mark Beckenbach
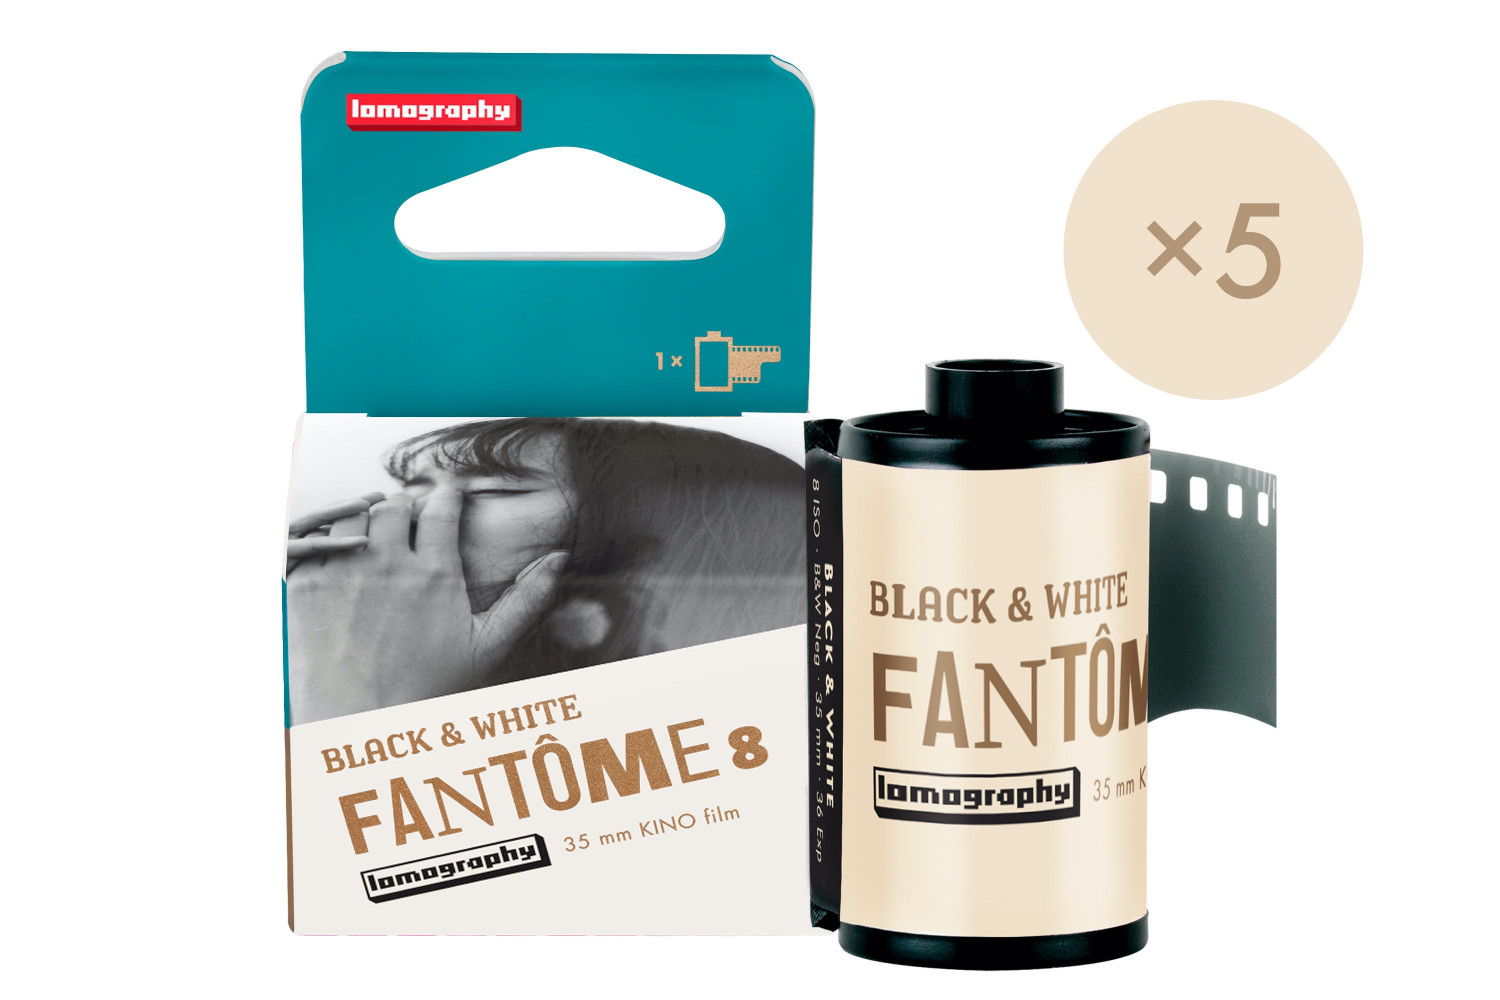
The latest addition to the Lomography black and white film family is a super slow ISO 8 film.
While the photography industry has been reeling from event cancellations and global lockdown, Lomography still decided to bring some good news and announce their newest black and white film. Dubbed Fantôme Kino Black & White ISO 8 Film, this super slow emulsion is geared toward film photographers who want to capture the dramatic of the everyday in punchy, cinematic aesthetic.
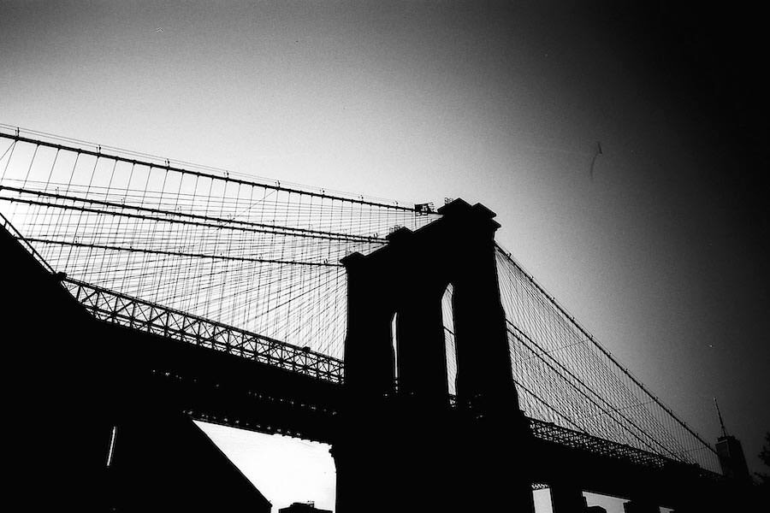
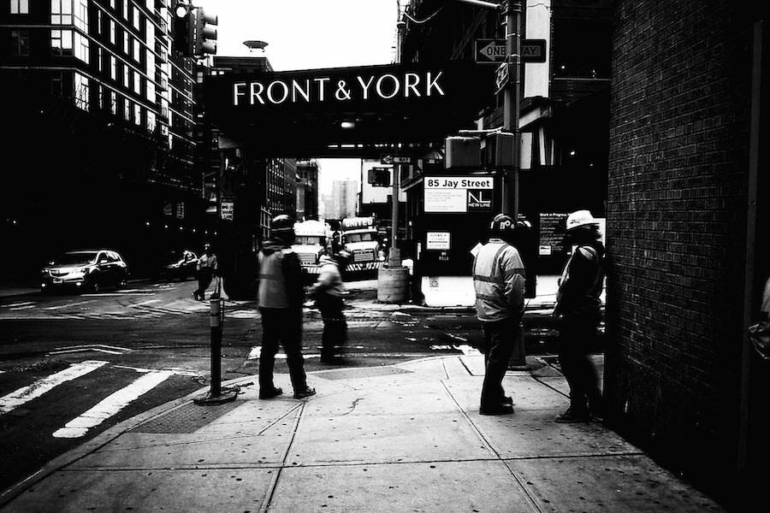
Once more inspired by Film Noir classics, this panchromatic film features a small exposure latitude, low grain, and punchy contrast — perfect for high-contrast scenes with crushed shadows. Lomography recommends this super slow ISO 8 film for documenting “life’s most evocative scenes” using a camera with manual controls and a fast lens — in short, a 35mm SLR camera that allows full control for more accurate exposures. While both seasoned professionals and creative beginners can take a stab at this film, it’s best for those willing to experiment with shooting pinholes, street scenes in broad daylight, and flash photography.


For those interested in trying out this film, Lomography has put together an in-depth guide for mastering the Fantôme Kino Black & White ISO 8 Film — from shooting with a manual camera, to developing, scanning, and printing it at home or in your own lab. For starters, they recommend shooting it at ISO 8 or, if your camera doesn’t allow manually setting the ISO, using an external light meter to get the appropriate exposure values. Use a fast lens with the aperture set to the widest setting, ideally f1.4 or f2.8.
As for processing the film, Lomography recommends developing the Fantôme Kino with D-96 to get the signature contrasty look. Kodak HC-110 is also great if you prefer dramatic, punchy contrast. For a softer and moodier feel, go for Ilford Ilfosol 3 instead. Other developers you can use with this are Compard R09 and Tetenal Ausgleichsentwickler.
The new Fantôme Kino Black & White ISO 8 Film is now available to preorder on the Lomography Online Shop — a 20% discount. Estimated delivery is June 2020.
Get rid of the ads!
Did you enjoy reading this article as much as we enjoyed writing it? There's a way to support us and our reporting, getting ad-free navigation and more as a bonus. Subscribe to us for less than a coffee per month —just $3.99— or take advantage of our yearly subscription with a hefty discount for only $25.- An ad-free experience
- A free mystery box for Lightroom or Capture One
- All the books in our store
- 20% discount on Capture One
- 30% discount on Imalume Photo Theft Protection
- 20% off Herbs and Kettle Tea Company.
- 20% off your order from MPIX printing services.
- 5% off Viltrox Products via their eCommerce store.
- 10% off all film developing, printing and scanning services from Blue Moon Camera and Machine
- 15% off 7Artisans products: The lens and accessory maker is offering a sweet discount for Phoblographer's readers.