
Last Updated on 04/16/2017 by Chris Gampat
Words by Nick Mayo. Content put together exclusively for the Phoblographer by Chris Gampat.
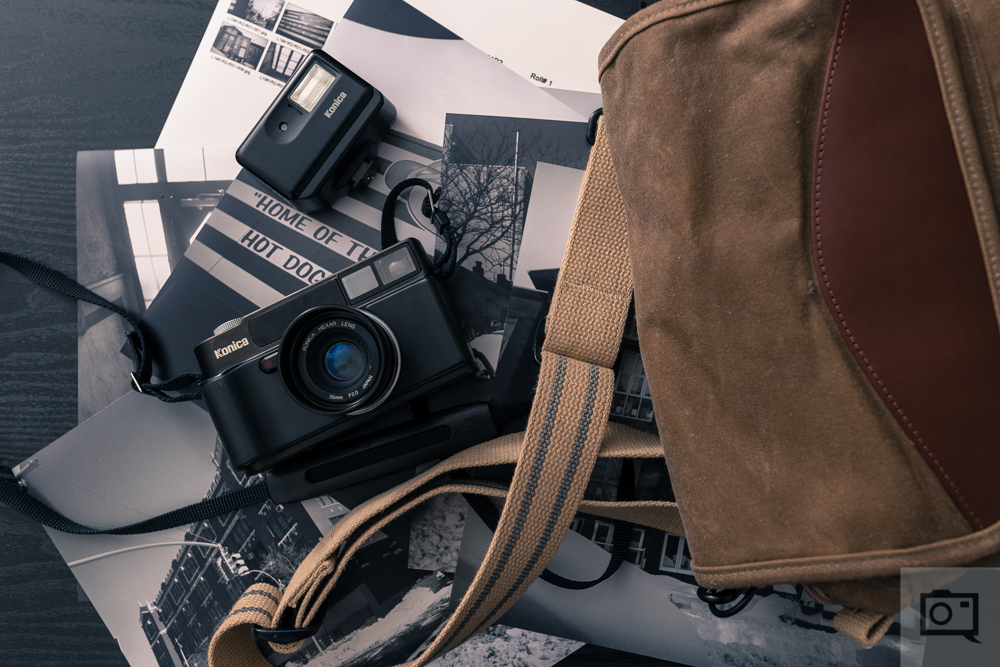
Who doesn’t enjoy the thrill of finding that gem of a camera in your local thrift store, flea market or the garage sale down the street? Thousands of old film cameras hit the used market each and every day, and in Nick Mayo’s recent video series he gives as he calls it a “somewhat of a comprehensive field guide” on the subject matter. In this article, Nick will go a couple steps deeper in pointing out some of the common pitfalls you should be looking out for when “thrift store camera hunting.”
I’ve been there before, you find that beauty of a camera on the shelf of your local goodwill or salvation army, only to realize it was a complete lemon when you got it back home and tried loading a roll of film through it. Below are 5 of the most common death traps I come across when hunting old film cameras, and how you can avoid them in advance.
Corroded battery compartments

Much like car batteries will get acid build up on the terminals over time, cameras are prone to battery corrosion when the batteries sit in the camera for years at a time. When looking over cameras, be sure to check the battery compartment over thoroughly for any signs of white or green build up on the springs or contact points. If it’s just a small amount you may be able to clean it up with a q-tip and some vinegar or baking soda. Otherwise you are probably best passing the camera by.
Faulty or Jammed shutter

Cloth, metal blind, and metal blade leaf shutters are the 3 most common shutter types you will come across when looking at film cameras. Each comes with their own issues to look for. However, you will do well to keep these key issues in mind when looking the shutters over.
First, ensure the shutter is in good visual condition when you open the camera back. Make sure there are no crinkles or tears in the shutter. If it’s a multi bladed shutter, make sure the blades are in place and alignment.
Next, when firing the shutter run through the different shutter speeds and listen for distinct differences in sound as you move from fast (1/1000) to slower (1/30). With the back of the camera open, you can point the lens at a light source and run through the tests again to see the visual differences as well. This visual test especially helps with leaf shutters which fire quieter than cloth or metal blind shutters. Finally, set the camera’s shutter speed to bulb and watch as the shutter travels across the the tracks.
When you fire the shutter it should be quick to open and not get hung up along the way. The same goes for releasing the shutter, it should trail without any hesitations.
Metering Issues
Many of the selenium cell meters you come across will be inoperable, and are not typically worth looking into for getting fixed or replaced in my opinion. However, you will find many of the other meter types in great working order. In part 1 of my thrift store hunting video series I show you the tool kit that I put together and take with me when hunting for cameras, and include which batteries I use to test cameras light meters. I would also suggest downloading one of the free light meter apps for your smart phone. These apps are reliable enough to see if the light meter is within the ballpark. I will say that just because a light meter is faulty or dead, does not necessarily mean the camera is useless. If it is a manual control camera you can get away with shooting without the in camera meter. Either use the sunny16 rule or use the free apps mentioned above.
Faulty Film Advance
From time to time film advance levers get stripped out and no longer advance the film into the camera. A great thing to have with you is a blank junk roll of film that you can load through the camera to ensure everything is advancing as it is supposed to. If it is pulling the film into the camera properly you should see the rewind knob rotating as you advance the film forward.
Mirror Lock Up

The first thing to consider when coming across a camera with a mirror locked up, is whether or not it has a working battery. Many cameras will default to a locked mirror position when the shutter is fired and there is no battery in the camera to assist in returning the mirror to its position. Also take note that once a working battery is installed, many cameras will need their shutter speed dial to be set to whatever the flash sync shutter speed is (often marked as a red number or with a red x). If you have completed both of the previous steps and the mirror is still locked up check and see if you can see signs of deterioration in the mirror bumper. Often the bumper material will degrade and become sticky, which will catch the mirror and essentially “glue” it temporarily to the mirror lock up position. I have come across this a handful of times with old Canon SLRs. If this is the case you can pry the mirror away from the residue gently and see if it returns to its position. Just be sure to replace the mirror bumper before continuing operation of the camera.
These 5 tips will get you off to a great start in ensuring you find quality camera gear when searching for used film equipment. Be sure to check out the full video where I go further in depth on the topic and show you my personal survival kit I take with me thrifting, to check over film equipment. Also, in part two of the series I introduce a few other film & photography related items you should be looking for when out hunting.
Get rid of the ads!
Did you enjoy reading this article as much as we enjoyed writing it? There's a way to support us and our reporting, getting ad-free navigation and more as a bonus. Subscribe to us for less than a coffee per month —just $3.99— or take advantage of our yearly subscription with a hefty discount for only $25.- An ad-free experience
- A free mystery box for Lightroom or Capture One
- All the books in our store
- 20% discount on Capture One
- 30% discount on Imalume Photo Theft Protection
- 20% off Herbs and Kettle Tea Company.
- 20% off your order from MPIX printing services.
- 5% off Viltrox Products via their eCommerce store.
- 10% off all film developing, printing and scanning services from Blue Moon Camera and Machine
- 15% off 7Artisans products: The lens and accessory maker is offering a sweet discount for Phoblographer's readers.