
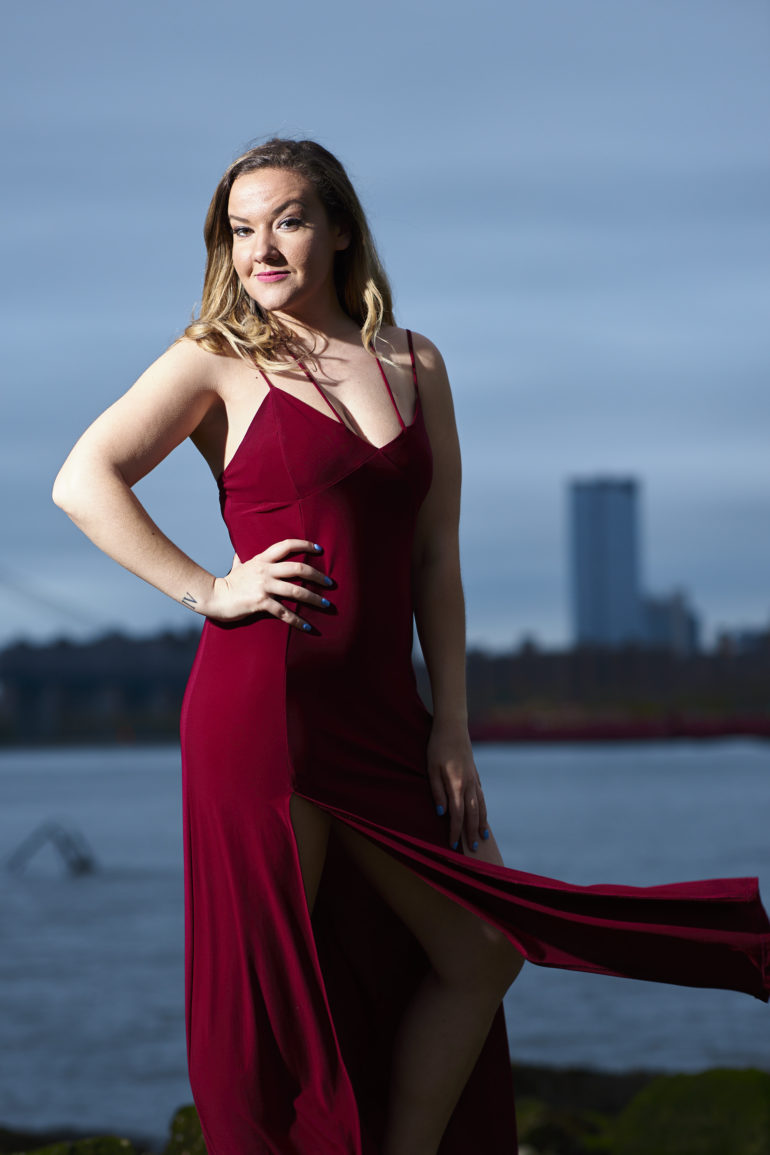
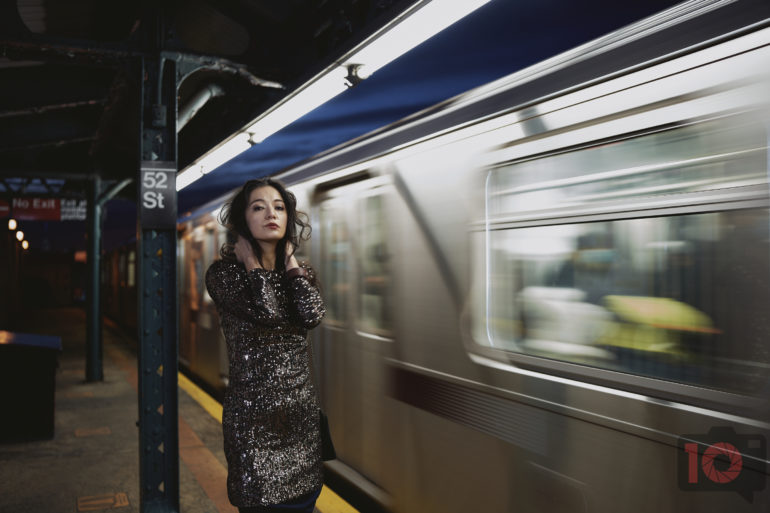
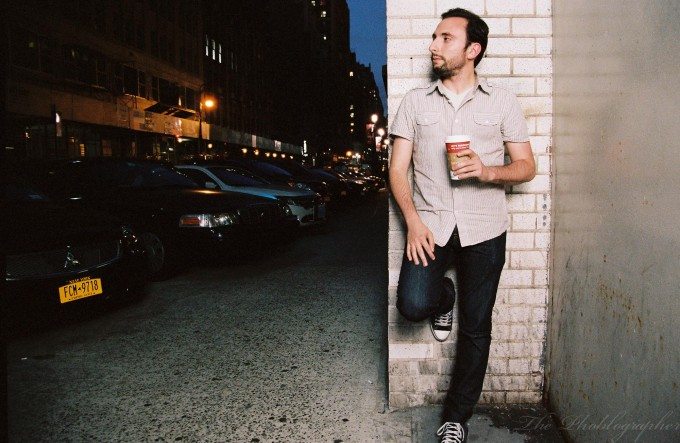
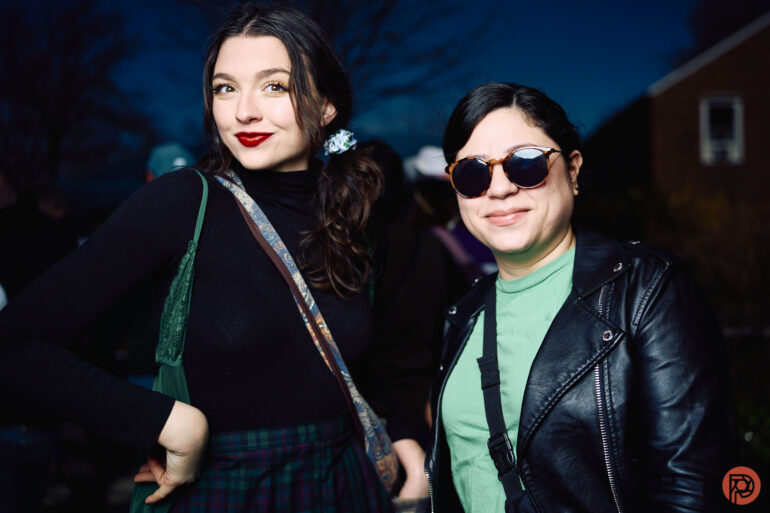
The latest trend is blue hour portraiture — everyone desires it for weddings, headshots, etc. We’re so happy that this trend has made a return. The Blue Hour takes the idea of backlighting a portrait and throws it away in favor of placing a subject within the mood. In the Phoblographer’s 16 years of testing cameras, lenses and lights, we’ve made several portraits during the blue hour. And so I’m dipping into our archives to pull images and tutorials that we’ve done in the past.
This article is building on a piece that I penned back in 2015 that you can find here. So check this out.
Explaining the Blue Hour
In 2024, I wrote an entire guide to learning about using the color blue in portraiture. You can find it here. It’s a fascinating color that often sets a mood up but can also look a bit more somber. But in blue hour portraiture, it’s often used to set up a stark contrast in the scene. It goes without saying that many other factors will play into this such as wardrobe choice, lighting, etc. Generally speaking, I never tell anyone to use LEDs or natural lighting because it can make portraiture really difficult to turn into something unique. Every wanna-be photographer on Reddit or Instagram will make an image and then spend hours editing them in Lightroom for a few upvotes or likes. But only realy photographers understand that the process takes much more.

The Blue Hour is a very, very short amount of time. It’s the moment right before the sunrise and right after the sunset. You’d otherwise call it dawn or dusk — but both are affectionately called the blue hour. And this term is very misleading because in my 20 years of making photographs, it has never lasted an entire hour even here in NYC where we get positively magical lighting. If anything, the Golden Hour last a whole lot longer.
One thing that you can do to really prepare yourself for making photographs during the blue hour is to head up to a higher elevation of some sort. The lower down according to sea level that you are, the less time you have. But the higher up you are, the more you get to see and experience the true blue hour.
Try it for yourself: during the blue hour, stand out on the street. And during the next blue hour, go up to a rooftop. As the saying goes, the difference will be night and day.
For even more tips, you should check out this piece.
Don’t Do Standard Portraiture
Everyone these days does standard portraits, and it gets really annoying after a while to see the same images over and over again. So here are some tips to think about when making photographs during the blue hour:
- Use a strobe to stop your subject while another part of the scene is in motion
- Consider using prisms or something like that
- Work with mist filters
- Add in-camera motion. Photography doesn’t need to be super sharp
- Work with unique in-camera color profiles. The less post-production you do, the less that software will learn about you and keep that information around to be fed to AI of some sort.
You Really Don’t Have a Lot of Time, So Come With a Vision
What you should know is that the blue hour is when the light is at its absolute softest. So you really don’t have a lot of time. Citing another article that I wrote back in 2015, here are some other tips:
– Direct lighting can be very harsh unless diffused. If the sun is directly shining on something then it is very harsh. For the sun’s light to become softer it needs to either become weaker and more reflected (like in the Golden Hour) or a cloud needs to come in front of it.
– Indirect lighting is usually when the main light source is bounced off of a surface. With strobes and flashes, this is typically with bounce cards, ceilings, walls or umbrellas and beauty dishes. But in the case of the sun, the rays are indirectly illuminating where you are on Earth by barely peeking through.
Because the sun’s rays are barely peeking through during this time, you’ll need to crank your ISO settings up and open the aperture of your lens. If you’re shooting landscapes, this is when you’ll want to take off all filters of any sort from the front of your lens. It’s one of the best times to naturally get those beautiful and dreamy long exposures of waterfalls.
If the Golden Hour is golden, then the Blue Hour will naturally have a tinge of blue to all of the photos that you shoot. It’s also the shortest amount of time of any of the periods that we’re talking about on this list.
If you’re one of those photographers who often like to just wing it and make something happen, then know that you’re really not going to have a lot of time to be able to make that happen. So out of respect for the heroes of your photographs, you should have a creative vision in mind.
Ideally, don’t try to copy other visual media. Read a book! Make it up!
How to Fake This Look
Yes, you can fake the look of the blue hour. In this guide to choosing lenses for the timing, I talked about how you can lock your white balance to 3200K and then go make photographs. I almost never tell anyone to use the standard auto white balance setting and to instead work with parameters that the camera will give you by messing with other presets. However, 3200K is Tungsten white balance and is often going to do the best job and rendering this look out.
The other way is to use flash/strobe to overpower the sun’s lighting. By blending the natural light (shutter speed) and the aperture/ISO (flash control) together in just the right way, you can make it look like the middle of the day is actually the night. I did this a while ago with the Sony a9 III when it was in for review. The global shutter makes it really easy for this to happen. But otherwise, most other modern cameras can make it happens pretty easily with the right settings and white balance.
Use a low ISO and a fast shutter speed.
Get rid of the ads!
Did you enjoy reading this article as much as we enjoyed writing it? There's a way to support us and our reporting, getting ad-free navigation and more as a bonus. Subscribe to us for less than a coffee per month —just $3.99— or take advantage of our yearly subscription with a hefty discount for only $25.- An ad-free experience
- A free mystery box for Lightroom or Capture One
- All the books in our store
- 20% discount on Capture One
- 30% discount on Imalume Photo Theft Protection
- 20% off Herbs and Kettle Tea Company.
- 20% off your order from MPIX printing services.
- 5% off Viltrox Products via their eCommerce store.
- 10% off all film developing, printing and scanning services from Blue Moon Camera and Machine
- 15% off 7Artisans products: The lens and accessory maker is offering a sweet discount for Phoblographer's readers.