
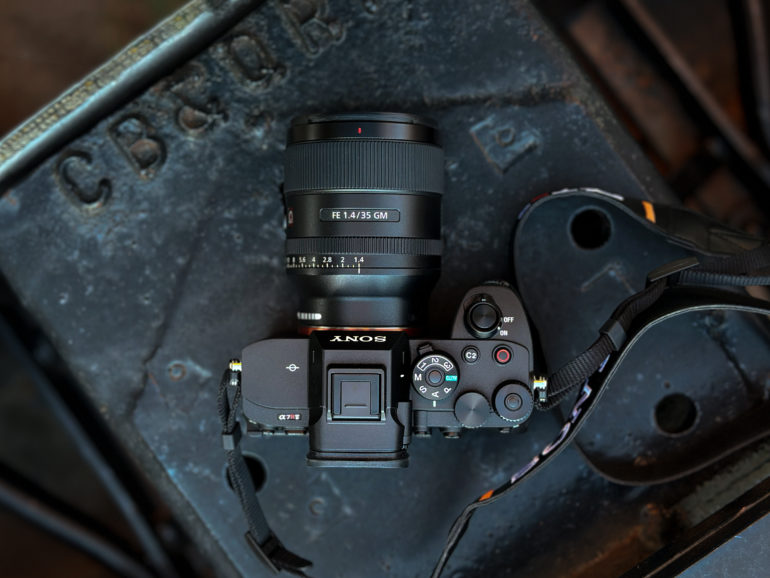
A mirrorless camera with interchangeable lenses will not get you better pictures; knowledge will. Your phone is incredibly capable for sure. And an interchangeable lens camera can be much more capable than your phone, but you need to apply know-how. Just think: who is bound to do better at capturing a better photo: a person with an expensive camera that knows nothing about it or a person with a cheap camera that knows loads about it? Technically speaking, the person with a cheap camera can do a far better job. So here’s what you need to know about using your new camera.
It’s happened; and it has surely solidified at this point. Photography has exploded and more than any time previous, there are mirrorless cameras, DSLRs and interchangeable lens camears in the hands of more people than ever before. But there are also loads of people that don’t know a single thing about what they’re doing with the camera. On many occasions, I’ve been asked to take a picture of people and have been handed a DSLR on auto. Or I’ve just randomly seen people taking pictures with the cameras and not knowing a single thing about what they’re doing with the device.
Here are the tips to know on how to use your new camera.
Take It Off of Auto; It’s a Waste
I’ve encountered many of these before. How many of you would:
- Buy a Ferrari and drive it in automatic?
- Purchase a multi-thousand gaming computer and use it just for internet browsing?
- Acquire a bulldozer just to dig some holes to add some plants to your garden?
If you answered, “I would” to any of those questions, you’ve got some other problems and probably have a lot of money to burn. If you wouldn’t mind, you can donate it to the “The Phoblographer staff needs lunch” foundation. Your generous donations will help our staff eat lunch.
We’re kidding. No one eats lunch! 😉
But in all seriousness, you purchase a mirrorless to get professional-grade images and to overall just get better pictures. And in order to do that, you’ll need to take some sort of control over using the new camera. By putting it in Auto mode and constantly shooting in that is not only doing yourself a disservice but also wasting your money. The camera is capable of doing so much more than you think if you just use all of the features.
The problem is that most folks just don’t even know how exposures work. We’ve got tutorials on how they work right here.

Think of all this in the same way that computer programmers are taught to think: a machine can only do what you tell it to. With that said, if you’re shooting in Auto, you’re telling the camera to:
- Choose an exposure for you, but not the one you necessarily want
- Choose a focusing point for you, but not the one you necessarily want
- Choose a bunch of settings for you, but not the ones that you necessarily want.
On the contrary, if you’re shooting in manual, then you’re telling the camera everything that you specifically want it to do and there is better communication between you and the camera.
In reality, lots of people will do this and simply just be okay with what they get. But they don’t realize how much better they could’ve had it. That’s when they kick themselves. If folks put just a bit of time and understanding into what they’re doing instead of being lazy, they’ll get better results every time. And that’s one of the biggest things you should learn about using your new camera.
Shoot RAW and JPEG (or HEIF)
Here’s a rewind: generally speaking when you shot a roll of film, you needed to go get it developed and then you got your prints. Otherwise, you could shoot instant film (positives), but the quality was never on par with film that you needed to develop (negatives).
Now we’ll translate that into the digital age: there are two types of images that you can shoot–RAW and JPEGs. JPEGs are the images that you see everyday on the web and they’re much more akin to that lower quality instant film that you used to see. But your RAWs are more like the negatives. In fact, they’re often called Digital Negatives. And to get even better images from your brand new DSLR, you’ll need to spend some time in the digital darkroom learning how to get a better look from them.
However, this has changed in the past couple of years. JPEG standards are going away and turning into HEIF files in order to make smaller but higher quality images. They’re still not commonplace, but they’re becoming more and more so.
In the end, you’ll get something much better than your camera can give you otherwise.
Purchase Software, and LEarn It
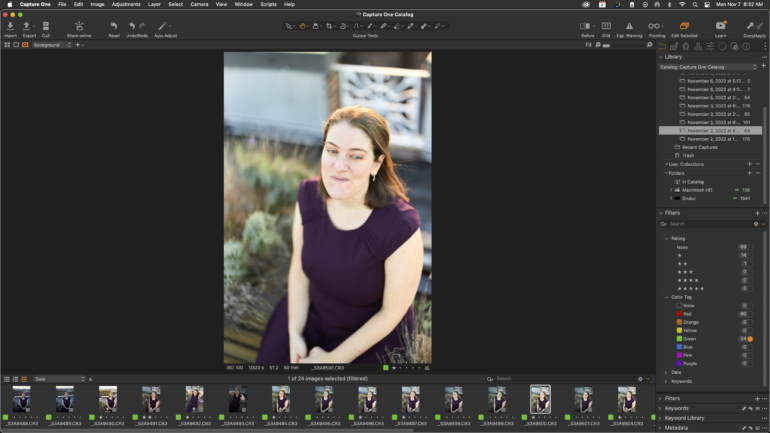
Remember how not too long ago we talked about working in the digital darkroom? Well, Adobe Lightroom is the standard for working with your RAW images. It will help you to get even more out of your photos than you ever thought you could.
However, in the past few years, other alternatives have popped up. Capture One is what our entire staff uses. And it can help you get better colors and overall just better images straight from the start. This is due to how you have to approach editing the photos in the first place.
When you start out, remember this: take baby steps. Moving the sharpness slider all the way to the maximum level might not always work out so well. Add little adjustments at a time.
All of these pieces of software have built in tutorials. And there are tons of other tutorials available online that help you to figure out how to use the software.
Learn to Use Lighting and Understand It
Many consumer tech websites will tell you not to use the pop-up flash on your camera. While they’re correct in most cases, they’re not completely right. As you go through the work of many master photographers, you’ll start to see what are described as, “hard shadows” on subjects.
We can avoid getting into that with too much intricacies at the moment. Start here. Look at the light coming in from your window. Now close the shades and remove the light. Notice what happens to the scene.
The best thing to do when photographing someone and using your new camera is to light a scene one light at a time. Start in darkness, and then add a single light at a time. Notice what it does to the scene. Also, keep in mind how you want the final image to look in the first place and don’t lose sight of that creative vision.
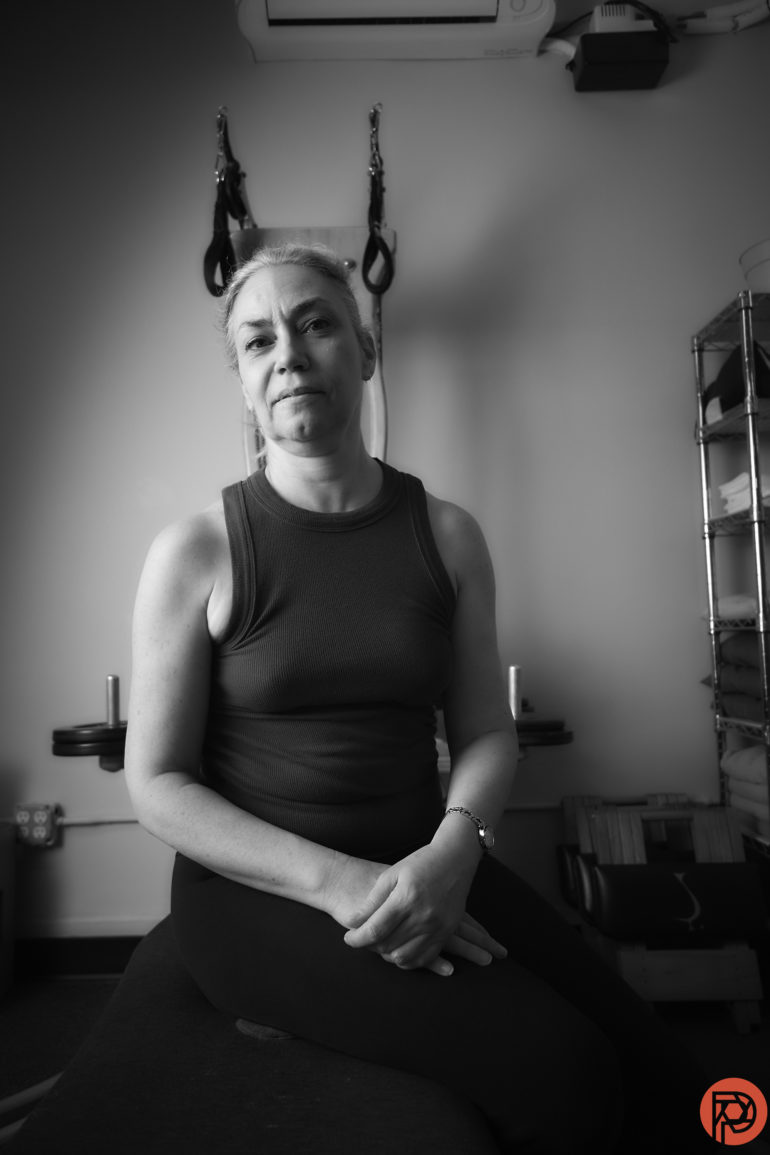
Most of the time, a pop-up flash on a camera can give off the deer in headlights type of look. But when you have a good understanding of manual mode (and get off of auto, like we said above) you’ll begin to see that you can actually pull off some really creative looks.
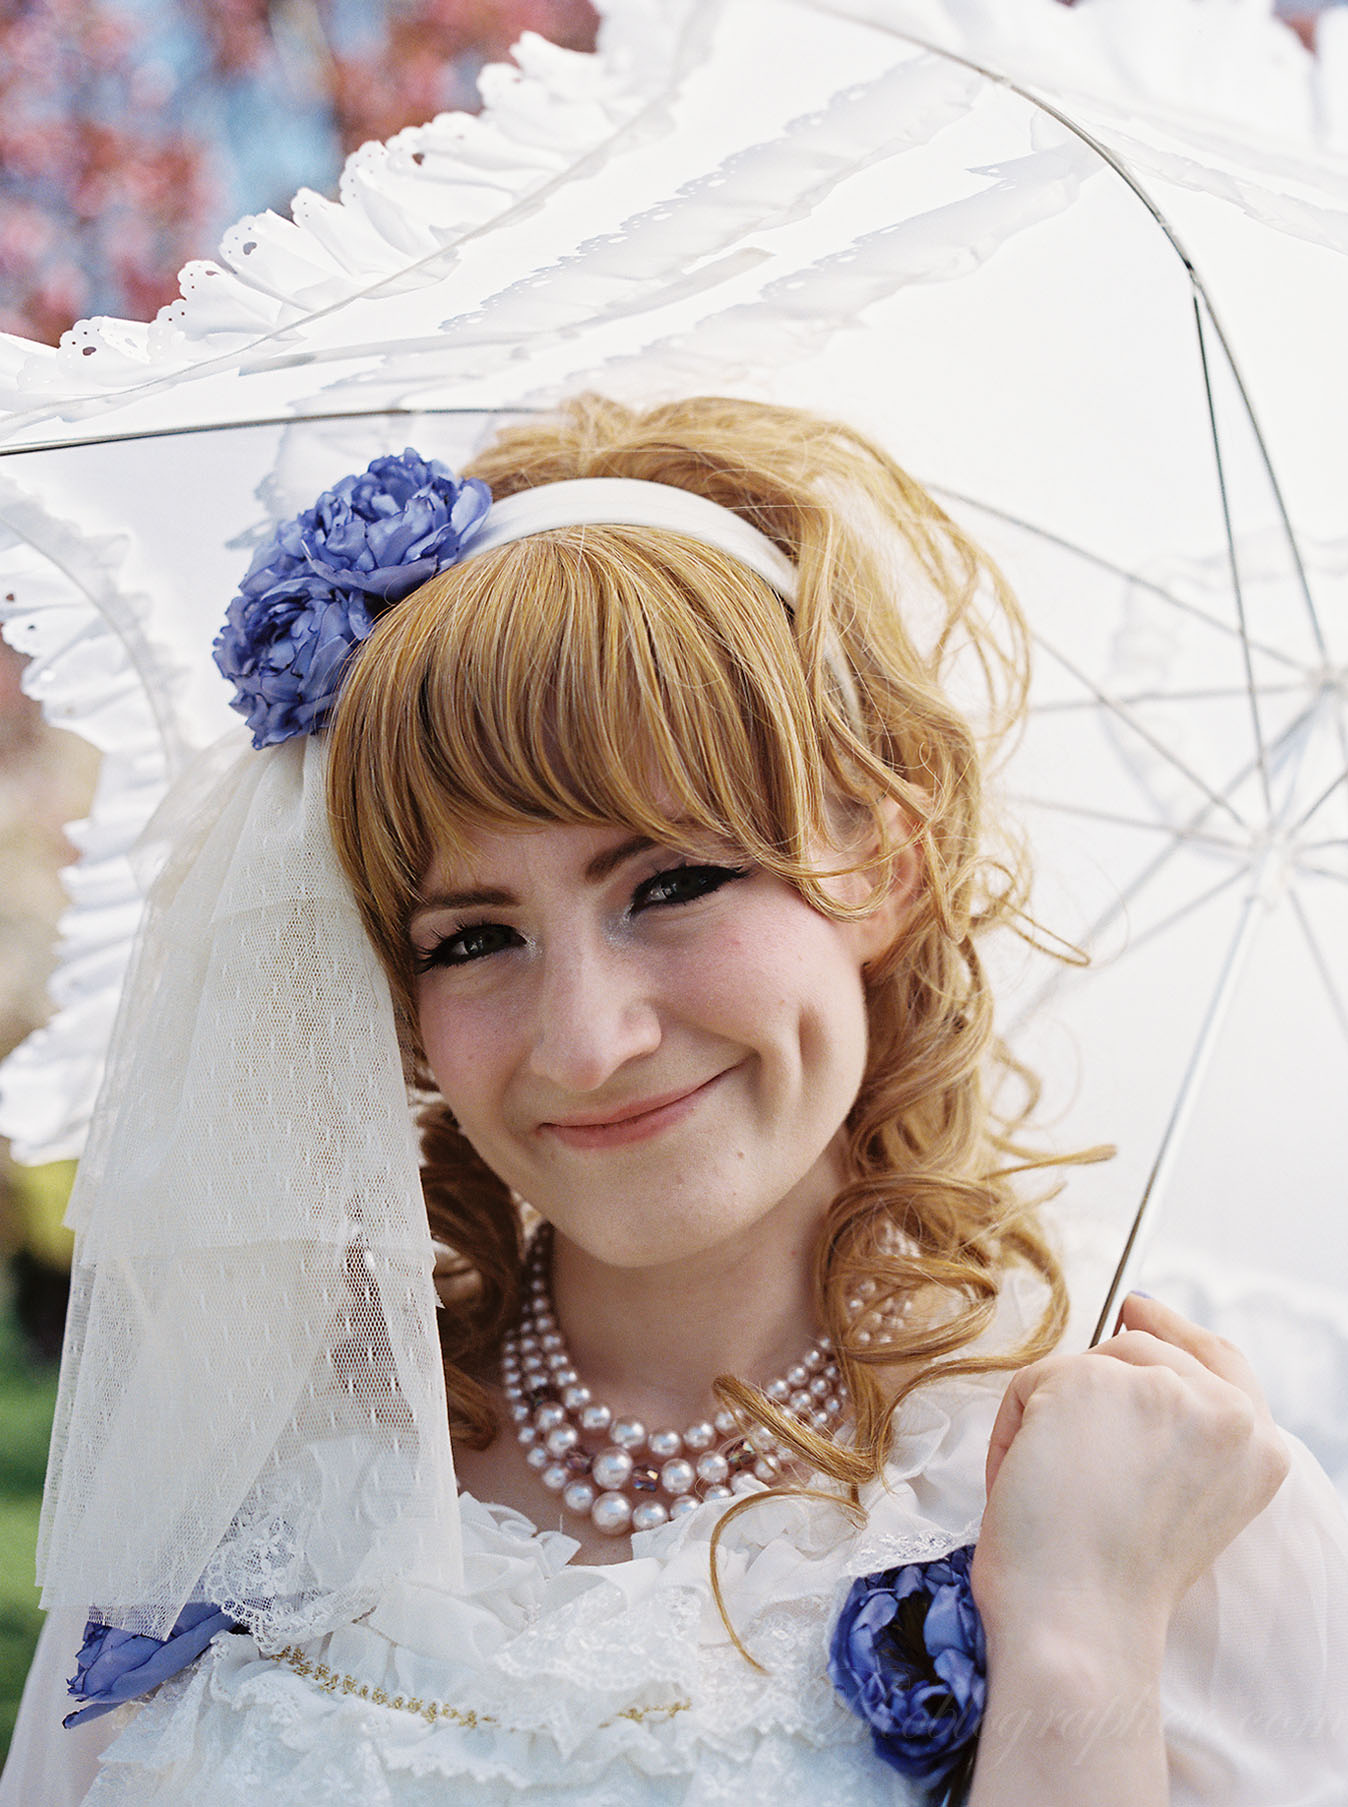
Learn the Basics of Exposure, Composition and Content
Exposure means how bright or dark your image is. There are many factors that determine it such as aperture, shutter speed, ISO, and more. The best way to learn it is to try it out for yourself, make mistakes and observe what it does.
Composition is even more technical, and it teaches you about how to place objects in the frame of your photo. We’ve got awesome piece on this concept for the beginner.
And content? That’s really just about what subject matter is in your photo. You’ll need to figure that one out yourself based on your own creative and artistic vision. The photographers that we highlight in our Creating the Photograph series can help you with this.
But for even more, you can check out all of our useful photography tips.
Get rid of the ads!
Did you enjoy reading this article as much as we enjoyed writing it? There's a way to support us and our reporting, getting ad-free navigation and more as a bonus. Subscribe to us for less than a coffee per month —just $3.99— or take advantage of our yearly subscription with a hefty discount for only $25.- An ad-free experience
- A free mystery box for Lightroom or Capture One
- All the books in our store
- 20% discount on Capture One
- 30% discount on Imalume Photo Theft Protection
- 20% off Herbs and Kettle Tea Company.
- 20% off your order from MPIX printing services.
- 5% off Viltrox Products via their eCommerce store.
- 10% off all film developing, printing and scanning services from Blue Moon Camera and Machine
- 15% off 7Artisans products: The lens and accessory maker is offering a sweet discount for Phoblographer's readers.