
Adobe and Capture One were left behind with software like Topaz DeNoise, On1 NoNoise, and DXO PureRAW, making great strides with clean, effective, and realistic-looking noise reduction. At least Adobe has realized the need to integrate more AI features immediately and has done so in its latest update of Lightroom. It’s not just noise reduction that’s been AI-enabled; photographers will find the recent update to reduce their editing time significantly when working on portraits.
But First, A Lesson I Learned The Hard Way
I’ve got about 13 years of photos in my Adobe Lightroom Classic catalog. Until last year it was my primary post-processing tool until I began using Capture One a lot more. But as Capture One still hasn’t given any indication of bringing out a smartphone app, Adobe Lightroom (not the Classic version) has been my go-to editing software when I’m out and about. So when the opportunity to test out the new Denoise tool on Lightroom arose, I knew I had tons of underexposed, noisy images to use for this review. All I needed to do was to sync those images into a collection on Lightroom Classic and then access that collection on Lightroom. Not quite…
Problem 1
After adding over 60 images to the collection and syncing it to my Lightroom cloud on my Mac Mini, I opened up Lightroom on my Macbook. As the album hadn’t yet synced here, I just picked one of the images already on the app and scrolled down to the Detail panel. There it was, a sparkly new button that promised to make grainy color noise a worry of the part. “Reduce noise with AI,” read the caption below it. I clicked on it as I prayed for Adobe to add sensor spot removal under its AI-enabled tools soon. Surprisingly, the results blew me away.
An underexposed image that I edited about a year ago, which had loads of color noise in the shadow areas and a lot of the mid-tone regions, was also visibly wiped clean of all noise. It did this with more naturality than any other noise-reduction software I had seen before. Topaz Denoise does a great job too, but it often makes the images feel too smooth. Devoid of detail, even in some areas. Lightroom didn’t give me that kind of result with this image. It looked great, and more importantly, like there was no editing done to remove noise. The level of detail that it retained was just incredible.
This Wasn’t Expected At All
Riding this euphoric wave of discovery, I clicked on the next image that I decided to try Denoise on and scrolled down, only to see something rather shocking.
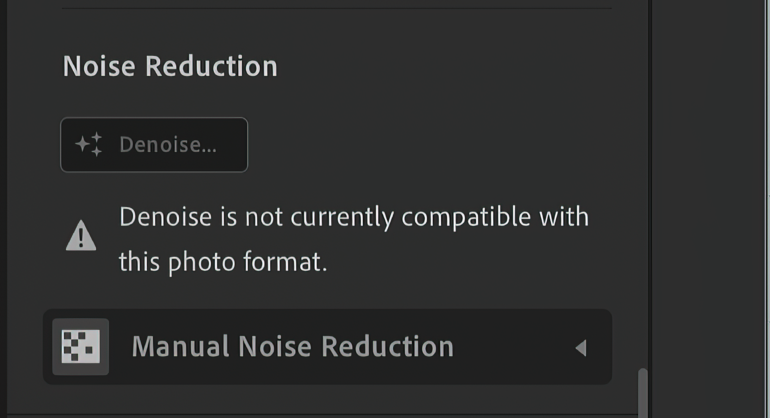
“That’s not very useful,” I thought to myself, realizing that most of us with noisy images would probably realize that most of them are jpegs. It’s so much easier to reduce noise in raw files that have oodles more data in them than jpegs. Why would Adobe cripple its latest AI tool in this manner?
I do think that Adobe could have waited to release Denoise after it added jpeg compatibility. With some clever manipulation of its existing noise reduction sliders, it’s not complex to reduce noise in raw files already. I need that AI power to work on jpegs more than anything right now. Countless jpegs from my catalog need this tool right now. This brings me to the second problem (unrelated to the latest update but significant, nevertheless).
Problem 2
By now, the cloud sync of the collection had been done. Yes, there were some jpegs in the collection, which by now I realized I couldn’t use Denoise on. So I then filtered the raw files in the collection that I had just synced and found a handful of high-noise files to work on. Scrolling down to the Denoise button, I found no indication that I was about to hit a roadblock.
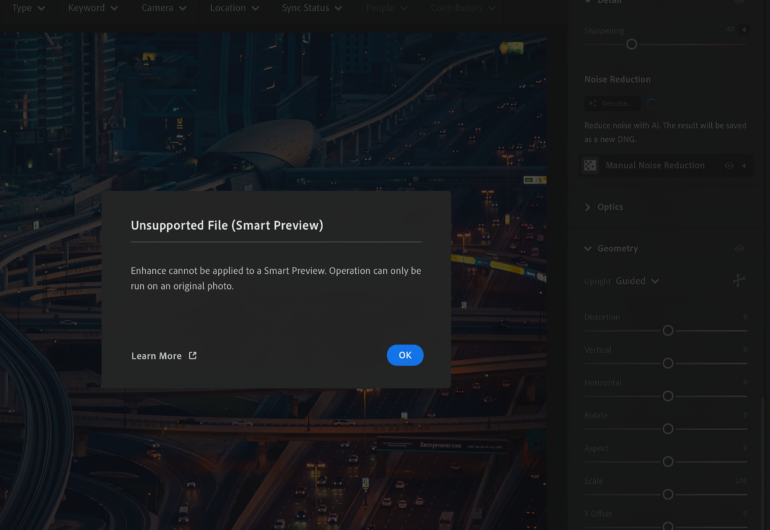
One by one, each file in the collection that I tried to apply Denoise on gave me this error. 45 minutes later, after a long call with Adobe’s support team, I learned something new. It turns out that Lightroom Classic does not sync the entire raw file to the cloud. All it does is push a “smart preview” of the file for you to view on any device. Any edits you apply are done on this preview, not the raw file itself.
Suddenly, I had 52 smart previews sitting in Lightroom that I couldn’t work on. The support rep clearly stated that there was no way of forcing the raw file to the cloud, even if ample space was left in your Adobe plan. “Sir, you can use Denoise on Lightroom Classic directly,” he told me when I tried to explain what I was trying to do. I took each of those files along with their XMP sidecars and imported them into Lightroom directly. Luckily for me, there were no more surprises.
The first couple of AI features reviewed below are currently available for the desktop versions of Lightroom and Lightroom Classic. I hope that they’re extended to mobile versions soon.
Gear Used
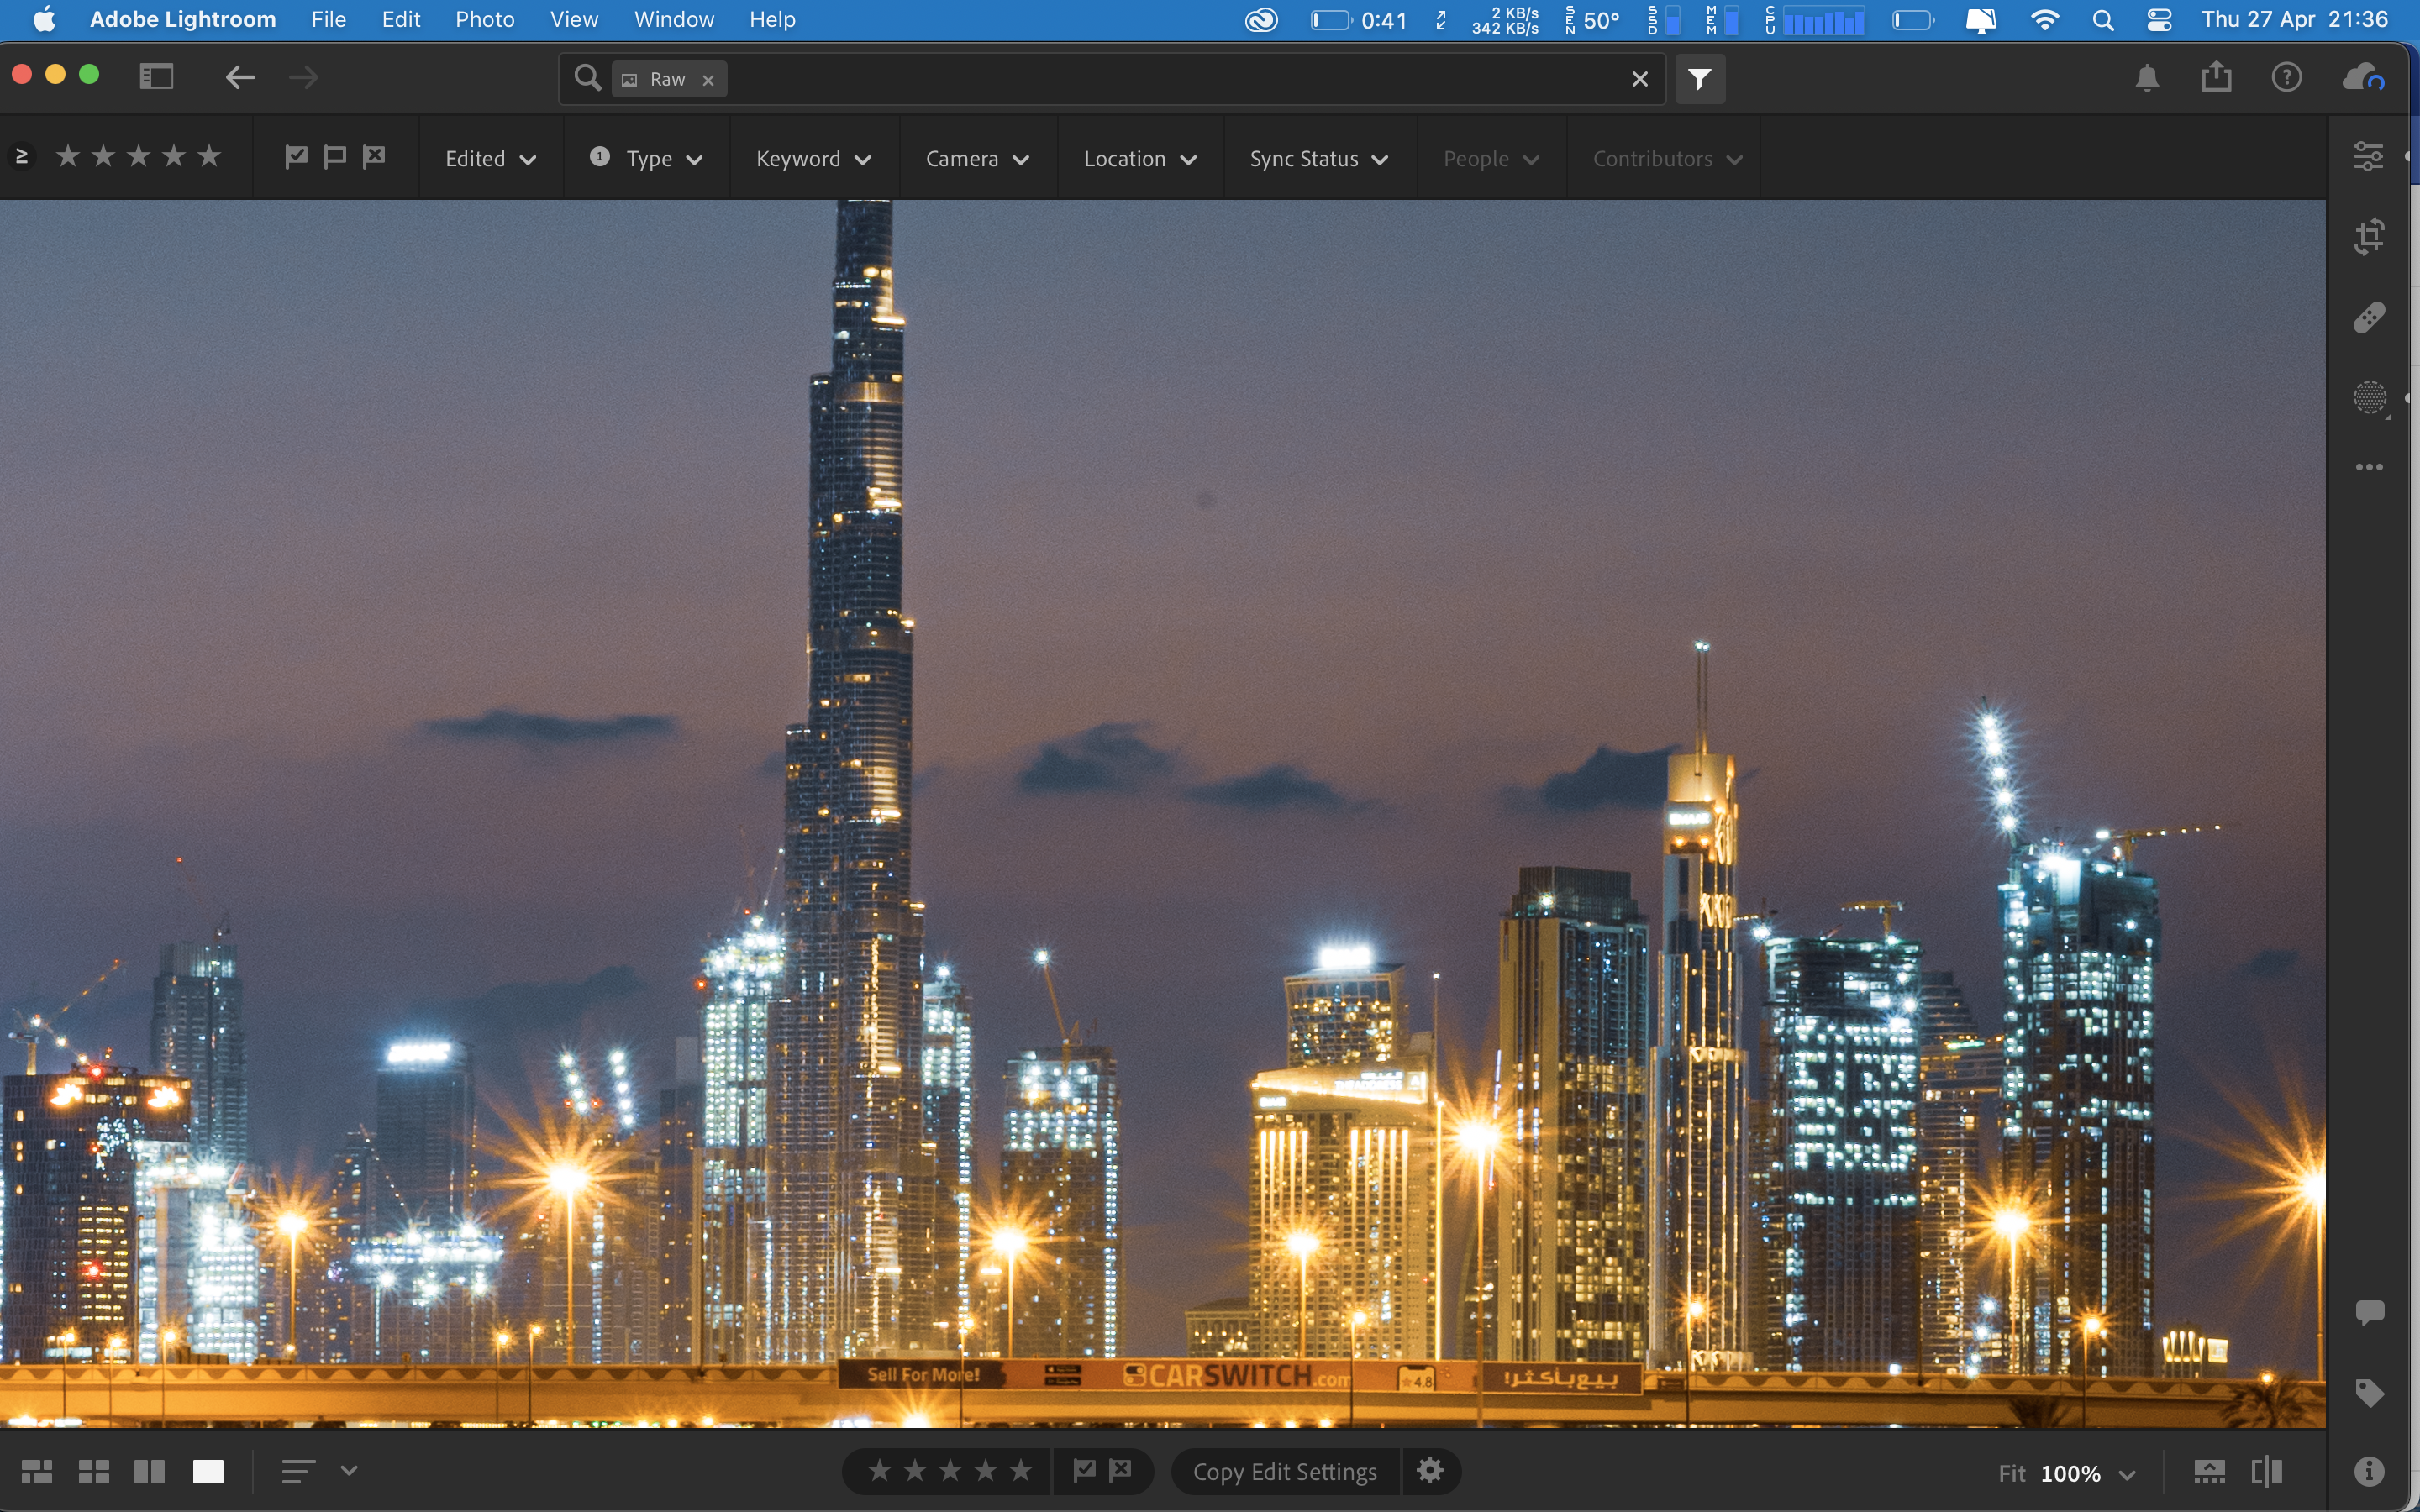
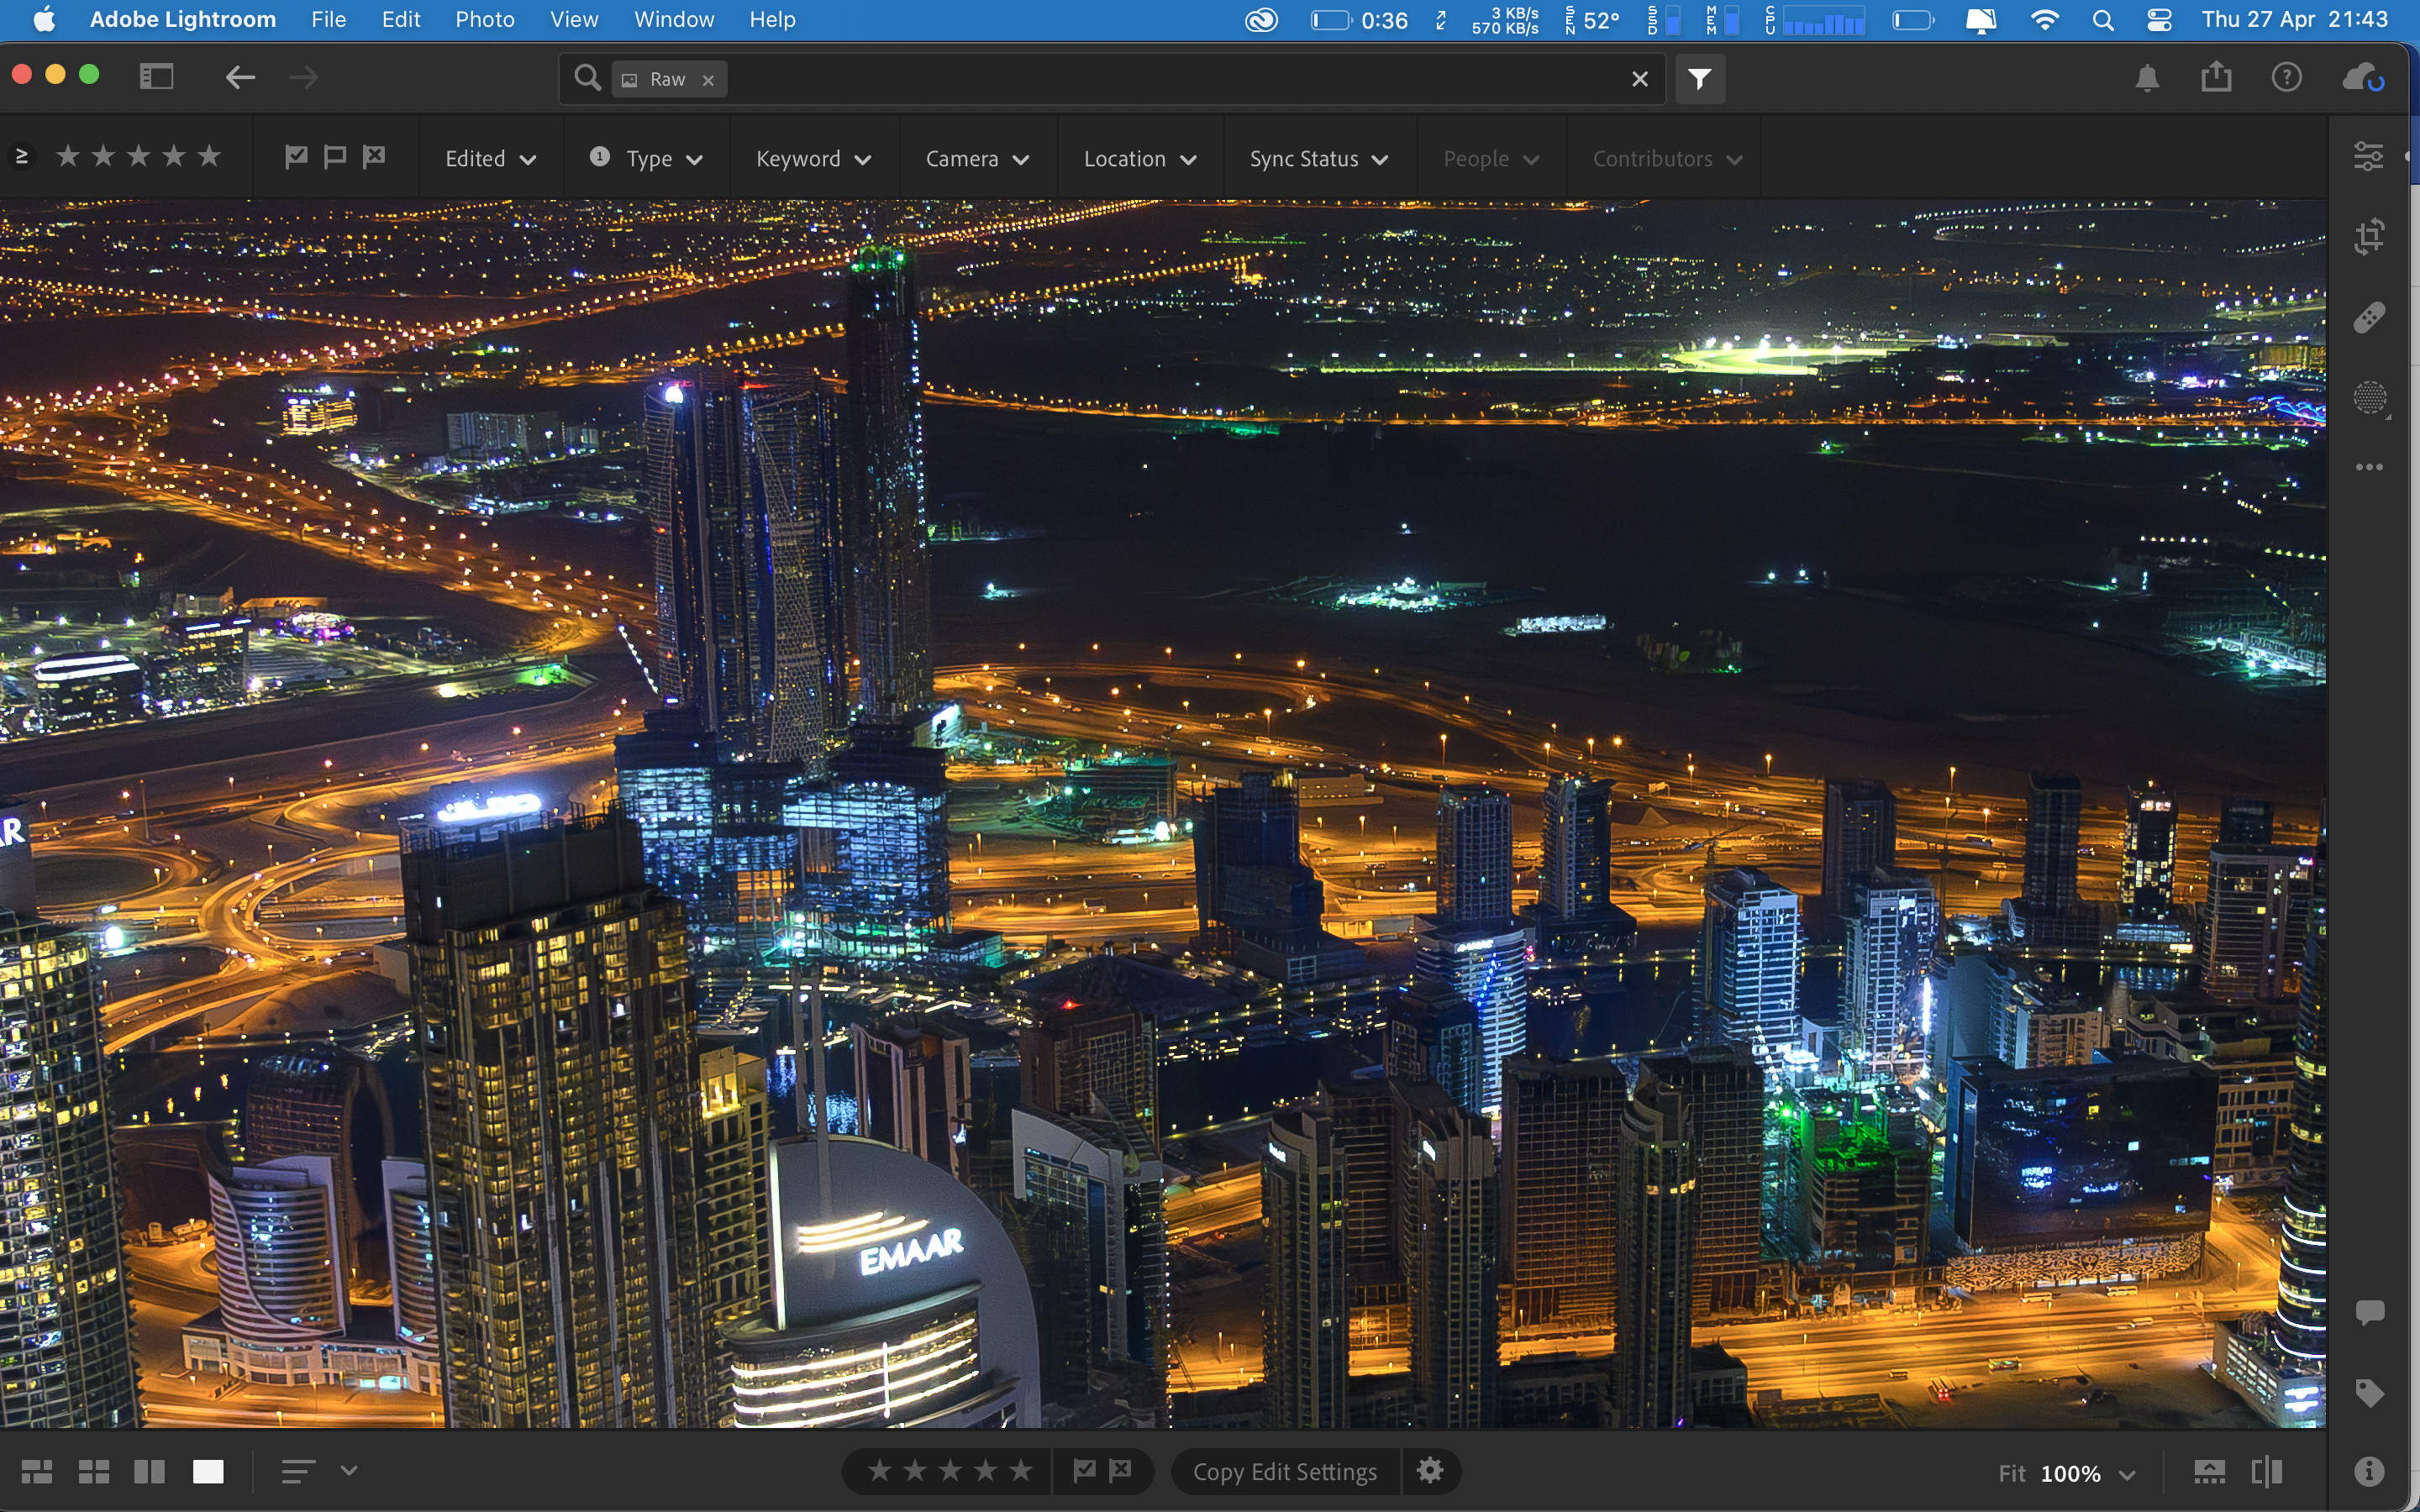
I tested Adobe Lightroom (not Classic) version 6.3.1 on my M1 Macbook Air, running macOS Ventura 13.3.1. Except for two, all files tested were NEF raw files from various Nikon cameras I’ve owned over the last 14 years. The other two were taken on my Huawei P30 Pro smartphone.
Denoise AI
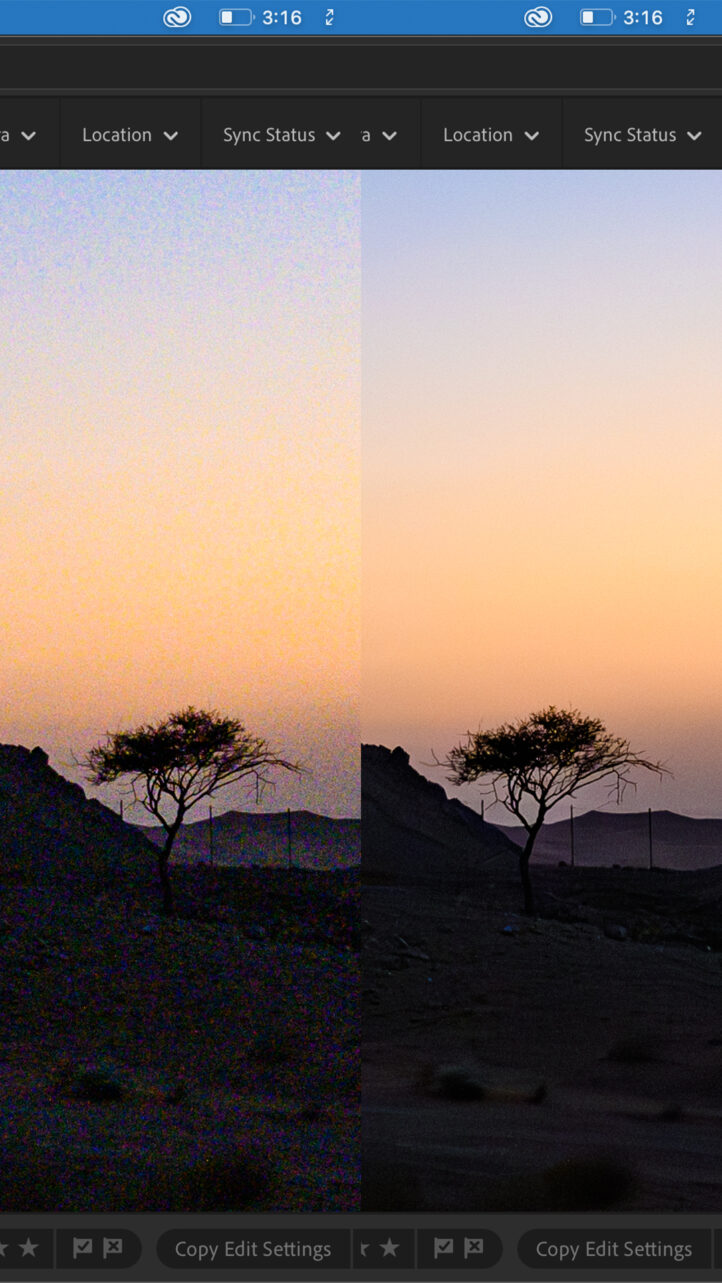
The screengrabs below will clearly illustrate the amount of noise in the shadows and the skies, which manifested when I tried to correct the exposure of this photograph.
These are screenshots at 100% zoom of two sides of the first photograph I used Denoise on.
Denoise falls under the “Enhance” category of Adobe enhancements. The first of these we were introduced to last year as part of their Super Resolution feature. Under the Denoise button, you’re notified that the enhanced image will be saved as a separate DNG file alongside the original. Clicking on the button brings up a popup window.

You’re prompted with a slider where you can select the level of noise reduction that you’d like to apply. This is aided by a preview of the result and an estimated time for processing. I went with 64 for this image and clicked Enhance. An indicator at the top of the Lightroom window shows how much longer the process will take.
I began to monitor the system resource usage for Adobe Lightroom, which kept fluctuating. And then, around 3 minutes later, with no warning, the NEF file was suddenly replaced by a DNG file. And oh, what an immaculate look it had.

Wow. Where Did The Noise Go?
Was there any noise? Yea, if you pixel-peeped, you could probably see some. But the level of detail that Lightroom retained was crazy good. If I had run this through Topaz Denoise, I know the skies would have come out looking similar, but there would have been a lack of detail in the shadows. Denoise did something unique to my file, and I can probably make a large print of this for my home now.


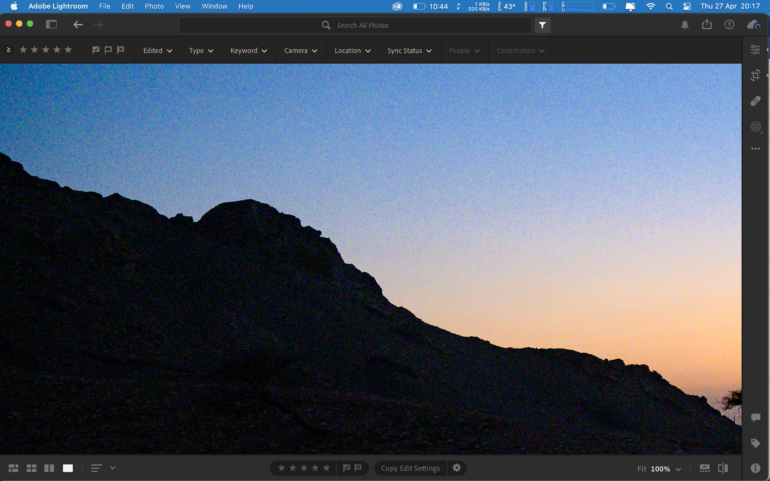
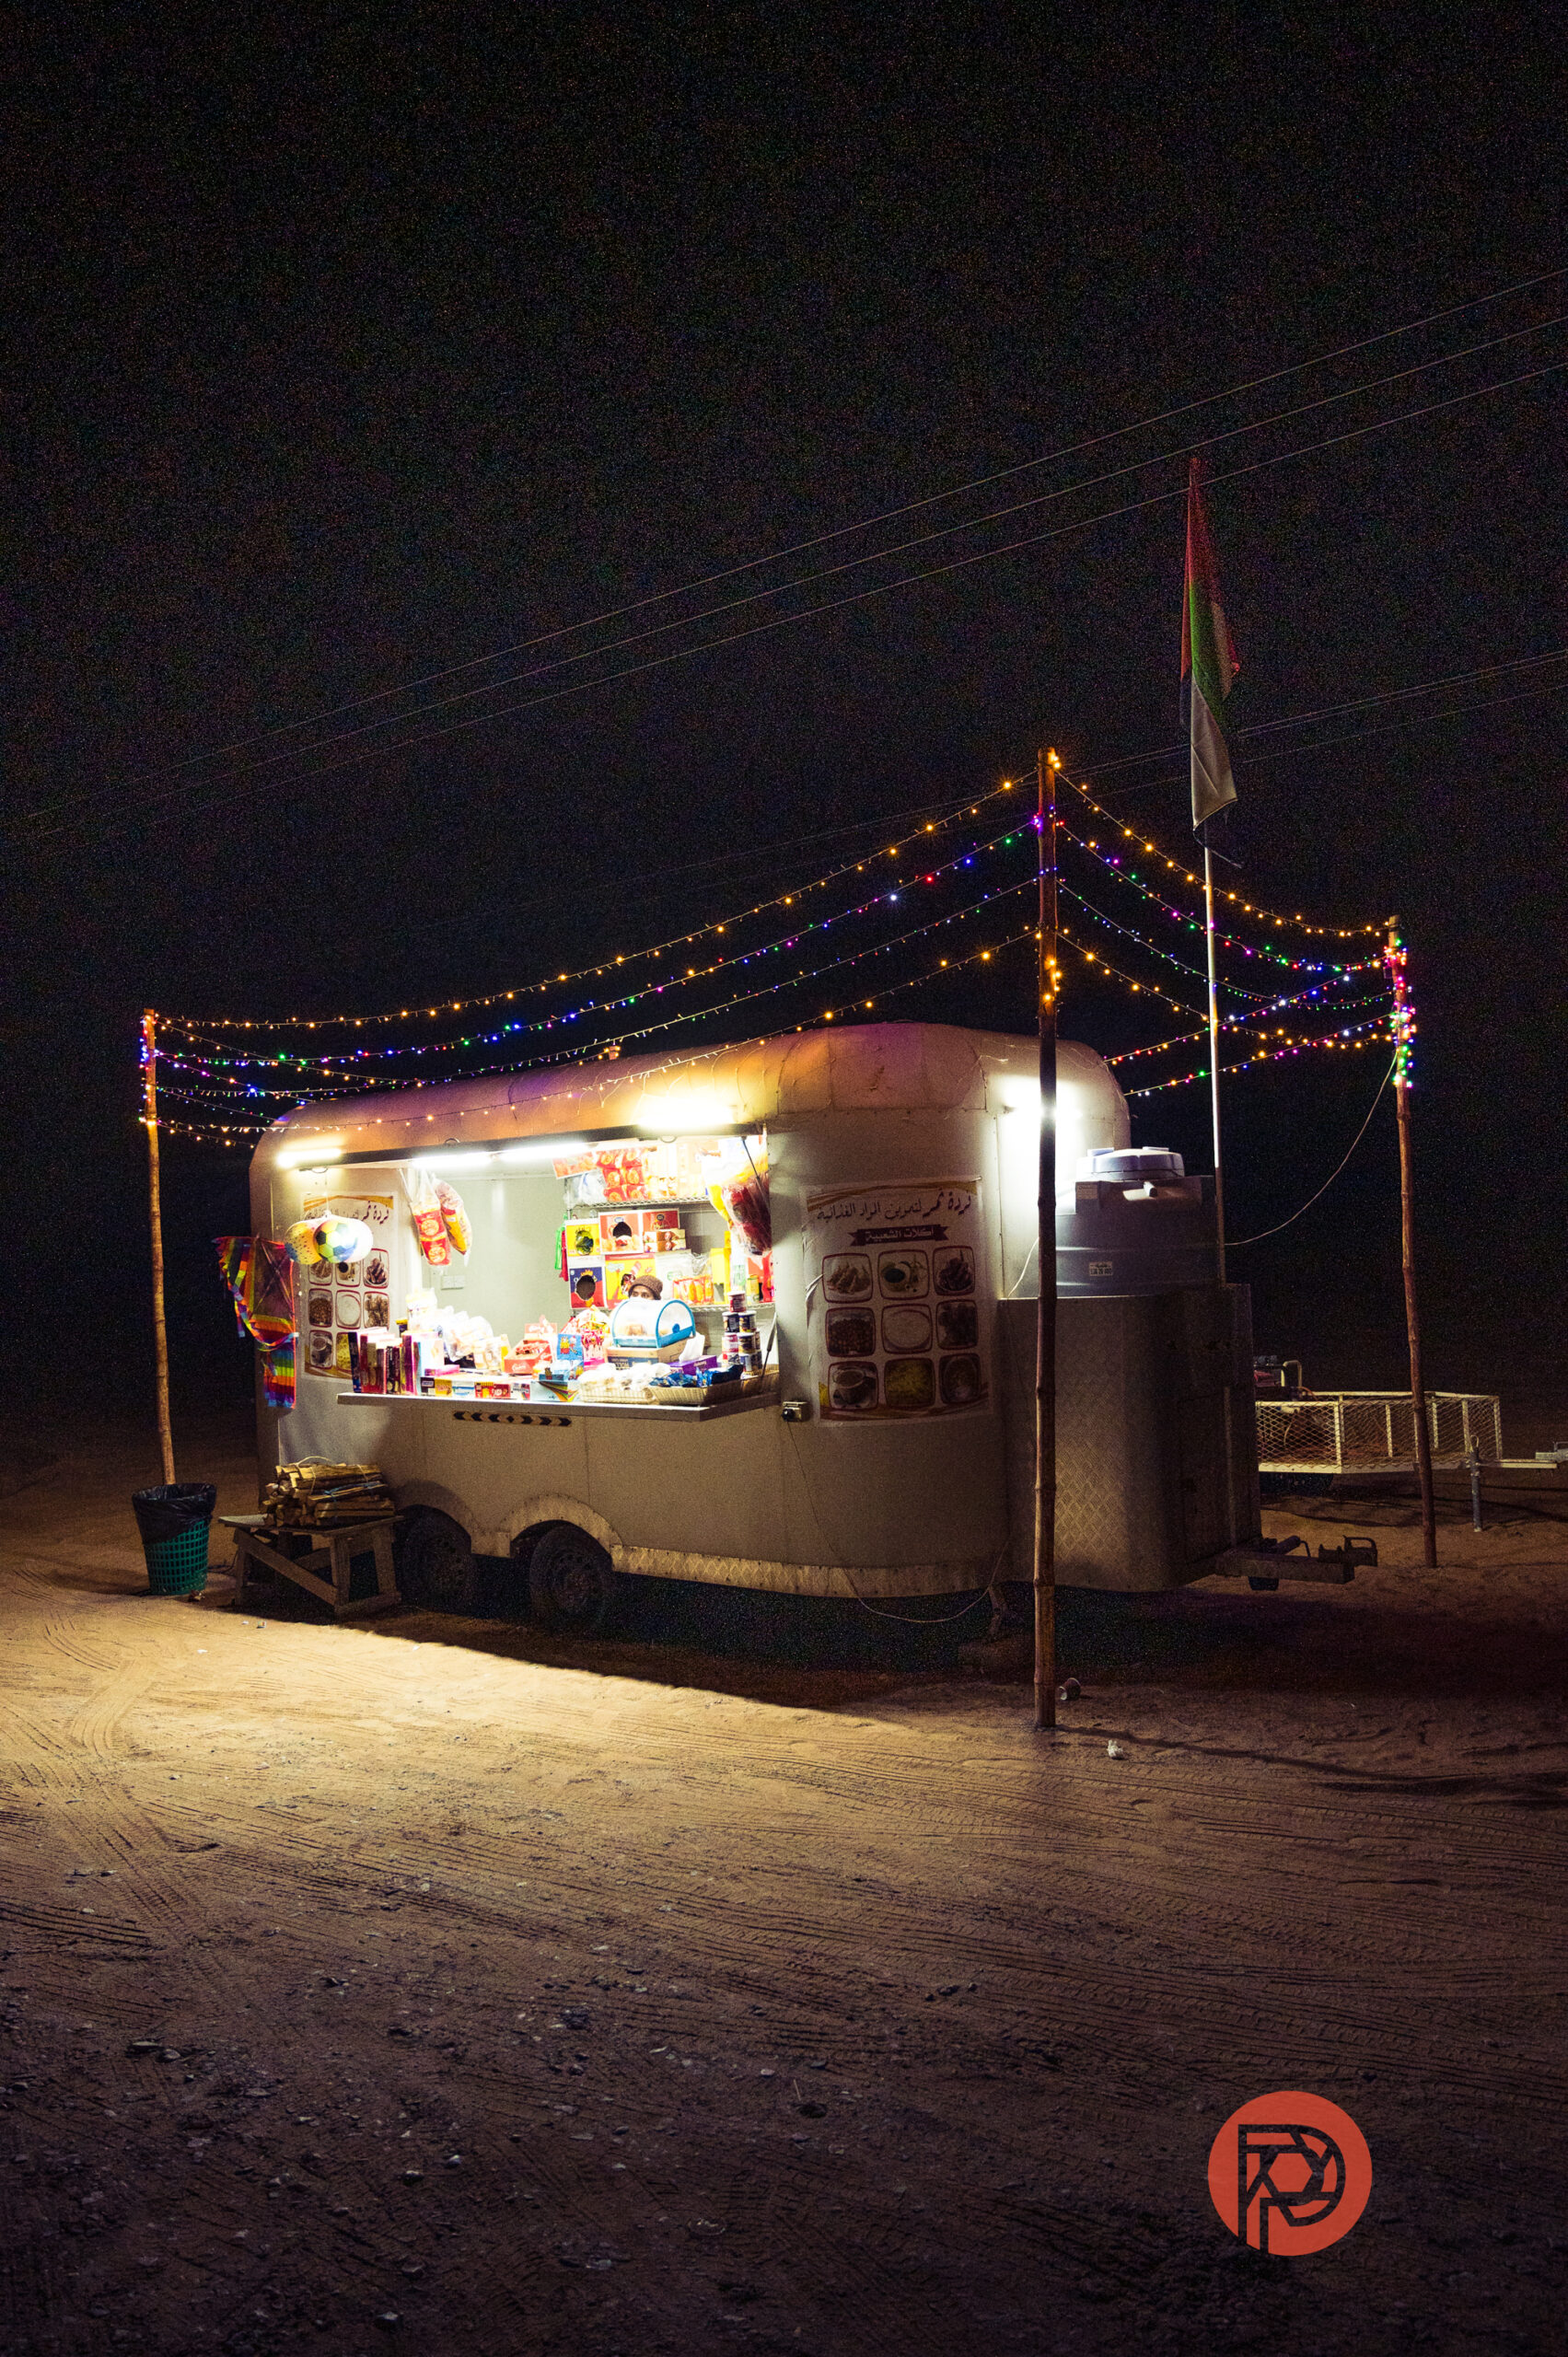
The next file I decided to try wasn’t in my synced collection but rather a DNG file from my smartphone. Technically this was the raw format for my phone’s camera. Taken in a dark street one evening, the skies were noisier than usual when I edited the photo. What could Denoise do here? Would all the green noise that spilled to the sky from the signboard be cleared out?


Definitely a lot better than I expected, and reducing all that noise meant that the image became ever so slightly darker than the original. Two images in a row that Lightroom had aced with Denoise.
There’s Room For Improvement
I then chanced upon a photo of a neon-lit shampoo dispensing machine (yes, you read that right), which I’d snapped just a few weeks ago. I wasn’t happy with how the noise turned out in all areas of this image. Denoise did great with the earlier photos, and I was hoping it would perfect this image as well for me.

The preview window didn’t look too promising. It actually seemed to make it look worse. Blotchier, around the light. I pulled the slider to the 90 mark and ran it.
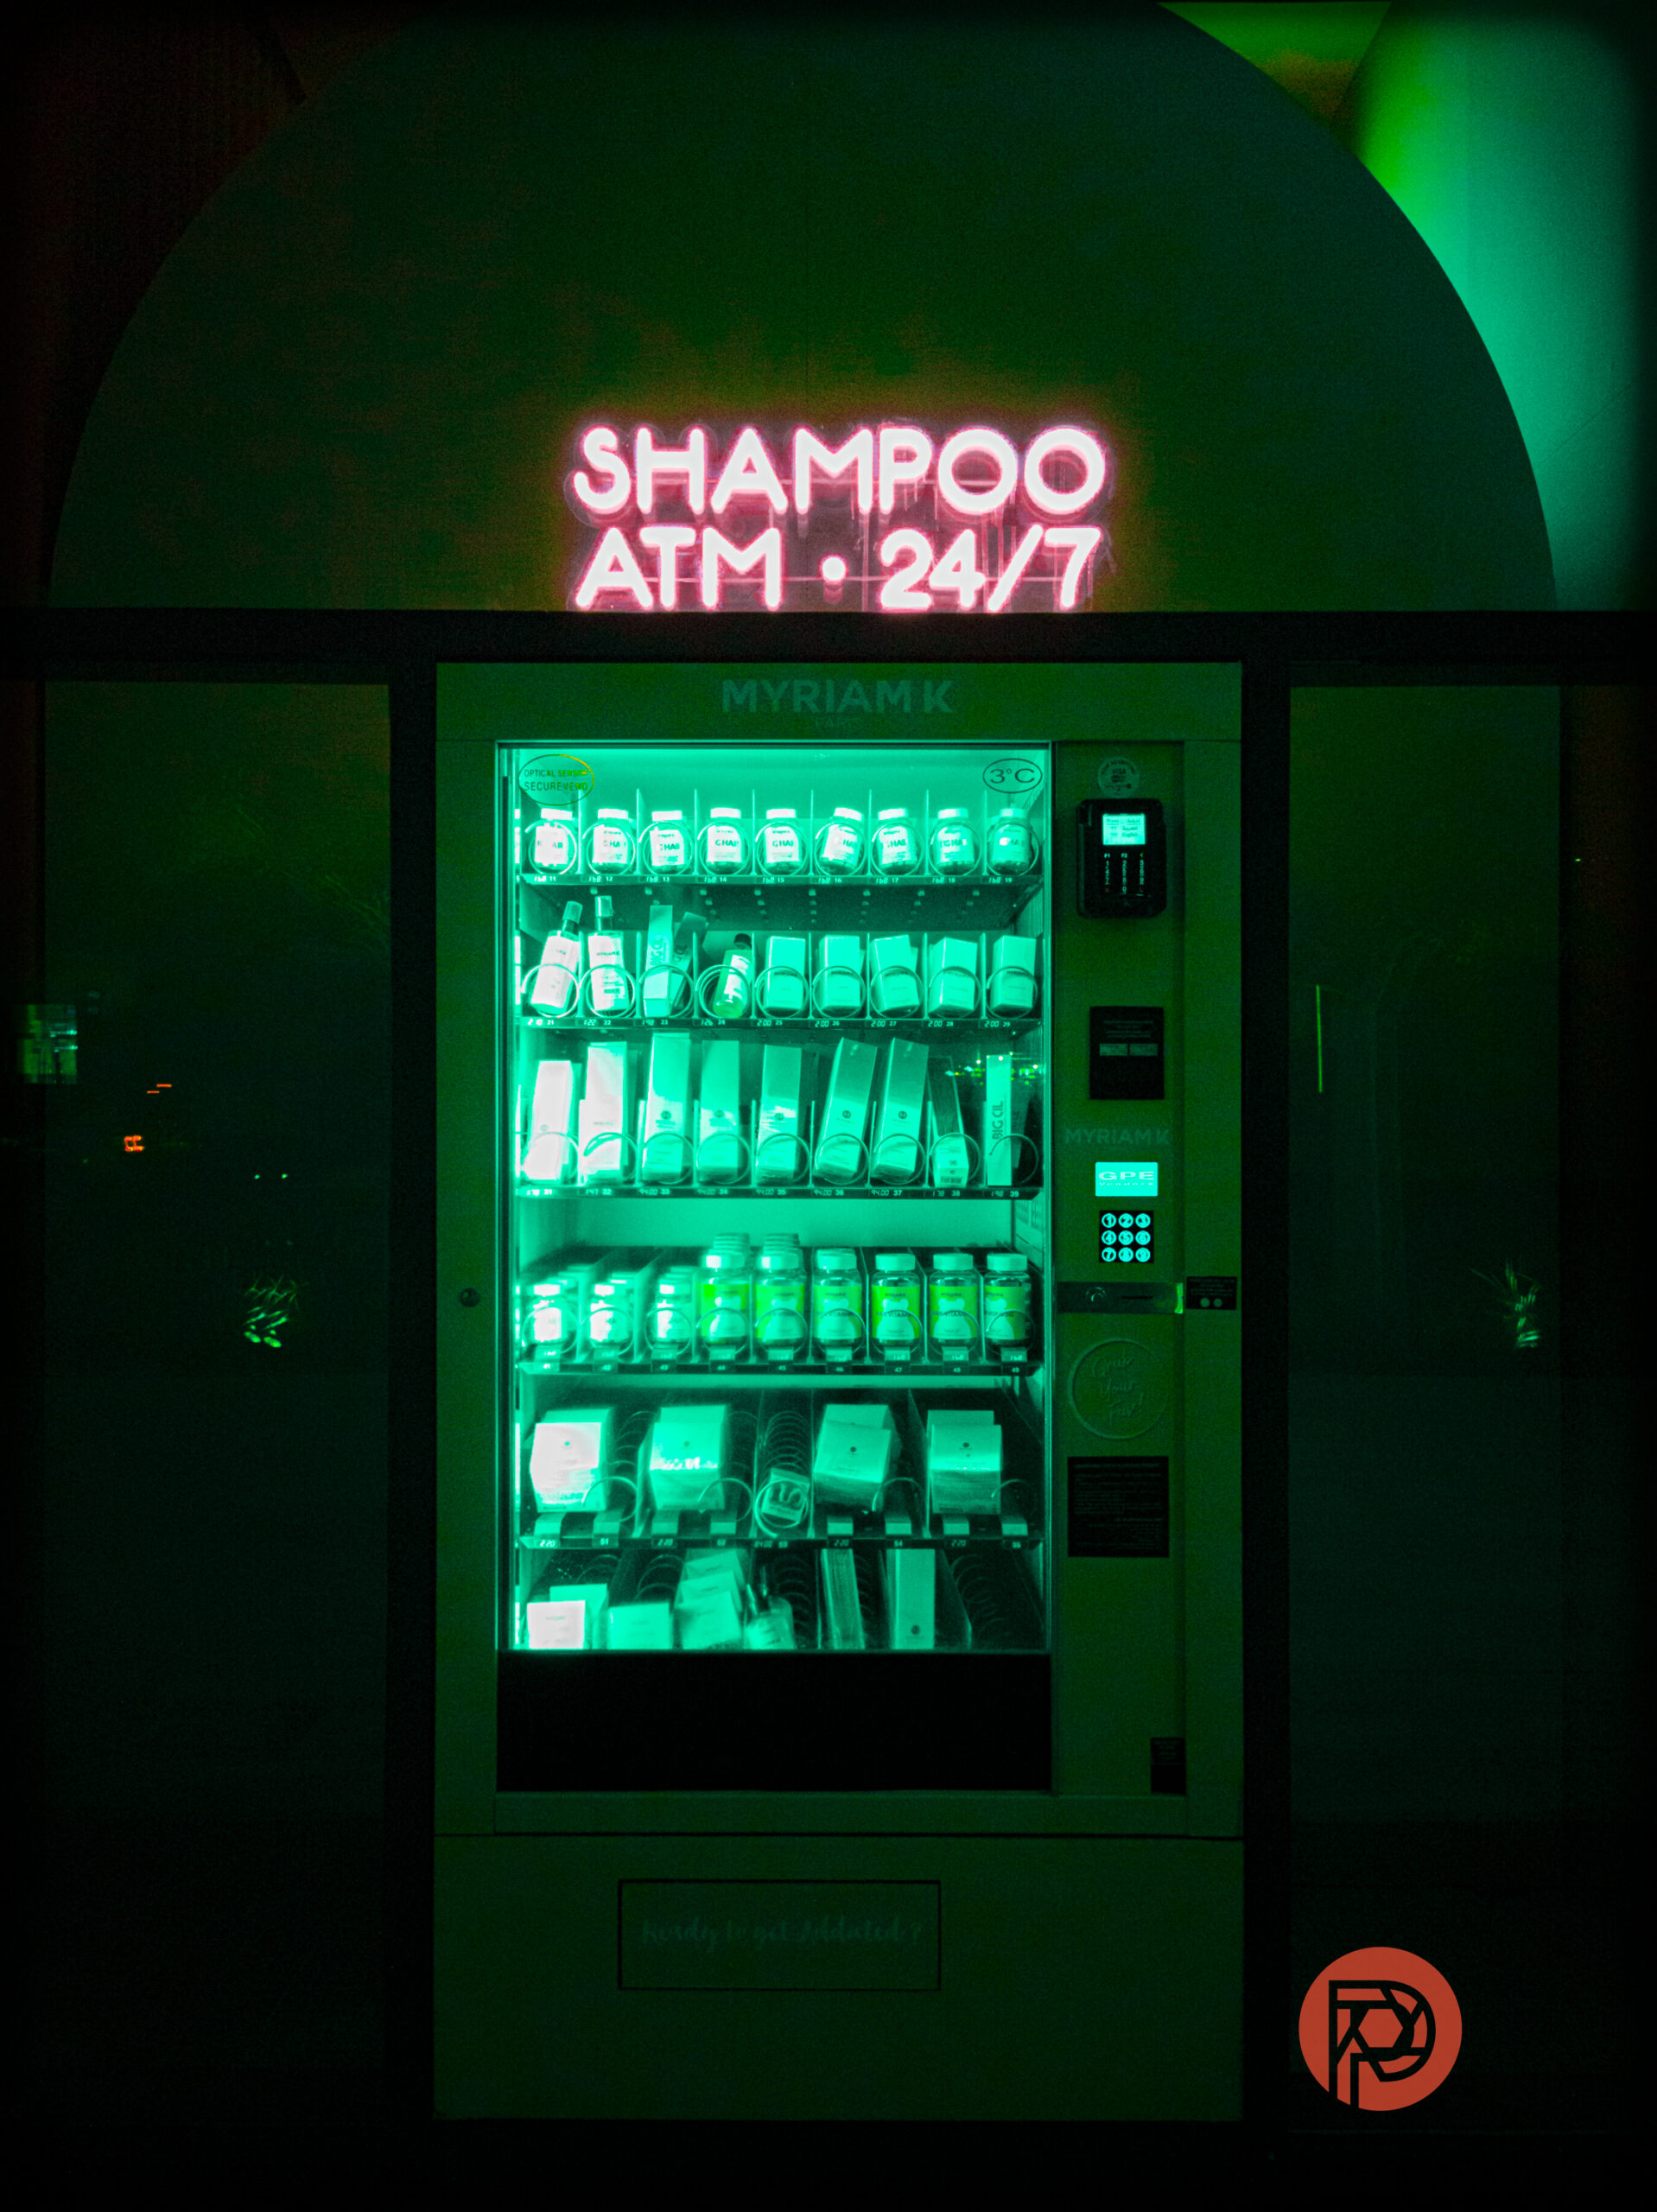

My fears were proven right when the enhanced image turned up. A lot of the shadow areas looked worse than in the original image. Still, AI is far from perfect and can only get better with time.
Below are some more Denoise before/after comparison images


Overall, I’m pretty pleased with Lightroom’s results with Denoise. They work for the most part, especially with removing fine grain in most photos. It’ll take a while for the AI to get trained to understand how to remove noise across various parts of an underexposed photograph. But as it stands, if you’re not paying a fee for Topaz or other similar noise-reduction software, you could save quite a bit by not doing so. Denoise comes as part of your existing Adobe plan.

AI Masking Enhancement Updates
Our January review of Adobe Lightroom noted how exceptional the AI masking selections were. Lightroom has further enhanced these to make it easier to edit your portraits.
Select the People mask feature, and once Lightroom detects a person, you get to pick from a choice of AI-generated masks that are pretty accurate.

Look how much easier it is for me to darken my beard in photos!

There’s even a mask that you can use to correct exposure and other details in your clothing.

It even works when there are many people in the frame. Here’s one with me and a few of my friends. With just a few clicks, I could create a mask for my clothing and adjust its exposure right away.
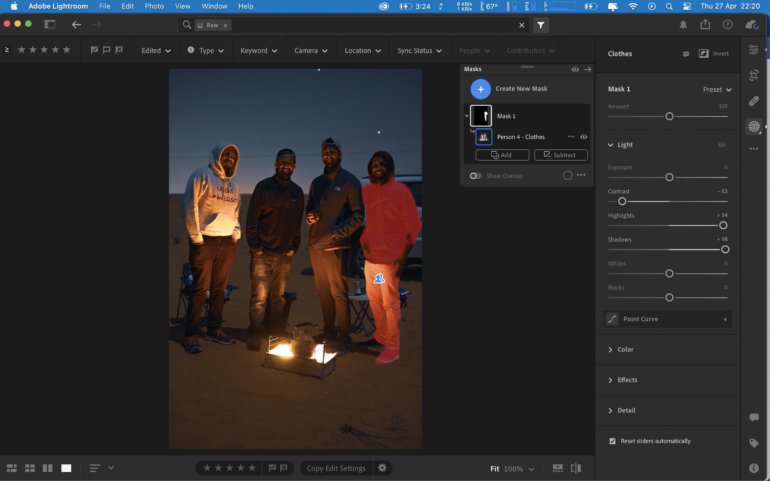
Use the Point Curve feature for even more precise adjustments
Adaptive Portrait Presets
Thanks to the new AI portrait masking features, you can get new adaptive presets like Enhance Clothes, Darken Beard, and many more. These aren’t just available for Lightroom desktop; you can get them in Lightroom for mobile (iOS and Android) as well.
Capture One – The Ball Is In Your Court
I hope Capture One is nervous because they should be at this point. Not only do they not yet have Capture One on Android and iPhone devices, but they are also sorely lacking behind with AI integration into their main app.
Get rid of the ads!
Did you enjoy reading this article as much as we enjoyed writing it? There's a way to support us and our reporting, getting ad-free navigation and more as a bonus. Subscribe to us for less than a coffee per month —just $3.99— or take advantage of our yearly subscription with a hefty discount for only $25.- An ad-free experience
- A free mystery box for Lightroom or Capture One
- All the books in our store
- 20% discount on Capture One
- 30% discount on Imalume Photo Theft Protection
- 20% off Herbs and Kettle Tea Company.
- 20% off your order from MPIX printing services.
- 5% off Viltrox Products via their eCommerce store.
- 10% off all film developing, printing and scanning services from Blue Moon Camera and Machine
- 15% off 7Artisans products: The lens and accessory maker is offering a sweet discount for Phoblographer's readers.