
Getting sharper images from manual focus lenses is incredibly rewarding.
“Patience is a virtue,” is a quote that I’m convinced was first said by someone who used manual focus lenses. I’m kidding, but the proverb rings true for photographers. Many of us are impatient. And if you enjoy your photography hobby, you should relish the time. If you’re a professional photographer, then you most likely know how to make the most of manual focus lenses. Most importantly, the passionate photographers among us genuinely care about the artistic methods involved in shooting photos. Everything else around us is so automated and electronic. Sometimes, it’s nice to go back to the analog ways and do things ourselves. That’s why creating photos with manual focus lenses can be so rewarding.
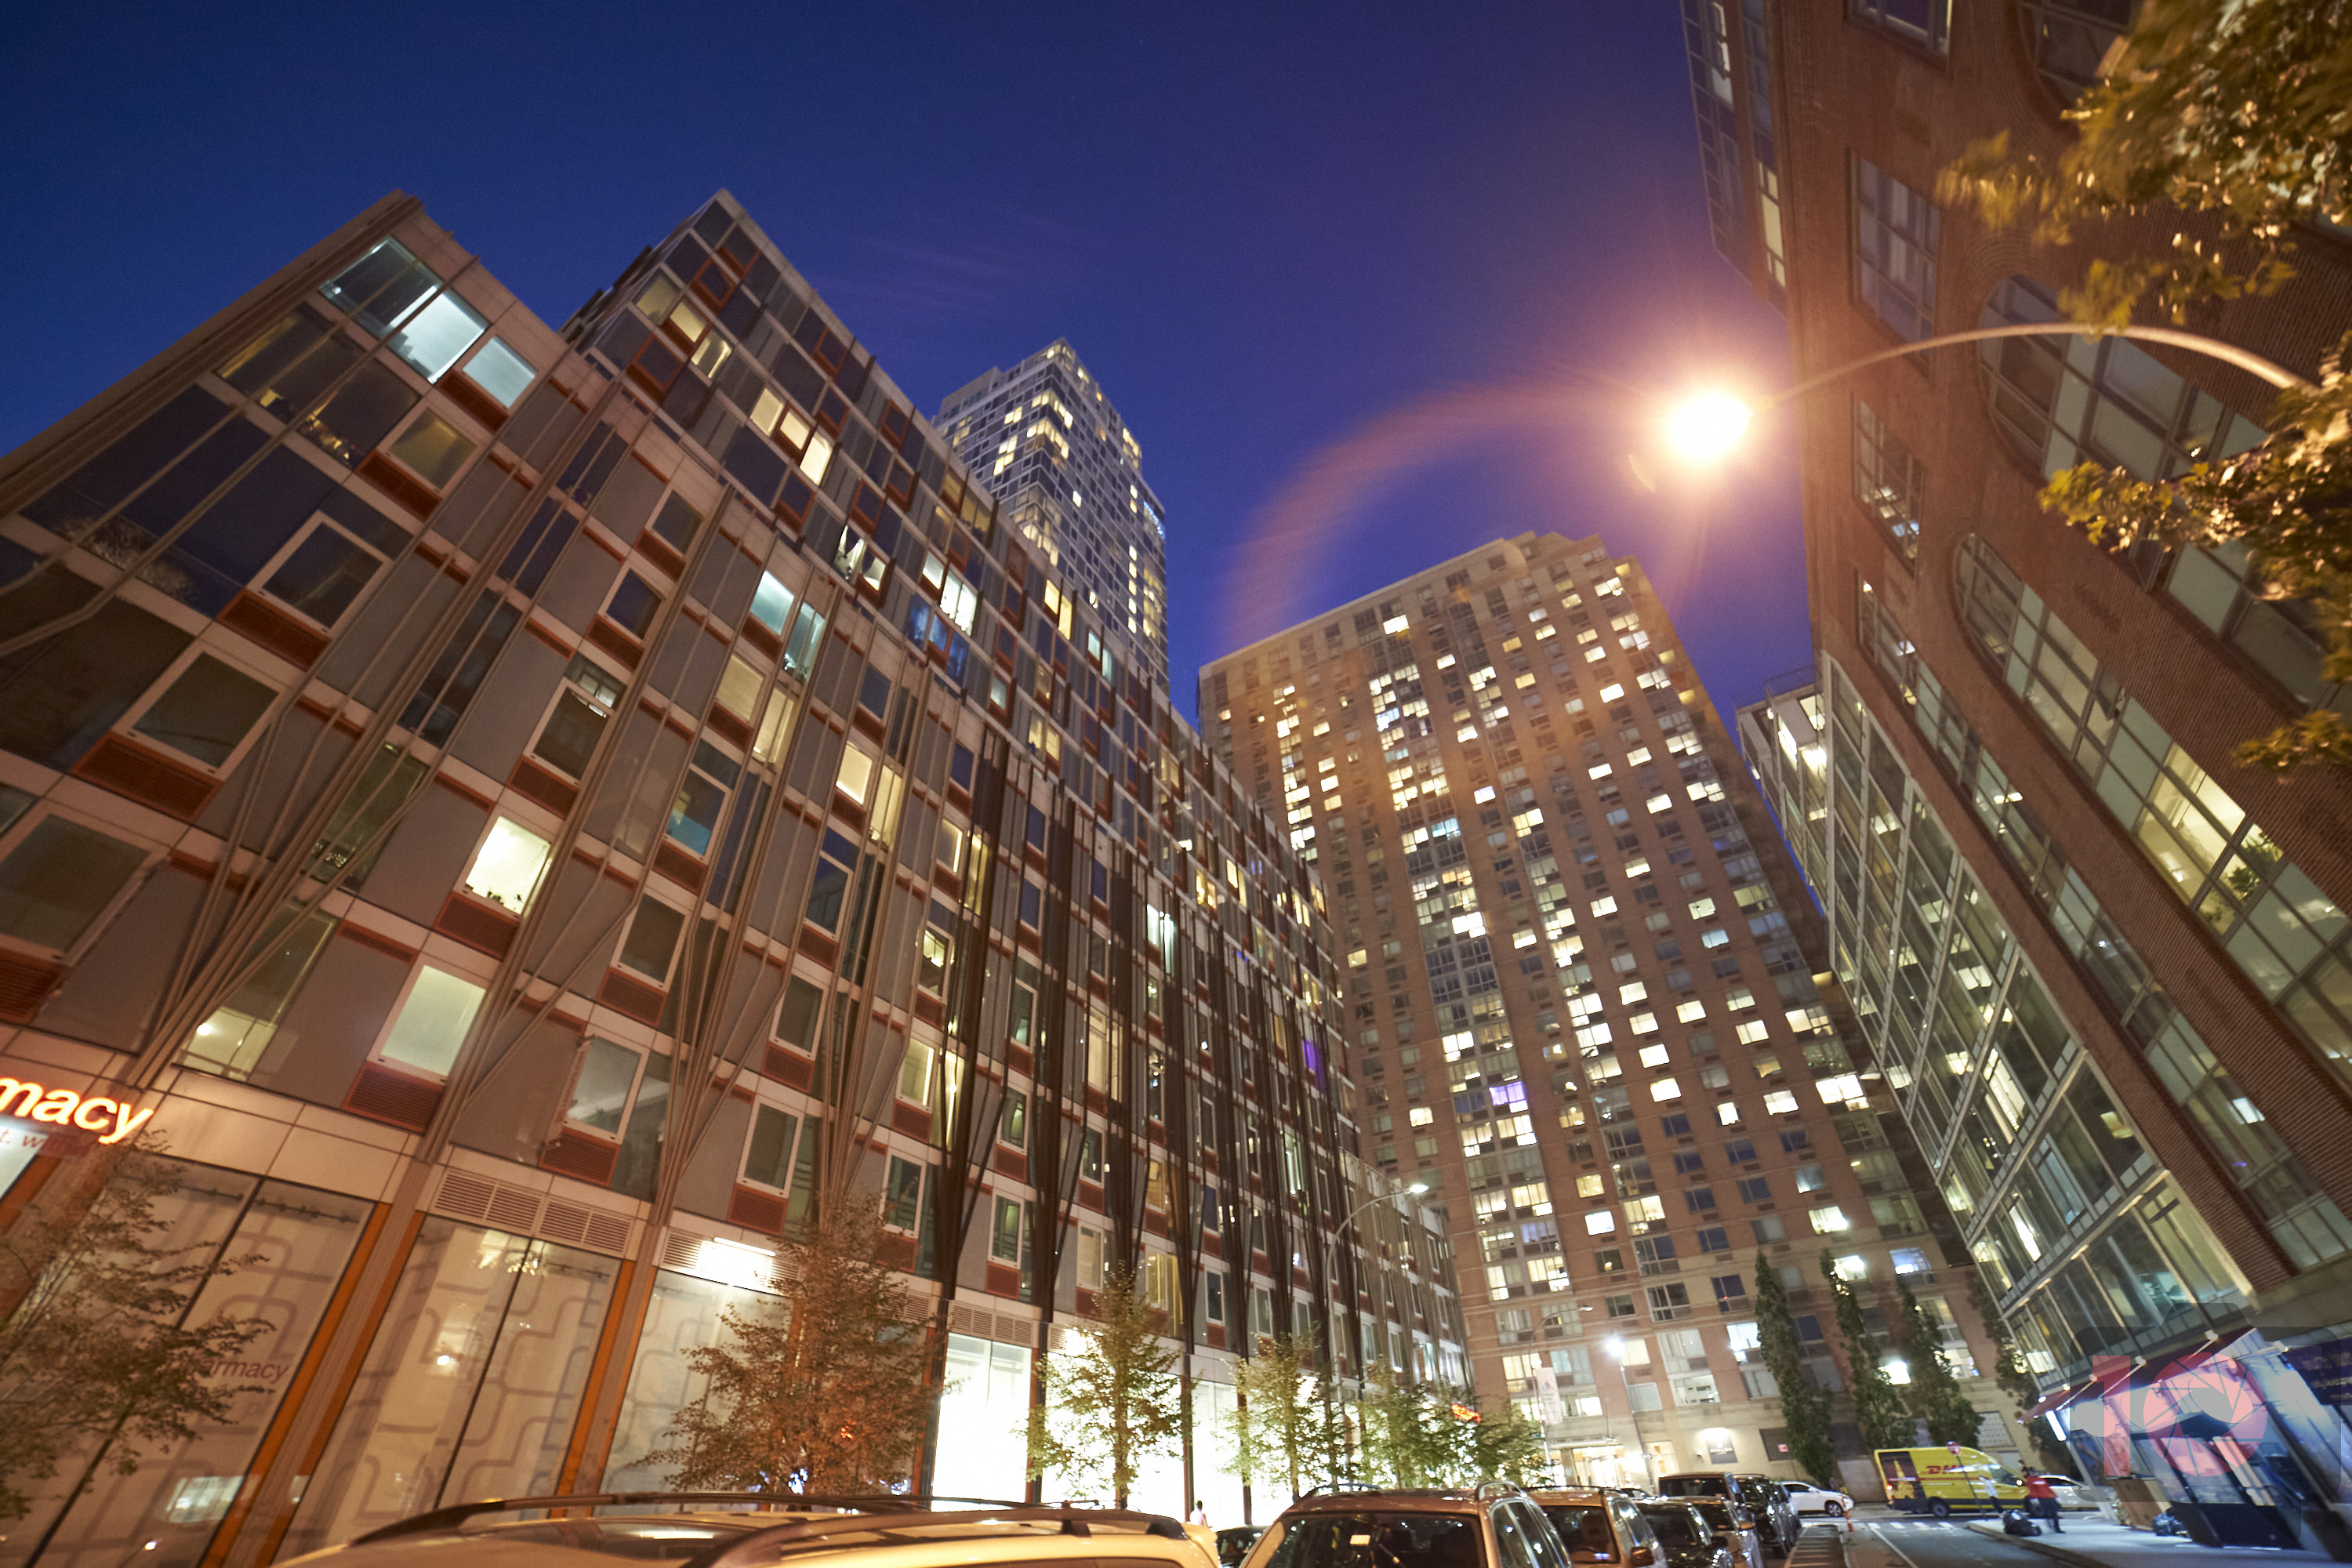
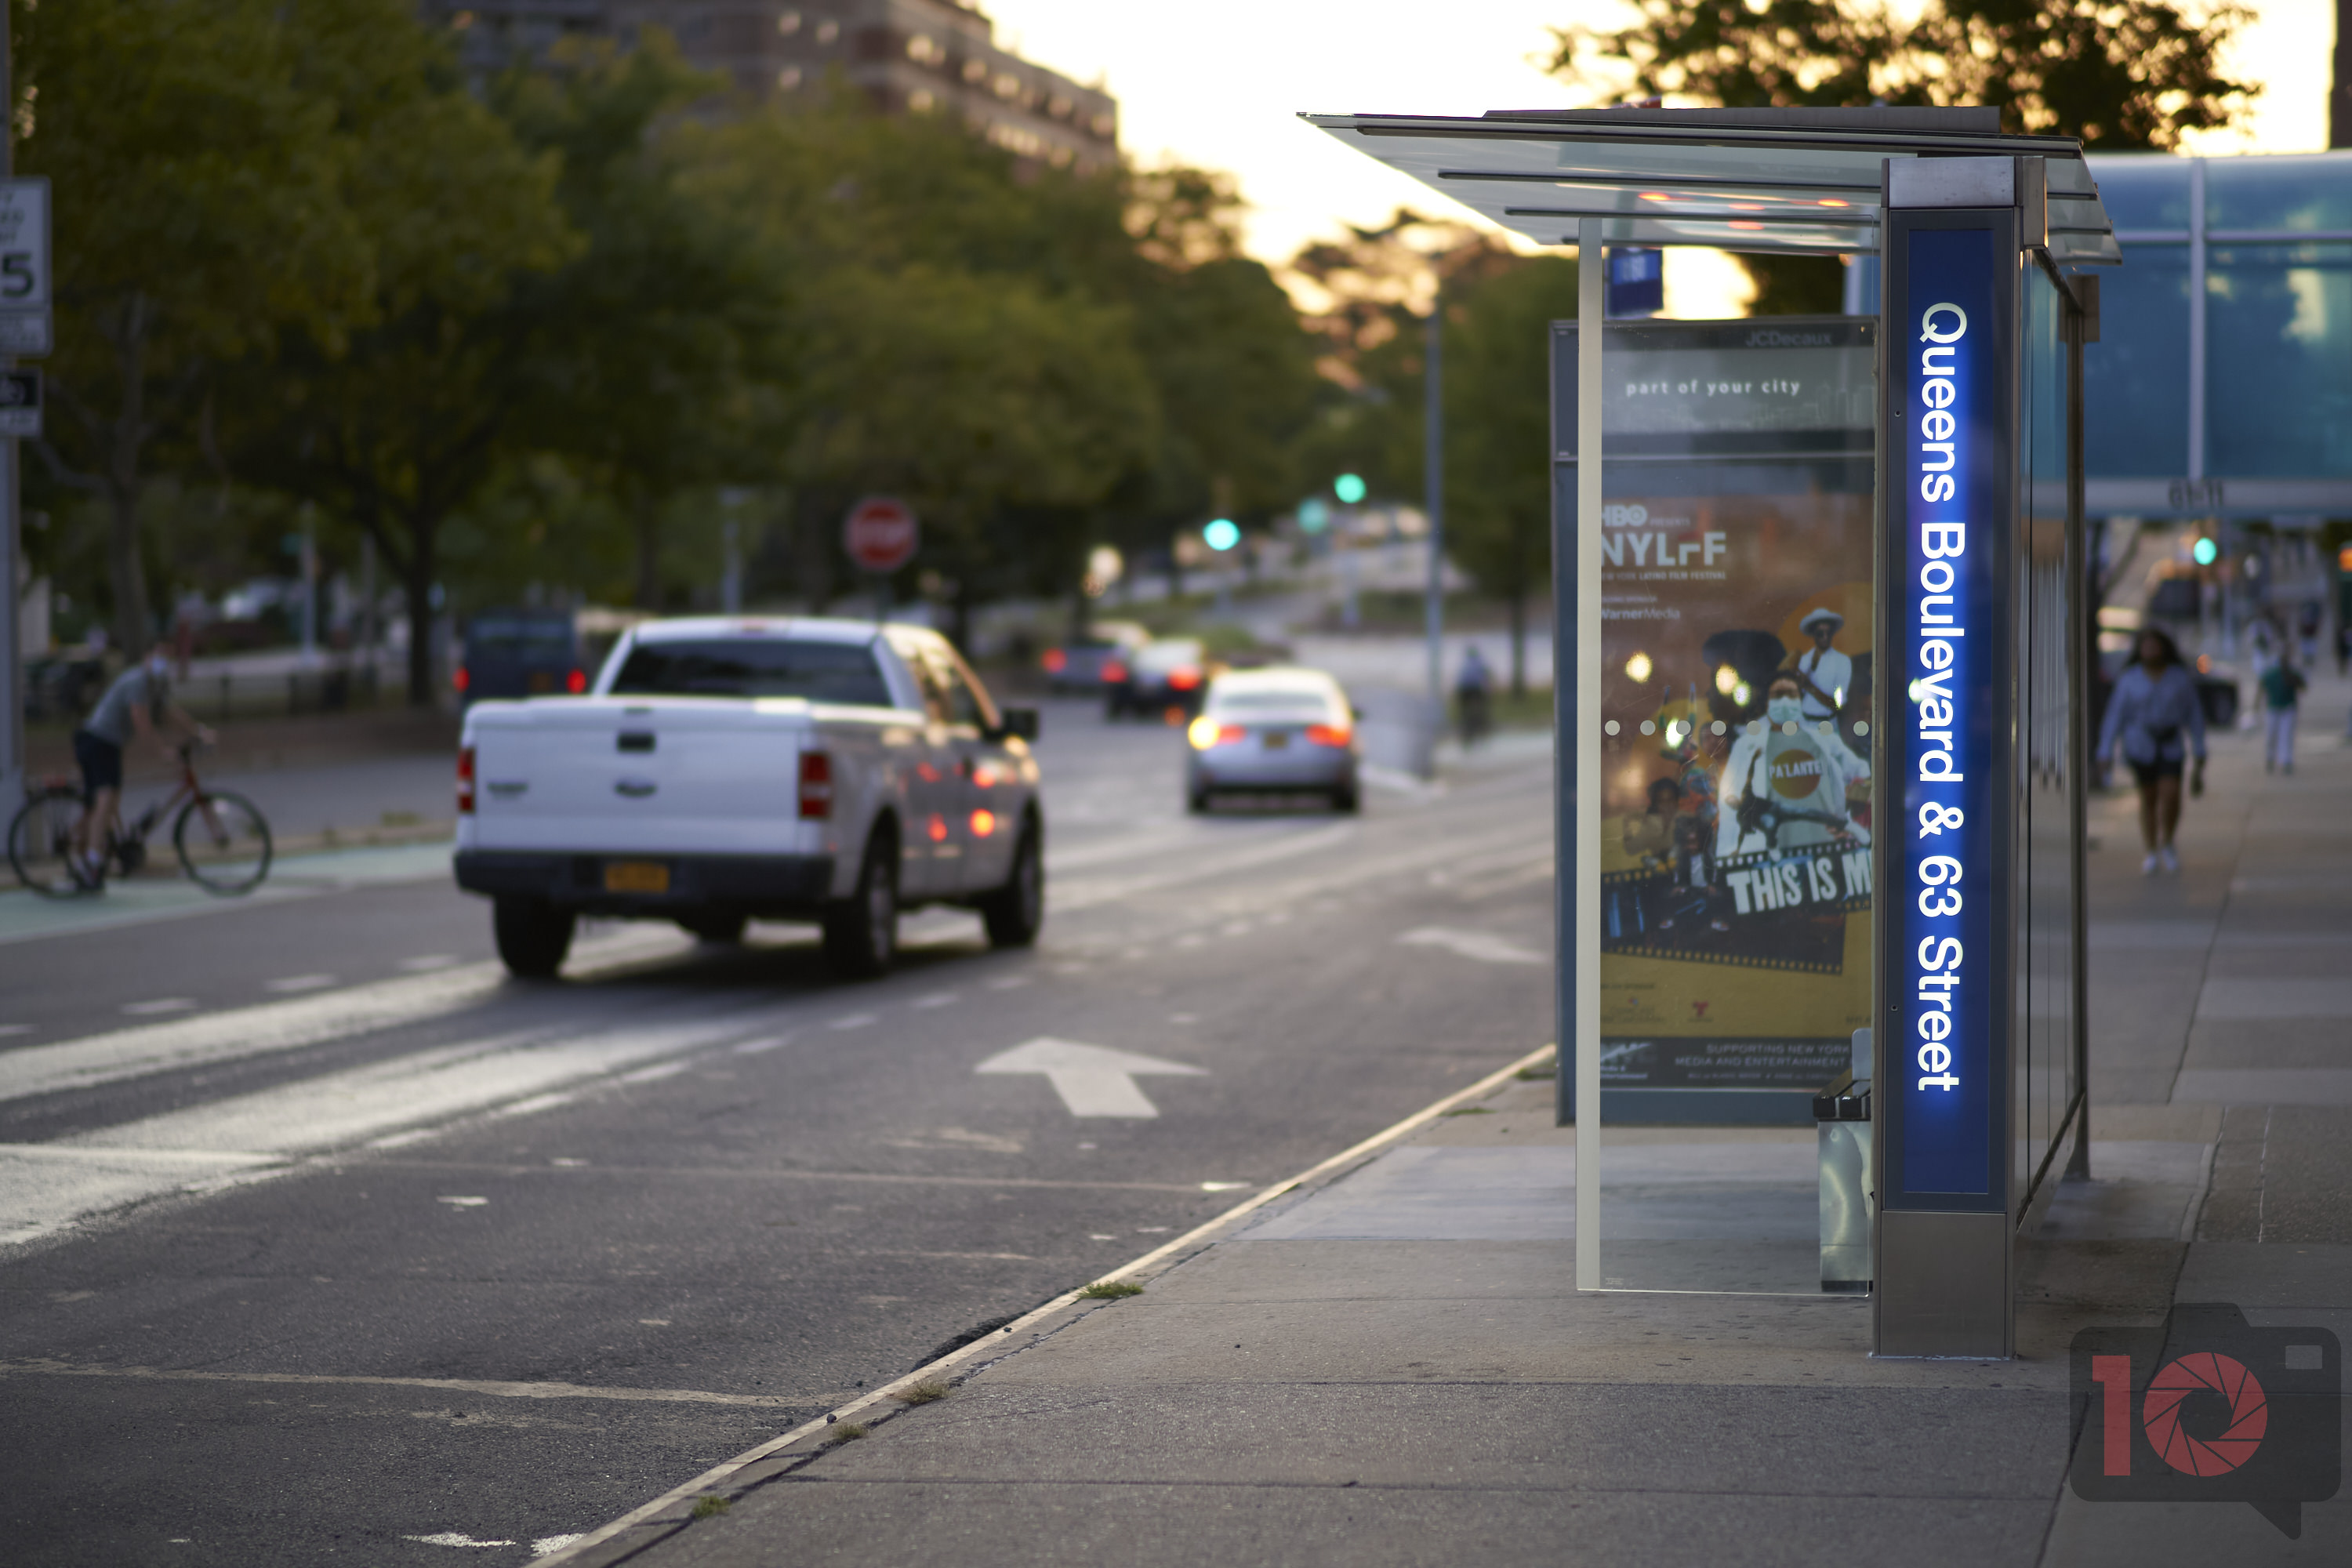
Editor’s Note: This is a sponsored blog post from Samyang and Rokinon. All images were shot with the 14mm f2.8 Series II and the 85mm f1.4 Series II.

Compose Before You Capture
One reason I adore the manual focus process is because I shoot fewer photos. When you manually focus a lens, you methodically put more effort into the image taking process. It purposely slows you down and makes you think about what you want. Most folks shoot with autofocus and hope they get a usable image that they like. Using manual focus lenses changes that. With them, you’re composing a scene, then focusing and fine-tuning, and then you shoot. When the camera does the work for you, you’re more likely to keep shooting mindlessly. Luckily, mirrorless cameras give you extra aides. They’re packed with features like exposure preview, focus peaking, magnification, etc. Photographers use manual focus lenses in two ways.
- Quick capture using zone focusing is the most common way. That’s when you stop lenses down and use the depth of field scale to figure out what will be in focus.
- Cranking the focusing ring, slowing down and creating while thinking about your scene critically. By stopping the lens down, you’re likely to get a much sharper photo.
“To really see the focus peaking, you’ll need to both magnify and focus peak. But even this will have varying degrees of success. Essentially, the larger the sensor is and the more wide open the aperture is, the less likely you’ll get something in focus.”
A quote from How Does Focus Peaking Work? An Introduction to Manual Focus with Mirrorless Cameras
Less Is More with Manual Focus Lenses

Here’s the big secret about manual focus lenses. If you’re doing extra work, then you’re likely to get a better shot. That translates into fewer photos to edit later on. If you spend all day in front of a computer, then you probably don’t want to go back to it later on. So with just a bit of extra work that manual focus lenses require, you can get it right in-camera. Try doing things like changing the white balance manually, adjusting the color profile, etc. Having fewer photos to go through means you’ve got more time to go shooting later on. More importantly, manual focus lenses genuinely make you work to get the shot.
“Some might argue that using a manual lens can easily be a subjective preference, and there is no difference in terms of creation and expression whether you shoot with a Rolleiflex or your smartphone. But the truth is there is a difference, and it’s good to be aware of it.”
A quote from Why a Manual Focus Lens Will Make You a Better Photographer
Stability Is Everything with Manual Focus Lenses
There are a few ways to get more stability with manual focus lenses. And with longer focal lengths, you really need it. Turning the focus ring on an 85mm lens can throw off the focus plane. So here are a few tips:
- Use a flash or studio strobe: external strobes and flashes have something called a flash duration. It acts sort of like another shutter speed. So it can stop fast motion pretty easily. That means it can prevent camera shake to a degree.
- Use a tripod: If you’re using a tripod, check that the ground is stable. The higher you are above sea level, the less stable the land generally is in cities. But if you’re on a mountain, then you’re solid as a rock!
- Your Camera’s Image Stabilization: Go into the settings and dial in the image stabilization manually for your focal length.
- The reciprocal rule of shutter speeds: Your minimum shutter speed should be the reciprocal of your focal length. So with the Samyang 85mm f1.4 Series II, you’ll need to shoot at 1/85th of a second at a minimum. That doesn’t exist, though, so go for 1/100th. With the Samyang 14mm f2.8 Series II, you’ll need to be at 1/14th the minimum. Aim for 1/15th.
- Breath control: Some folks believe you should shoot at the top of your breath. So hold it like you’re about to go underwater, shoot and let it go. Others think you should shoot without any breath; to each their own.
Use these tips, and you’ll be in great shape!
Editor’s Note: the Phoblographer’s Cheat Sheets are powered by VisMe.
Get rid of the ads!
Did you enjoy reading this article as much as we enjoyed writing it? There's a way to support us and our reporting, getting ad-free navigation and more as a bonus. Subscribe to us for less than a coffee per month —just $3.99— or take advantage of our yearly subscription with a hefty discount for only $25.- An ad-free experience
- A free mystery box for Lightroom or Capture One
- All the books in our store
- 20% discount on Capture One
- 30% discount on Imalume Photo Theft Protection
- 20% off Herbs and Kettle Tea Company.
- 20% off your order from MPIX printing services.
- 5% off Viltrox Products via their eCommerce store.
- 10% off all film developing, printing and scanning services from Blue Moon Camera and Machine
- 15% off 7Artisans products: The lens and accessory maker is offering a sweet discount for Phoblographer's readers.