
If you’re wondering about how to shoot photos in the rain, you’d be amazed at how simple it is.
Lots of folks are scared, but if you’re wondering how to shoot photos in the rain, it’s more simple than you may think. That’s not to say you shouldn’t be cautious, but with modern cameras, you should know you can relax a little bit. We tend to bring nearly every camera into the rain that claims any sort of weather sealing. To that end, we have years of experience in how to shoot photos in the rain.
First: Check Your Gear
Different cameras have different sealing ratings. Typically the more expensive your camera is the better the chance it will be able to survive the rain. Professional photographers are typically who need that level of durability to ensure they can keep paying their bills. But, enthusiast gear is pretty well sealed against the rain too. While we wouldn’t take most Canon M series cameras into the rain, we know the Canon EOS R can survive some crazy things. Here are some questions to ask yourself:
- Have you looked online at three credible sources at the weather sealing of your camera? Usually, a blog, website, and a YouTube video can help with this.
- What is the exact wording? Is it moisture and dust resistant? Do they talk about splash proofing? Is there weather resistance? Or weather sealing?
- What about the lens you’re using? Repeat the same questions.
- What condition is your gear in?
Pro Tip: Don’t put your camera in one pocket and your lens in the other pocket without covers on either of them.
Experience
Essential Areas to Check
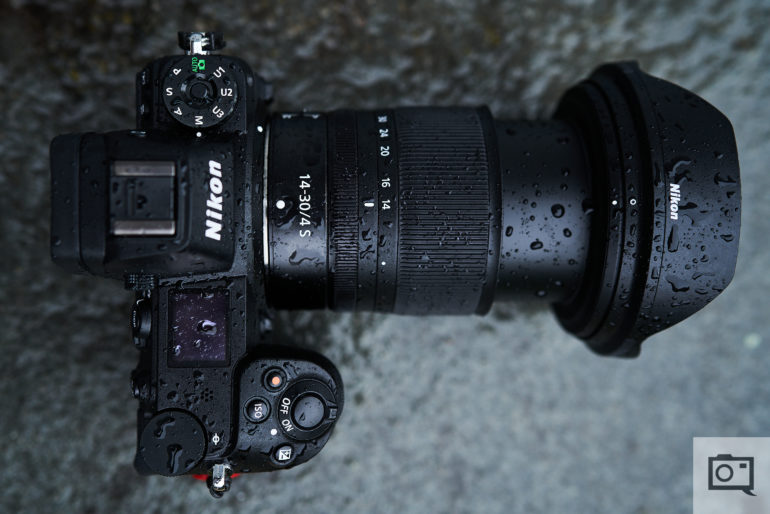
Not every camera is built the same. Before you learn how to shoot photos in the rain, know that some cameras have sealing in specific parts while others aren’t as well built. There are very important areas to check on every camera to figure out how well it will stand up to the rain. So here are some to look at:
- The bottom of the camera: especially near ports and the tripod socket
- The side ports: Make sure they’re closed
- The Hot shoe: Not as important with cameras that have come out since 2018, but still shouldn’t be overlooked
- The viewfinder: Lots of cameras come with rubber eyepieces that help keep moisture out
- The mount: Make sure your lens is on tight!
- The screens: Are any of them cracked
- The buttons: Do any of them feel a bit not normal? A faulty button can mean a leaky camera
“…Sony’s cameras have been pretty well weather sealed against the elements, but in our own tests, we’ve found them to begin breaking down sooner than options from Fujifilm, Canon, Olympus, and Nikon. “
– Just How Does the Weather Sealing on Higher End Cameras Stack Up?
Plastic Bags

One thing you can do to ensure you’ve got no problems is to use an old trick in the form of plastic bags. Professional photographers have used these for years, but in recent times, most photographers only use them in most dire of situations. These bags can be anything like a ziplock bag or even a shopping bag, but the best results come when it’s clear. Basically, you stick your camera inside of it and shoot. If you wish, you can fasten a rubber band near the front element and cut a hole in the bag towards the front to get clearer photos. For the best results, you should probably have a UV filter to fully seal the lens.
In general, if you already have weather-sealed gear, then a plastic bag won’t assist much.
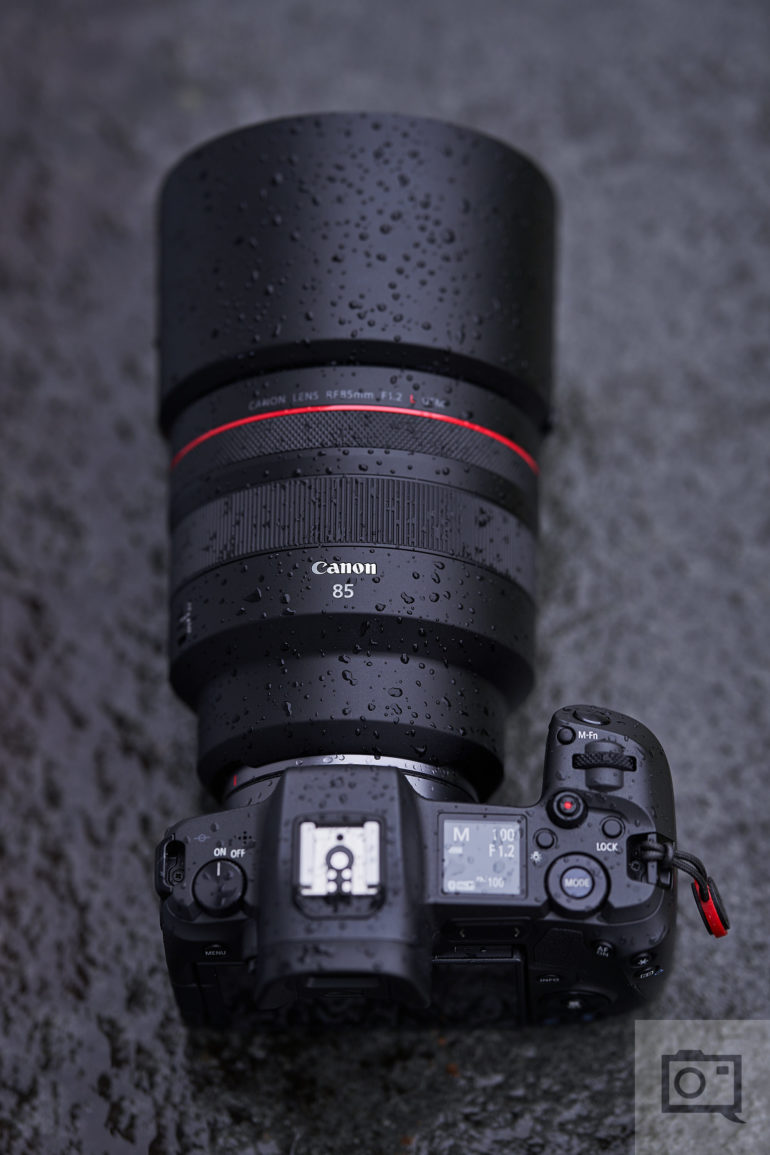
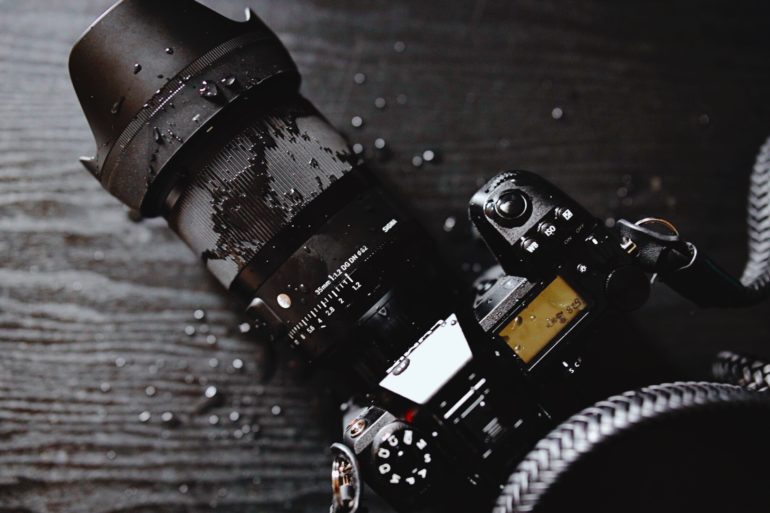
Your Lens Hood Is an Essential Tool
While a UV filter will probably be the best thing to guard against rain, do not ever forget about the power of your lens hood. When learning how to shoot photos in the rain, your lens hood will be the best source of protection to ensure that raindrops don’t taint the quality of your image. If you’re using a lens where the front element is a bit recessed, then you’re going to have less of a problem with that. Where you’ll mostly see the effects of raindrops on the front element is with wider angle lenses.
Don’t Open the Battery Ports or Other Ports
We repeat: DO NOT OPEN THE PORTS! These ports have a lot of weather seals and prevent moisture from getting into the camera. To that end, make sure you won’t need to switch SD cards while shooting. Also, check that the ports for the USB connection and more are all closed. There is no good reason why you should be accessing these ports in the rain. One of the areas most photographers often forget about is a port for a PC sync cord. Some cameras still have them. Just be careful with that area. If you really need to share an image, use the camera’s Wifi feature to beam it to your phone.
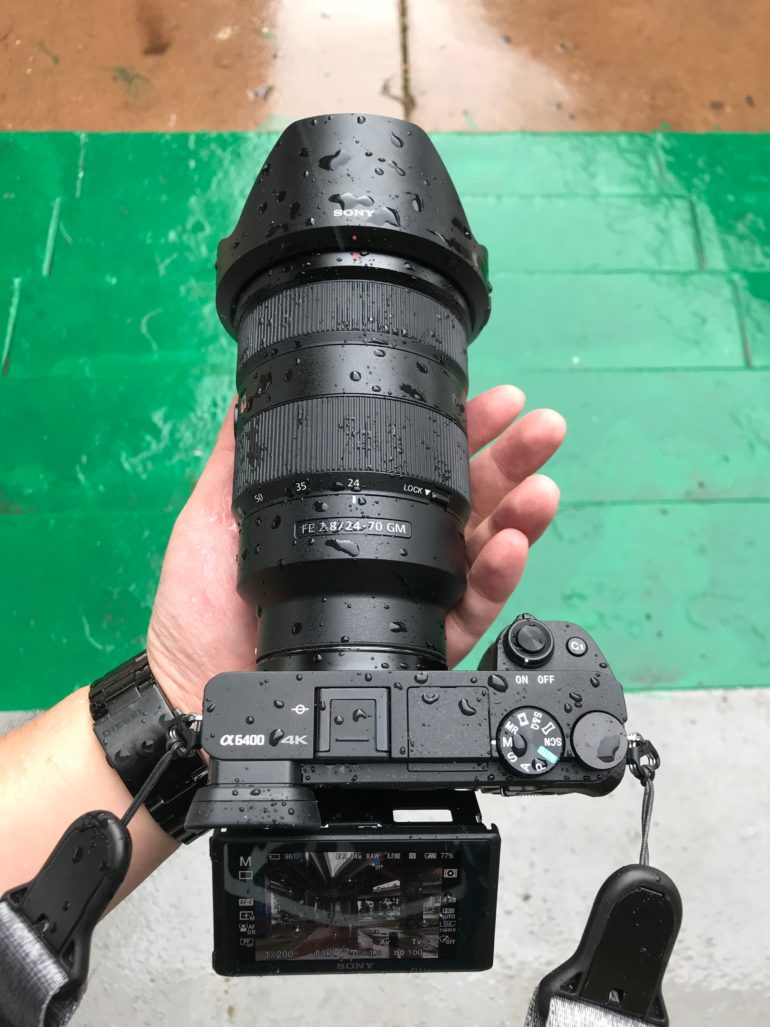
Don’t Change Your Lenses
Here’s another big warning: don’t change your lenses. Unscrewing a lens can mean that moisture gets in on the sensor and into the heart of the camera. You’ll notice it will begin to malfunction. For that reason, zoom lenses are a great choice to shoot with in the rain. If you’re committed to using a prime, be sure it’s a lens that you’ll be fine sticking to the entire time.
The Hot Shoe Cover: Do You Really Need It?

While most manufacturers will tell you that the best protection for a camera comes when you have the hot shoe covered, we’ll tell you that it isn’t always necessary if you have a camera that’s been made since 2018. 2018 is the year that manufacturers started taking weather sealing even more seriously. In all honesty, though, the manufacturers are right in this case. But you don’t NEED it per se.
Just Go Shoot and Learn How to Shoot Photos in the Rain
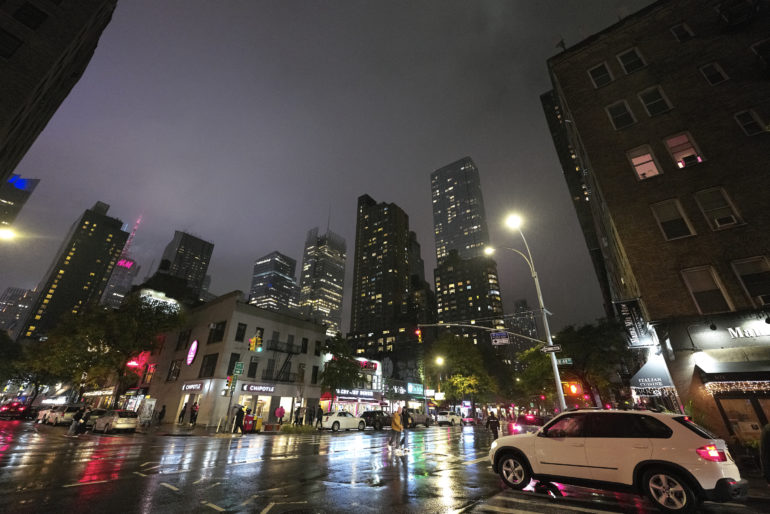
If you’ve got all the stuff we just talked about down and perfect, then just go shoot. Here are 10 tips:
- Use a higher ISO setting. The lack of ambient lighting will mean you need more light.
- Use a faster lens.
- Hold steady. If you’re cold, warm-up or else you’re going to shake the camera and lens (which could lend itself to a cool effect for what that’s worth).
- Select your focusing points manually unless you just want to shoot a scene. But know that sometimes your camera and lens might focus on raindrops as they’re coming down.
- Continuous tracking gets slipped up here unless it has already locked onto a target because there are so many moving elements.
- Find a spot where you don’t end up in a wind tunnel of some sort.
- Underexpose your image. If anything you can push it a bit in post-production.
- 3200K white balance (Tungsten) can create really cool and trippy photos.
- Don’t underestimate manually focusing out to infinity.
- When you get home, don’t take the camera and lens apart from each other. Give them a few hours to thoroughly dry out.
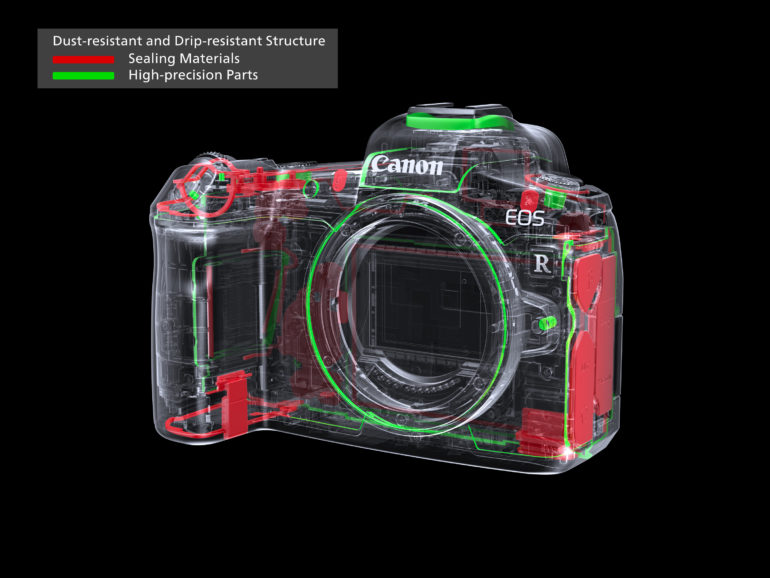
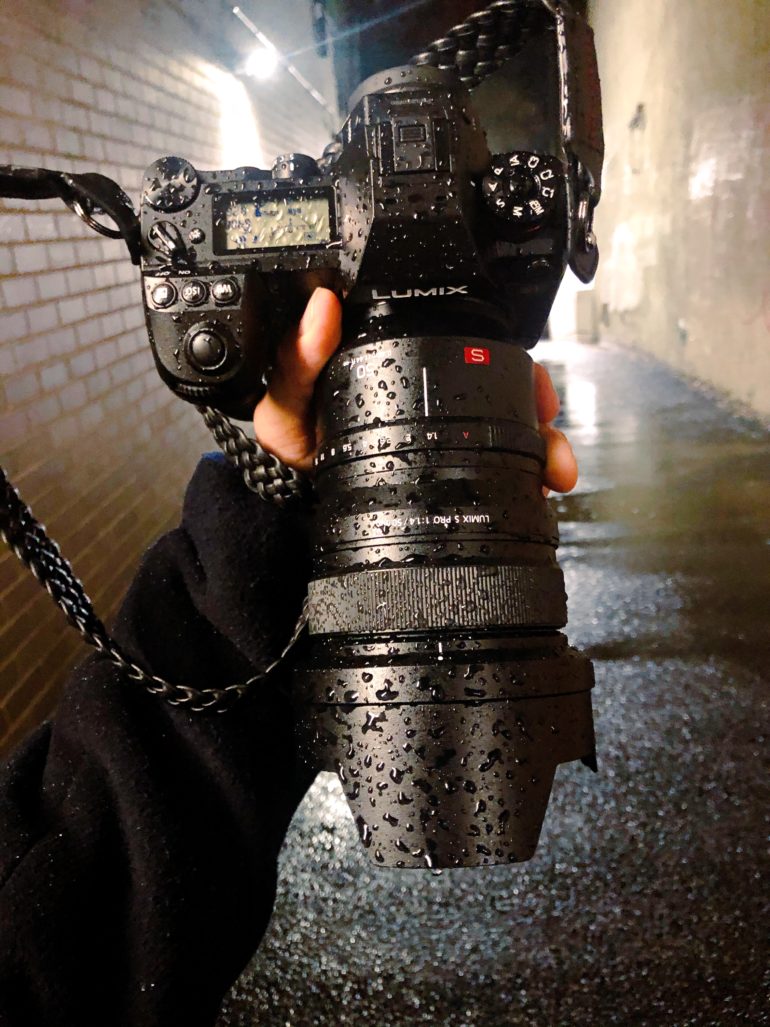
You Probably Don’t Really Need to Use Your Hand to Guard Your Camera Against the Rain

When you’re new to learning how to shoot photos in the rain, you’re bound to be that person who covers up your camera. I’ve personally seen it with a lot of folks I shoot with. Depending on your configuration though, you don’t really need to cover up your camera. As long as you have something that is moisture and splash resistant, you should be fine in most cases. Check out the weather sealing diagrams of lenses and cameras. The biggest one is being sealed at the mount.
Get rid of the ads!
Did you enjoy reading this article as much as we enjoyed writing it? There's a way to support us and our reporting, getting ad-free navigation and more as a bonus. Subscribe to us for less than a coffee per month —just $3.99— or take advantage of our yearly subscription with a hefty discount for only $25.- An ad-free experience
- A free mystery box for Lightroom or Capture One
- All the books in our store
- 20% discount on Capture One
- 30% discount on Imalume Photo Theft Protection
- 20% off Herbs and Kettle Tea Company.