The Fujifilm X-Pro 3 may just be the perfect camera for Documentarians to tote around, and these lenses will help you get the most out of it.
The just-announced Fujifilm X Pro 3 has warmed the hearts of many photographers due to its beautiful retro styling, it’s innovative rear E-Ink screen, and of course, its tried and true X-Trans Sensor. Previous iterations of this camera have been incredibly popular with street photographers, documentarians and photojournalists. There’s no doubt the Fujifilm X Pro 3 will be as well. Fujifilm has a vast collection of both primes and zooms that will help make this camera a fantastic tool for those who love documentary photography. Here we will take a quick look at the lenses that we would use for this genre of photography.

The Fujifilm X Pro 3 hasn’t hit the streets just yet, but shortly you’ll be able to get your hands on one of these incredible cameras (you can pre-order now for $1,799.95). Check out our first impressions post and take a look at the gorgeous Rangefinder styling and some of the sample images we were able to capture with it. The lenses we have listed below will pair up with the Fujifilm X Pro 3 perfectly. Their focal lengths are ideal for documentary photography, and their excellent build qualities and impressive image rendering abilities make them perfect for this line of work. Check out our choices below.
Fujifilm 16mm f1.4 R WR
Here are the pros and cons from our full review:
Pros
- Very sharp wide open
- Very sharp overall
- The excellent metal build quality
- The focusing ring allows for zone focusing
- Pretty decent bokeh for a lens of this type
- Fast-focusing performance
- Weather sealed construction
- Keeps distortion down pretty well
Cons
- Depth of Field scale could have given us more focusing markers
- More purple fringing than a modern lens should have despite it easily being removed in post-production
Buy now ($899): Adorama
Fujifilm 16mm F2.8 R WR
Here are the pros and cons from our full review:
Pros
- Small
- Lightweight
- Weather sealed
- Fun to use
- Affordable
- Good for documentary work and travel
- Incredibly fast autofocus
Cons
- Not sure why there isn’t an effective manual focus distance scale for hyperfocal length shooting
- It’s a wide-angle lens with a relatively slow aperture for an APS-C camera system
Buy now ($399): Adorama
Fujifilm 23mm f2 R WR
Here are the pros and cons from our full review:
Pros
- Good image quality
- Seriously and surprisingly fast focus. This lens is officially Fujifilm’s fastest.
- Fast focus on the X Pro 2, X-T2, and even the X Pro 1. The latter completely shocked me
- Nice colors
- Compact size
- Weather sealing
- Turning the aperture ring feels nice and smooth until the clicks come in. It’s a tactile experience that’s just lovely
- Sharp images
- Fairly nice bokeh
- Affordable price point
Cons
- Something about this lens just simply doesn’t have the magic that the 23mm f1.4 R does
Buy now ($449): Adorama

Pro Tip: Documentary photography is incredibly exciting. Telling a story through pictures may sound like an easy thing to do, but there’s more to it than meets the eye. If documentary photography is a field that interests you, but you aren’t quite sure how to go about starting a career in it, you need to check out this guide. This tutorial will help you understand your role, it will show you how to approach your subjects creatively, and will guide you through the storytelling process. The best part is that this guide won’t break the bank.
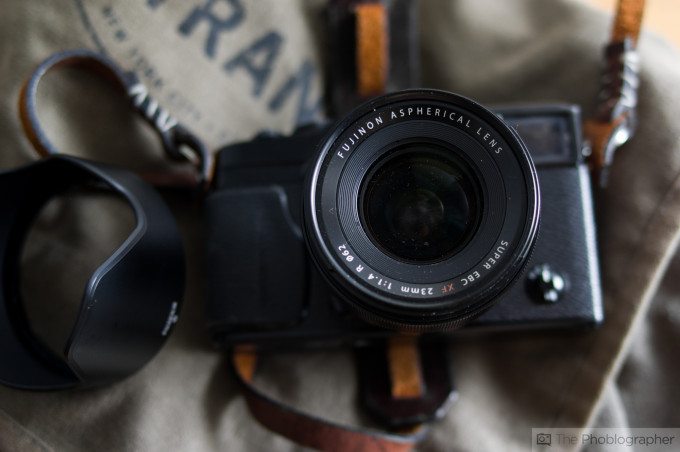
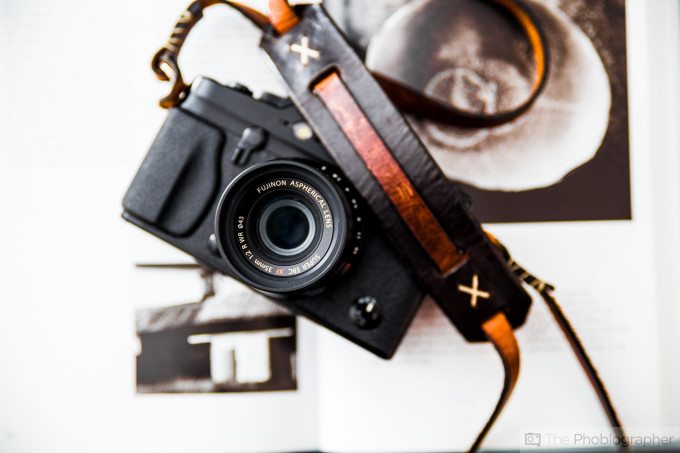
Fujifilm 23mm f1.4
Here are the pros and cons from our full review:
Pros
- Superb image quality
- Beautiful bokeh
- Lots of great sharpness with even a bit of what seems like micro-contrast
- Well built
- Snapback focusing ring
Cons
- Expensive
Buy now ($799): Adorama
Fujifilm 35mm f2 R WR
Here are the pros and cons from our full review:
Pros
- Great sharpness
- Nine aperture blades make the bokeh as good as it can be
- Small size
- Weather resistance
- The fastest focusing lens that Fujifilm has offered as of the publication of this review.
Cons
- Just F2
Buy now ($399): Adorama
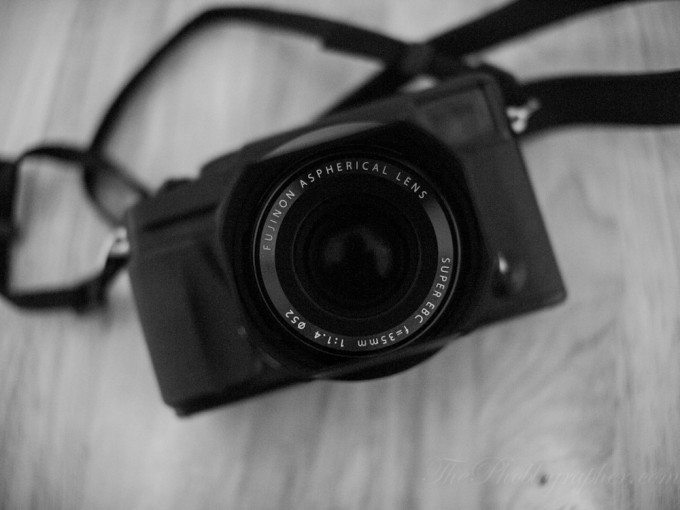
Fujifilm 35mm f1.4
Here are the pros and cons from our full review:
Pros
- Exceptional image quality
- Jaw-dropping sharpness
- Focusing speed has improved with further firmware updates, but still isn’t top-notch
- The excellent metal build quality
- The finish will make it look like an old lens over time
Cons
- Still a bit too slow to focus in some situations, but when you have this kind of image quality, you really can’t complain all-day
Buy now ($599): Adorama
Pro Tip: All of these lenses from Fujifilm have outstanding build qualities, and most of them feature their legendary weather sealing; that won’t stop them from getting dirty, though. No matter what lenses you use, if you want to get the best out of them, you must take care of them. Give them a quick clean before every use, and then give them a deep clean bi-weekly. You spend a lot of money on quality glass, so make sure they last as long as possible. Keep a quality lens cleaning kit in your camera bag at all times so that you can make sure they are always ready to work.
Fujifilm 8-16mm f2.8 R LM WR
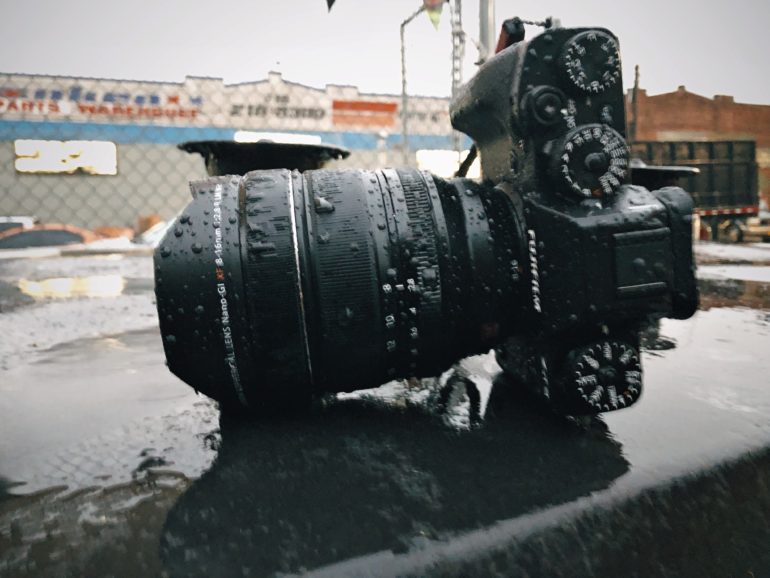
Here are the pros and cons from our full review:
Pros
- Solid image quality
- Fast autofocus, which is expected
- Lets you handhold it to very low shutter speeds due to the reciprocal rule of shutter speeds
- Weather sealed
Cons
- This lens is pretty darned expensive at just under $2,000
Buy now ($1,799): Adorama
Fujifilm 10-24mm f4 R OIS
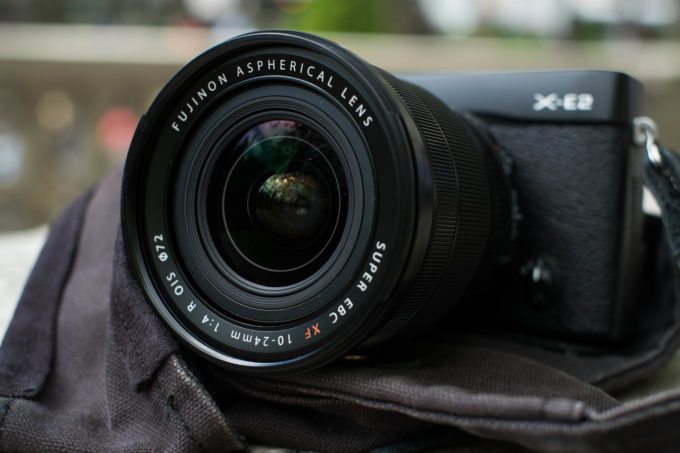
Here are the pros and cons from our full review:
Pros
- Solid metal construction with a large rubberized zoom ring
- Built-in image stabilization and a smooth aperture ring
- Sharp images and vibrant colors
Cons
- Fairly heavy
- Expensive
Buy now ($899): Adorama
Fujifilm 16-55mm f2.8 LM WR
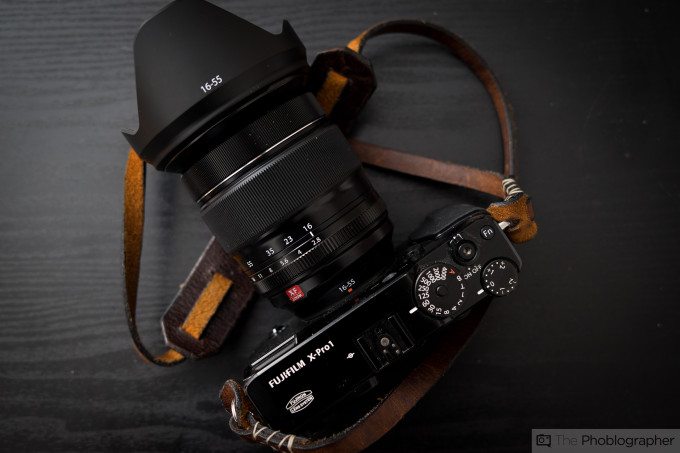
Here are the pros and cons from our full review:
Pros
- Solid image quality
- Nice bokeh, sharpness, and color rendition
- Weather sealed
- Fujifilm’s best general zoom lens yet
- Fujifilm gave this an actual aperture ring
Cons
- Feels weird in hand even with the XT1
- An internal zooming mechanism would have made this feel better in the hand
- A steep price
Buy now ($999): Adorama
Get rid of the ads!
Did you enjoy reading this article as much as we enjoyed writing it? There's a way to support us and our reporting, getting ad-free navigation and more as a bonus. Subscribe to us for less than a coffee per month —just $3.99— or take advantage of our yearly subscription with a hefty discount for only $25.- An ad-free experience
- A free mystery box for Lightroom or Capture One
- All the books in our store
- 20% discount on Capture One
- 30% discount on Imalume Photo Theft Protection
- 20% off Herbs and Kettle Tea Company.
- 20% off your order from MPIX printing services.
- 5% off Viltrox Products via their eCommerce store.
- 10% off all film developing, printing and scanning services from Blue Moon Camera and Machine
- 15% off 7Artisans products: The lens and accessory maker is offering a sweet discount for Phoblographer's readers.