
Last Updated on 10/08/2019 by Mark Beckenbach
Want more useful photography tips? Click here.
Everyone loves the look of the golden hour when shooting portraits. While it’s always available for only a short period of time, don’t worry: there’s a way to get it at any time of the day. Best of all, this is NOT POSSIBLE IN PHOTOSHOP WITHOUT A LOT OF WORK! The reason for this is because you’ll create an organically looking light in the scene and not just use a gradient. Here’s how!
We used:

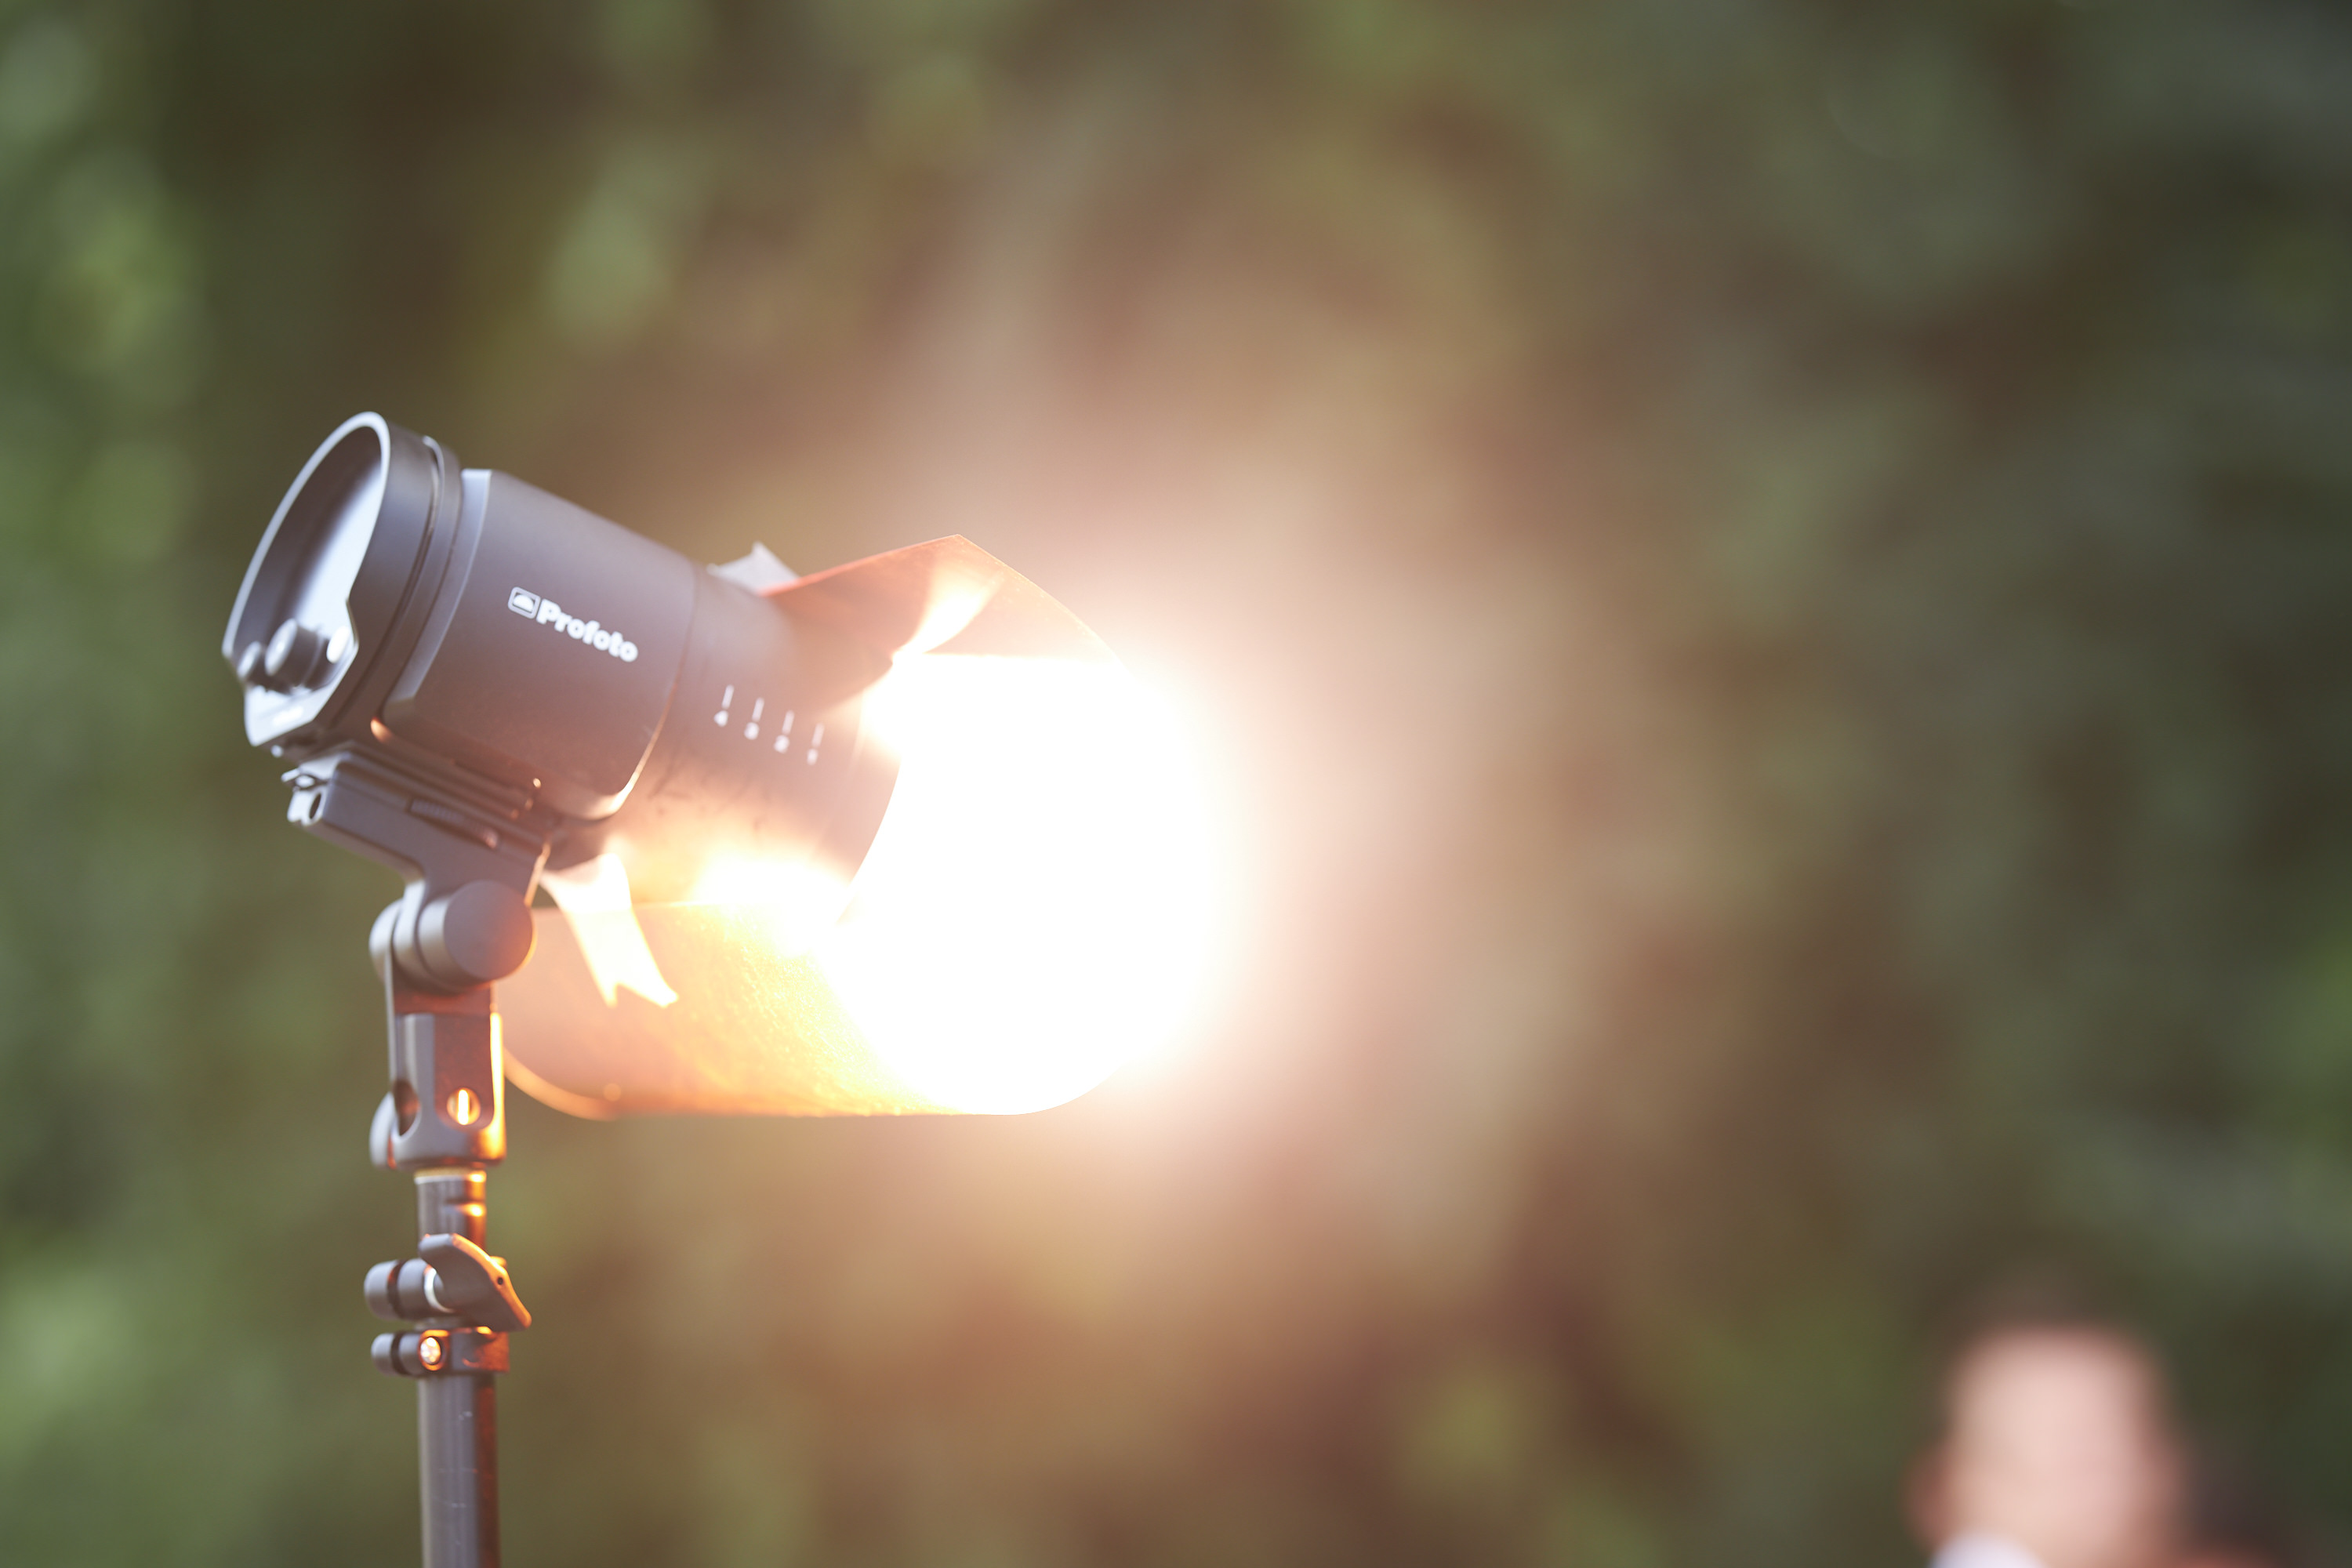
You start off looking at your scene and imagining where the sun would be coming from. Then, the light is placed in that spot. For the best effect, ensure that the light isn’t visible in the scene. If you’re using TTL, then raise the power up a few stops. You’ll get the most consistent output when shooting in manual mode and the trick is to position the light so it looks totally natural. To do this, look at your camera’s light meter and either underexpose the image or balance it right to the middle indicator. The light is off in the camera left position and it looks like the sun is just starting to go down. This is because the orange gels are coloring the light output. The truth is this scene was shot around the middle of the afternoon! That’s otherwise not possible.

This is all working due to a combination of a few things:
- Fast flash duration from a strobe. Flash duration tends to cut down ambient lighting.
- A faster shutter speed tends to cut down ambient lighting too.
- The orange gel on the flash makes it look like the sun. This is far better than what a gradient can do in Photoshop, Lightroom, or Capture One. You can see the sun organically hitting the subjects in areas that aren’t possible in post-production without a lot of work.
- We shot in the shade, so that gives us the most advantage when it comes to controlling the light.
Get rid of the ads!
Did you enjoy reading this article as much as we enjoyed writing it? There's a way to support us and our reporting, getting ad-free navigation and more as a bonus. Subscribe to us for less than a coffee per month —just $3.99— or take advantage of our yearly subscription with a hefty discount for only $25.- An ad-free experience
- A free mystery box for Lightroom or Capture One
- All the books in our store
- 20% discount on Capture One
- 30% discount on Imalume Photo Theft Protection
- 20% off Herbs and Kettle Tea Company.
- 20% off your order from MPIX printing services.
- 5% off Viltrox Products via their eCommerce store.
- 10% off all film developing, printing and scanning services from Blue Moon Camera and Machine
- 15% off 7Artisans products: The lens and accessory maker is offering a sweet discount for Phoblographer's readers.