
Making your photograph look like a painting in-camera is all about embracing camera shake.
One of the best things about photography is that it can combine with a variety of other mediums and deliver really unique images. Even better, lots of those images can be done in-camera without the need for Photoshop, Lightroom, etc. Sure, you can shoot and fix it in post-production–but why bother? Why not get it right in the first place and worry less later on? If you’re a photographer with an excellent grasp of the technical side and also in touch with your artistic side, then this tutorial on how to make images of landscapes look like paintings is for you.
Stop the Lens Down, Use a Low ISO and a Slow Shutter Speed
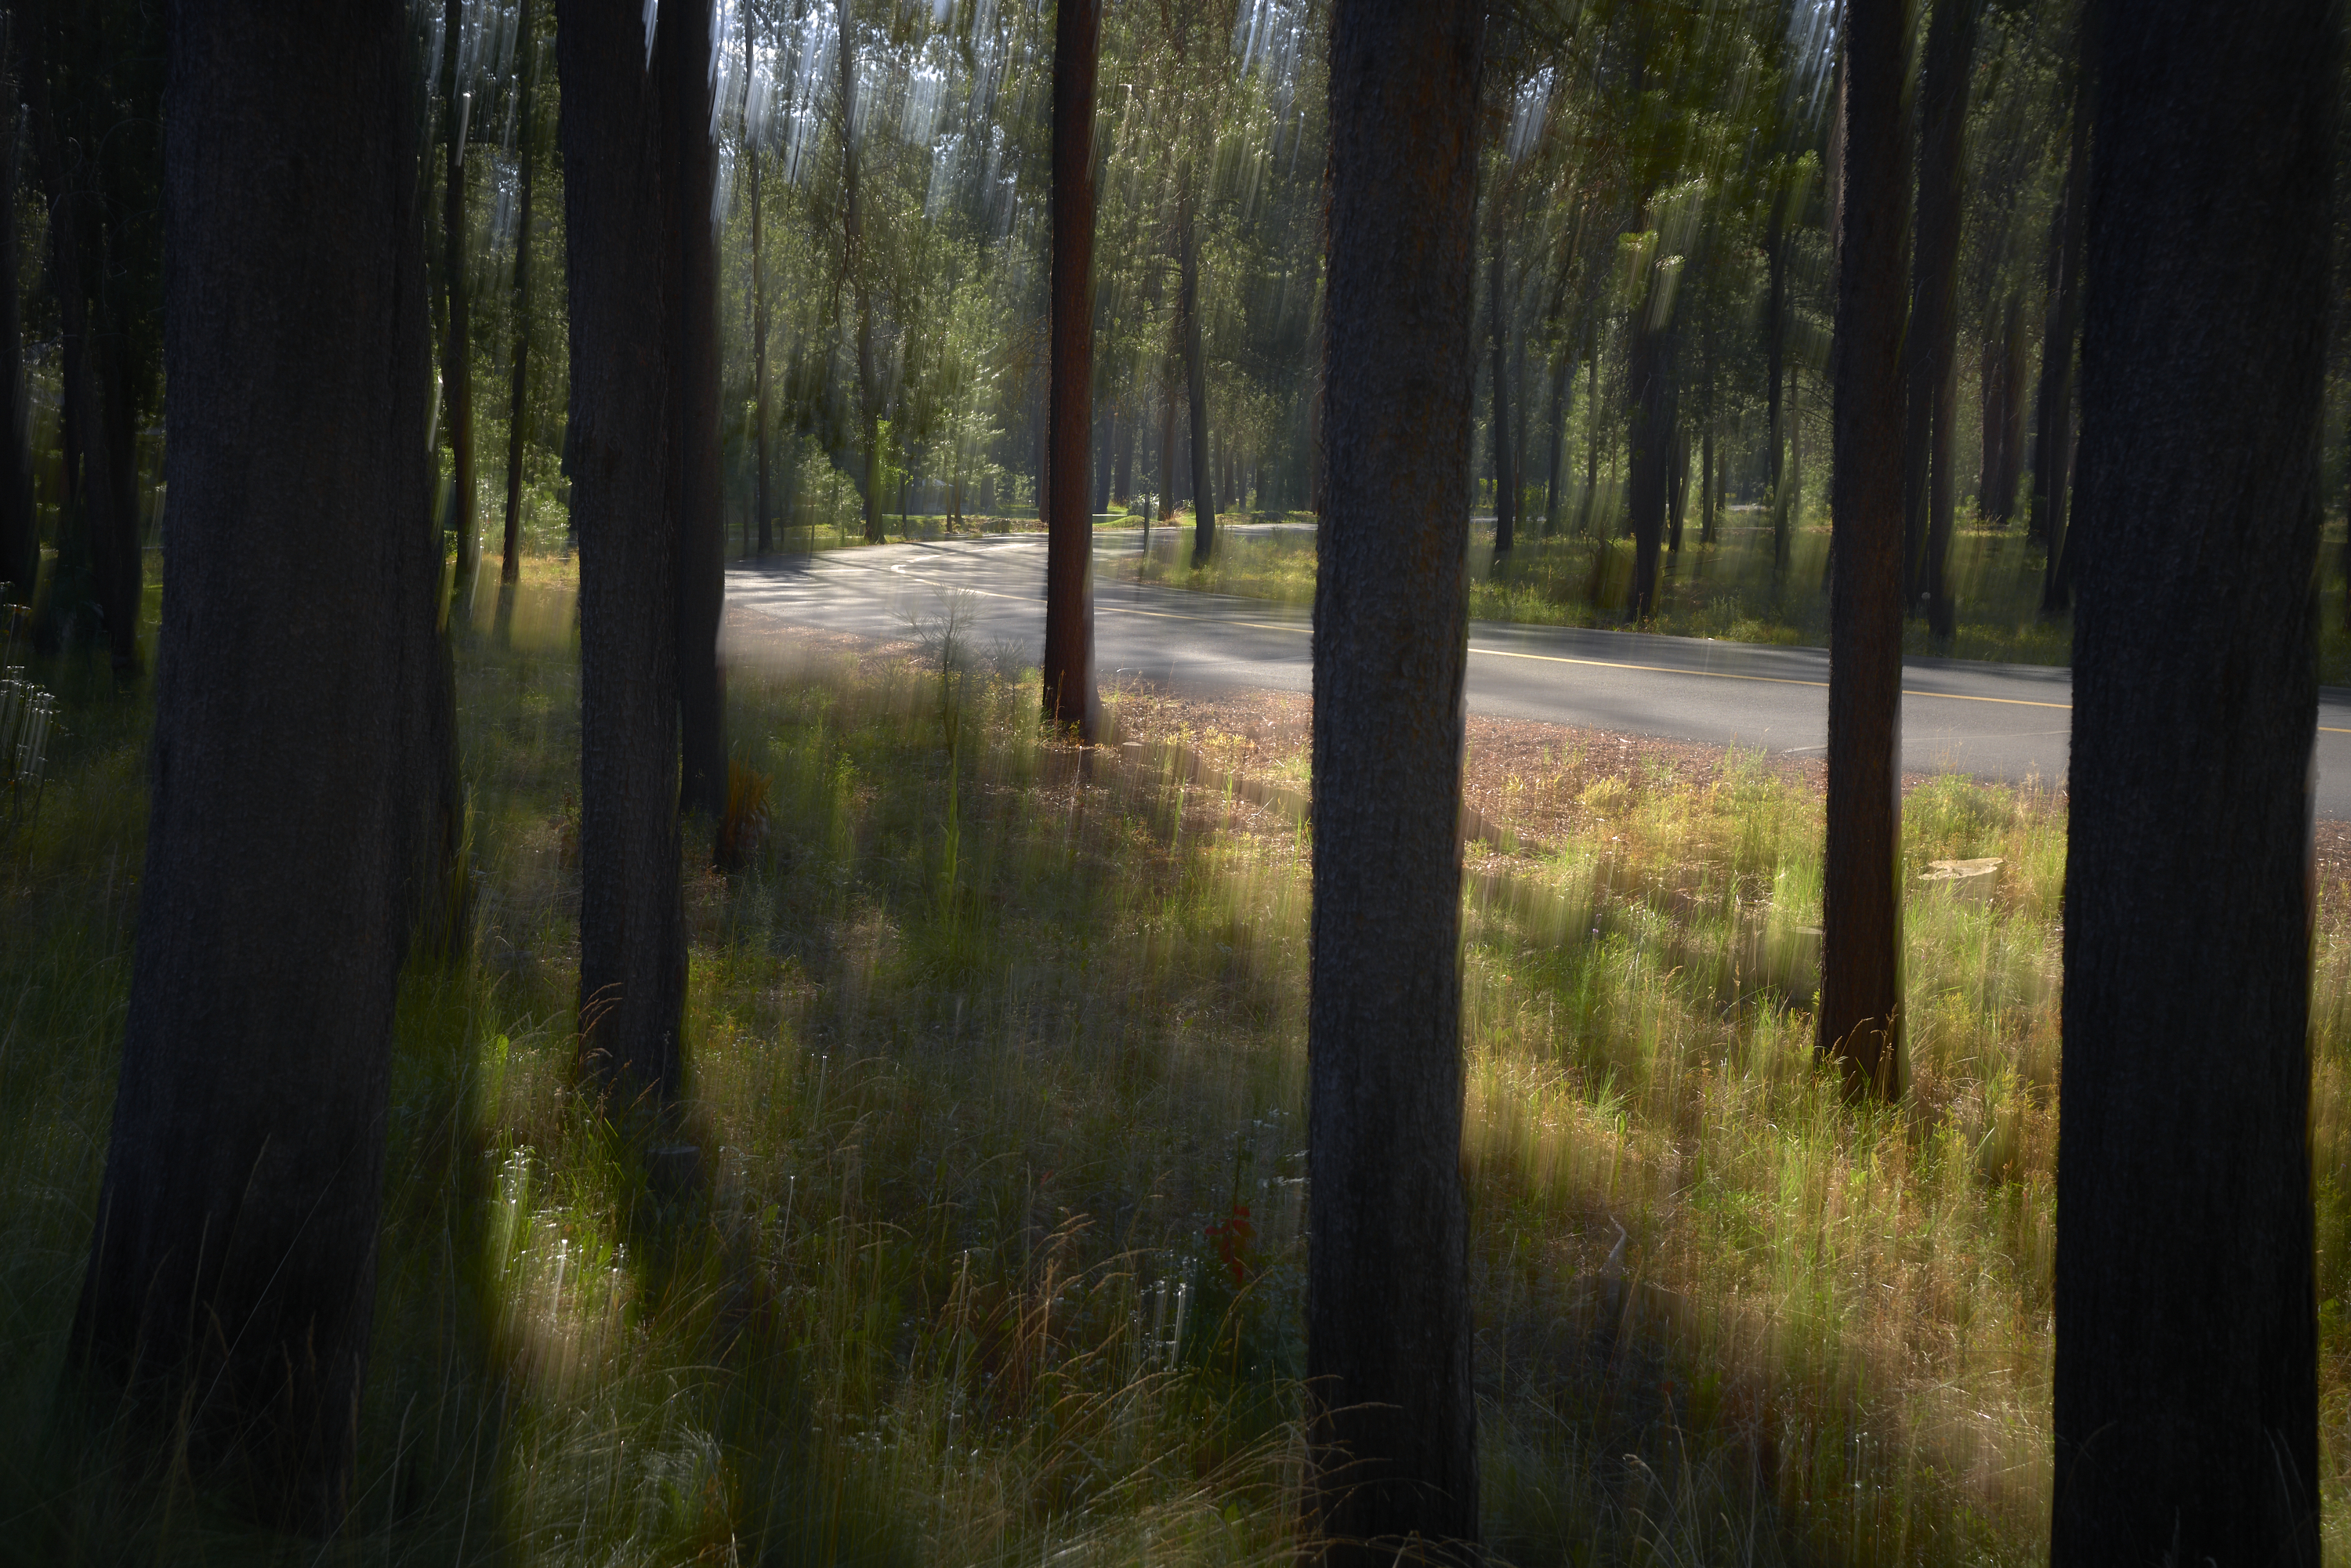
Start by stopping down the aperture on your lens. F8, f11, or f16 work perfectly fine. Just make sure your entire scene is in focus (part of that depends on where in the frame you’re focusing). Combine this with a low ISO setting and a slow shutter speed. Cameras typically tend to fight the effects of slow shutter speed and camera shake with image stabilization. But in this case, you’ll really need to embrace the camera shake. To that end, you can turn off image stabilization if you please, but you don’t really need to.
Autofocus
Since you’re stopping the aperture down to such a narrow one, try to get everything in the scene in focus. Depending on your subject matter, this means either focusing in the middle of the scene or out to infinity. This will help develop the flatter perspective paintings usually have.
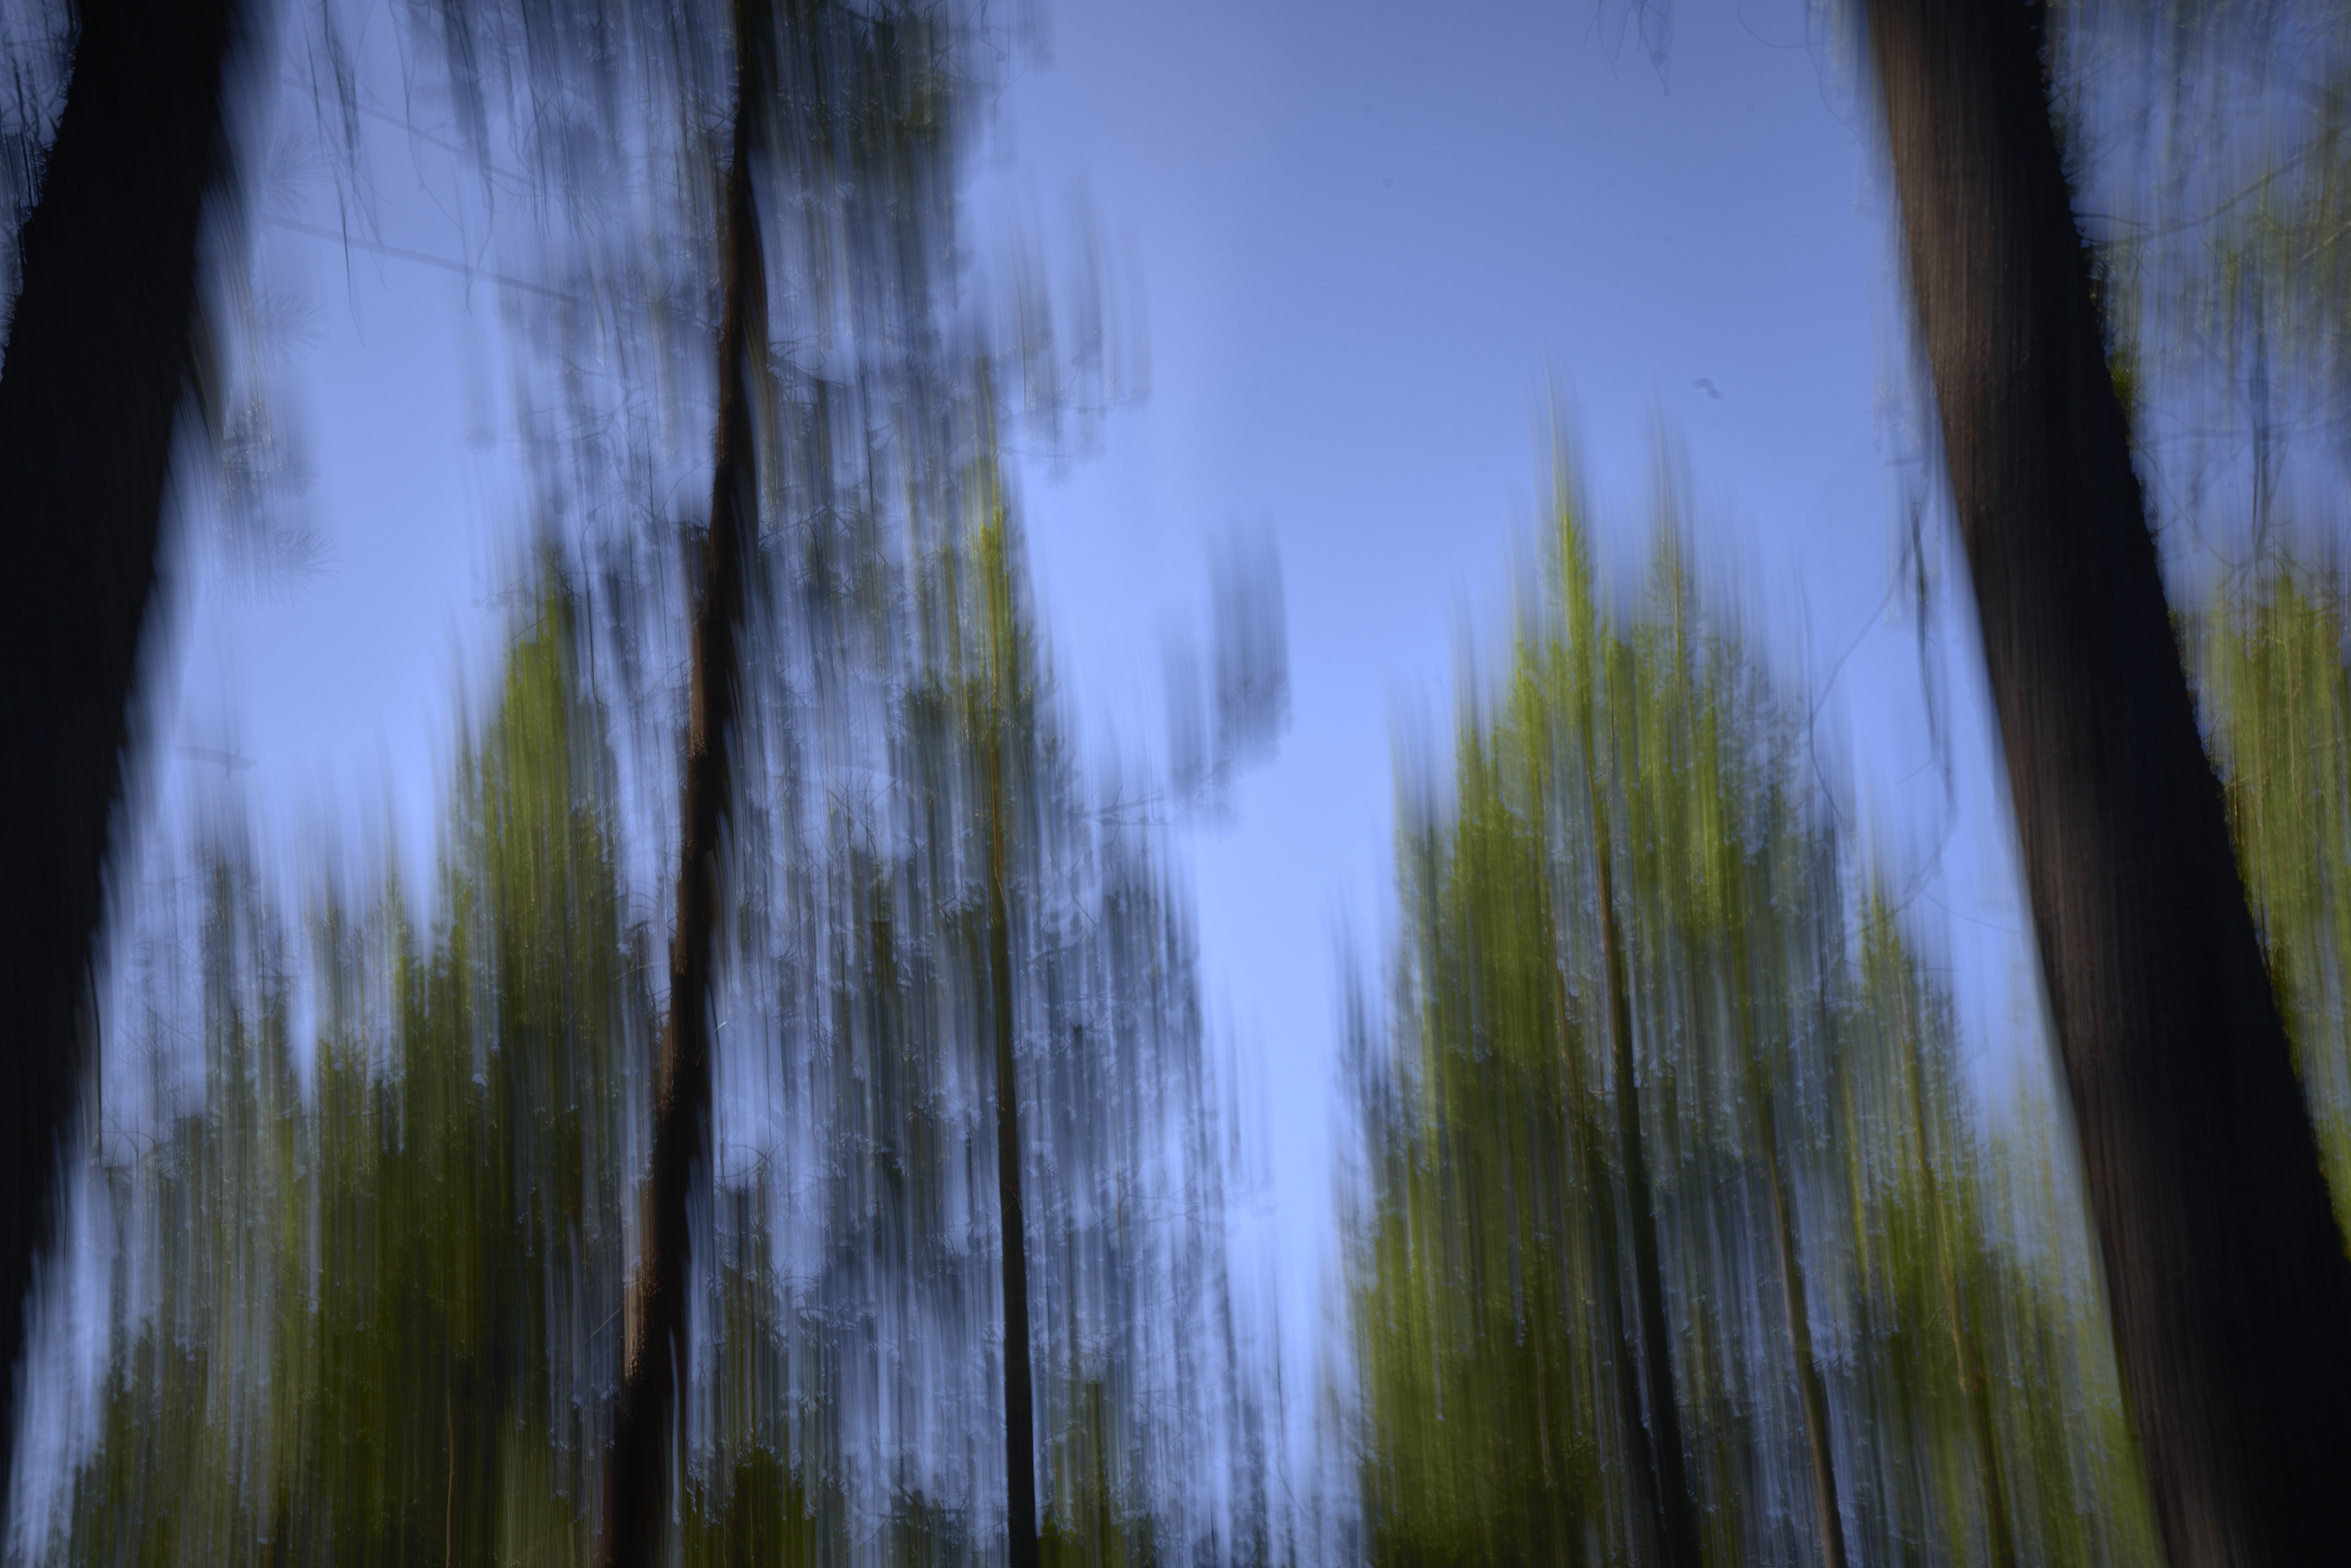
Start Pulling the Camera Down or Up
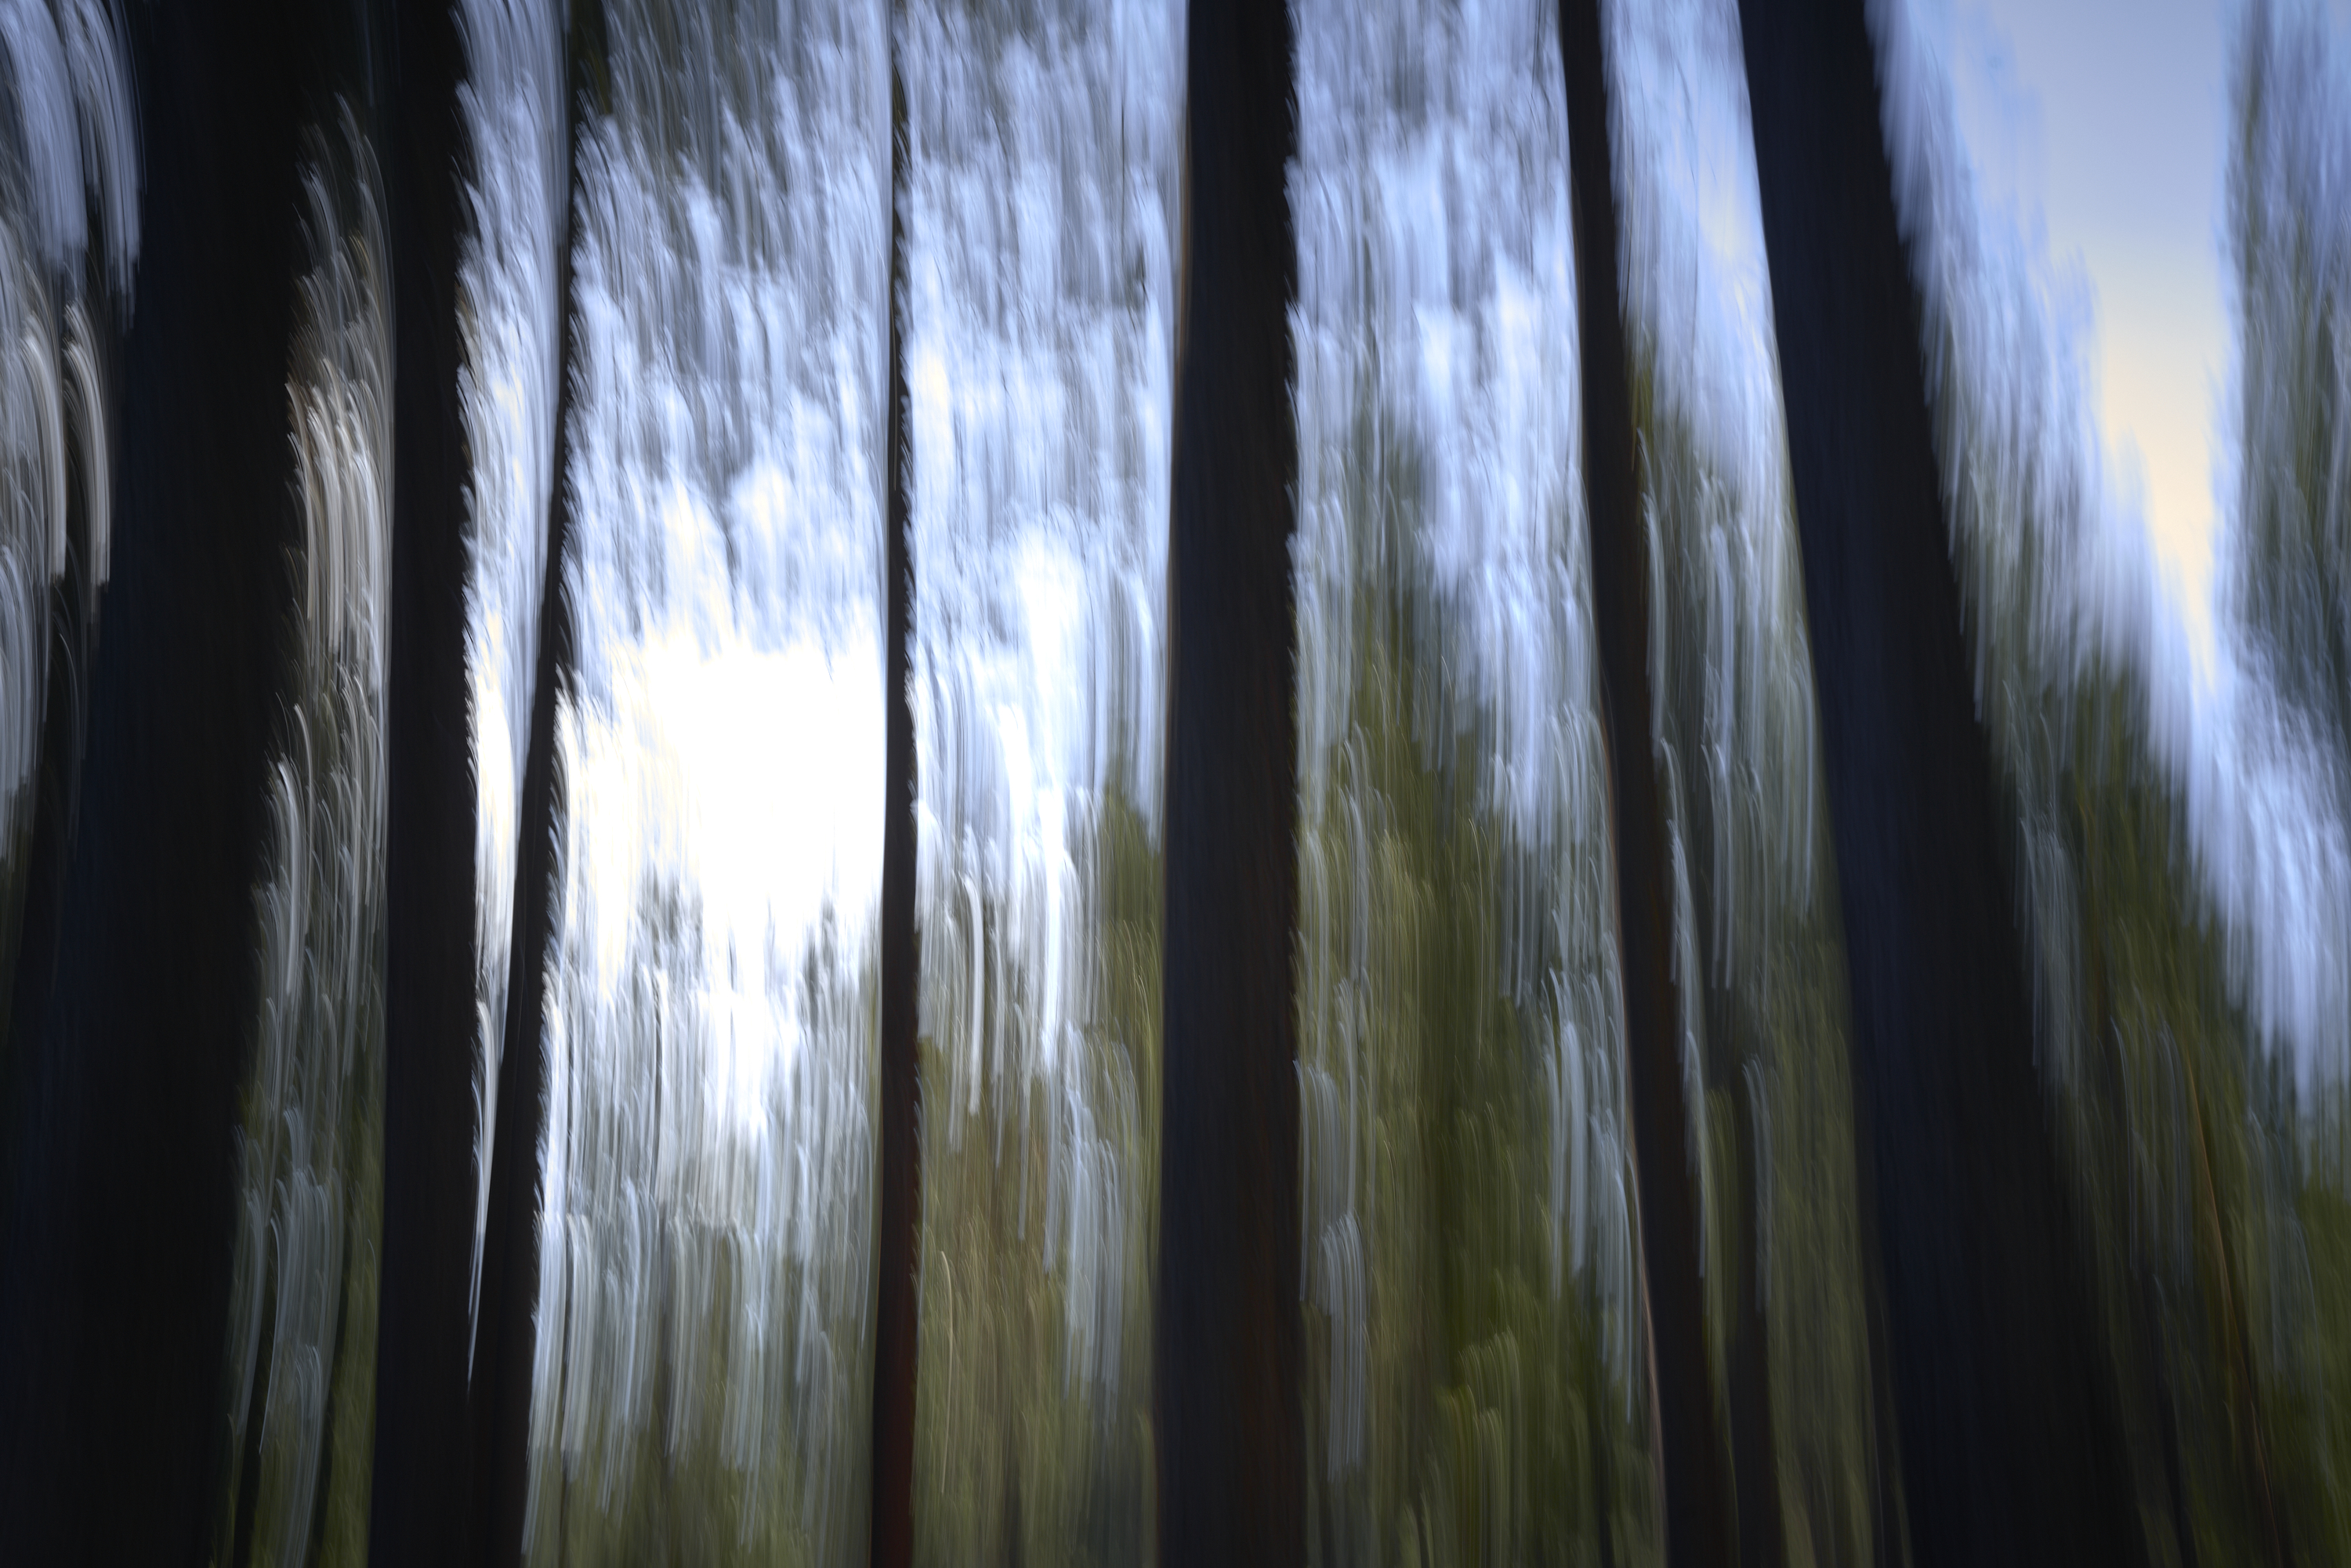
Once you’re autofocused out, start by pulling the camera up or down. This will increase the dramatic, blurry, and watercolor-like look we’re aiming for.
Shoot
Keep pulling the camera and then shoot. The combination of the low ISO, the slow shutter speed, and the narrow aperture should provide a lot of motion blur and camera shake. If you’ve ever seen the panning effect done with sports and wildlife shooting, you’ll realize that it’s very similar.
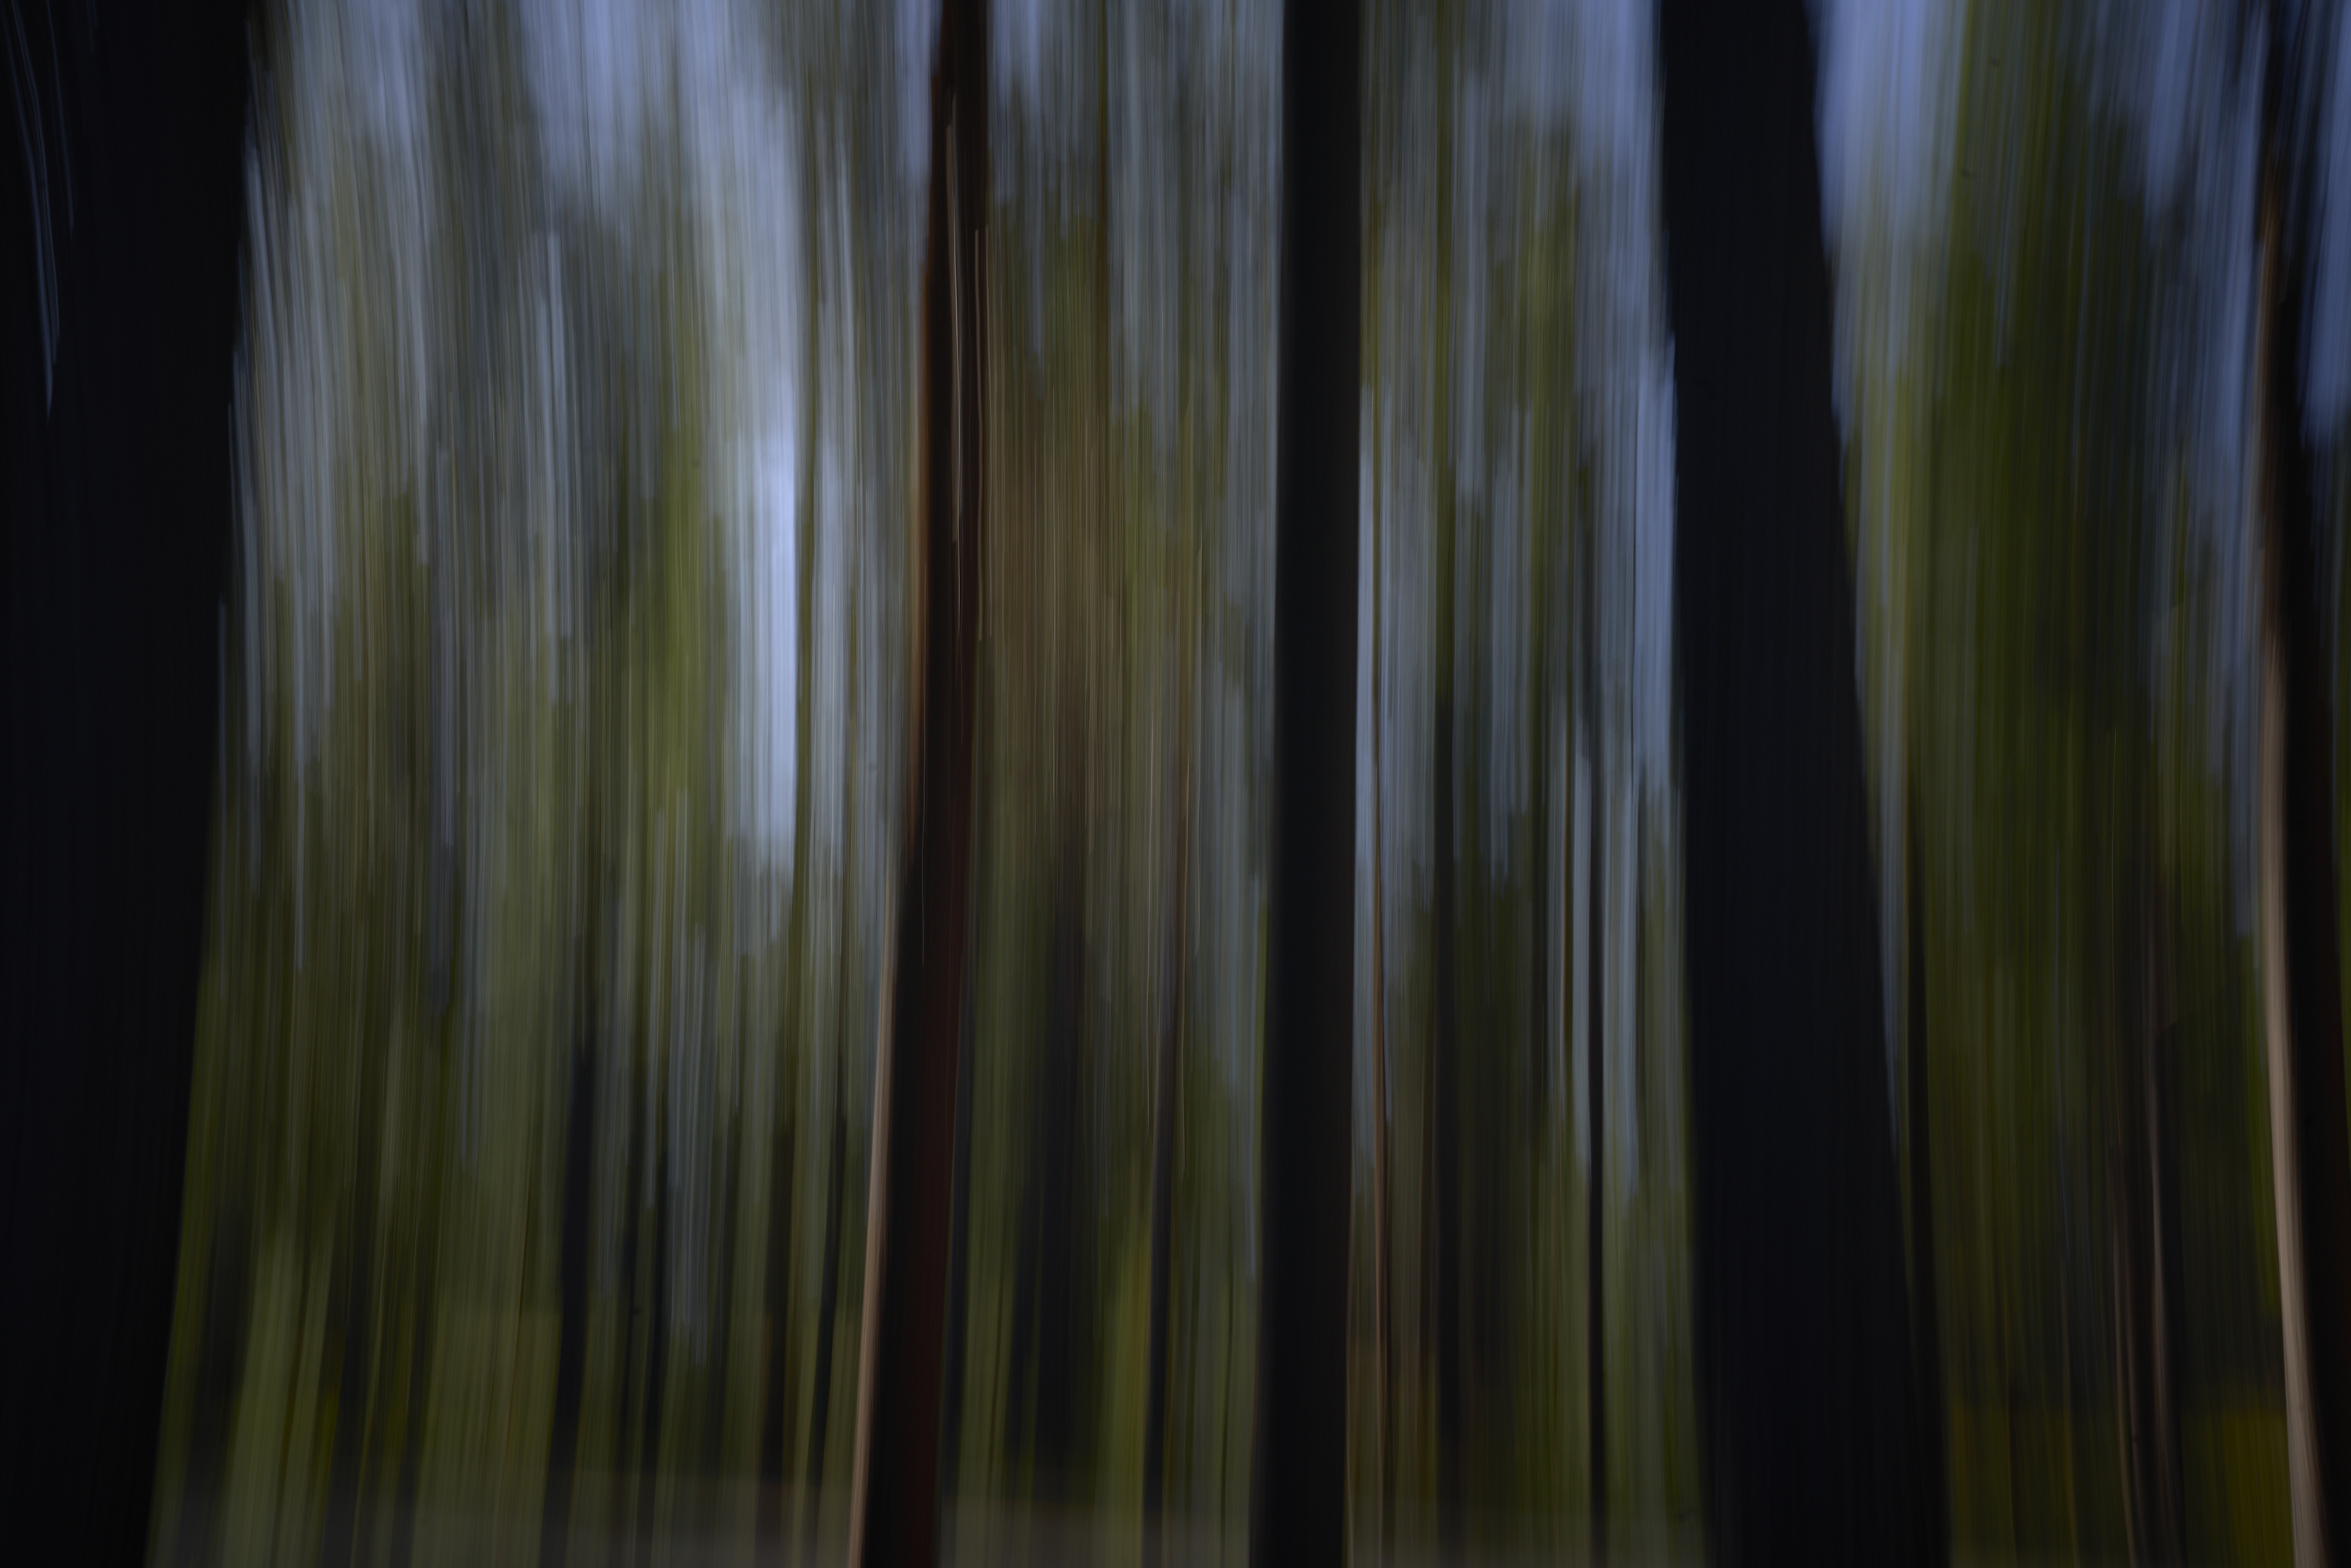
Adjust
Lastly, look at your image and figure out what’s wrong with it. What don’t you like about it? How can you fix that? Then make adjustments and repeat. After this, you’ll get a better photo in-camera.
Get rid of the ads!
Did you enjoy reading this article as much as we enjoyed writing it? There's a way to support us and our reporting, getting ad-free navigation and more as a bonus. Subscribe to us for less than a coffee per month —just $3.99— or take advantage of our yearly subscription with a hefty discount for only $25.- An ad-free experience
- A free mystery box for Lightroom or Capture One
- All the books in our store
- 20% discount on Capture One
- 30% discount on Imalume Photo Theft Protection
- 20% off Herbs and Kettle Tea Company.
- 20% off your order from MPIX printing services.
- 5% off Viltrox Products via their eCommerce store.
- 10% off all film developing, printing and scanning services from Blue Moon Camera and Machine
- 15% off 7Artisans products: The lens and accessory maker is offering a sweet discount for Phoblographer's readers.