
Last Updated on 06/19/2019 by Mark Beckenbach
Ever heard of RGB but have no idea what it means? This quick primer should give you an idea about what it is and its role in photography.
RGB is a term (or acronym, to be precise) that gets thrown around in the creative fields, particularly among designers and photographers. For those who are just getting into these fields, however, what it means and how it works may still be a bit of mystery. In one of their recent blog posts, Shutterstock gives a quick overview on what RGB actually is and how designers use it for web design. Photographers will also find this a useful resource, so it’s worth the know-how, especially for those who want to do both creative disciplines.
In a nutshell, Shutterstock tells us that RGB, which stands for red, green, and blue channels, is one of the color profiles you’d want to use when choosing colors for a design. The RGB color profiles are created through an additive process, and they are primarily used on computer screens and the web. All that you see on your screens are based off the red, green, and blue hues. The other color profile, CMYK, which refers to Cyan, Magenta, Yellow, and Black, is primarily used in printing. The RGB colors are produced by light, which varies in intensity to make up the broad range of colors.
The RGB color profile involves adjusting each of the values for the red, green, and blue channels from 0 to 255 to change the color of the image. With this, you can create any color in the rainbow, as well as grays, whites, and blacks. Playing with Photoshop or an online color generator will give you a better idea of how this works.
How exactly does it apply to photography? Lifewire tells us that when we take a photo using our digital cameras, our photos are composed using the RGB spectrum. Since our computer screens also produce colors in this profile, we essentially see the same colors on our computer monitors that we see on our camera’s LCD screen. Therefore, this color profile is the industry default that allows us to view true-to-life colors on our screens.
This color management guide on Sleek Lens reminds us that RGB color profiles are also a big part of color management for photographers when working with image editing software such as Lightroom. Three of the most prominent are ProPhoto RGB, Adobe RGB, and sRGB. When editing your RAW photos in Lightroom, it will automatically assign the ProPhoto RGB profile, since it’s able to obtain and preserve most of the information captured by a camera sensor. Adobe RGB pulls less colors than the ProPhoto RGB, but it still keeps most of the colors that an industrial CMYK printer can print. So, it’s the typical color profile of choice for those printing their images professionally for, say, a magazine or a poster. Lastly, the sRGB color profile is the most commonly used, but it only limits the color space to those that most monitors produce. It’s also still the typical color profile used online.
The Sleek Lens guide also tells us to keep in mind that converting an image’s color profile is permanent, even among the RGB profiles listed above. For example, we won’t be able to regain the information lost when converting from ProPhoto RGB to Adobe RGB because the latter uses a narrower color gamut, which compresses the original image. Likewise, converting from a lower color gamut to a higher one won’t give the image the extra colors.
But, what about converting from an RGB color profile to CMYK for printing an image? That’s something we’ll need to cover in another article.
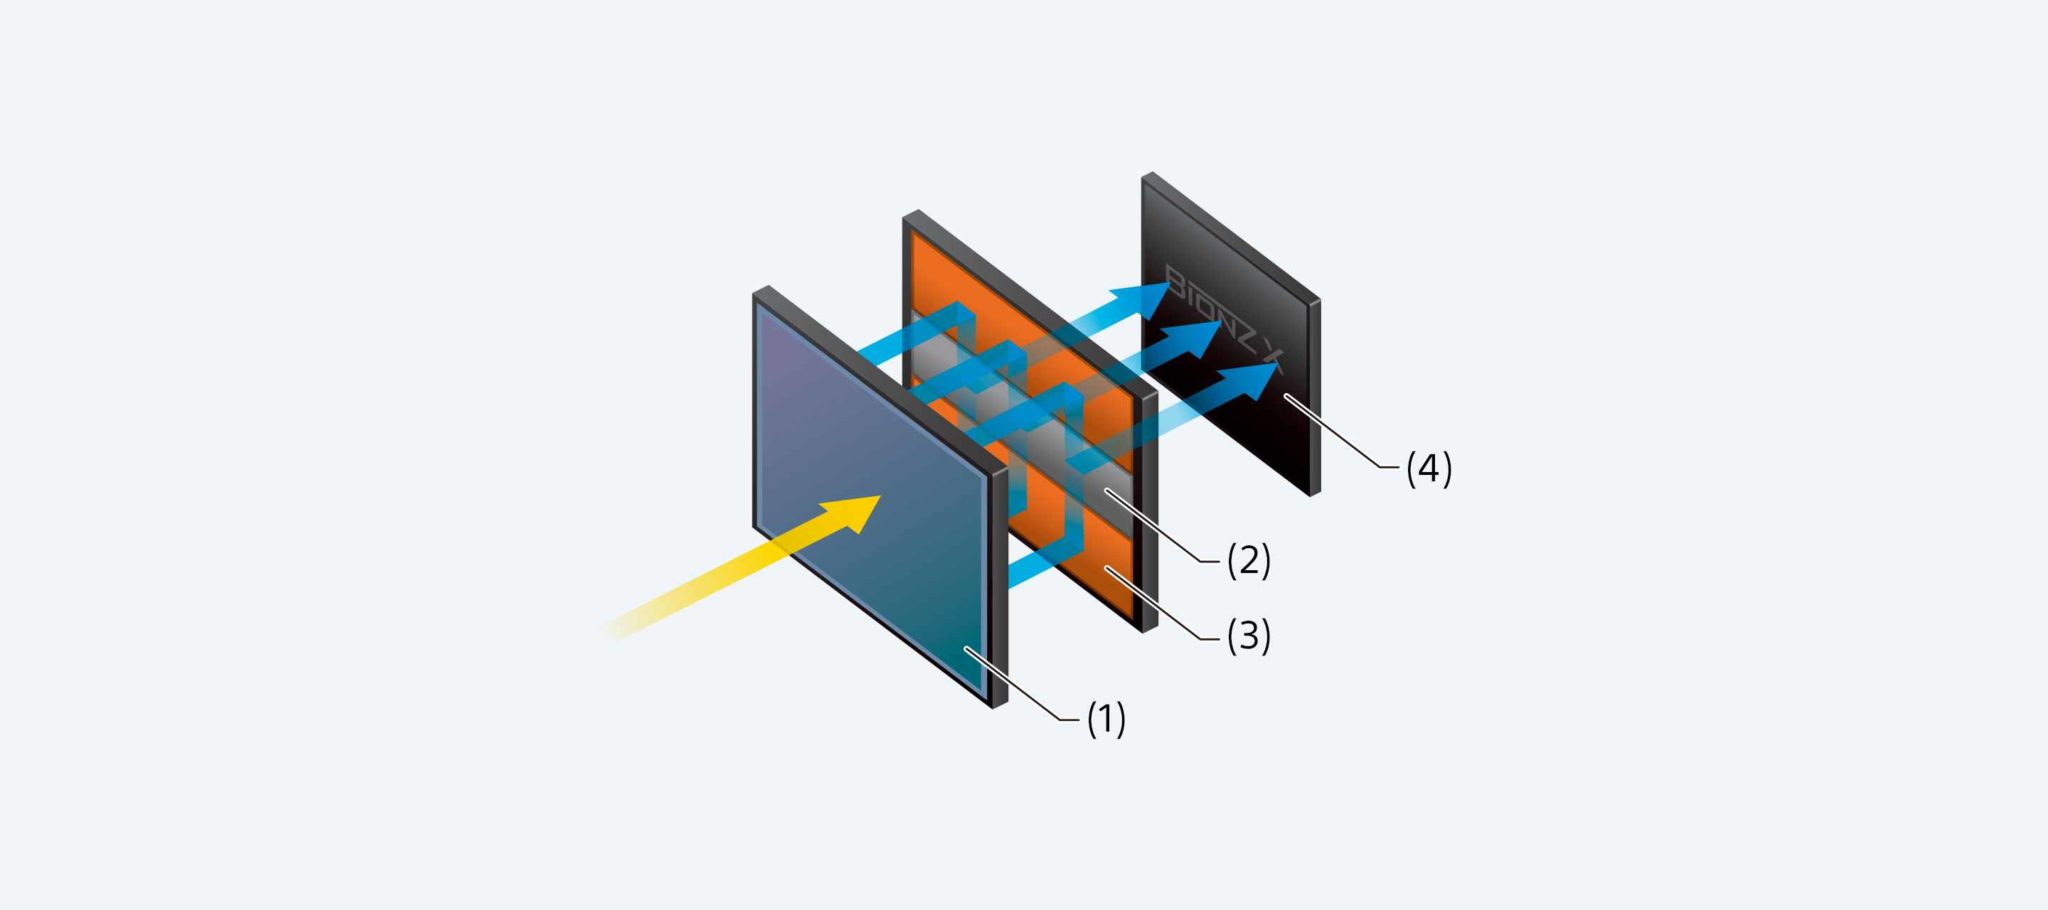
Image from the Shutterstock Blog
Get rid of the ads!
Did you enjoy reading this article as much as we enjoyed writing it? There's a way to support us and our reporting, getting ad-free navigation and more as a bonus. Subscribe to us for less than a coffee per month —just $3.99— or take advantage of our yearly subscription with a hefty discount for only $25.- An ad-free experience
- A free mystery box for Lightroom or Capture One
- All the books in our store
- 20% discount on Capture One
- 30% discount on Imalume Photo Theft Protection
- 20% off Herbs and Kettle Tea Company.
- 20% off your order from MPIX printing services.
- 5% off Viltrox Products via their eCommerce store.
- 10% off all film developing, printing and scanning services from Blue Moon Camera and Machine
- 15% off 7Artisans products: The lens and accessory maker is offering a sweet discount for Phoblographer's readers.