
Last Updated on 05/20/2019 by Mark Beckenbach
Using a softbox for photography really isn’t difficult. Here’s how a total noob can do it.
When photographers first start using lighting, they often work with softboxes. I’m not exactly sure why; umbrellas and octabanks are superior in every way. But softboxes are still the light modifiers that everyone just knows and starts with. They’re the old reliable. But when photographers start out with lighting, they often don’t know the first thing about how to shape it. So here’s what you need to keep in mind with a softbox (in a bite sized package.)
It’s All About Size, Relatively
There’s a little secret to lighting and it goes like this: the larger the light source is in relation to the subject, the softer the light will be. To put this in perspective, think about how the sun’s rays suddenly become a lot calmer after a cloud goes in front of it. To put those into more technical terms, soft lighting refers to light that results in very light shadows. Hard light refers to light that creates very dark shadows.
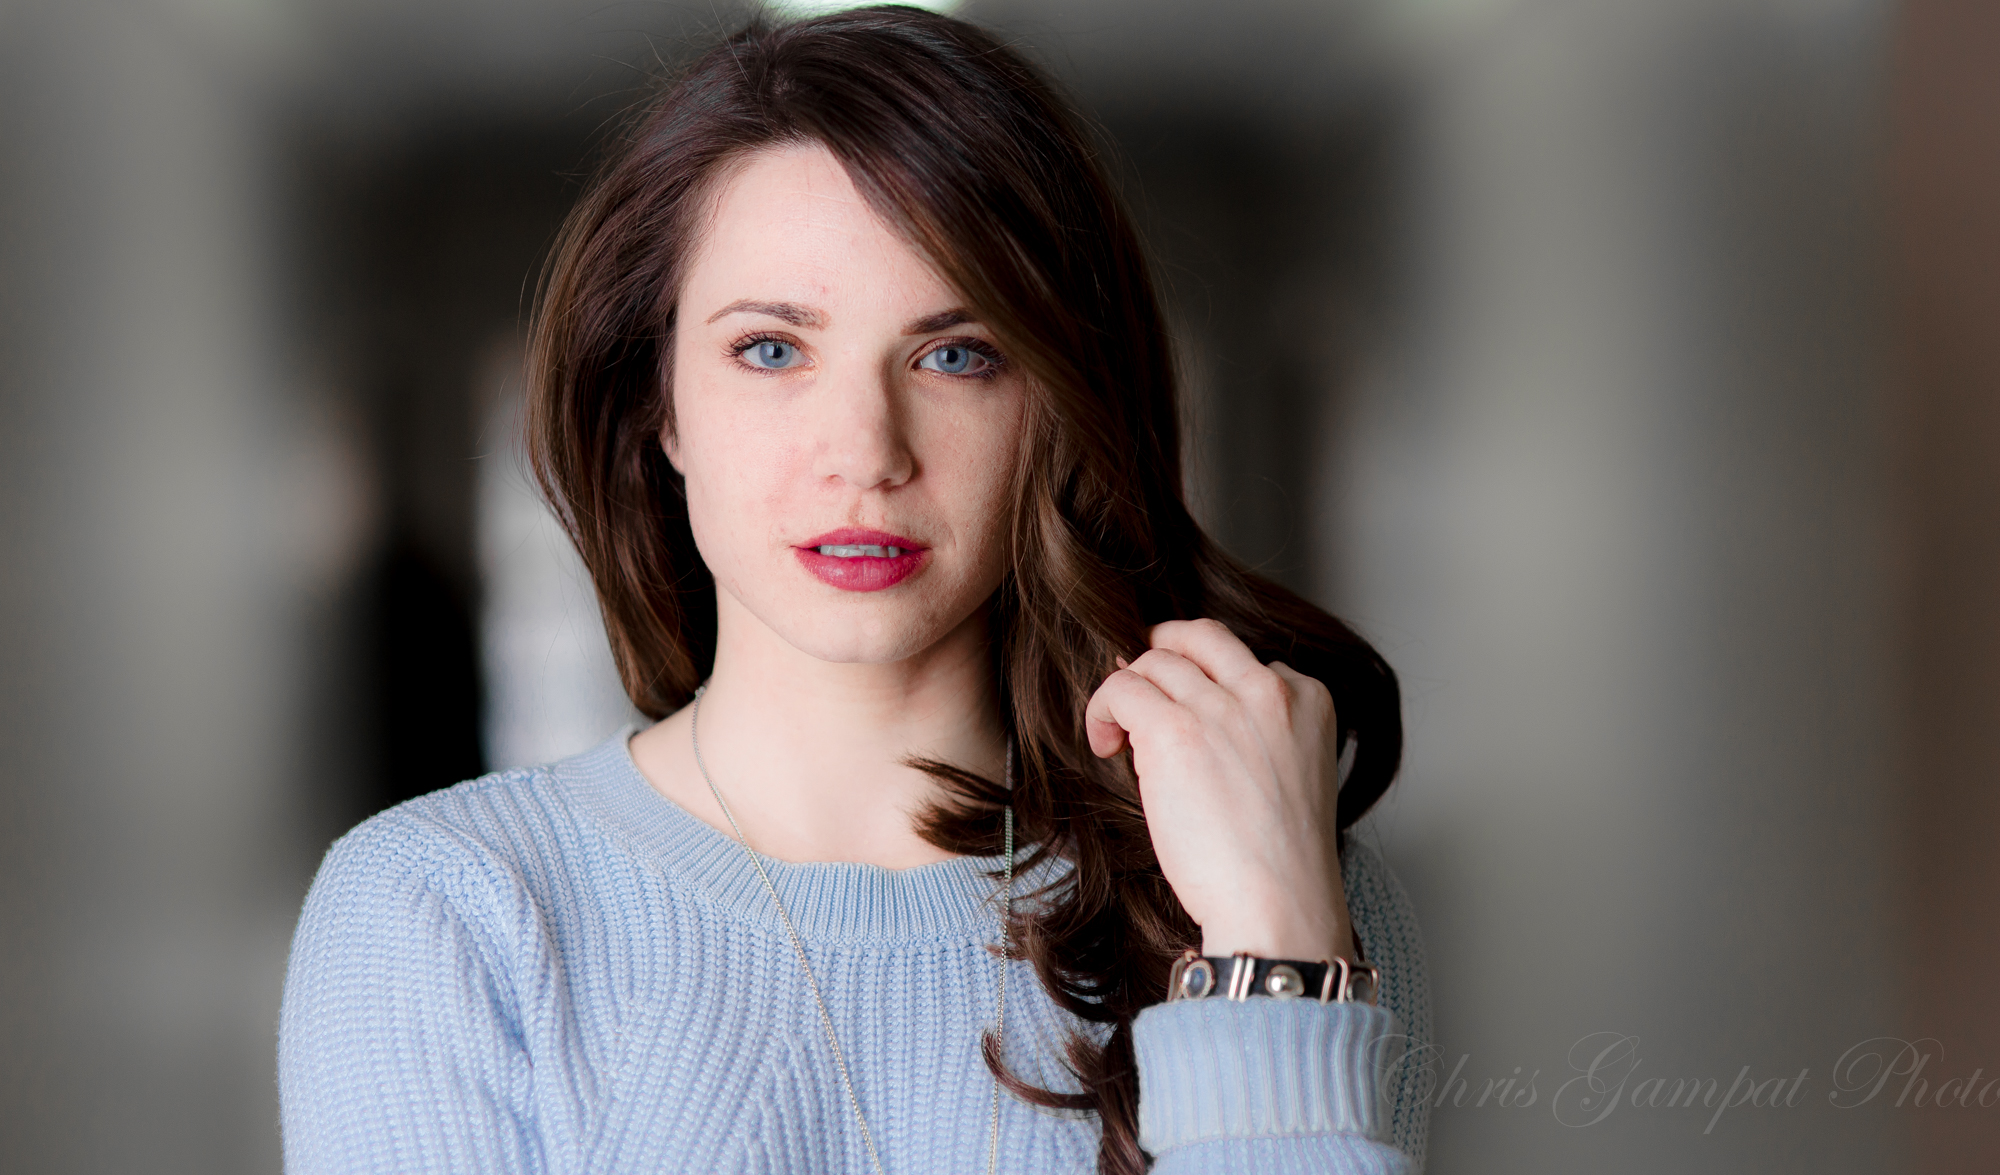
Now there’s the other rule: when you want to make someone look flattering with soft lighting, you need to have a softbox that is larger than the part of the subject in the frame. In the image above, Megan’s upper quarter is being photographed. This means the softbox is larger than Megan’s upper quarter. In general, you should always work with a softbox that is at least 36 inches if you plan on doing photos like the one above. Once you start doing full body photos, you’ll need to move to something like a 6 foot or 7 foot softbox.
Place It Slightly Above and Angle It
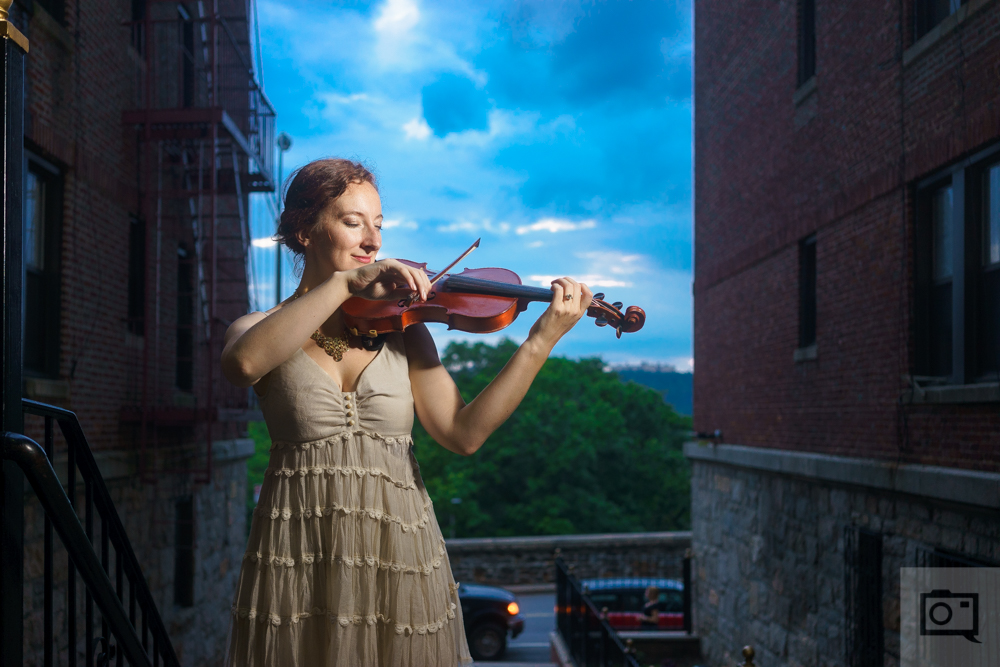
The sweet spot when it comes to shooting portraits with a softbox is placement. It’s not usually a great idea to place a softbox below a subject but it works to the side. The best place to position a softbox is above and angled slightly down towards a subject. This helps give a more natural look to the subject but it also helps to have the light wrap around the subject. To put this into a better perspective, think about the person being some veggies, meat, and cheese while the light output is like a soft shell taco. The light output won’t go all the way around but instead will hit the sides and front.
Then place the light on camera right or camera left (everyone has a better side). Slightly angle the person towards the light source while also posing them accordingly. What this essentially does is makes the light look natural and like window lighting. Think of the face of a softbox sort of like a window. Where would you place that window? And where would you place the person being lit?
Silver or White?

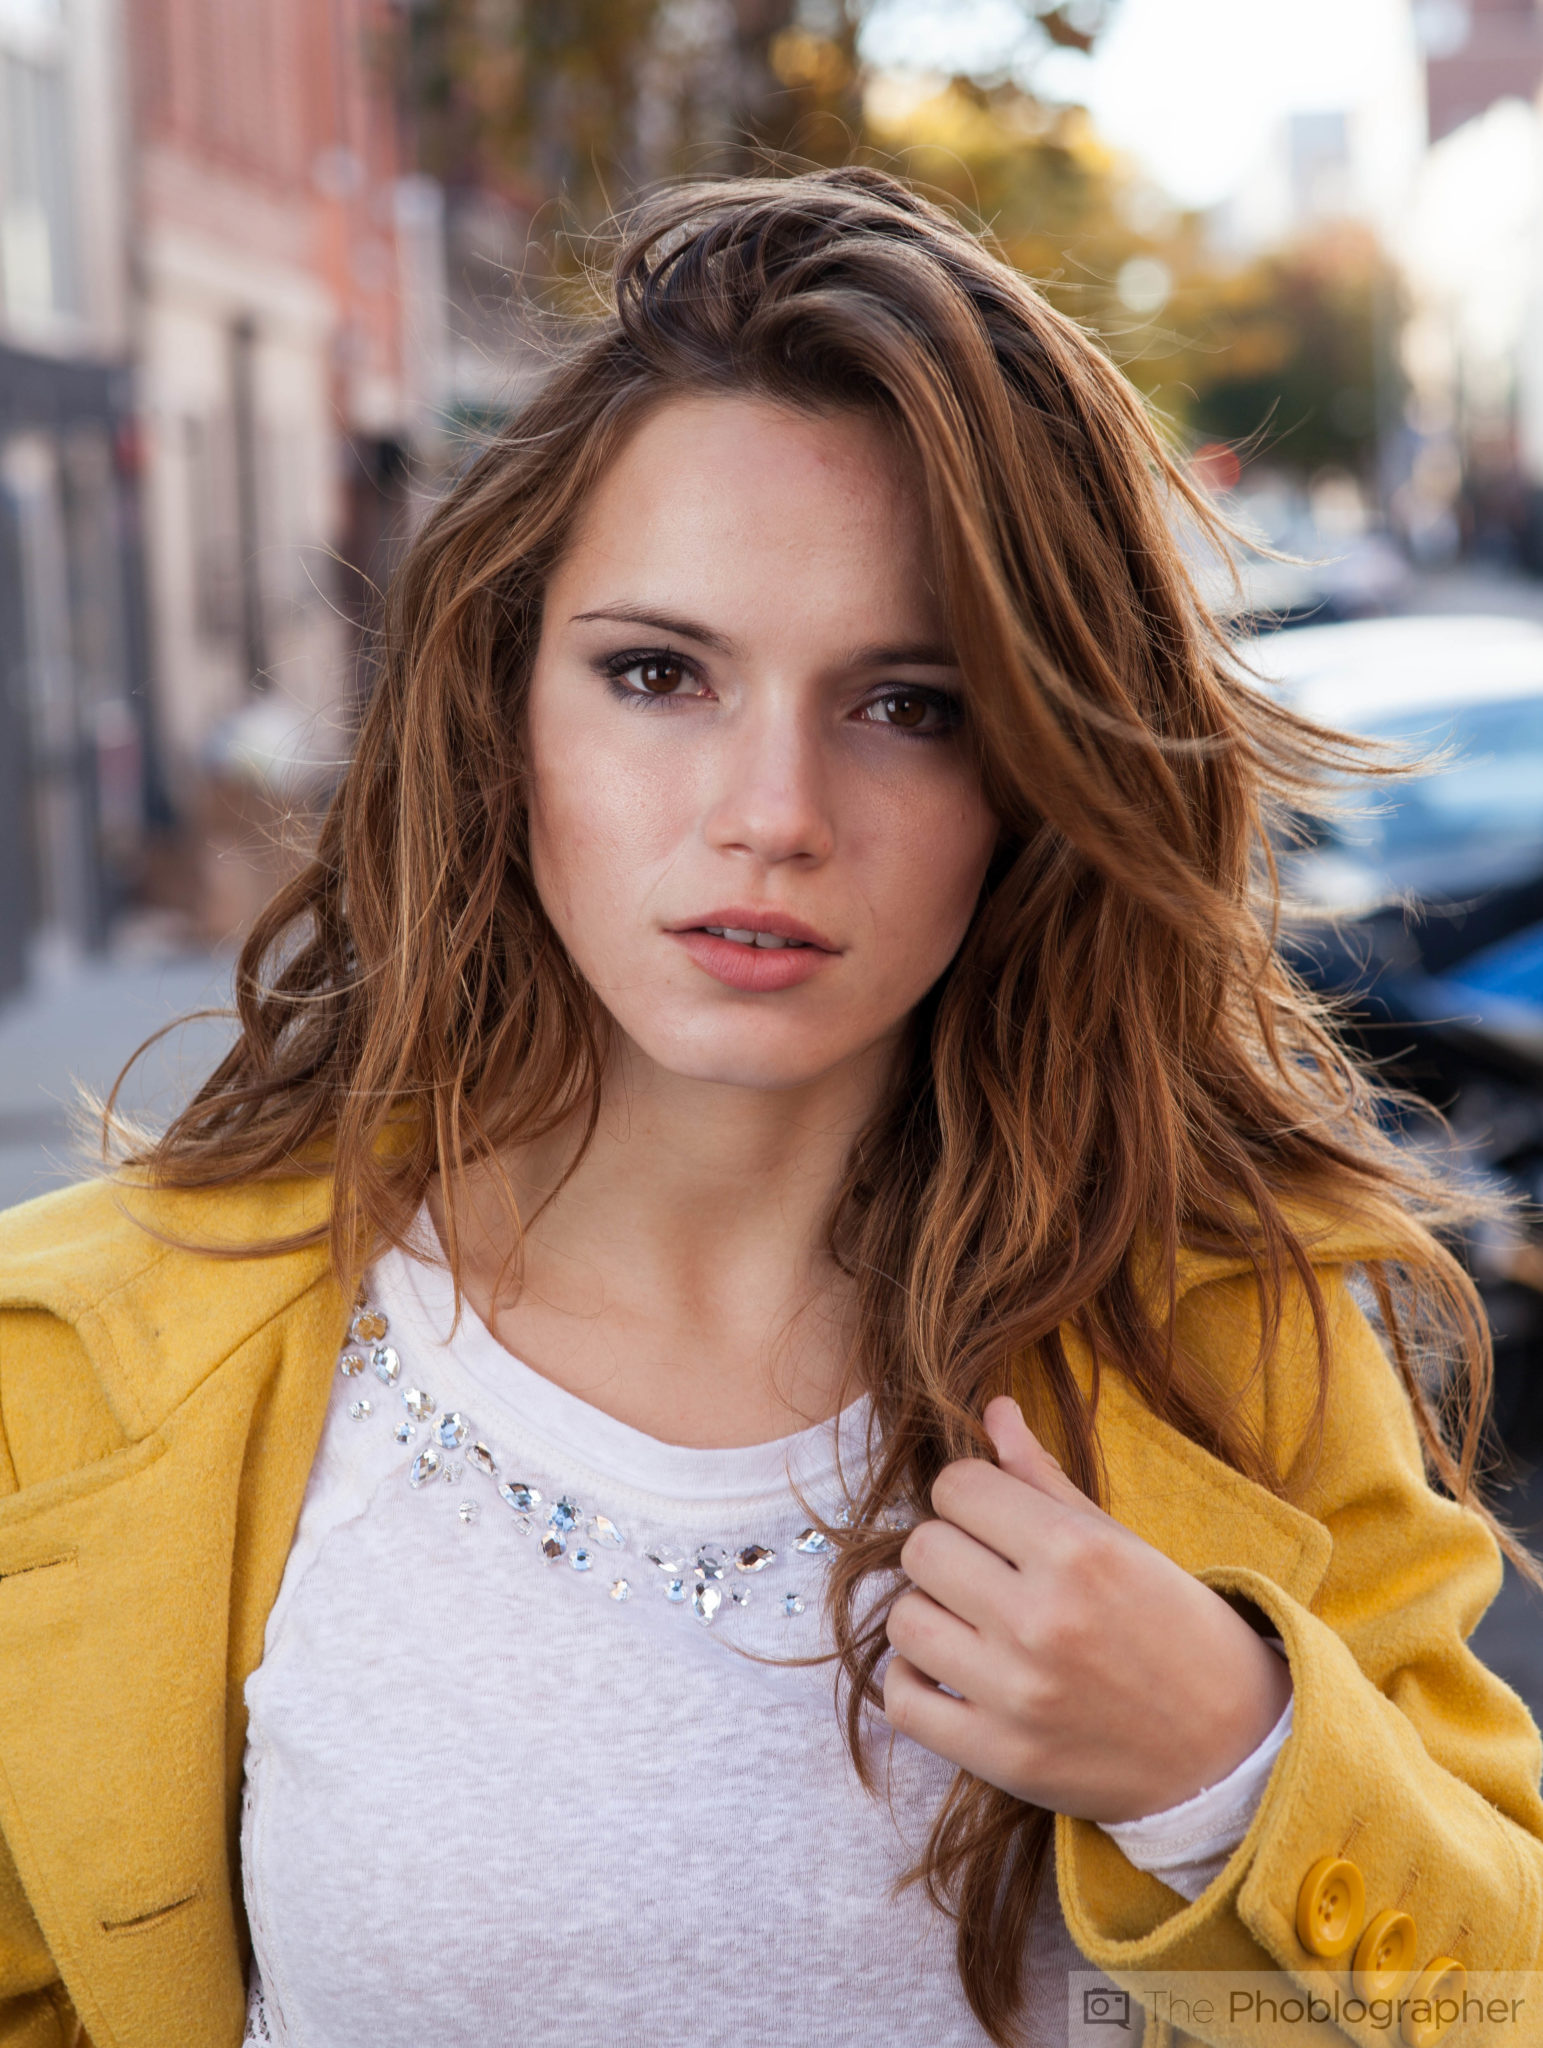
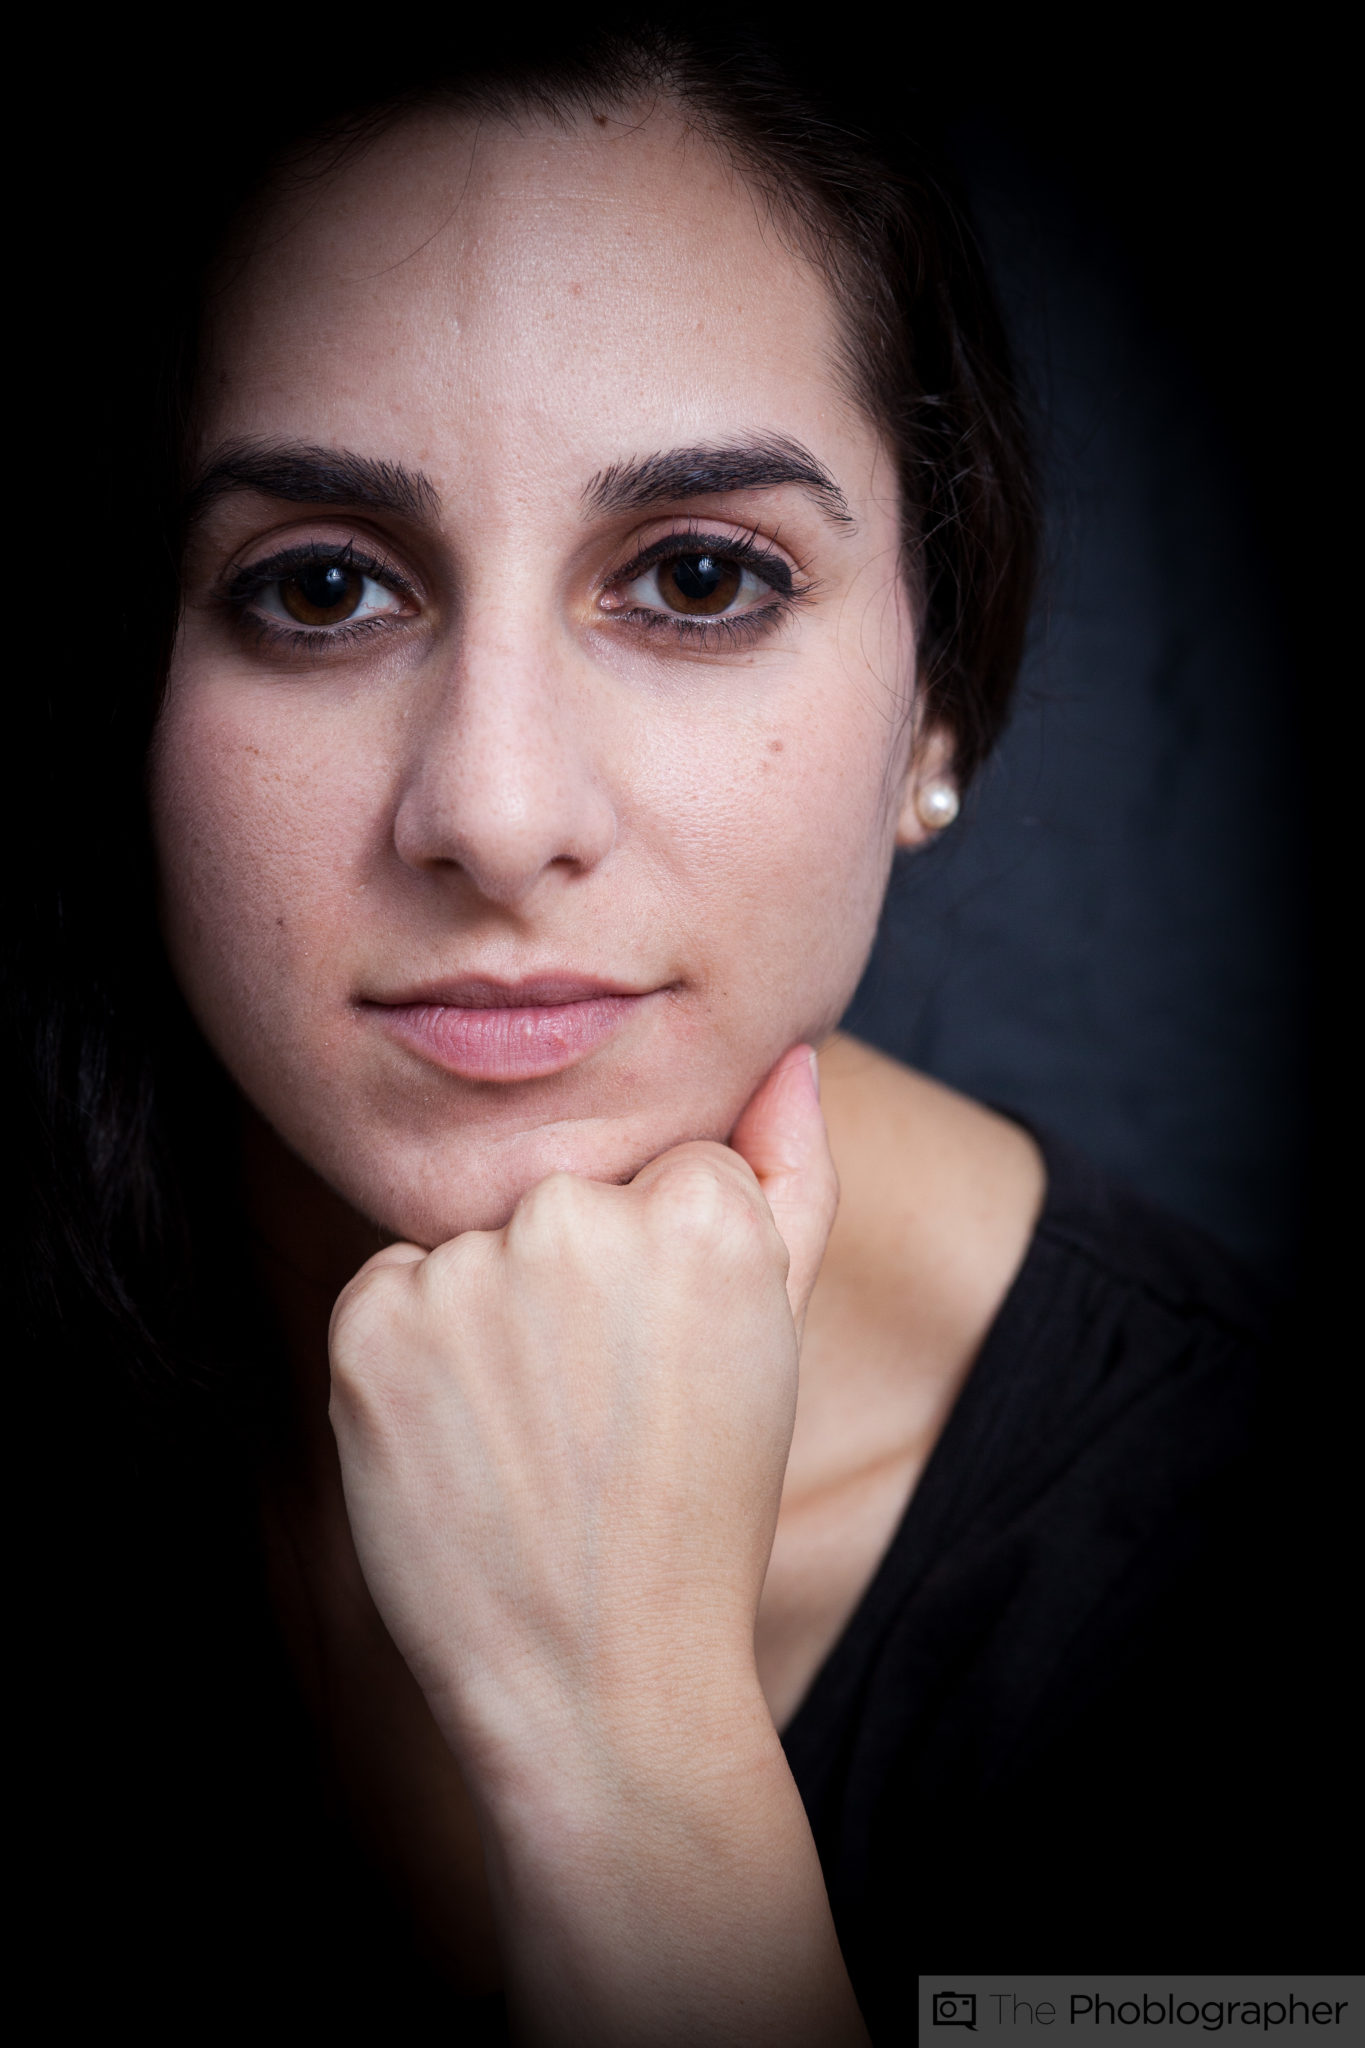
Now here’s the bigger question: silver or white and what does that mean? This is referring to the interior of the softbox. A white interior is often better for skin and delivers a softer look. On the other hand, a silver interior will give you more details and punchier light. Silver is typically better for product photography.
Above is the effect that one gets from a white interior.
And this is what a soft silver looks like. It’s punchier in terms of the details in the scene.
Get rid of the ads!
Did you enjoy reading this article as much as we enjoyed writing it? There's a way to support us and our reporting, getting ad-free navigation and more as a bonus. Subscribe to us for less than a coffee per month —just $3.99— or take advantage of our yearly subscription with a hefty discount for only $25.- An ad-free experience
- A free mystery box for Lightroom or Capture One
- All the books in our store
- 20% discount on Capture One
- 30% discount on Imalume Photo Theft Protection
- 20% off Herbs and Kettle Tea Company.
- 20% off your order from MPIX printing services.
- 5% off Viltrox Products via their eCommerce store.
- 10% off all film developing, printing and scanning services from Blue Moon Camera and Machine
- 15% off 7Artisans products: The lens and accessory maker is offering a sweet discount for Phoblographer's readers.