Last Updated on 03/13/2019 by Mark Beckenbach
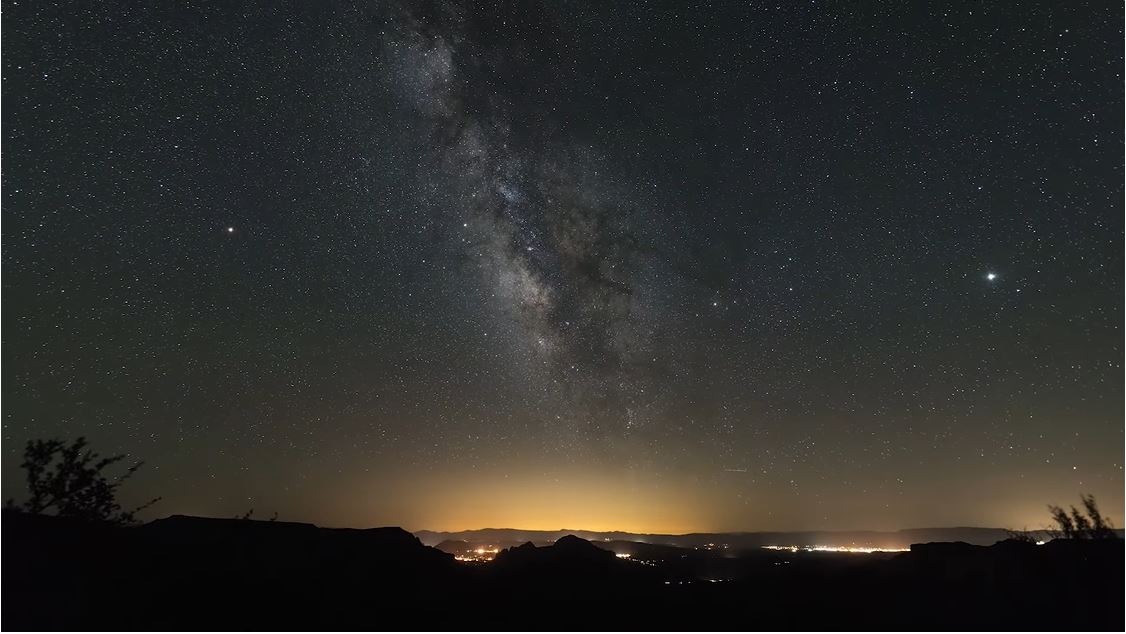
Eager to learn how to shoot breathtaking Milky Way photos? All you need is roughly five minutes of full attention and this basic video tutorial.
If you’re looking for a quick and simple astrophotography tutorial for shooting the Milky Way, then we have just the right stuff for you. In his very basic video tutorial, Mike Perea gives a rundown of all the stuff you need to know to get that beautiful band of stars in your night photos. Whether you don’t have a lot of time to watch lengthy astrophotography tutorials or are looking for a simple one that works, this is definitely one to keep in your bookmarks for future reference.
If you’re ready, let’s dive into the tutorial:
Now, let’s dissect all that into some notes for you.
First, is of course, the gear you should shoot with. The most important tool you’ll need is a sturdy and reliable tripod, because your shutter speeds will be slower than what you can hold. The tripod will keep your camera in place and prevent blurry photos. Next is of course a DSLR or mirrorless camera with a wide-angle lens to shoot with.
Next is the shutter speed. To determine this, you need to keep in mind the following formulas:
For Full Frame cameras:
500/focal length
Example for a 15mm lens: 500/15= 30 seconds
For Crop Sensor cameras:
500/focal length x 1.5
Example for an 11mm lens: 11mm x 1.5= 17mm then 500/17=29.4 or 30 seconds
The rationale behind these formulas is to keep the shutter speed within 30 seconds so you don’t get star trails, where the stars are captured as streaks of light. On a side note, that also looks cool, but that’s not the goal here.
Once you got that figured out, the next step is finding out where to shoot. You can check out websites like the Dark Site Finder to look for best spots near you to shoot on a clear, moonless night, away from light pollution. Next is nailing dates for the best times of the year to shoot. In the northern hemisphere, this is anytime in April to about November. Face south-southeast or southwest later in the summer to get the best views of the Milky Way. Perea also shows us how he determines which part of the location to shoot and what time exactly to do it using the PhotoPill app.
Lastly, the settings. We have two options to set the focus: do it in the daytime and focus as far away as possible and put gaffers tape on your focus ring, or; do it at night, zooming in on the back of your screen and focusing on the brightest star. Then, adjust your focus ring to get that dot of light as small as possible. Use the shutter speed from the formula above and set your aperture at the widest aperture and you’re all set!
Want more tutorials from Mike Perea? Go ahead and visit his YouTube channel to see the rest of his videos.
Screenshot image from the video by Mike Perea


