
The Hero Shot: it’s the headshot and portrait photo that so many folks want.
If I had to define the hero shot style of portrait, then I’d say that it’s a portrait photo that likens a person to the iconic poses of many comic book and fantasy super heroes that we’ve come to know and admire over the years. These photos and images are often depicting someone looking off to the side or with a very particular lighting. Undoubtedly, these images elicit a feeling that the viewer gets. And getting that feeling in the image is easier than you’d think.
Backlight, Lens Flare and Lots of Contrast

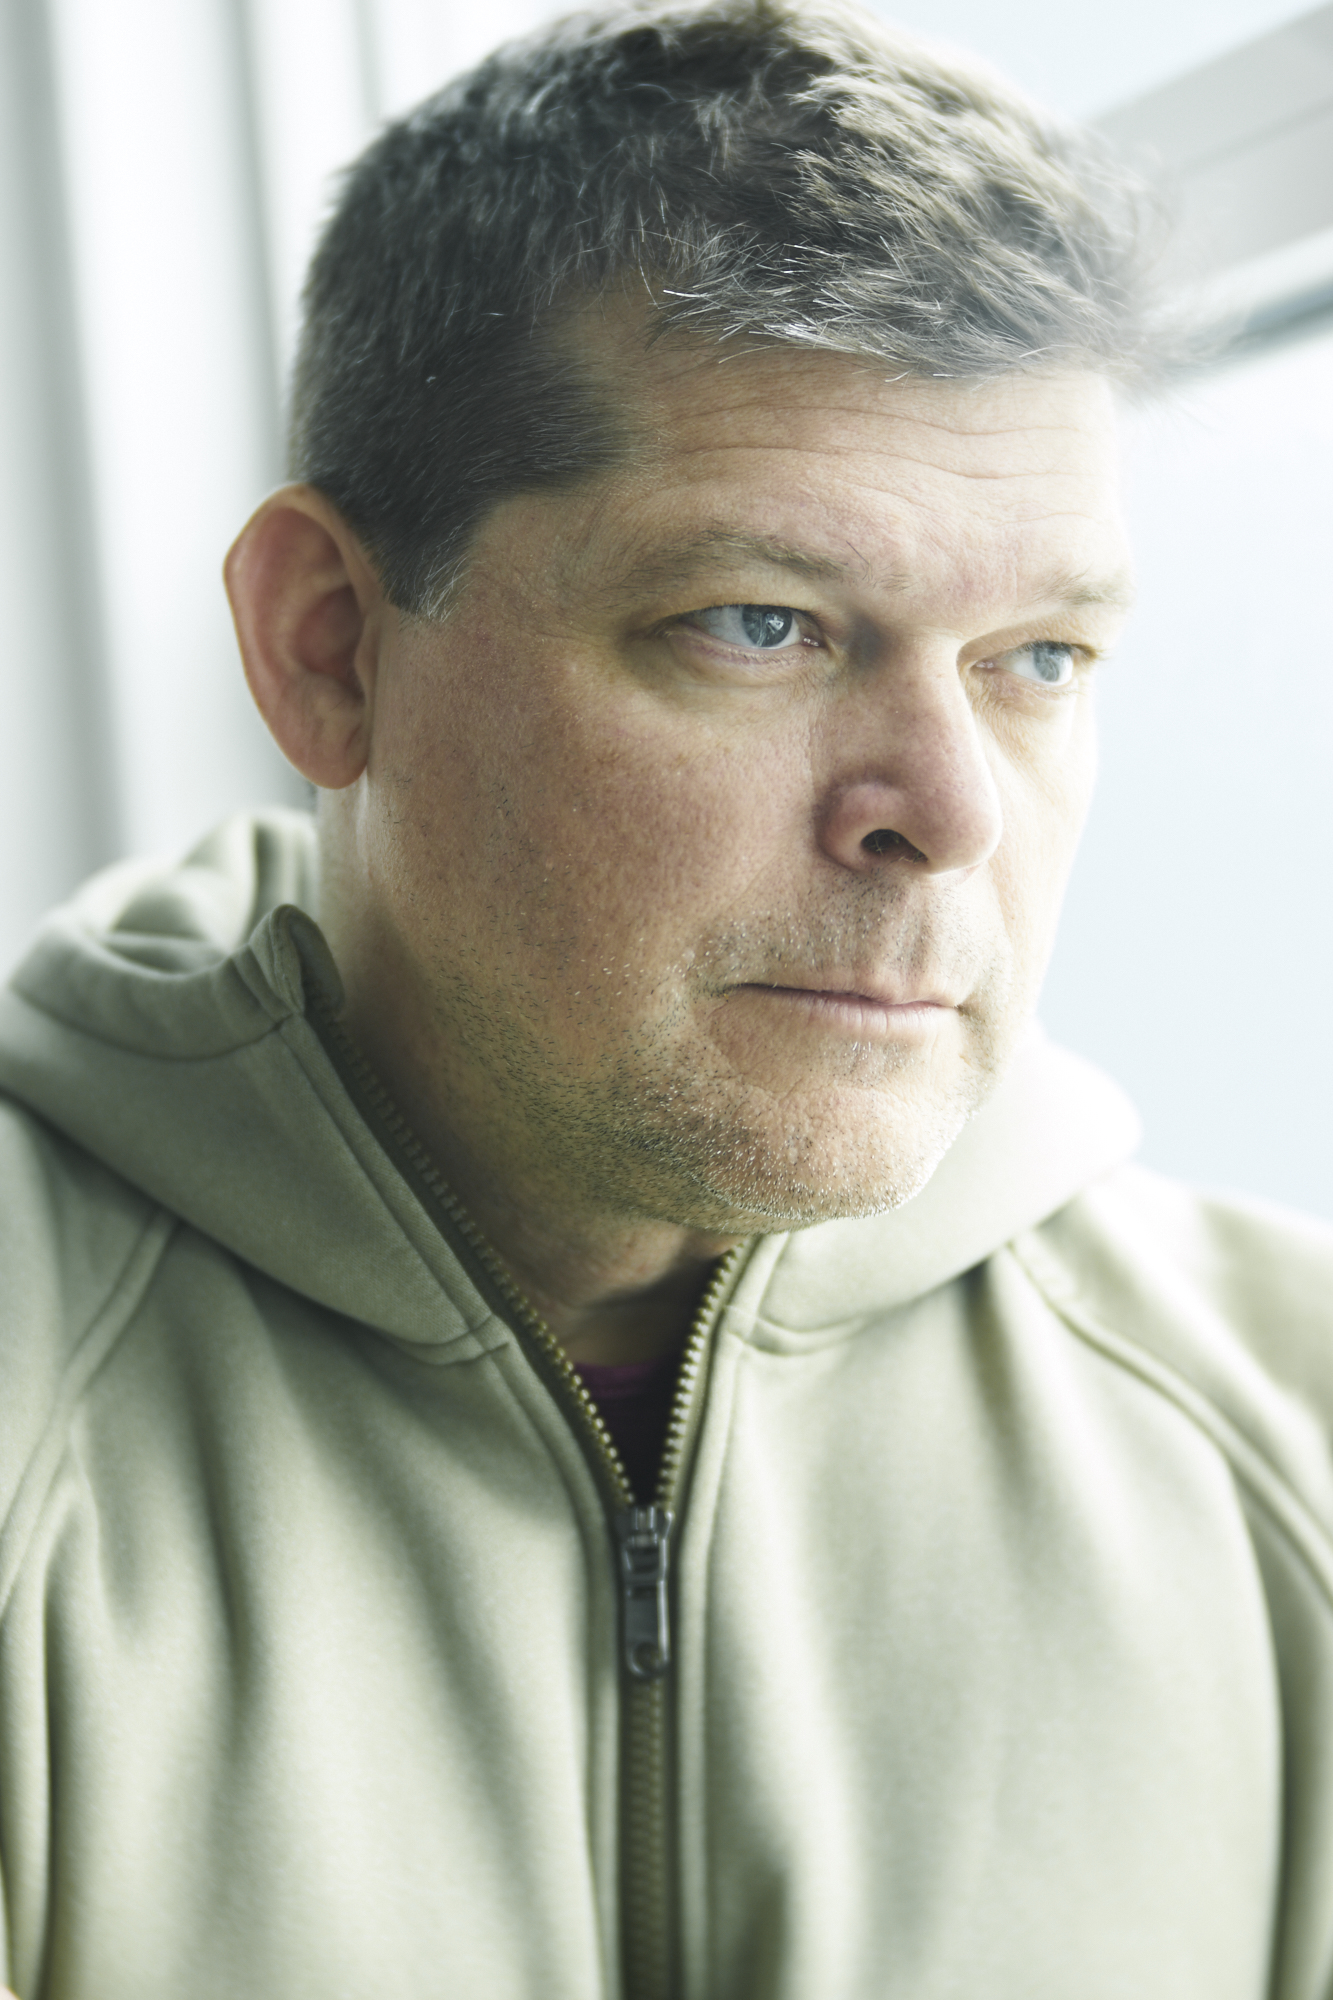
First off, what many of these images have is some sort of back lighting along with front lighting. The back lighting helps to add a sort of halo and separation around the subject. It’s also just a really nice look that helps to make a person look better providing the back lighting (or lighting in general) wraps around the person. In the image above of Paul, there are two different lights. In the image of Amy below, there is one light–the sun.
This look helps to give more emphasis to the person in the photo. There is something obviously very cinematic about the photo and the scene that makes them look better and makes them stand out.
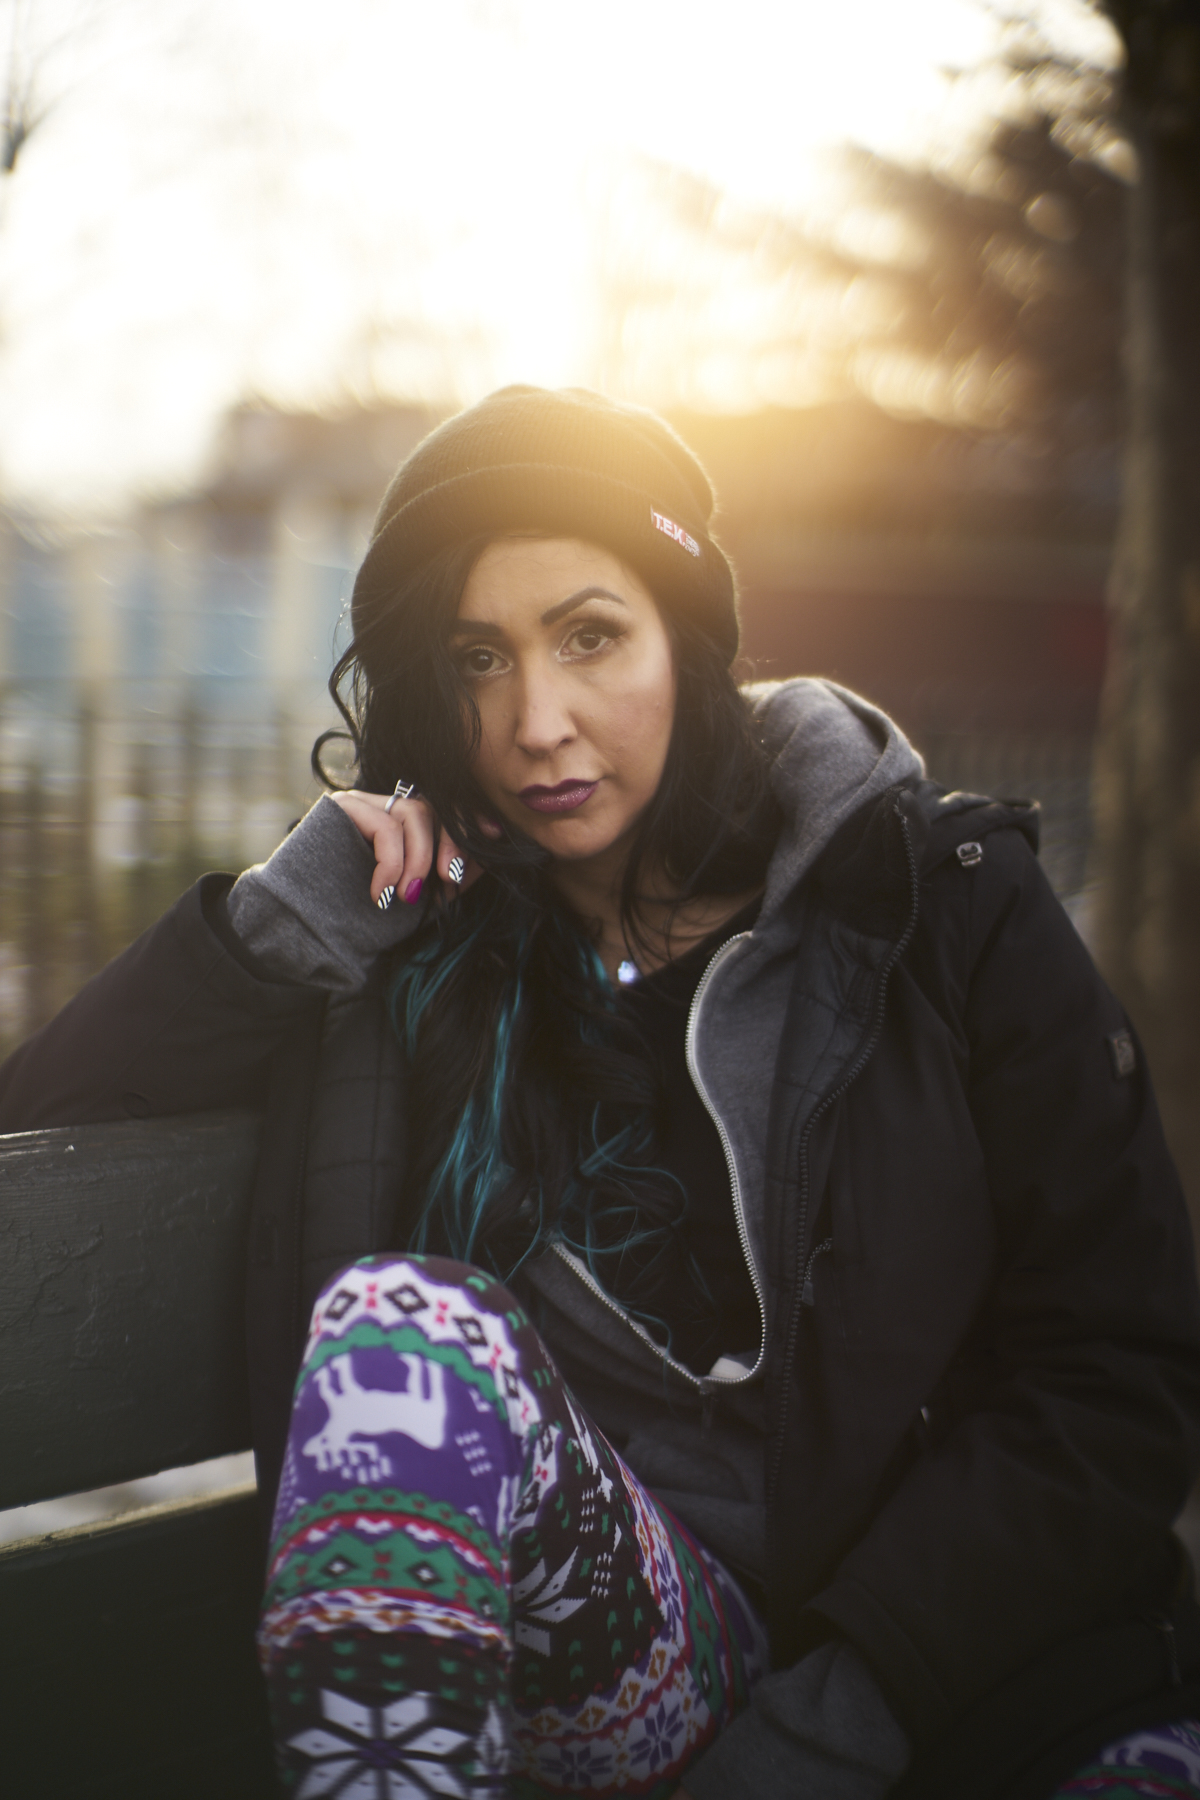
Something that also helps with these images? Lens flare! You’d think that modern day lenses completely eliminate lens flare; indeed they try to. If you remove the lens hood, you’ll get a bit more of it. Lots of folks don’t know this, but we know this from testing many lenses over the years. Lens flare helps to add that cinematic effect that we’re talking about. Modern day lenses are also very contrasty, so if you have that contrast you’ll get the important details that stand out. That’s the technical part of it, so let’s move onto the rest.
Posing
Posing can depend on a number of different things. You can go really tight in on the headshot if you want, but if you do this then there needs to be that special feeling in there combined with the strong backlighting, wrap around lighting, contrast, and the person needs to be giving off a confident energy that can be felt through the camera. This energy is often conveyed through body language. If someone doesn’t feel confident, they’re not going to be confident in the photo unless you impress them somehow or another via the imagery.
Give them faith to believe in you.
Many hero shots are pulled back a bit though. First off work with their shoulders. Move the higher one back a bit. Don’t try to even them out too much, instead have them lean back and make the other one higher. What this does is puts their body into a more natural position to arch themselves upwards and push their chests out. It also changes not only the body language but can change the mood.
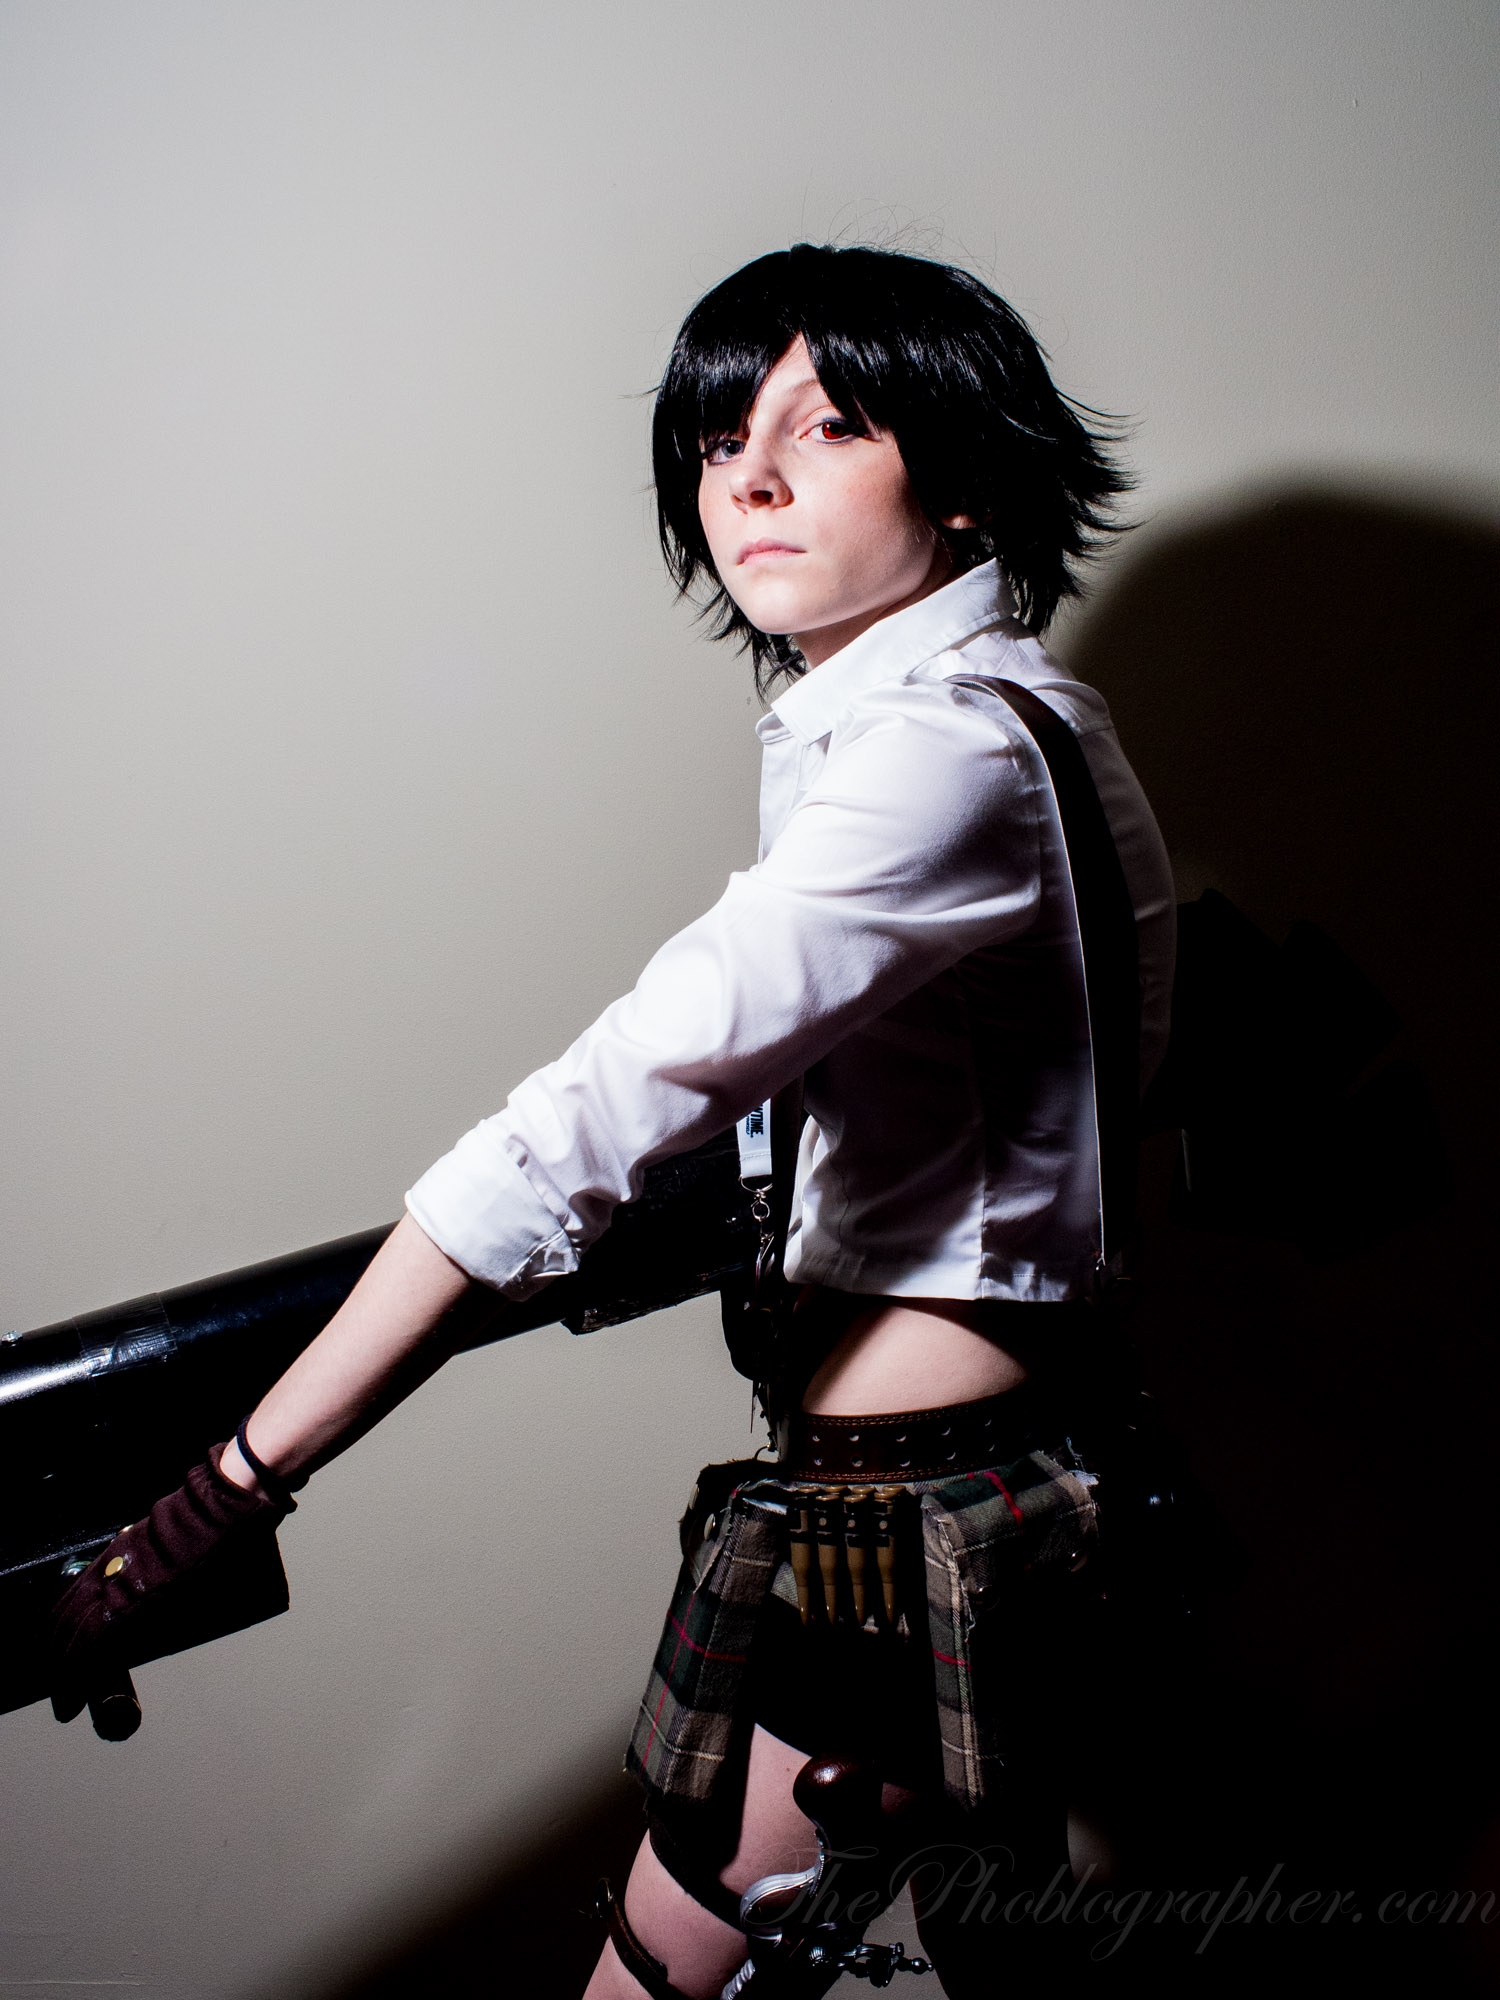
When combining these poses with the lighting that we talk about and the higher contrast, you can create images that really do elicit that feeling of them being the more iconic hero shots.
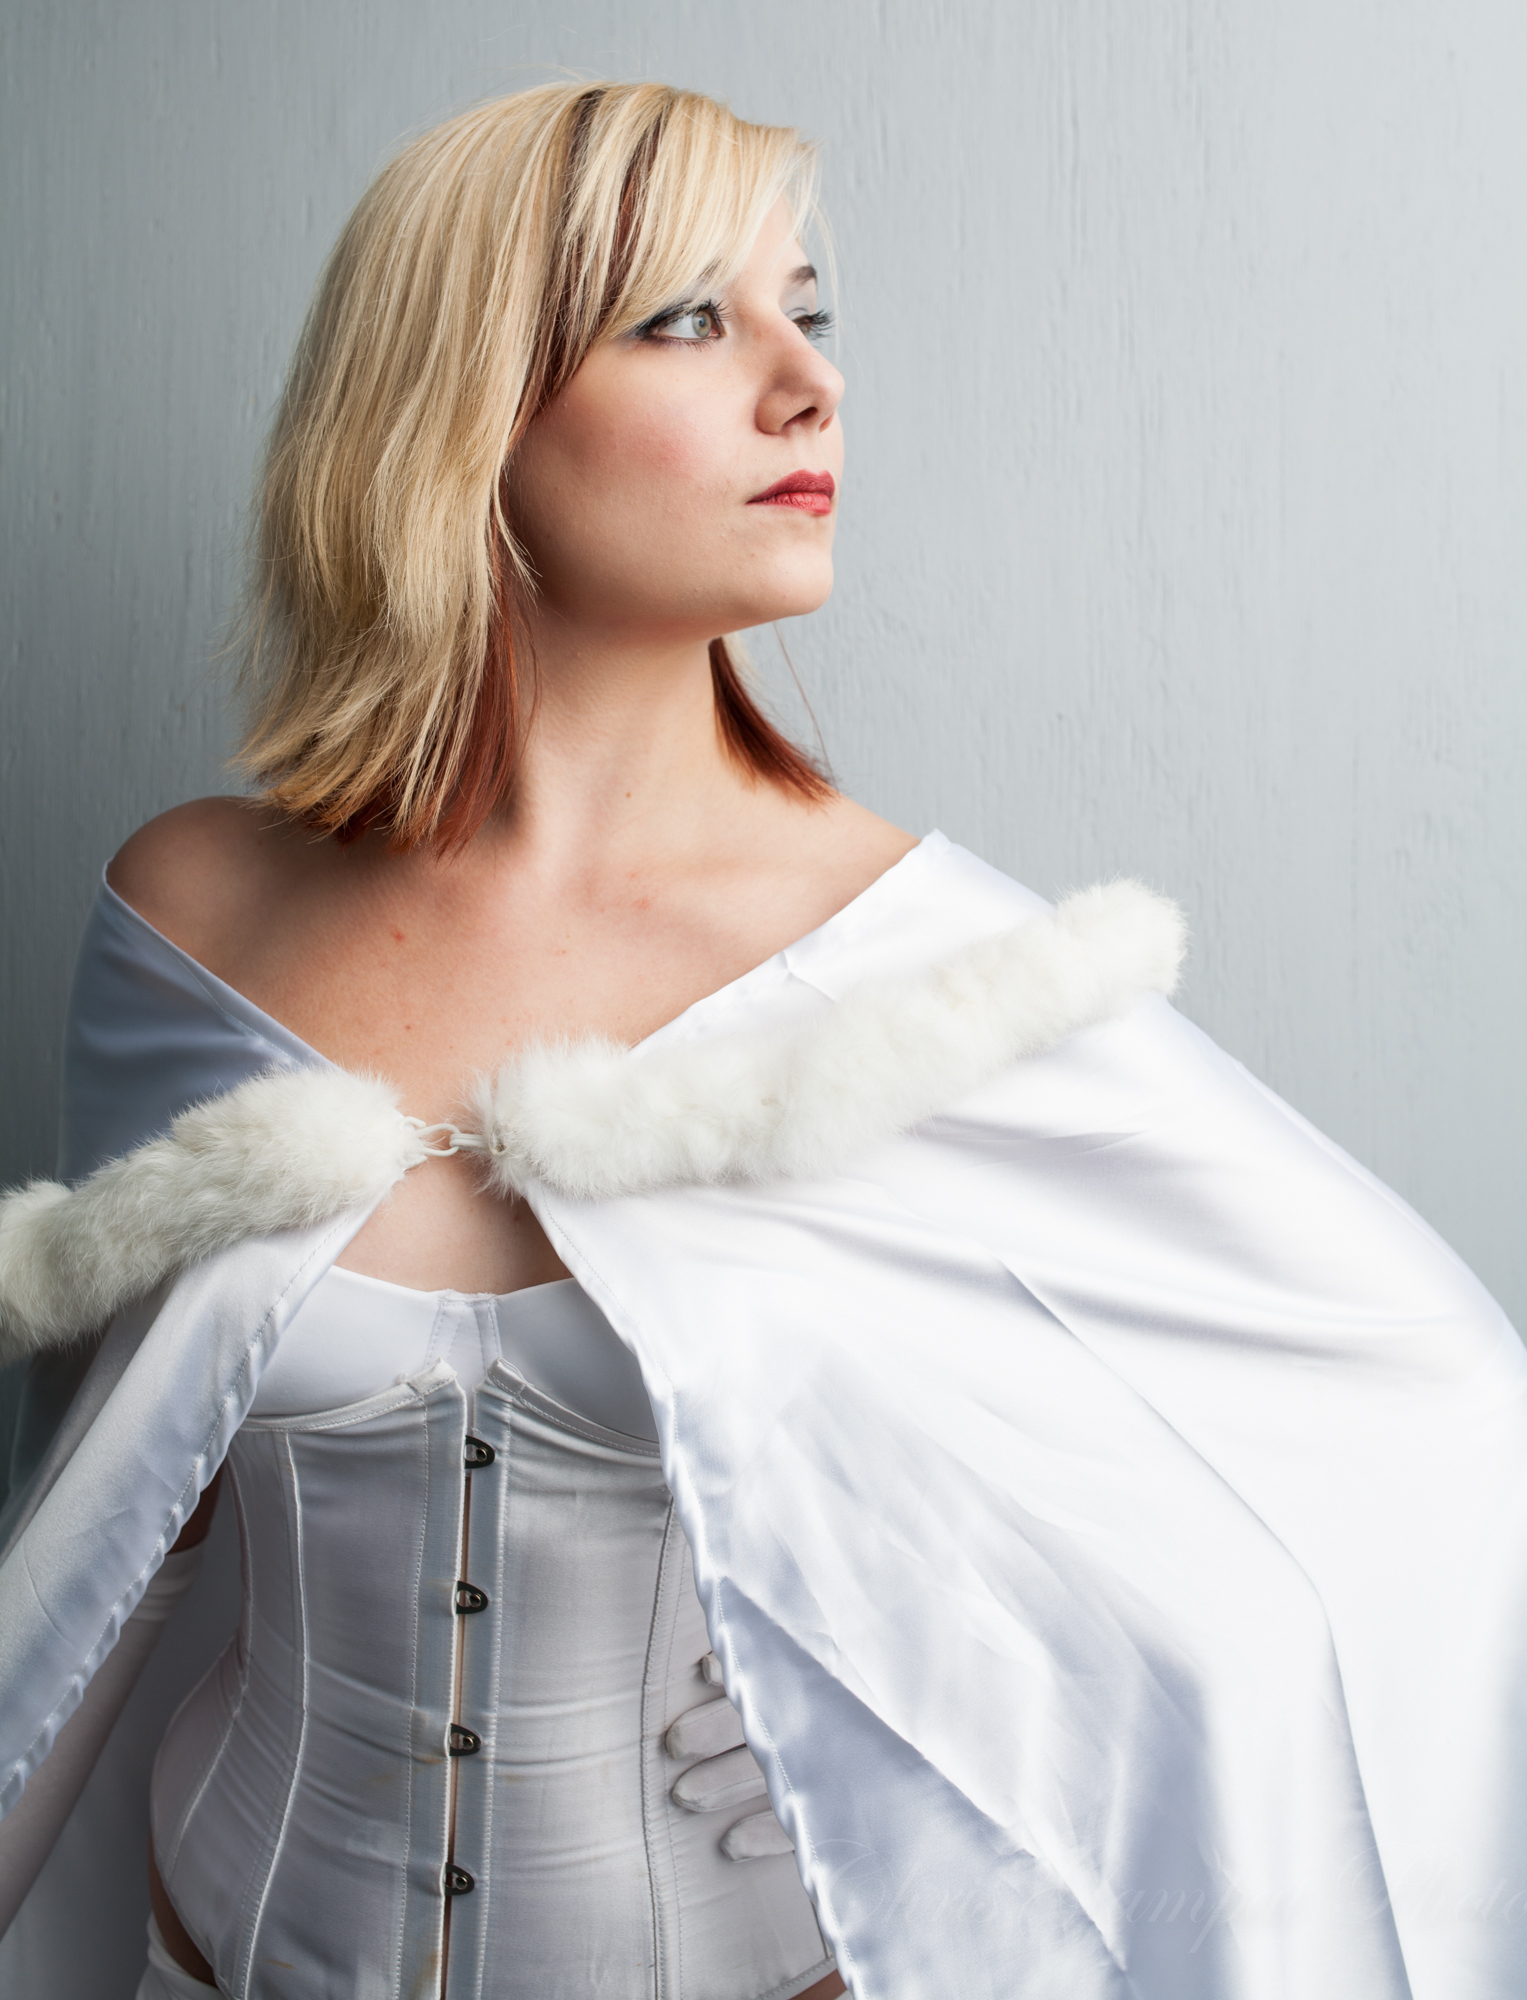
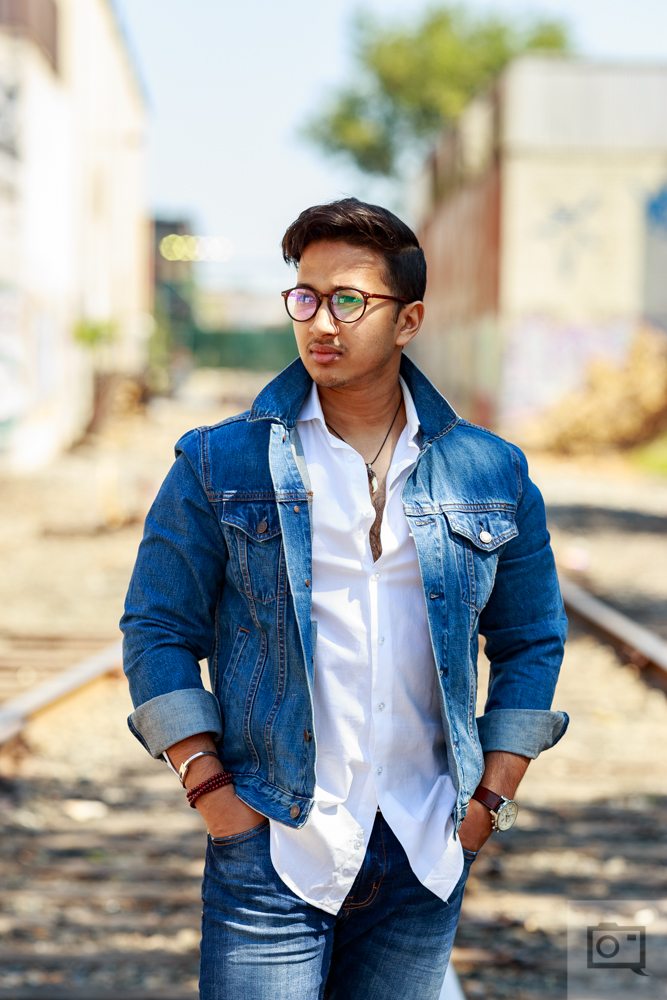
The Good Side of a Person’s Face
Believe it or not, everyone has a good side. That isn’t a myth at all. For some folks, they’ll look better when they’re captured from their right vs their left. Notice how most super hero photos/artwork has them portrayed more from one side than the other? To figure this out, move around the person and notice a few things:
- How their jaw falls
- The size of their nose in direct correlation to how the cheeks can be used to make it look more flattering
- How deep set their eyes are and how the light above affects that
- How much they need to push their necks out
Lots of folks state that the eyes are the windows to the soul with photography. The truth is that it’s more about body language, lighting, and the shapes that you’re presenting to people. A person’s eyes are just their eyes. If you simply took images of eyes, you wouldn’t be able to tell one emotion from the other.
Because of all this, it’s often better to use a longer focal length of 50mm or more.
Mind Trickery
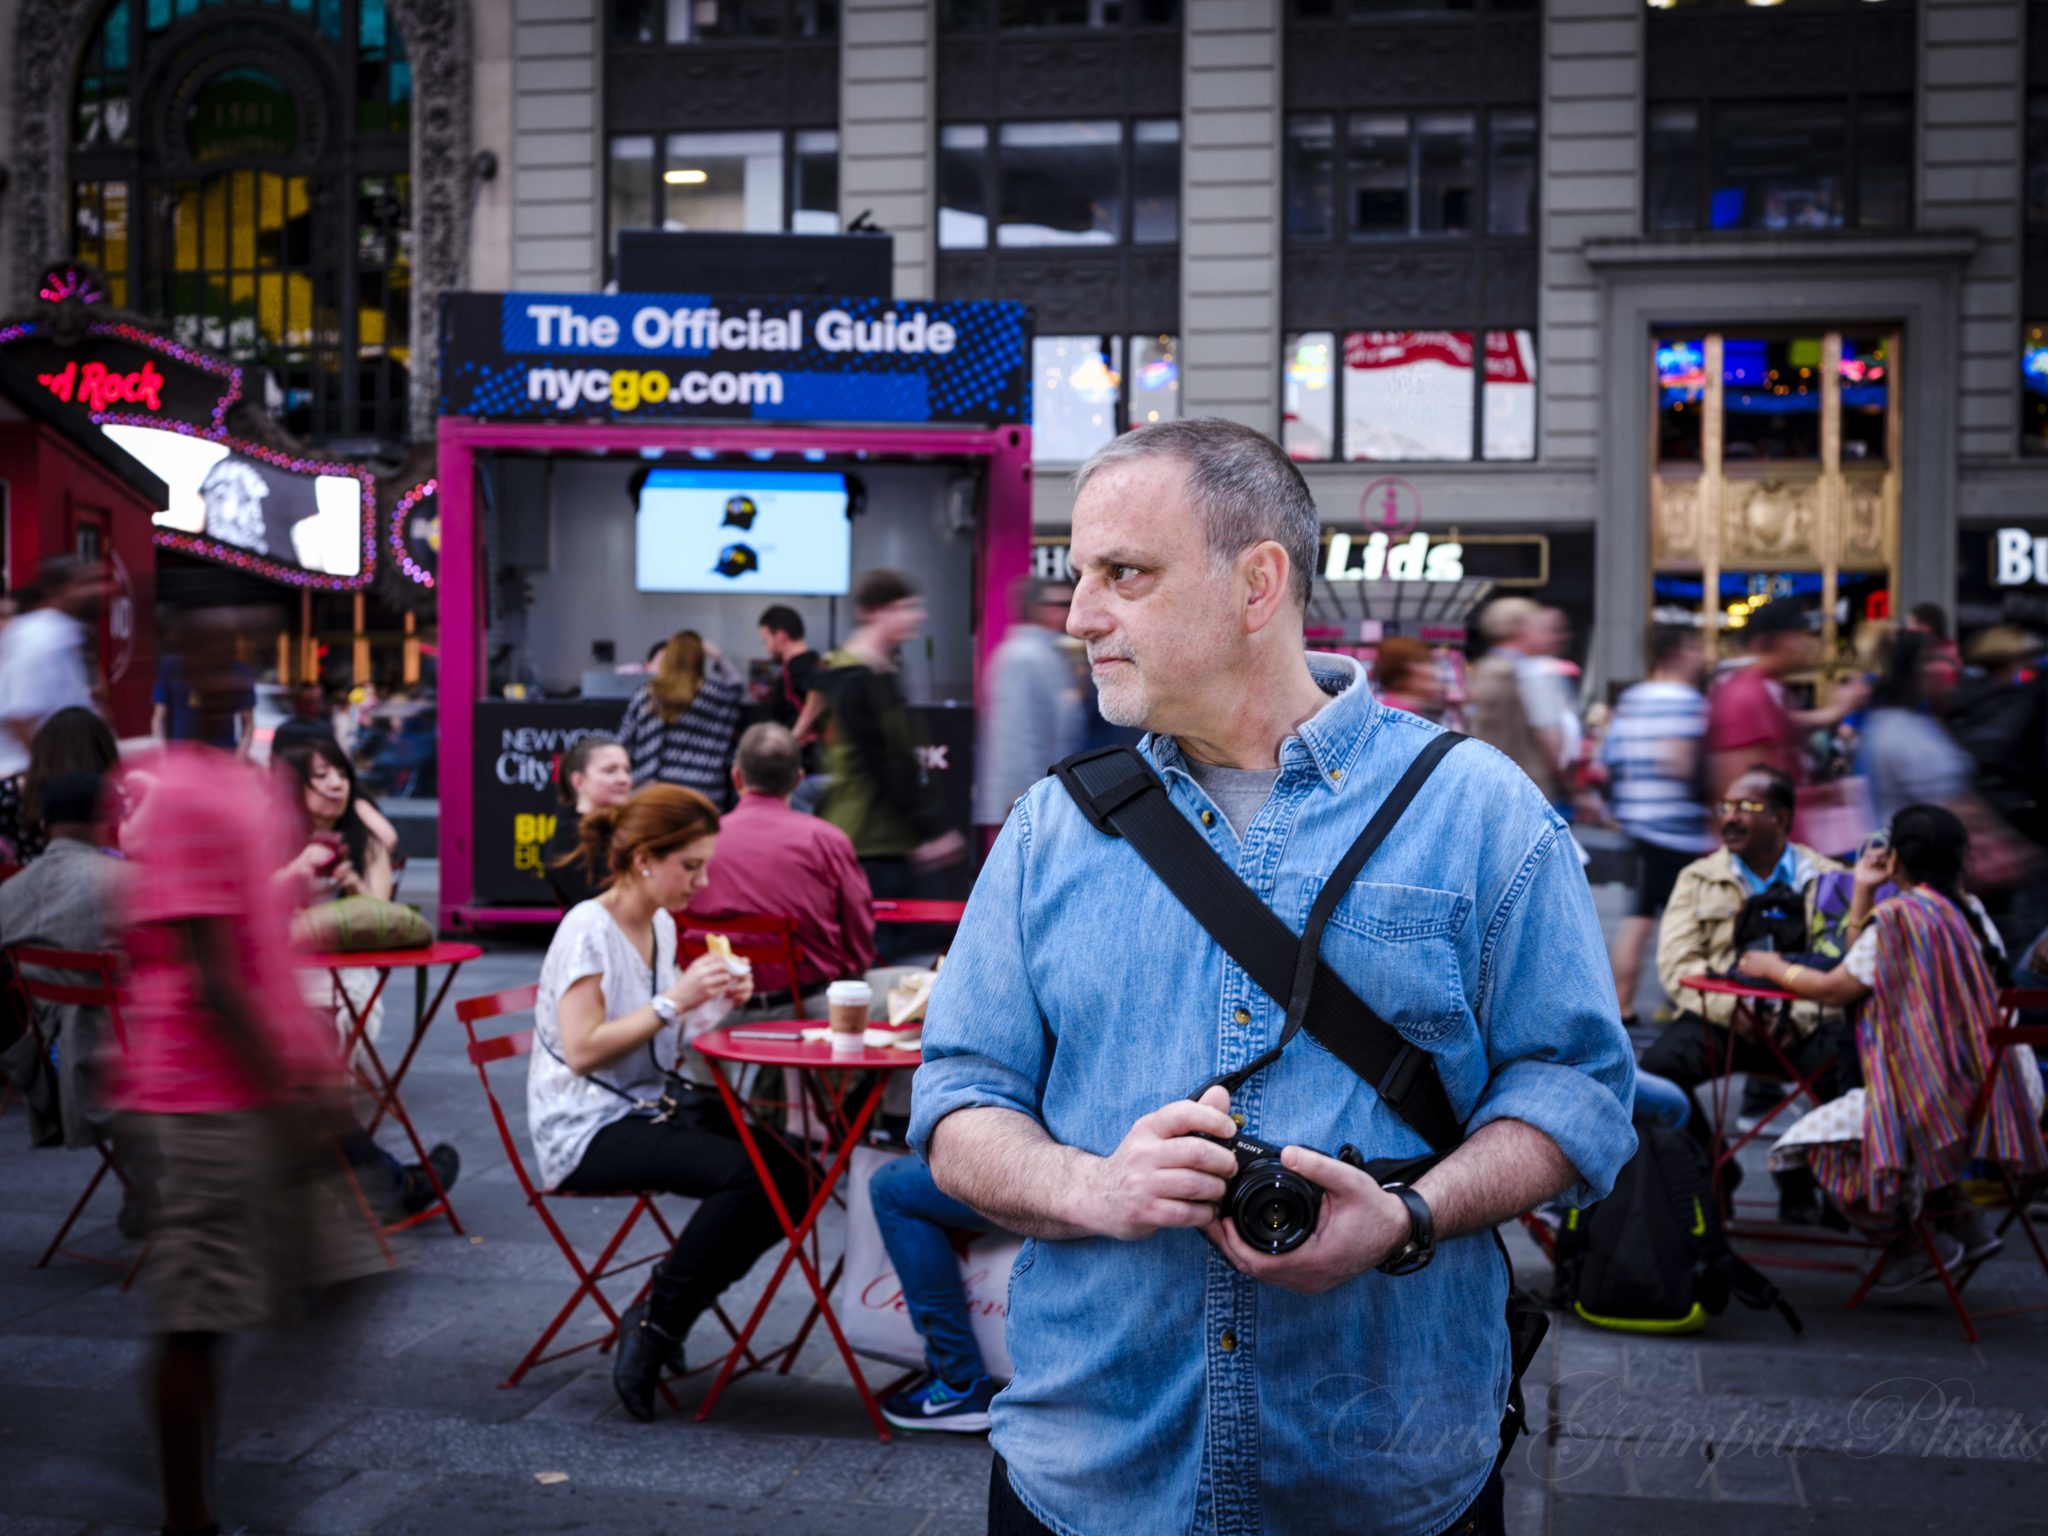
Lastly, the big component that we spoke about earlier is finding a way to make people feel more confident. First off, you need to convince them of your abilities behind the camera. A part of this can be done with doing a quick test photo/pose to show them what you’re talking about. This can be done to show them the framing; once that is out of the way, they’ll get a better understanding of what you’re going to do.
Get rid of the ads!
Did you enjoy reading this article as much as we enjoyed writing it? There's a way to support us and our reporting, getting ad-free navigation and more as a bonus. Subscribe to us for less than a coffee per month —just $3.99— or take advantage of our yearly subscription with a hefty discount for only $25.- An ad-free experience
- A free mystery box for Lightroom or Capture One
- All the books in our store
- 20% discount on Capture One
- 30% discount on Imalume Photo Theft Protection
- 20% off Herbs and Kettle Tea Company.
- 20% off your order from MPIX printing services.
- 5% off Viltrox Products via their eCommerce store.
- 10% off all film developing, printing and scanning services from Blue Moon Camera and Machine
- 15% off 7Artisans products: The lens and accessory maker is offering a sweet discount for Phoblographer's readers.