")
With today’s update of Adobe Lightroom Classic CC 8, photographers are getting more of the same.
I’m going to begin this review by stating that during my review period for Adobe Lightroom Classic CC 8, I gave the program every single advantage that it could truly have. But I’m going to stand very strongly by my next statement: I think that any photographer that continues to use Adobe Lightroom Classic CC 8 on the regular is seriously doing themselves a massive injustice and genuinely doesn’t care about the livelihood of their own business–and that goes for whether you’re a professional photographer, influencer, or a blogger/journalist like I am. To that end, if you don’t have a business and you’d just like to spend more time on forums, Facebook groups and your most private Instagram pods complaining about it amongst yourself, then please do. Despite the fact that the Phoblographer partially came up on social media, I’ve never been one to want to willingly engage in toxic discourse and to instead look for solutions. At the same time, realizing that this isn’t going to help you get images out faster and it won’t give you much of what Capture One Pro has been delivering for years now. Capture One has never sponsored the Phoblographer at all; instead I say all of this due to my own experiences, frustrations and for what I’ve implemented as a standard amongst our staffers.
Pros and Cons
Pros
- Exporting is significantly faster. This is the fastest I’ve seen it since before Lightroom Classic CC and even before Creative Cloud. But even so, it’s very slow in comparison to Capture One.
- Improvements in RAW file renderings for sure; but it still doesn’t feel as powerful as C1.
- Canon EOS R Raw file compatibility
- Panoramic HDR is cool, but for a photographer that doesn’t use this feature, who cares?
Cons
- For Landscapes and such, I genuinely think that it makes more sense to use Capture One due to the better RAW file rendering
- Still molasses slow
- My computer was designed to edit and render 8K video footage and this is the loudest I’ve ever heard the fans go since playing video games on this computer.
- Lots of Apple rainbow wheel rendering
- Still such a slow import process
- Adobe is trying to get photographers to work faster but I still feel like this slows us down.
- Works fastest without Presets, which is a major bummer for any photographer who really wants to work with presets.
- To be clear, I started a brand new catalog to do this review. I didn’t optimize my previous one, but even if I did it would be very clunky still.
- Not sure how I’d use Depth Range Masking
Features
So let’s get into this…
With Adobe Lightroom Classic CC 8, all the important and big changes are in the lead image for this review. And as you can tell, many of those changes (besides the new camera support) are pretty useless to many of us as photographers. HDR Panoramic Merge? Depth Mask? Okay, that’s cool. But what about other features like let’s say finding a way to let photojournalists who shoot both photos and videos to be able to do quick edits to the video clips that Lightroom can render? Or why not do more to help portrait photographers with better retouching tools?
Ease of Use
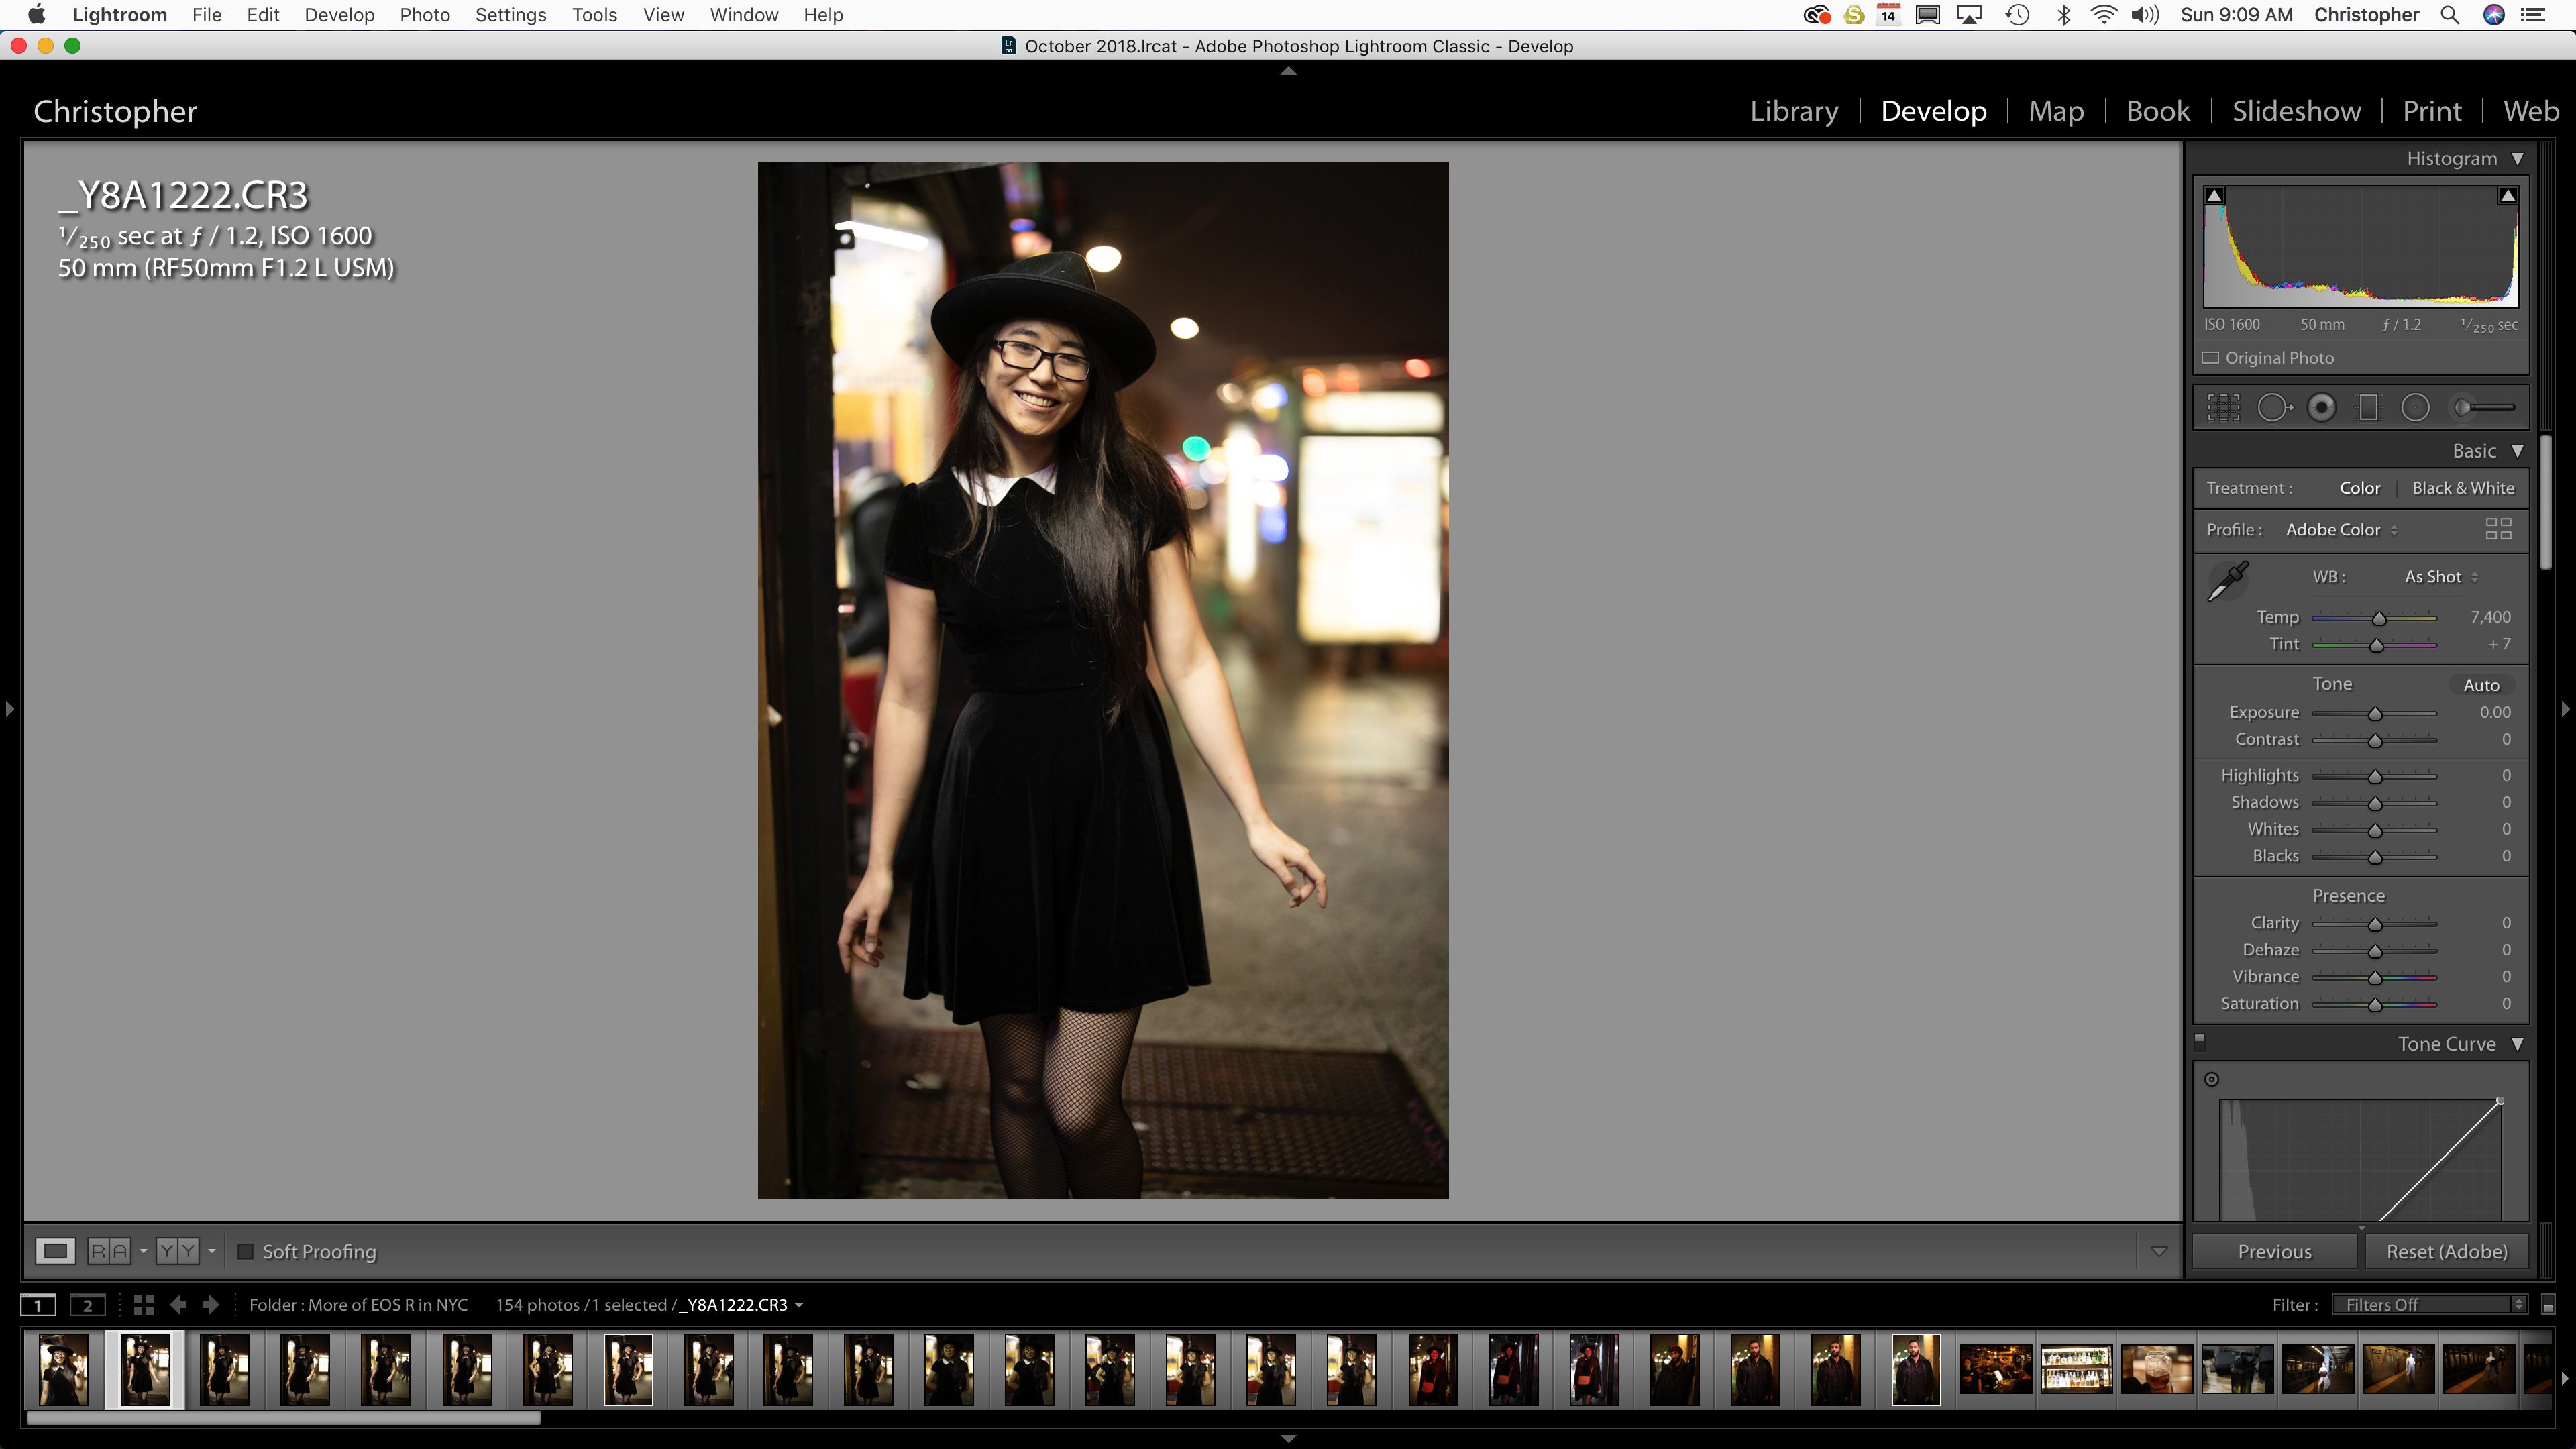
To begin, what I did was started up Adobe Lightroom Classic CC 8 with a brand new catalog. I wanted to give Adobe Lightroom Classic CC 8 as many advantages as I could. To that end, I purged all my presets. Then I brought in RAW files from the new Canon EOS R into the program and saw how effective Adobe Lightroom Classic CC 8 can be when it comes to editing those files. More files from various cameras were added in later on.
Where Adobe Lightroom has improved quite a bit is in the export process of files. It is now faster for sure, but it still isn’t catching up to Capture One. Where exporting 25 images at 3000 pixels on the long side in Lightroom may take the equivalent of a few sips of tea, Capture One still does it faster while also giving me a better RAW editor. And while the RAW editor in Adobe Lightroom Classic CC 8 feels like it is more powerful than ever as Adobe has begun to realize that HSL is a better way to edit than using the basic adjustments, something about it just feels off. Where Capture One gives you much of the same control in a different layout, Adobe Lightroom Classic CC 8 (with its engine output) feels like it’s trying to appeal more to photographers who have no idea how to shoot and instead want to spend all day and night in an editing suite. Where the saturation slider for something like the blue channel of a portrait feels like a weaker version of the contrast slider in the basic panel being applied to said channel, the luminance slider feels like the equivalent of a more standardized global adjustment. In that way, it feels more like proper Photoshop; and photographers can take that as they will. What it results in is either every single photo looking like an HDR or someone needing to really learn how to turn down the matte look in their software. Before I finished this section of the review, I went back and compared Capture One and Lightroom using the same images. With less effort, I feel like Capture One was still able to give me a better photo.
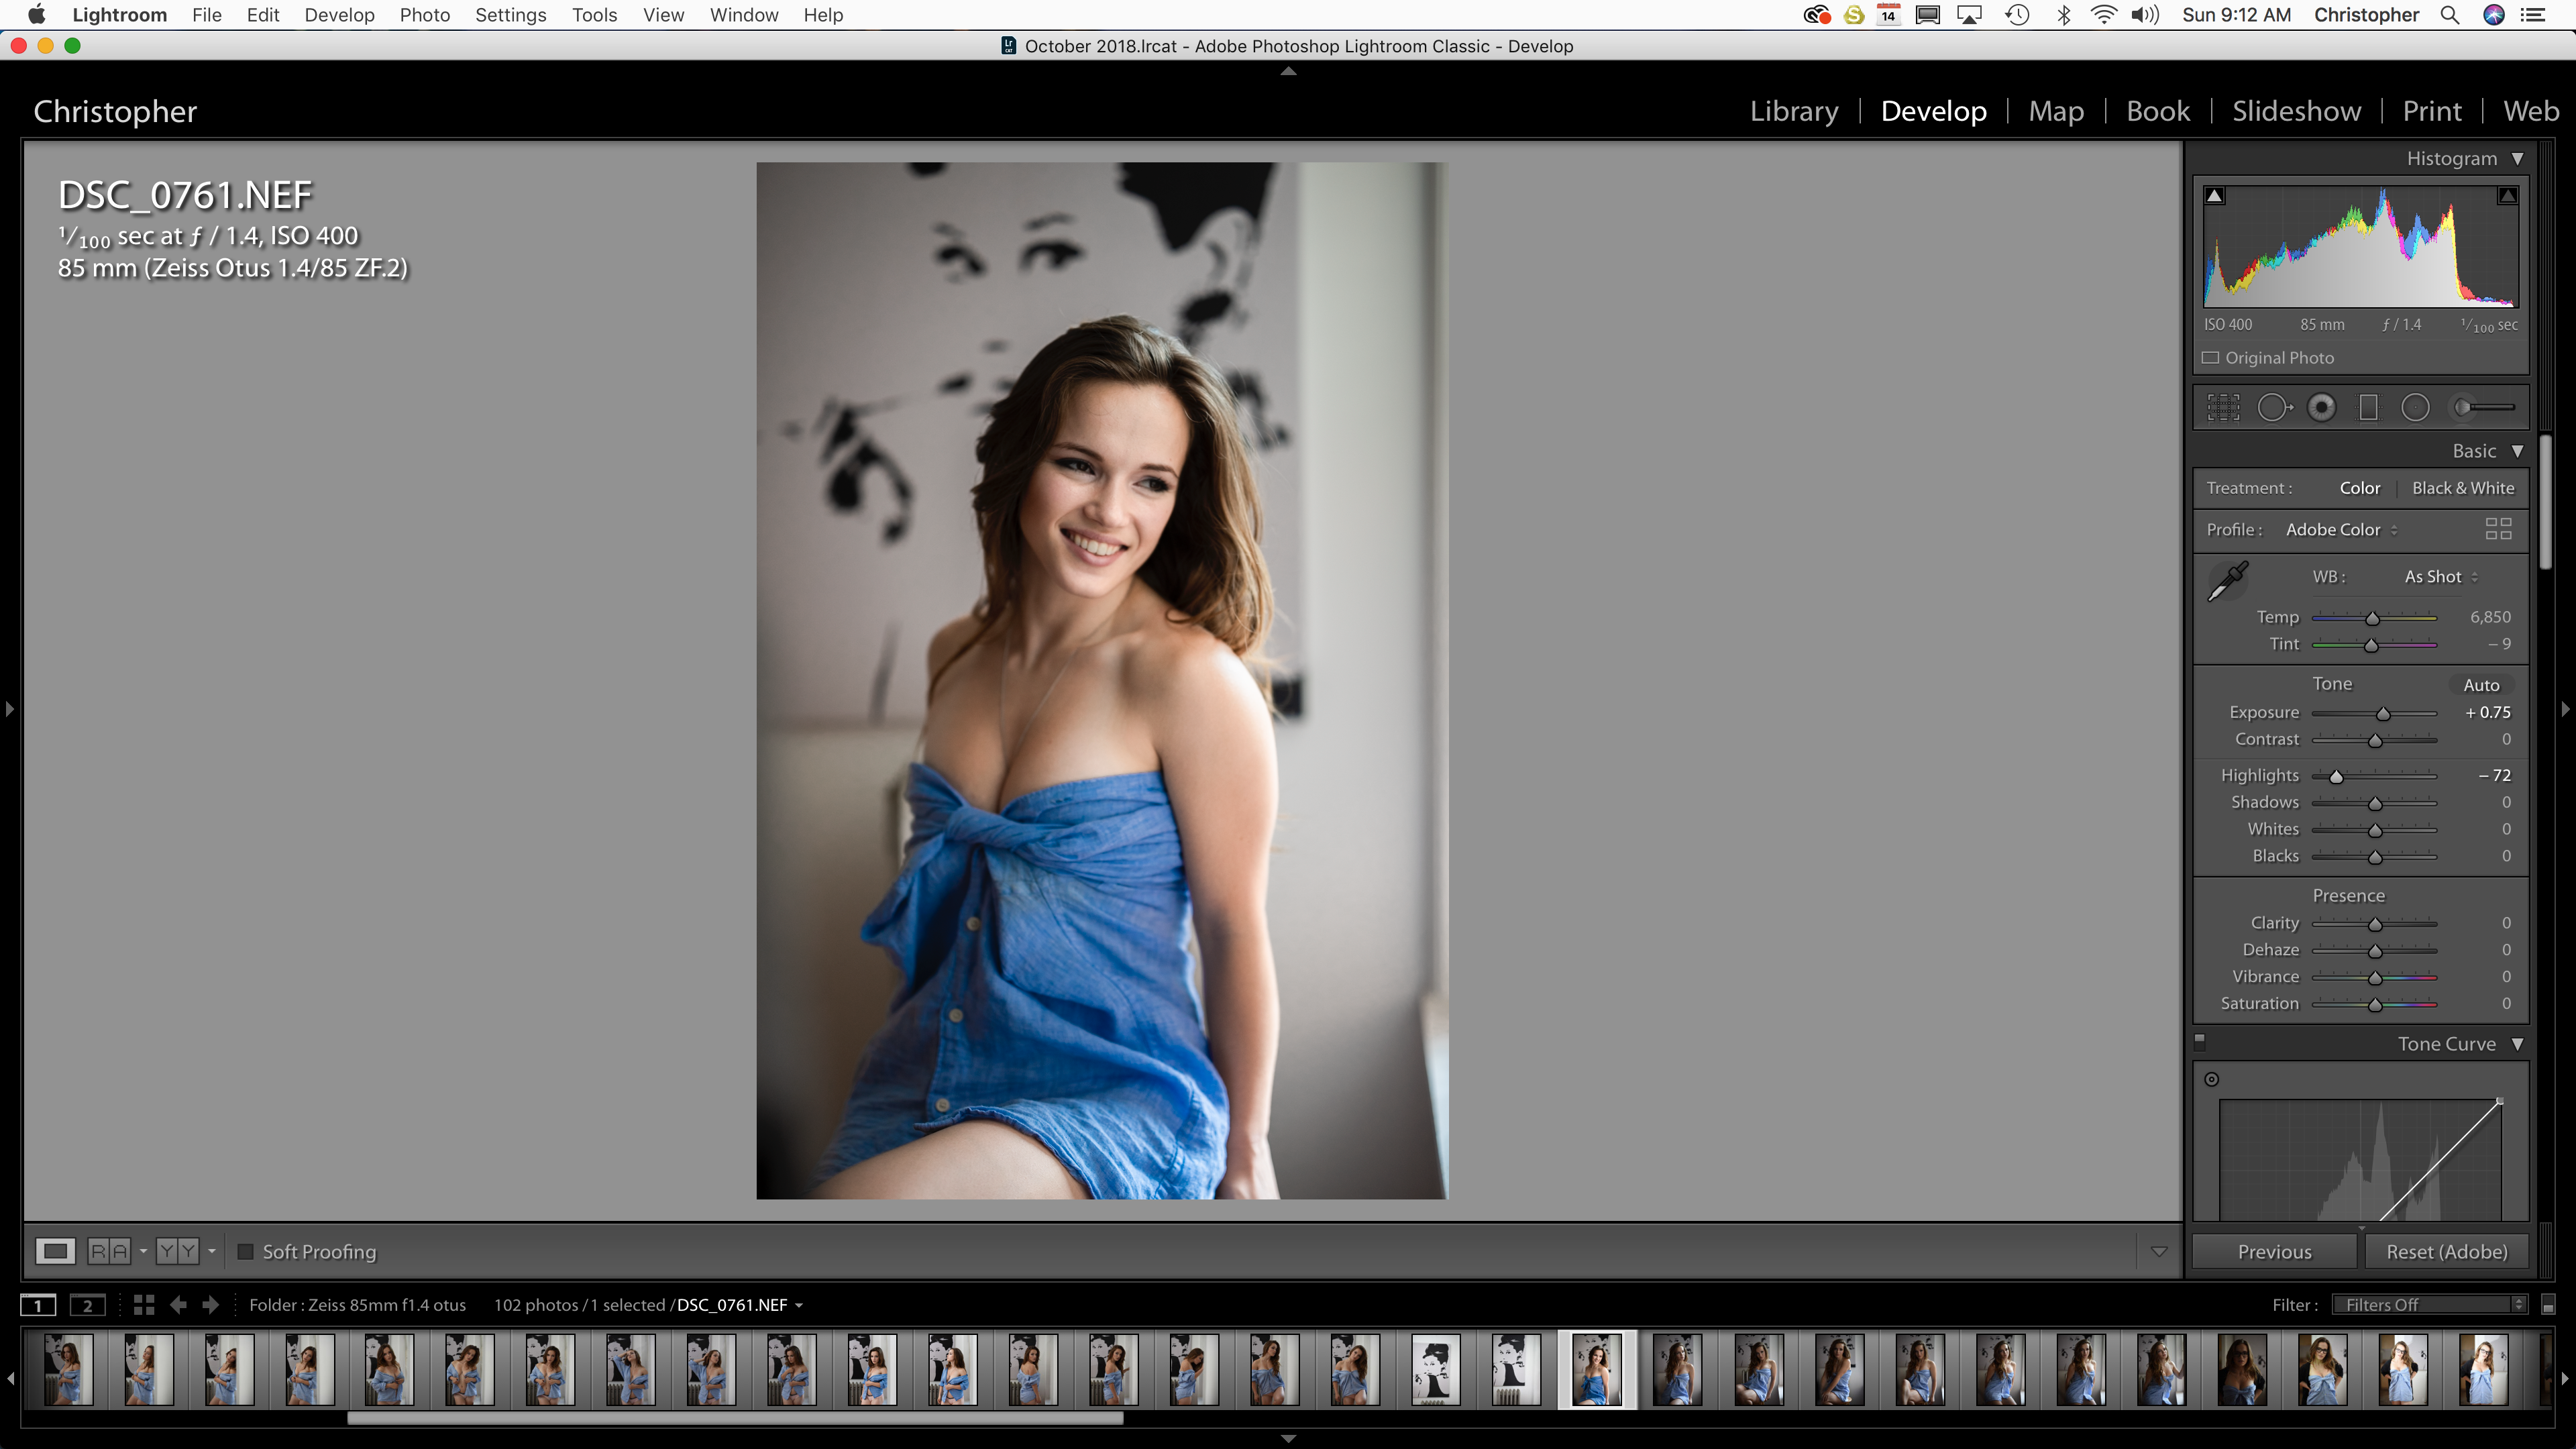
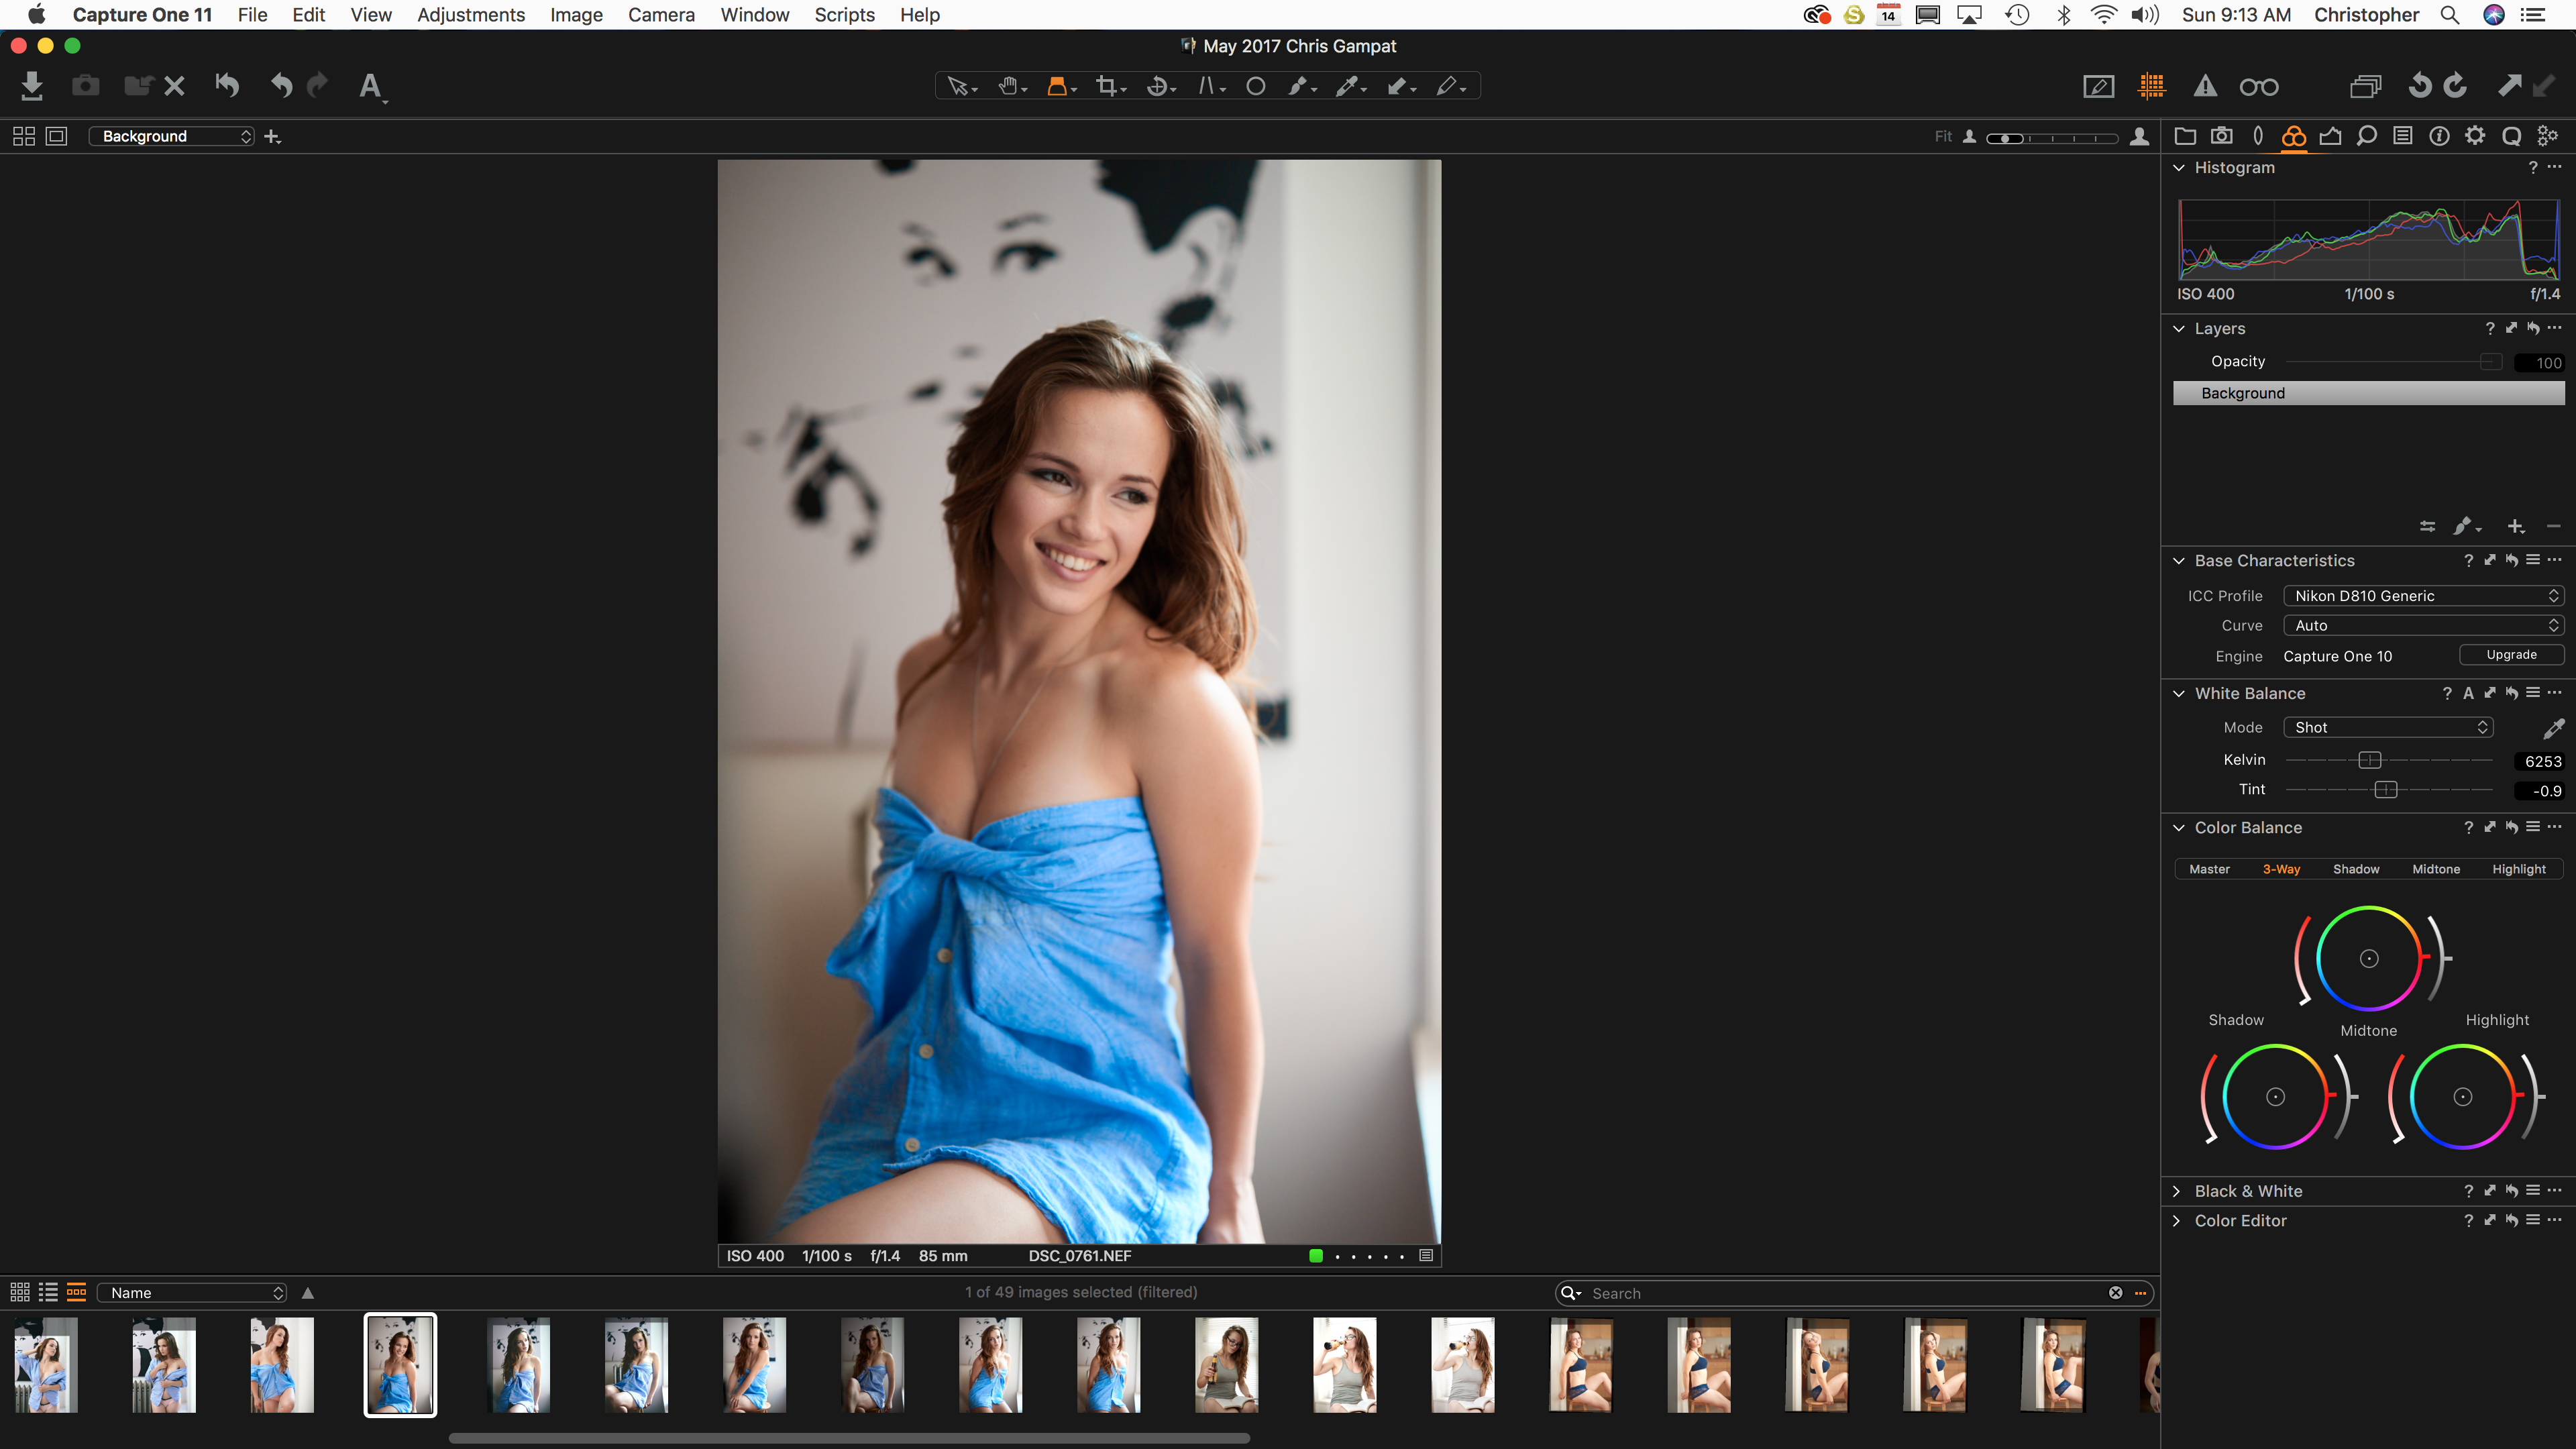
Adobe Lightroom Classic CC 8 edits in a way that things still look and feel very much like there was a ton of Photoshopping or even editing to begin with. And again, if you’re that type of photographer then that may suit you. But with Capture One, the look of images still feel organic and very natural; and it’s easy to keep it feeling that way while giving photographers more abilities using masks and other tools built in.
To that end, Adobe Lightroom Classic CC 8 doesn’t feel that effective or powerful as it really should–or maybe the HSL panel needs a revamp or modification. At this point in the history and world of photography, I think that Capture One is more of a platform designed for an actual photographer where as Adobe Lightroom Classic CC 8 is more for an editor. Photographers who barely touch their cameras and perhaps only spend 10% of their time actually shooting to get the photos that they want (and who are craftspeople in my opinion) will probably enjoy Capture One. Those who are of the “fix it in post” idea will get what they want easier from Adobe Lightroom Classic CC 8. The Fix it in post idea is fine, we have an entire series partially dedicated to this. Except, you know, that it slows down majorly through use. There were a number of times when my 2015 iMac, designed originally to edit 8K video and do 3D motion graphics, couldn’t even handle Adobe Lightroom Classic CC 8 or it was slowing down way too much. With Capture One, I don’t have that issue and I can cull and edit much faster at this point. This tells me that Adobe Lightroom Classic CC 8 hasn’t really fixed the performance issues despite the exporting process admittedly being faster. But let’s be honest, how useful is that if your iMac is going to keep giving you that spinning rainbow wheel? Also, importing is slower than C1 even with embedded previews turned off.
I tried editing in Adobe Lightroom Classic CC 8 with the Sony a7r III’s RAW files, Canon EOS R’s, and the Nikon D850’s. The Canon files, while are amazingly robust, caused the most slowdowns followed by the Sony and then the Nikon. Then I brought on files from the Fujifilm XH1; and they seemed just fine.
Conclusions
I’m not a fan of this version of Adobe Lightroom Classic CC 8. It’s powerful, I’ll give it that. But I think that if Adobe, with their whole initiative on trying to help creatives get content out onto the web faster, really wanted to help photographers that they’d find a way to work with camera manufacturers. I’d considering Using Lightroom CC over Lightroom Classic CC if I could get immediate RAW file edits from the camera and via my phone/tablet. Then consider the smart keyword feature that Lightroom CC has, and that’s even more embarrassing for Adobe Lightroom Classic CC 8. Really, why doesn’t Adobe Lightroom Classic CC 8 have that?
It’s pretty easy to switch over to Capture One; folks. Do yourself the favor.
Get rid of the ads!
Did you enjoy reading this article as much as we enjoyed writing it? There's a way to support us and our reporting, getting ad-free navigation and more as a bonus. Subscribe to us for less than a coffee per month —just $3.99— or take advantage of our yearly subscription with a hefty discount for only $25.- An ad-free experience
- A free mystery box for Lightroom or Capture One
- All the books in our store
- 20% discount on Capture One
- 30% discount on Imalume Photo Theft Protection
- 20% off Herbs and Kettle Tea Company.
- 20% off your order from MPIX printing services.
- 5% off Viltrox Products via their eCommerce store.
- 10% off all film developing, printing and scanning services from Blue Moon Camera and Machine
- 15% off 7Artisans products: The lens and accessory maker is offering a sweet discount for Phoblographer's readers.