Last Updated on 06/30/2018 by Mark Beckenbach
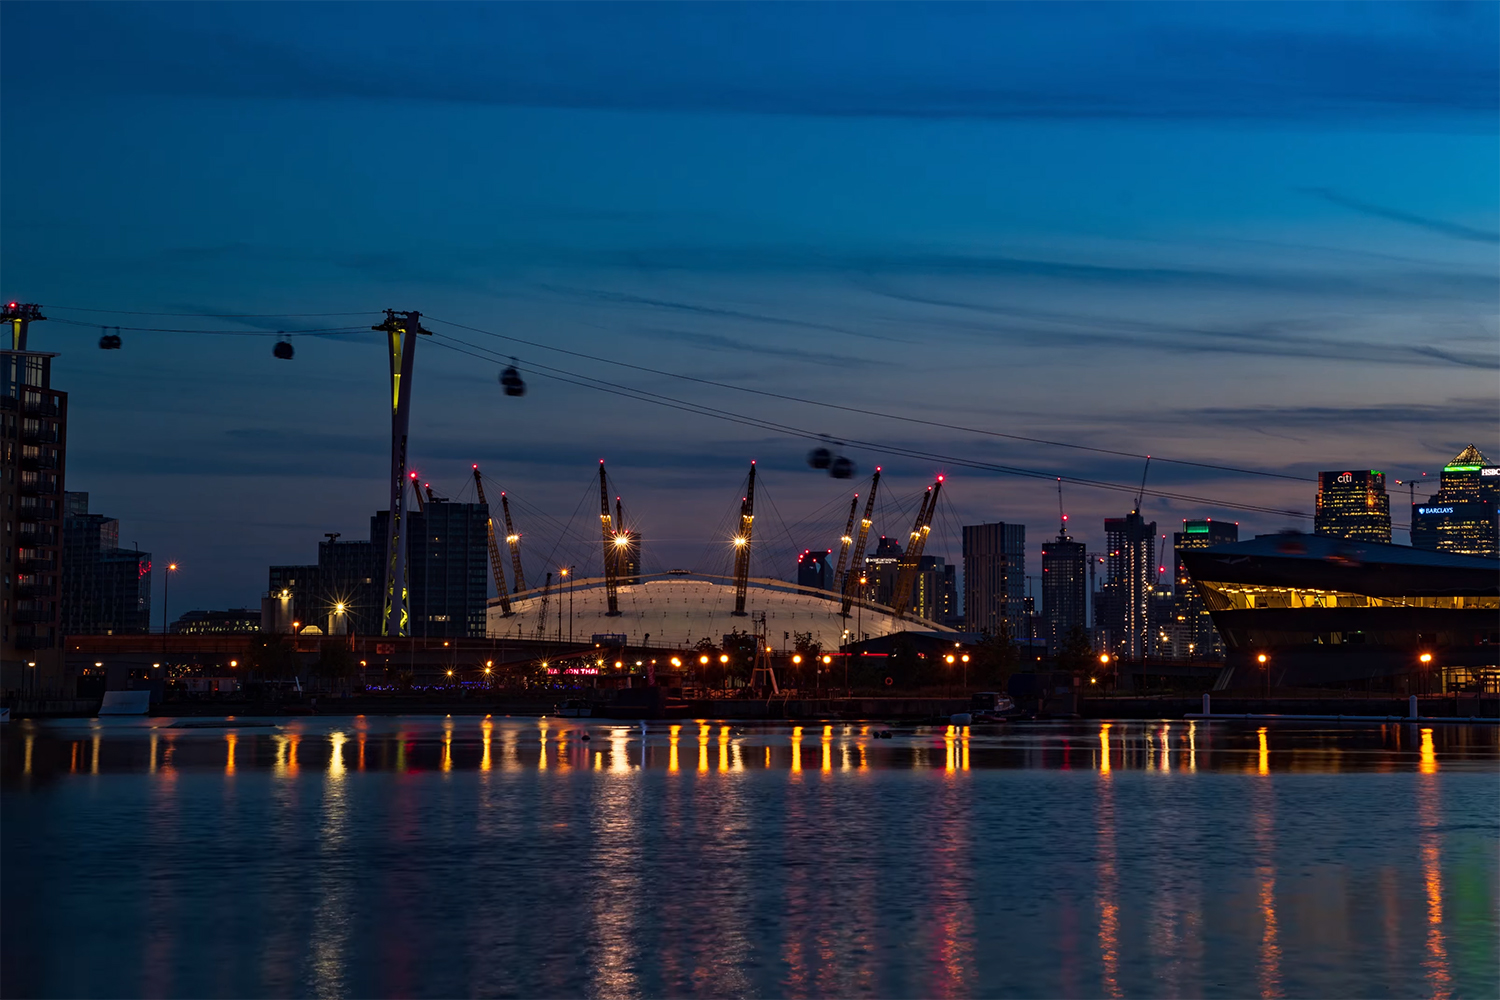
Time lapse clips are an excellent way to add interest to your videos and illustrate a passage of time (featured image screen capture from video. credit to Vic VideopIC)
There is nothing quite like watching a well-done time lapse video sequence. These simple, yet nuanced video clips are created by combining a ton of still frames at a constant interval over a set period of time and then combining them all on a timeline to create a video clip. But in locations where the light changes rapidly, getting your exposure to be consistent throughout the time lapse can be difficult. For long time lapse videos, and those covering a period of time during the day and into the night, many photographers struggle with how to shoot and process this sort of project.
But have no fear; we’ve got you covered.
Lucky for you the concept of shooting a day to night time lapse is not all that much more complicated than shooting a standard time lapse during just the day or just the night. The real key, as with so many things, comes down to thinking ahead and planning for the change. The main thing to consider with a day to night change is that your exposure will need to change as the light starts to dim. This is called Exposure Ramping.
I could go on, but how about we share a little video tutorial that covers all of the basics of a day to night time lapse? This one comes from Vic VideopIC, and in the roughly 11-minute video he covers the various ways of exposure ramping your time lapse images, from using your ISO, your Shutter Speed, or your Aperture, and the advantages/disadvantages of the three methods. Let’s have a look…
https://www.youtube.com/watch?v=JiV0bqskTgc
We suggest you watch the full video for a complete look at Holy Grail time lapse creation, but one thing Vic mentions in his video multiple times that we really wanted to reiterate was the idea of testing your own camera/gear to see where the comfort level with its limitations lie. For example, Vic tested his D850 and found that he was comfortable with about three stops of ramping with the ISO, after that he was not enthused with the noise/grain output. Your camera and gear will be different though, as will your comfort level with its capabilities. So take some time to test your gear, find out where your comfort level lies with each exposure ramping method, and then you will be able to know how to use your gear for the best result.
Make a cool day to night timelapse testing these methods out and post a link in the comments below! We would love to see.


