
This is a syndicated blog post from La Noir Image.
The pinhole camera has been a classic DIY project for students discovering photography for many decades. If you want to get a deeper appreciation for the basic DNA of a camera, build a pinhole camera. Pinhole cameras are bare-bones cameras; they consist of a black box, a place to put photo-sensitive material, and a pinhole-sized opening that projects a faint image on light-sensitive material. Stripped of the bells and whistles, all cameras—film and digital—follow this design. Some (OK, almost all) cameras are more advanced. But DIY is making a comeback, especially among millennials, so, let’s make a pinhole camera!
What? No lens? That’s right—a small enough hole will focus light on the facing surface. Sure, that image won’t be as sharp as the one your glass lens projects. But the resulting images can be dreamy, moody, romantic (in the classic art sense). And the process is fun. The goal is to turn whatever container you have at hand into something that’s completely light-tight, but easily reloadable, so you can produce some pretty cool pictures while spending almost nothing on your “camera”.
In this article, I’ll show you how to create Paper Negatives. The photo-sensitive material we’ll be using will be standard variable-contrast RC printing paper, which can be reversed via a contact print or by scanning and reversing the negative image to positive on your computer. While film is more light-sensitive and therefore requires faster exposures, it is also harder to handle for this purpose. So, we go with slower paper.
What you need:
- A completely sealable box. Any size box will do, although the shorter the distance from pinhole to film the shorter the exposure (and the wider the focal length). A shoebox a a classic starting point for a pinhole camera, but a large box of matches will work, too. In fact, so will your film or digital camera! Use your imagination and find something else that you can turn into a pinhole camera.
- Black Paint and a brush. Spray paint is an option as well. You want to paint the inside of the box black so light doesn’t bounce around, which would cause fogging.
- Aluminum foil. You’ll be taping the foil over a larger opening that you’re going to make, then use the pin to create the pinhole.
- A sewing needle. Try a #8 needle, which will give you an aperture of f/350.
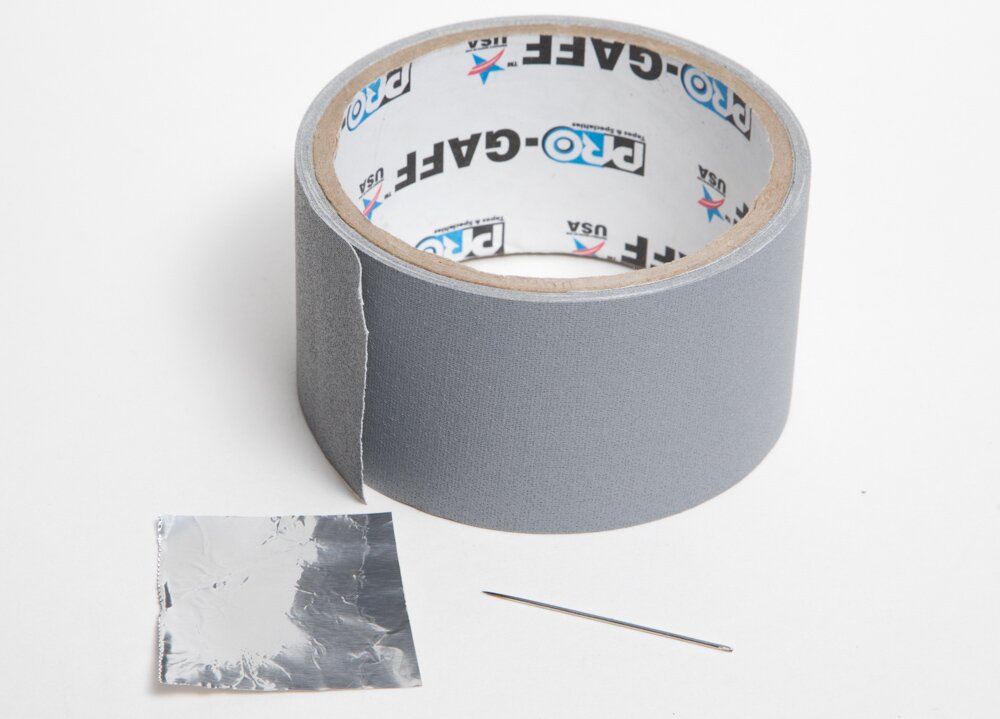
Gaffer tape, aluminum foil and a needle: That plus a shoebox and a can of matt black paint ($1.99 at Home Depot) and you’re ready to roll.
Fancy add-ons: Black felt lining along the box’s openings can create an effective light baffle to prevent light from leaking into the camera. Alternatively, you’ll use Gaffer Tape to make it light tight, but you’ll have to remove the tape each time you reopen the box, which will eventually damage it.
Making the camera
Shoe-Box Cam

Step 1: Tape the box along all the edges to create a light seal when you close it. Also tape over any potential openings, no matter how small, on the outside and inside. Black or silver gaffer tape will block light effectively. Hold the box up to a light and look at the corners and edges for potential light leaks, and seal them by covering them with gaffer tape.

Step 2: Paint the inside of the box completely black. Matt black paint is ideal, and using spray paint is cost-effective. Make sure to get the entire inside.
Step 3: Punch a hole measuring about 1/4-1/2 inch wide in the front of the camera (you can use a pen, scissors, razor blade, whatever’s handy). Tape 1-2-inch square of aluminum foil over it.

Step 4: Using a sewing needle, carefully make a pinhole in the aluminum, positioned so it shines through the larger hole you made in Step 3.
Step 5: Create a flap with light-proof tape that will hang over the pinhole.

Loading the camera
Use clear scotch tape for this: In a darkroom under a safelight, place the paper on the wall of the box facing the pinhole. Tape it down so it lays flat and doesn’t move during transport and exposure. Make sure the camera is completely sealed before taking it out into regular light. Tape over the openings with gaffer tape if necessary. Now find a location.
Determining exposure
Your exposure will be long, so you may want to affix your pinhole camera to its surface with gaffer tape so it doesn’t move. If you’re shooting on printing paper, your exposure will be many seconds to several minutes long, depending on lighting conditions.
Exposure is determined by the size of the pinhole, its distance to the paper, and lighting conditions. For the shoebox, let’s say the pinhole is about 6-8 inches from the paper. In bright sunlight, expect an exposure of around 15-20 seconds. You may need to go through several sheets before you find the right exposure. A camera with a smaller pinhole-to-film distance will have a shorter exposure.
Once you’ve exposed the paper, go back to the darkroom and process it as you would a regular print. Repeat until you get a negative image with a fairly wide range from dark to light.

In the fix: It took 4 tries to get a good tonal range and exposure. Keeping convenience in mind, my subject was the building across the street from where I lived. I’d take a picture, run back into the darkroom, un-tape the camera, process the paper negative, and reload, adjusting exposure as I went. I ended up with a 14-second exposure in direct sunlight. Here’s the final photo floating in the fixer.
Reversing the negative image
Once you have your paper negatives, there are two ways to reverse it.
- Direct Positive contact print: In the darkroom under a safelight, place the paper negative on top of an unexposed sheet, emulsion to emulsion. Place a glass surface on top to hold them flat and touching each other. Expose to white light. (You will need several tests to determine how long this exposure should be). Develop the new sheet as usual, and you’ll get a painterly, other-worldly positive print. Now that’s old-school!
-
Scan it. Go hybrid! Scan the image on your flatbed scanner, then reverse it in your favorite photo editing software. Voila!

My final result: I decided to scan and digitally invert the image for the sake of time, but you can get equally amazing results with direct positive prints!
Beyond the Shoebox
Shoeboxes are the classic way to build a pinhole camera, but there are others. Any container that you can seal against light can be a pinhole camera. A match box? Sure! The box that your DSLR shipped in? If you’re into irony, why not? You can even convert a film (or digital) SLR into a pinhole camera. Buy a body cap, drill a hole in it with a large drill bit. Cover the hole with aluminum foil, make a hole with a needle, and you’re all set!
Why go through the process? It is, after all, not the most convenient way to take a picture. I taught this method to hundreds of day camp photography students many years ago; many of them got a deep understanding of the inner workings of cameras and photography, and some of them even eventually went on to become professional photographers!
Get rid of the ads!
Did you enjoy reading this article as much as we enjoyed writing it? There's a way to support us and our reporting, getting ad-free navigation and more as a bonus. Subscribe to us for less than a coffee per month —just $3.99— or take advantage of our yearly subscription with a hefty discount for only $25.- An ad-free experience
- A free mystery box for Lightroom or Capture One
- All the books in our store
- 20% discount on Capture One
- 30% discount on Imalume Photo Theft Protection
- 20% off Herbs and Kettle Tea Company.
- 20% off your order from MPIX printing services.
- 5% off Viltrox Products via their eCommerce store.
- 10% off all film developing, printing and scanning services from Blue Moon Camera and Machine
- 15% off 7Artisans products: The lens and accessory maker is offering a sweet discount for Phoblographer's readers.