
Last Updated on 02/09/2018 by Mark Beckenbach
All images by Andreas Levers. Used with permission.
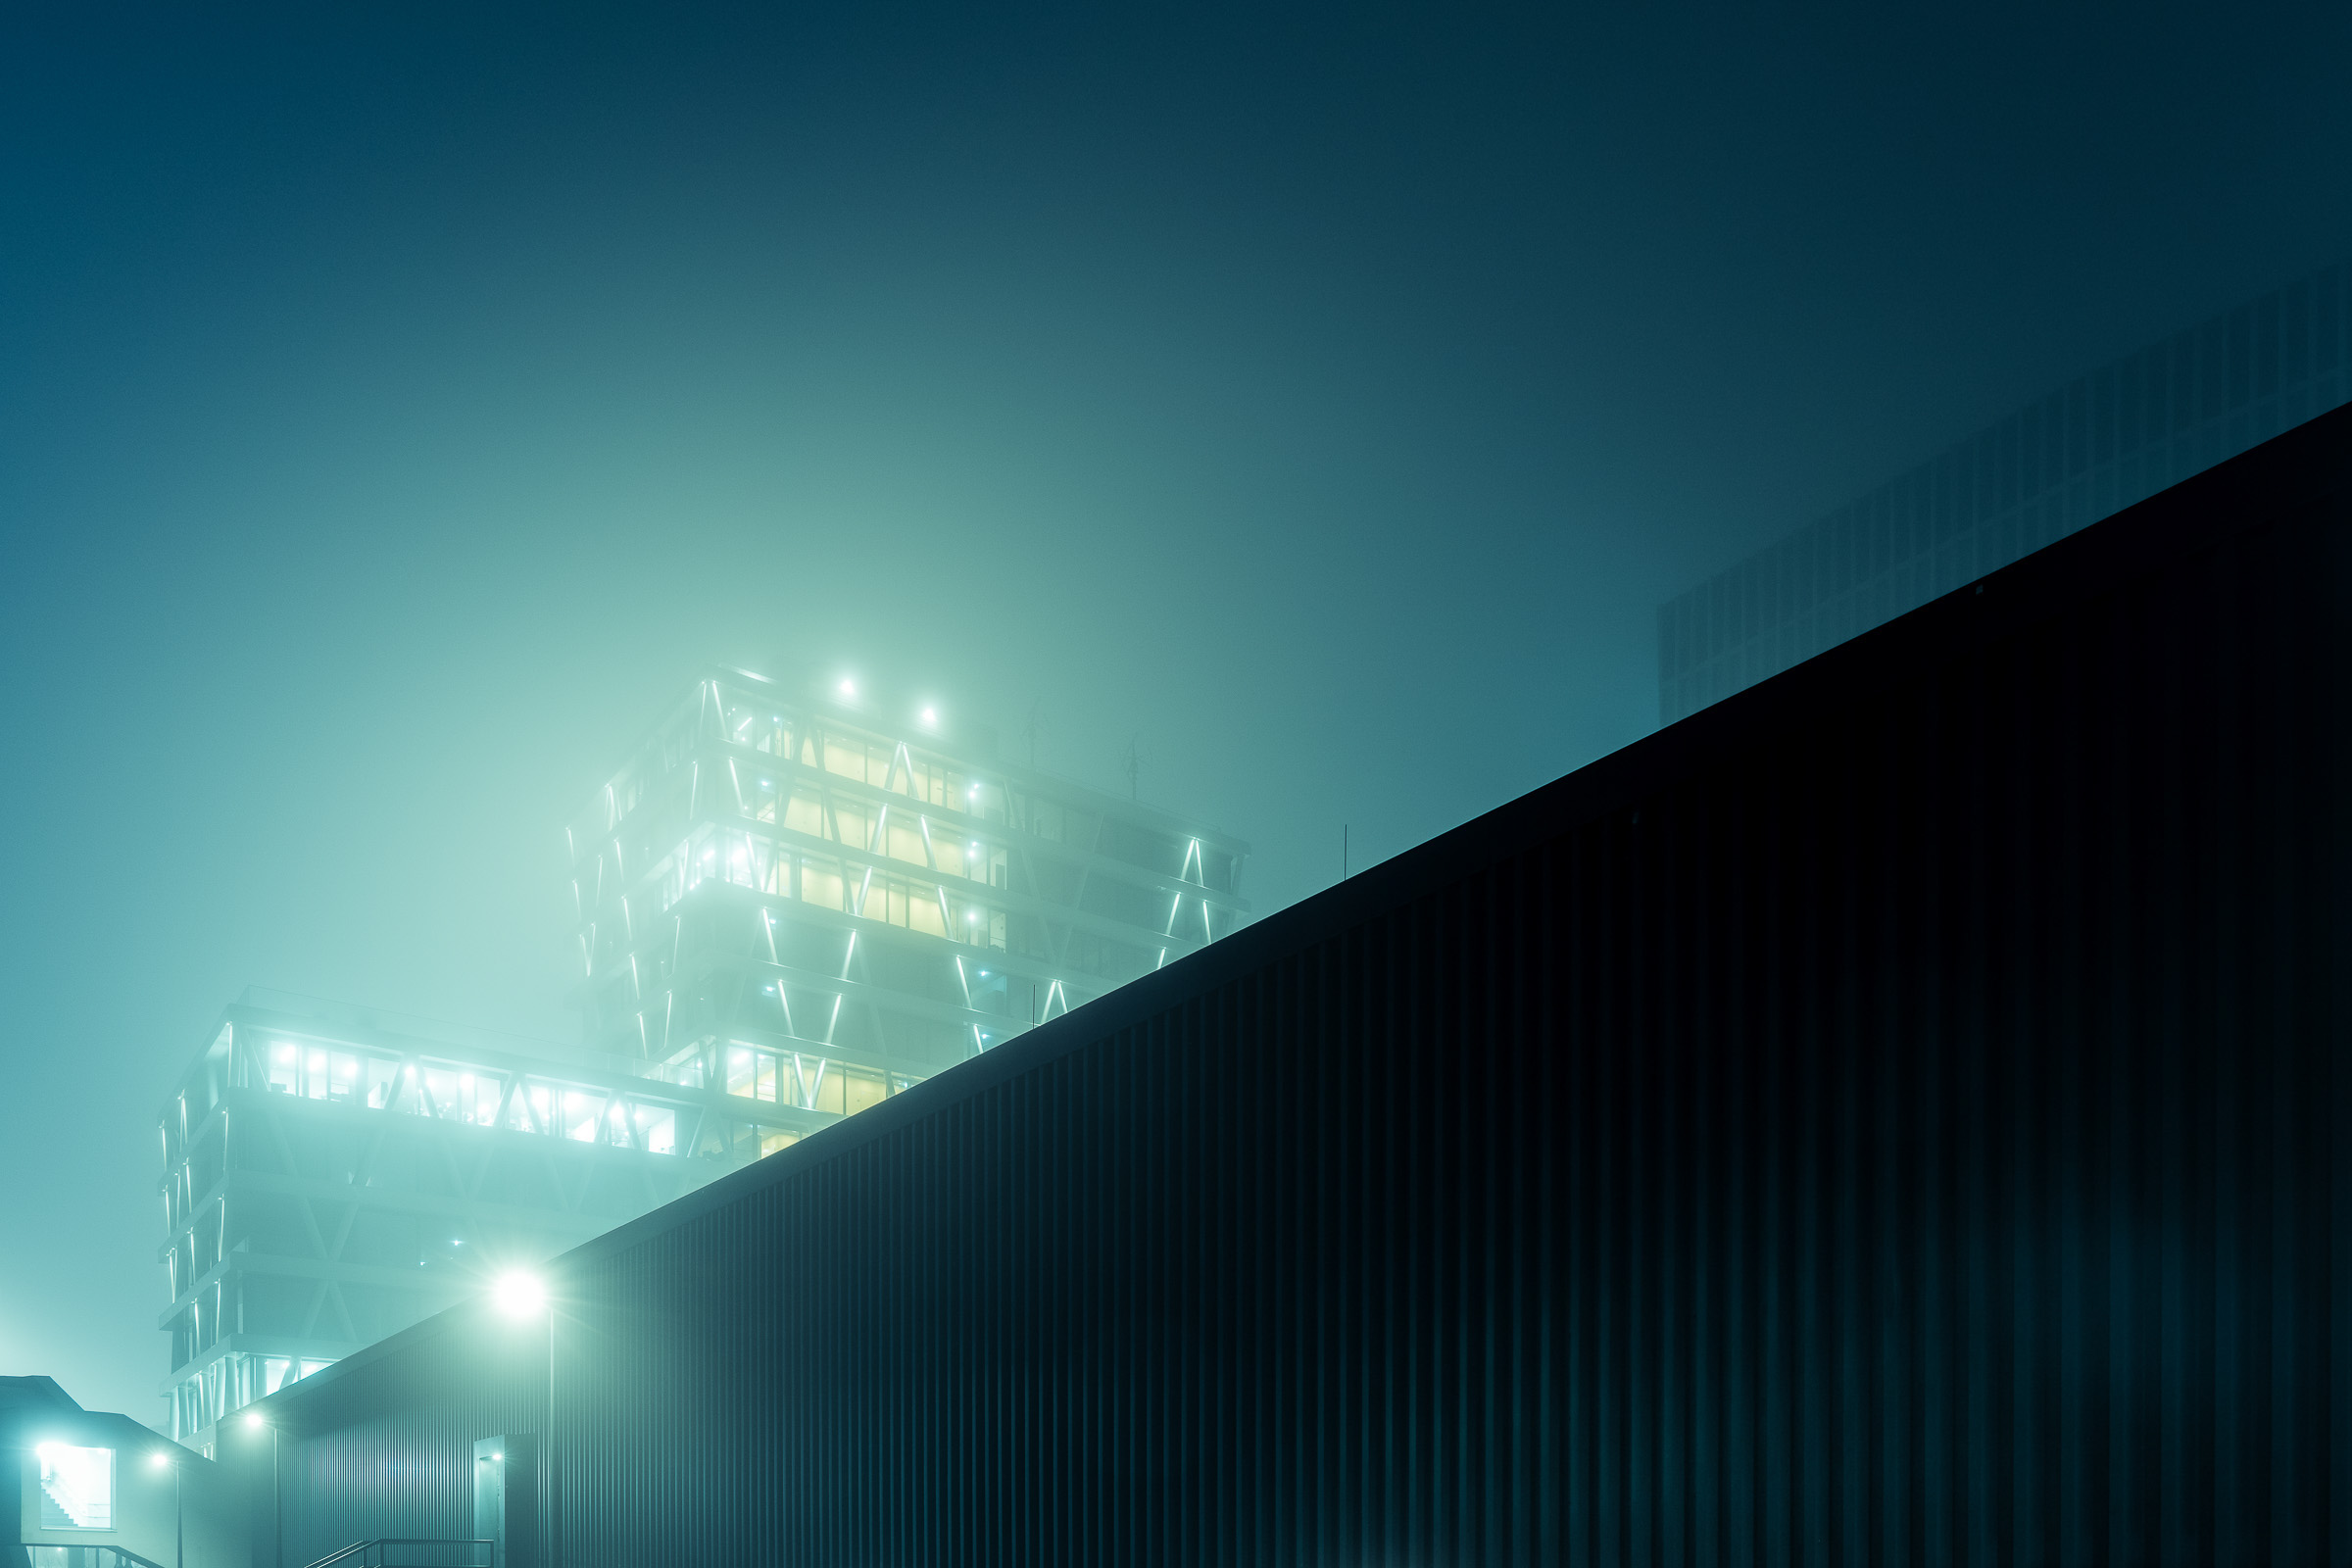
We’ve featured the work of Andreas Levers here on the website before a number of times, but recently many of you fell head over heels for his At Night series. We saw a lot of comments asking about how he did the series, and so we decided that we’d talk to Andreas and see just exactly how At Night was done.
Your images from At Night seem to be very atmospheric. How exactly are these images achieved? Do you shoot in a lot of fog?
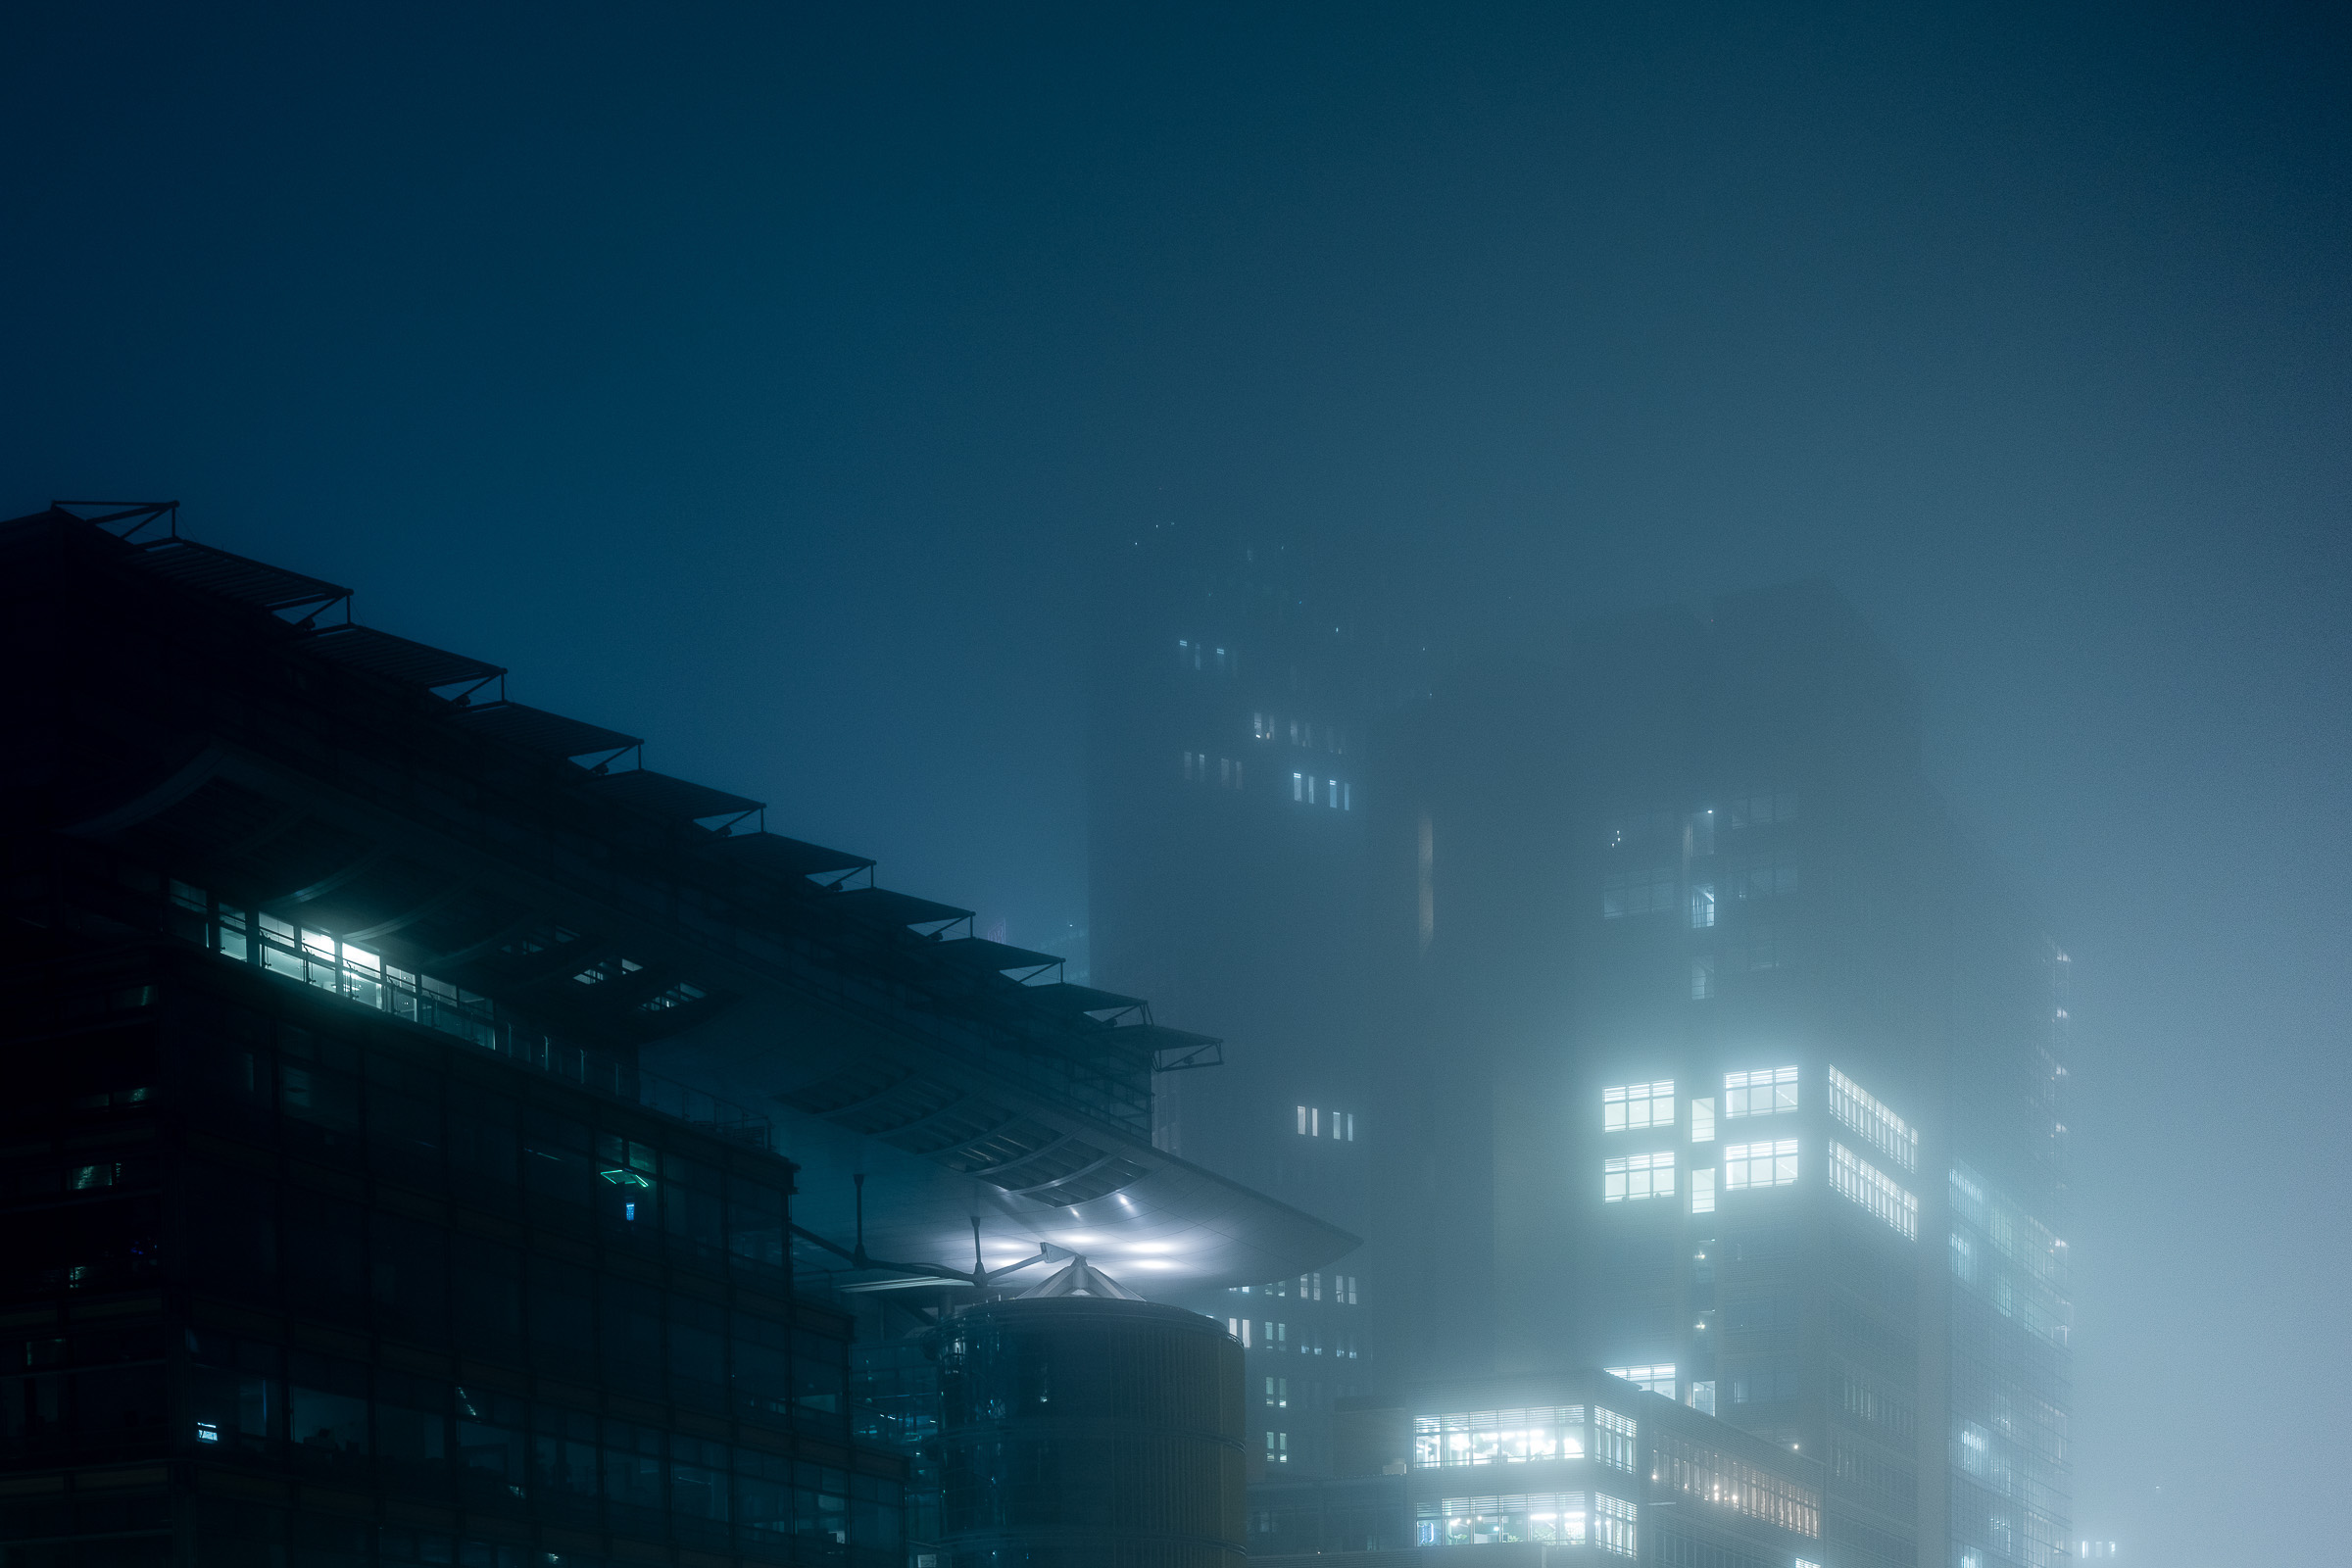
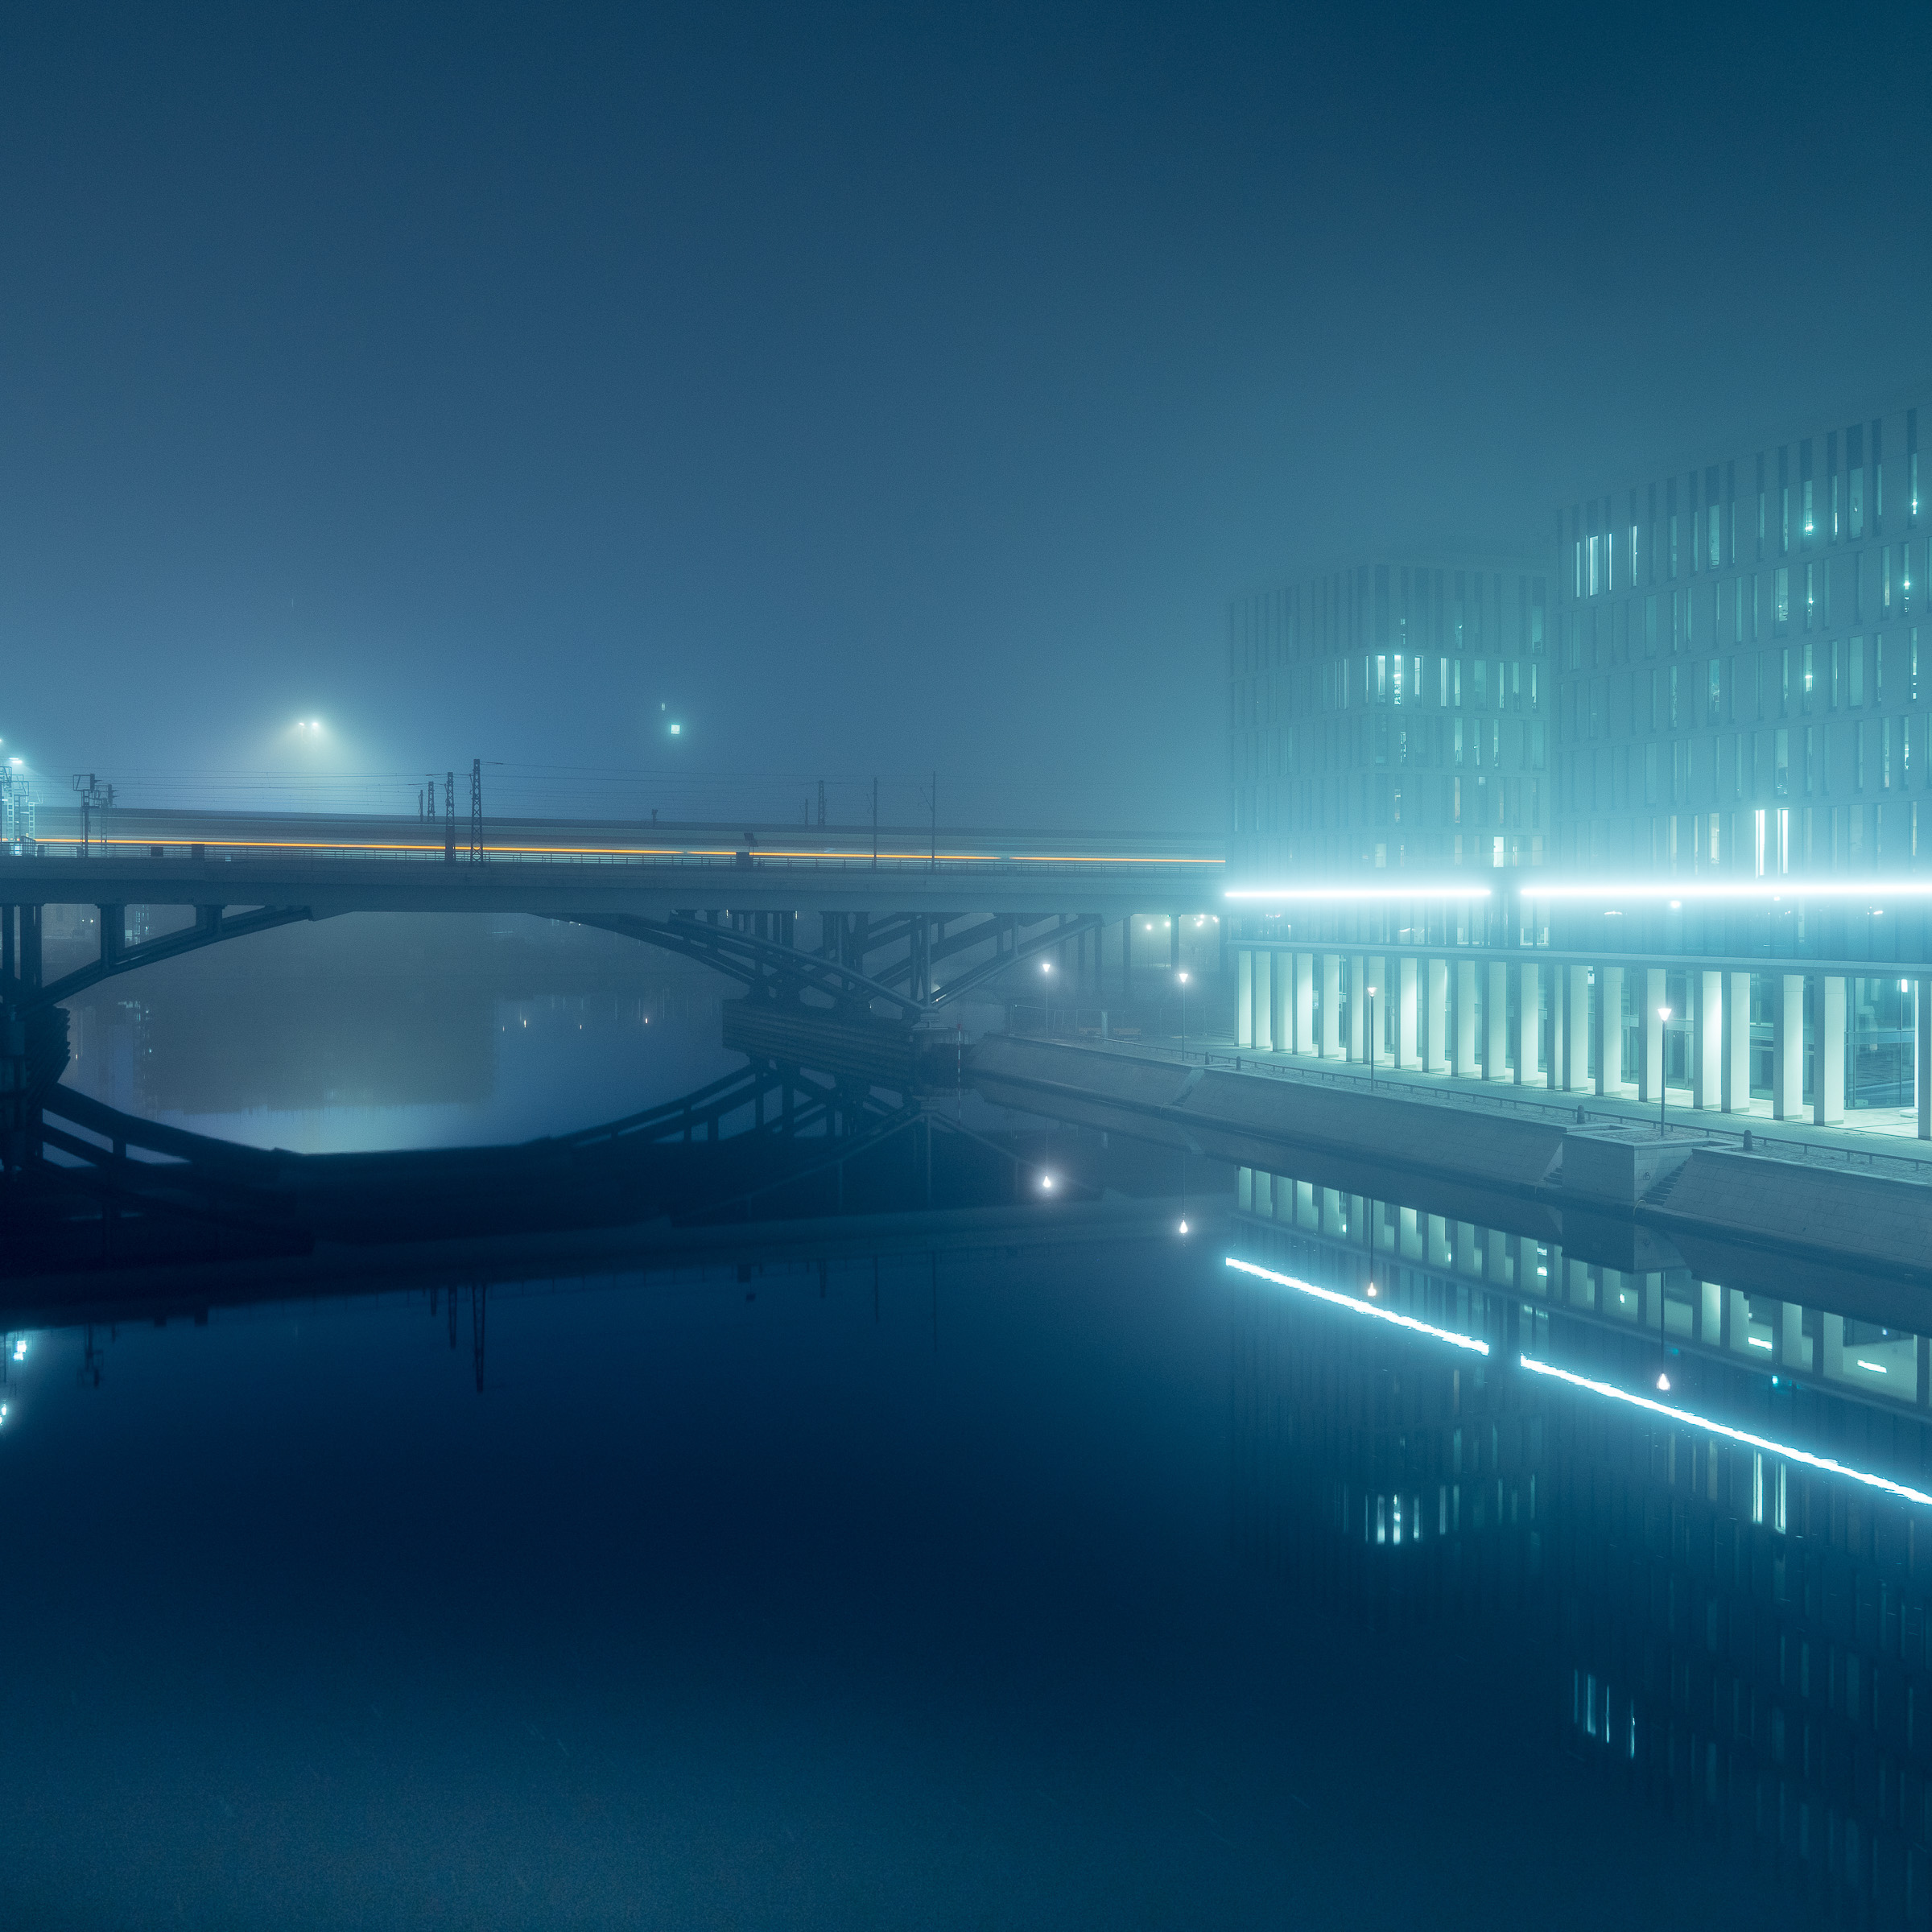
Andreas: The weather is indeed the key ingredient. Unfortunately the days when the fog is this thick is few and far between around here. When the forecast looks promising I have my bag ready to go and a list of locations that I want to visit. I use a tripod, but fortunately the image quality at higher ISO is so good with current gear, that most exposures take only a few seconds. To have enough leverage in post processing I only shoot raw files.
It seems like you go for very neon-like colors, and that those are a big part of the process is that true?
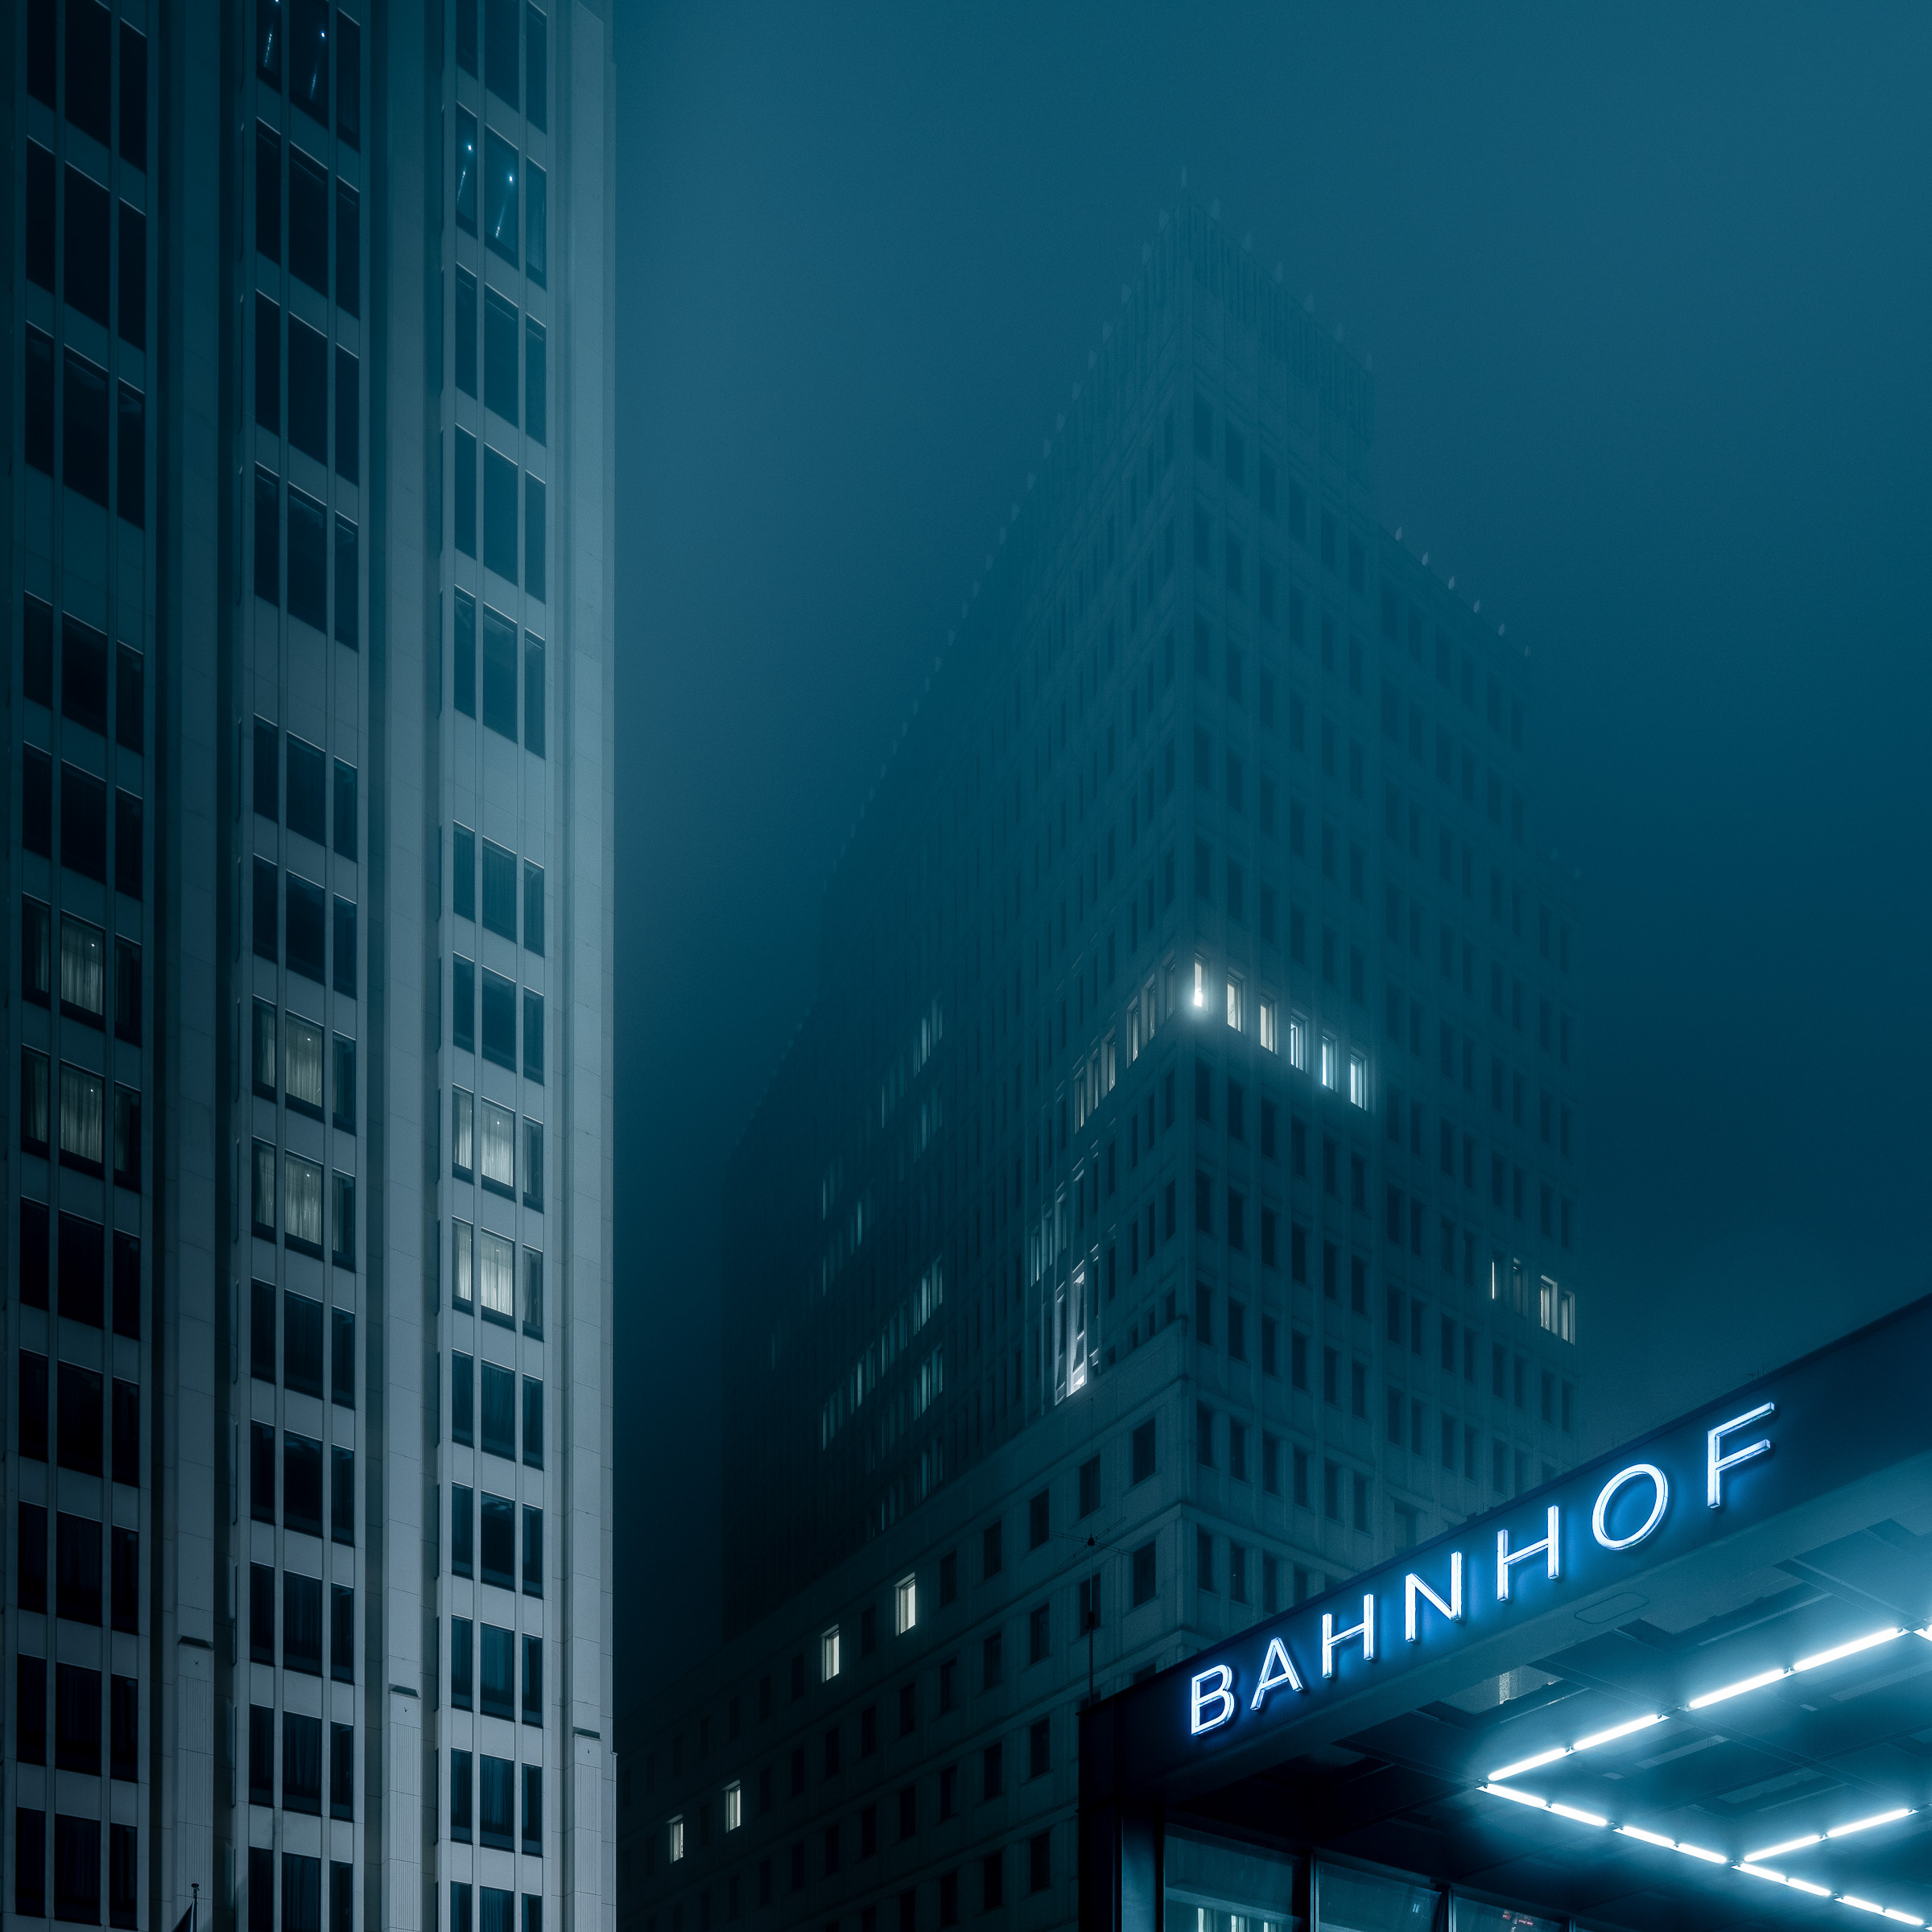
Andreas: Yes – I carefully choose the locations to achieve the retro-futuristic look. So modern architecture or sober infrastructure is best suited for my photography. My main inspiration comes from movies like Blade Runner, Drive, Matrix, Dark City and many more. I try to emulate the intentional color casts they use to convey an specific atmosphere in my photography.

These images pretty much resemble paintings; what sort of post production methods are you doing?
Andreas: I use Adobe Camera Raw to develop the raw shots. Most important is an intentionally shifted white balance and split toning. I keep some of the past looks as presets to quickly try different color gradings and adjust them based the individual images. Another ingredient are local adjustments, primarily contrast and exposure, to focus the attention on key elements. Subtle adjustments of clarity and sharpness add further cues to guide the viewer’s eye.


So what are the main take aways here:
- Shoot RAW.
- Find fog.
- Look for scenes with the right amount of contrast and light cutting through the fog.
- Shift the colors accordingly to get just the right look.
Get rid of the ads!
Did you enjoy reading this article as much as we enjoyed writing it? There's a way to support us and our reporting, getting ad-free navigation and more as a bonus. Subscribe to us for less than a coffee per month —just $3.99— or take advantage of our yearly subscription with a hefty discount for only $25.- An ad-free experience
- A free mystery box for Lightroom or Capture One
- All the books in our store
- 20% discount on Capture One
- 30% discount on Imalume Photo Theft Protection
- 20% off Herbs and Kettle Tea Company.