
Last Updated on 08/12/2017 by Chris Gampat
One of the biggest problems a lot of photographers have is the culling and editing process–but it's pretty simple to do in Adobe Lightroom. One of the biggest things I tell people is to become vulnerable to their own photos–which is a big part of today's tutorial video. So in this episode of the ReEdit, I take around a half hour to cull down 83 images to somewhere in the 20s. Then I do another cull and bring that number down to 14. In the end, I chose 13 out of the 83. That's still a pretty high keeper rate and with 83 photos I didn't need to overshoot at all. I didn't feel the need to and everything was simply working well. After this I do edits on the photos.
The ReEdit: Episode 2 Video
Be sure to subscribe to the Phoblographer on YouTube.
Sample Photos
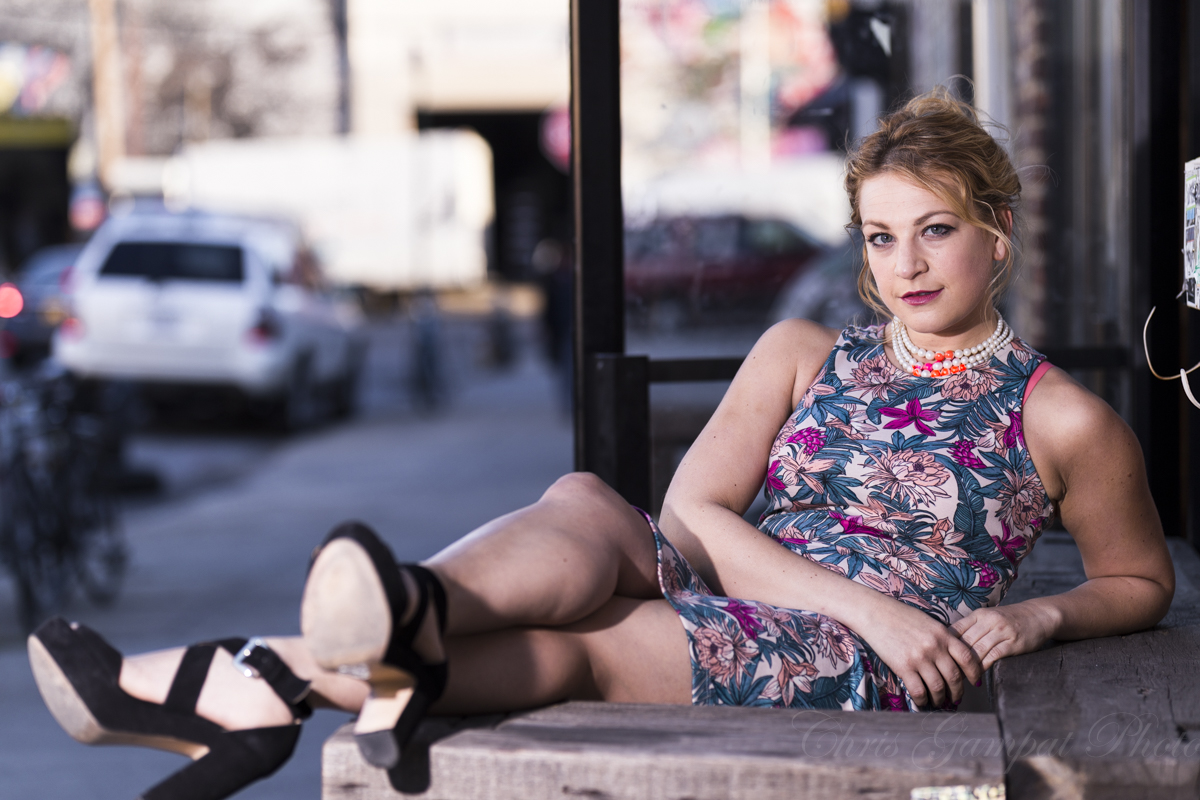
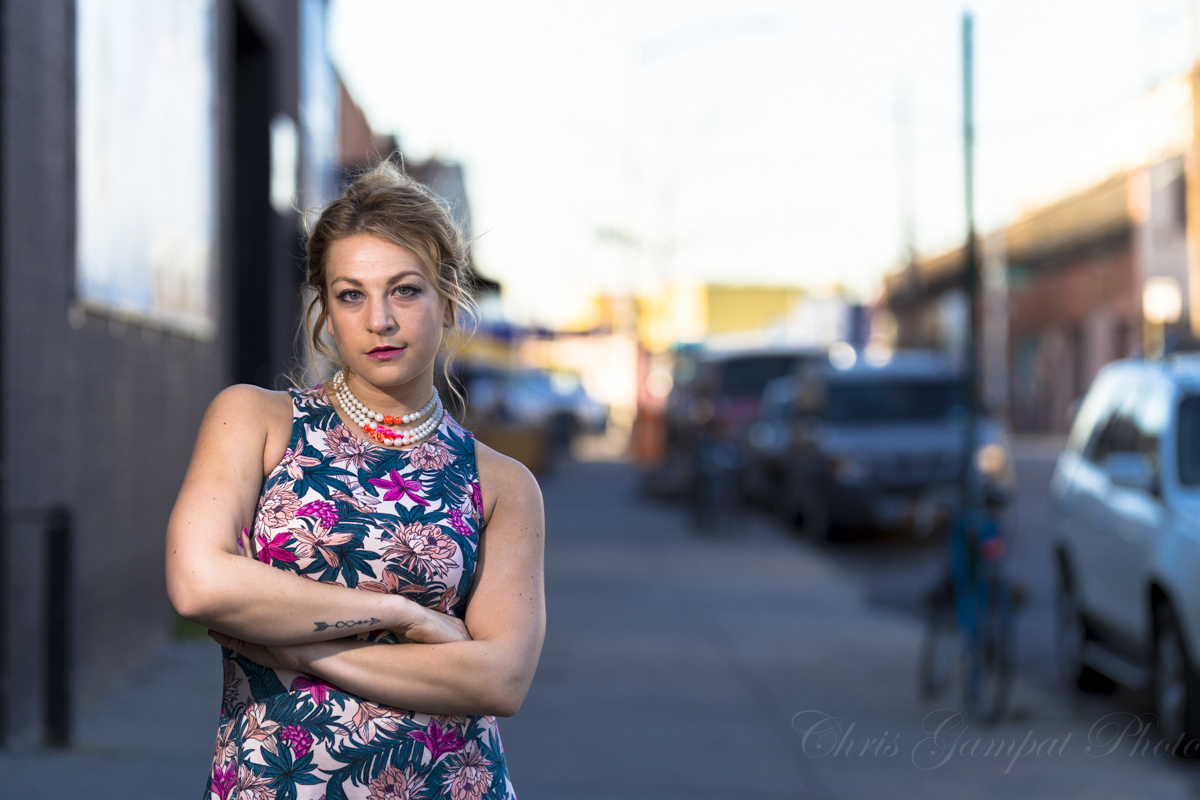
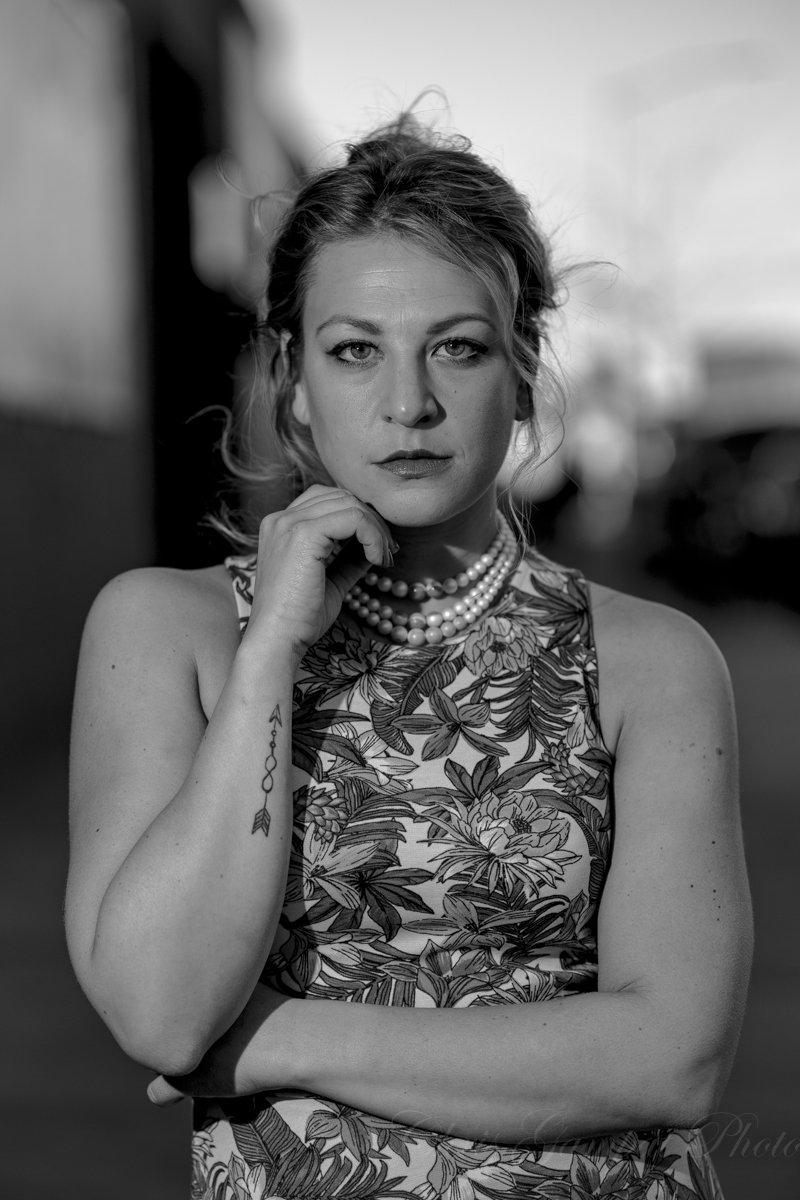
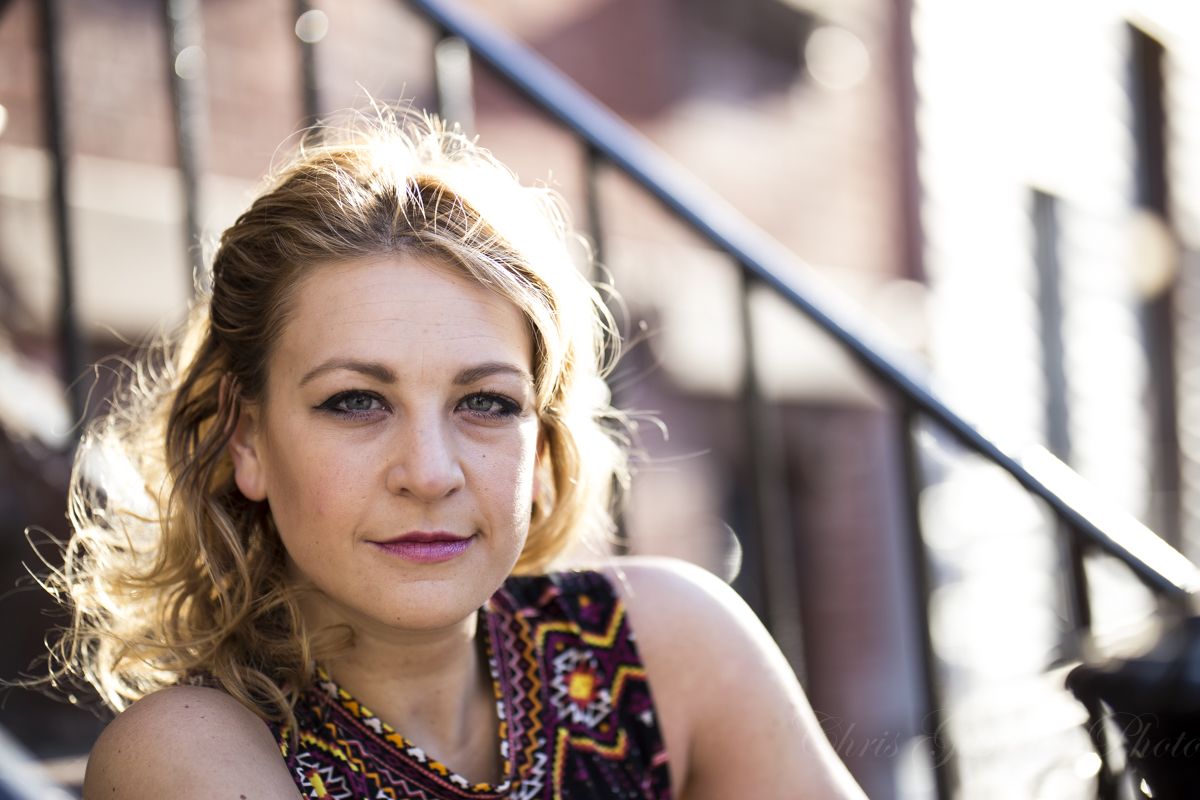
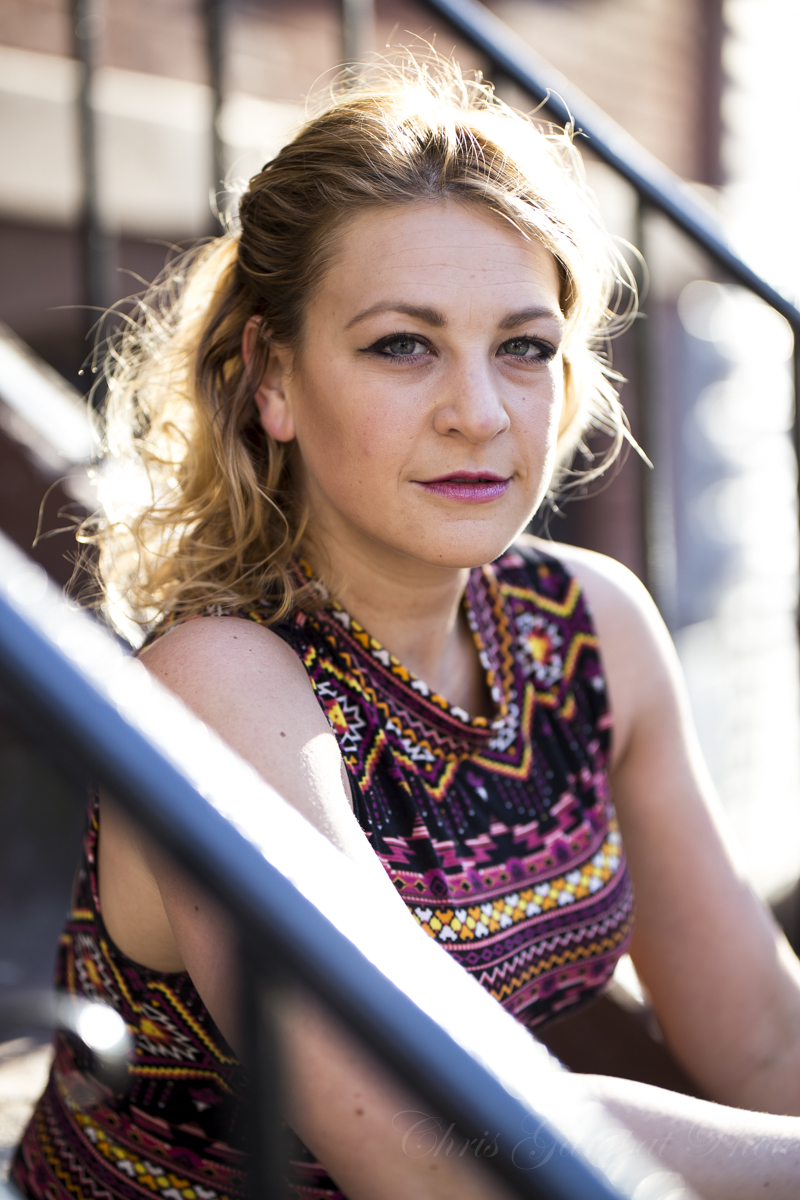
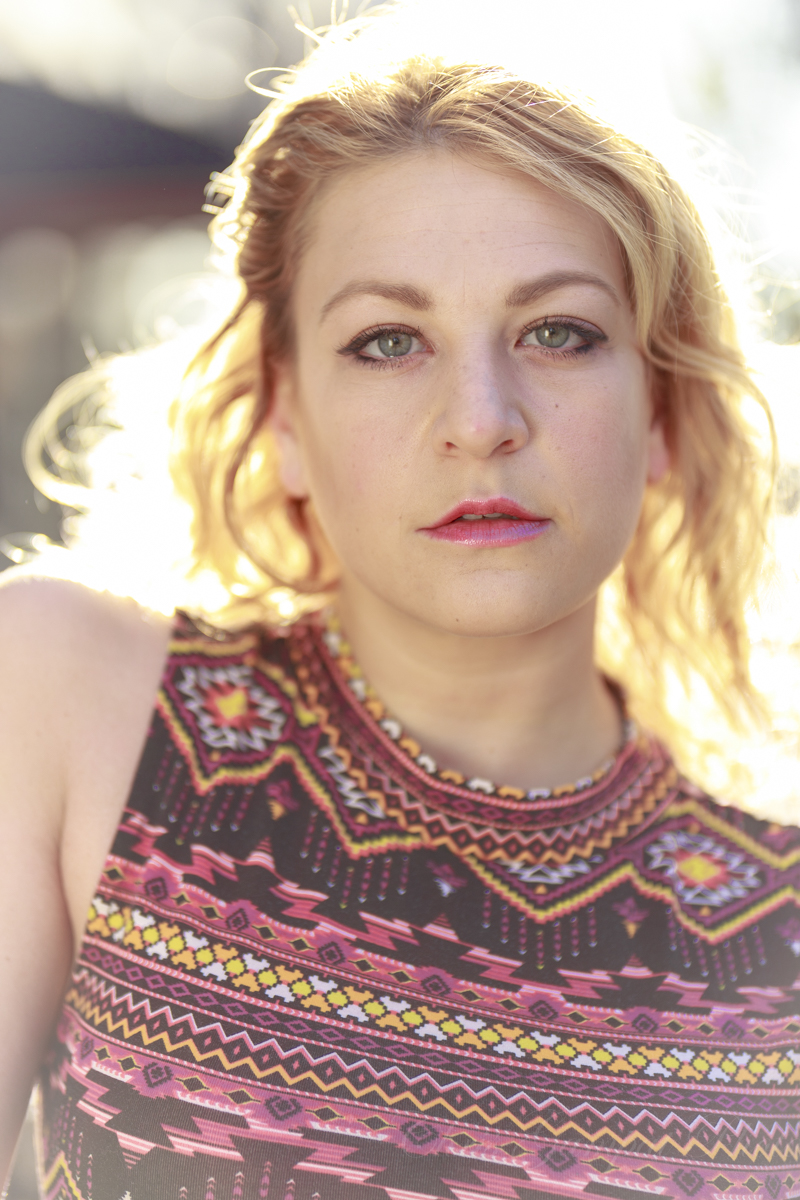
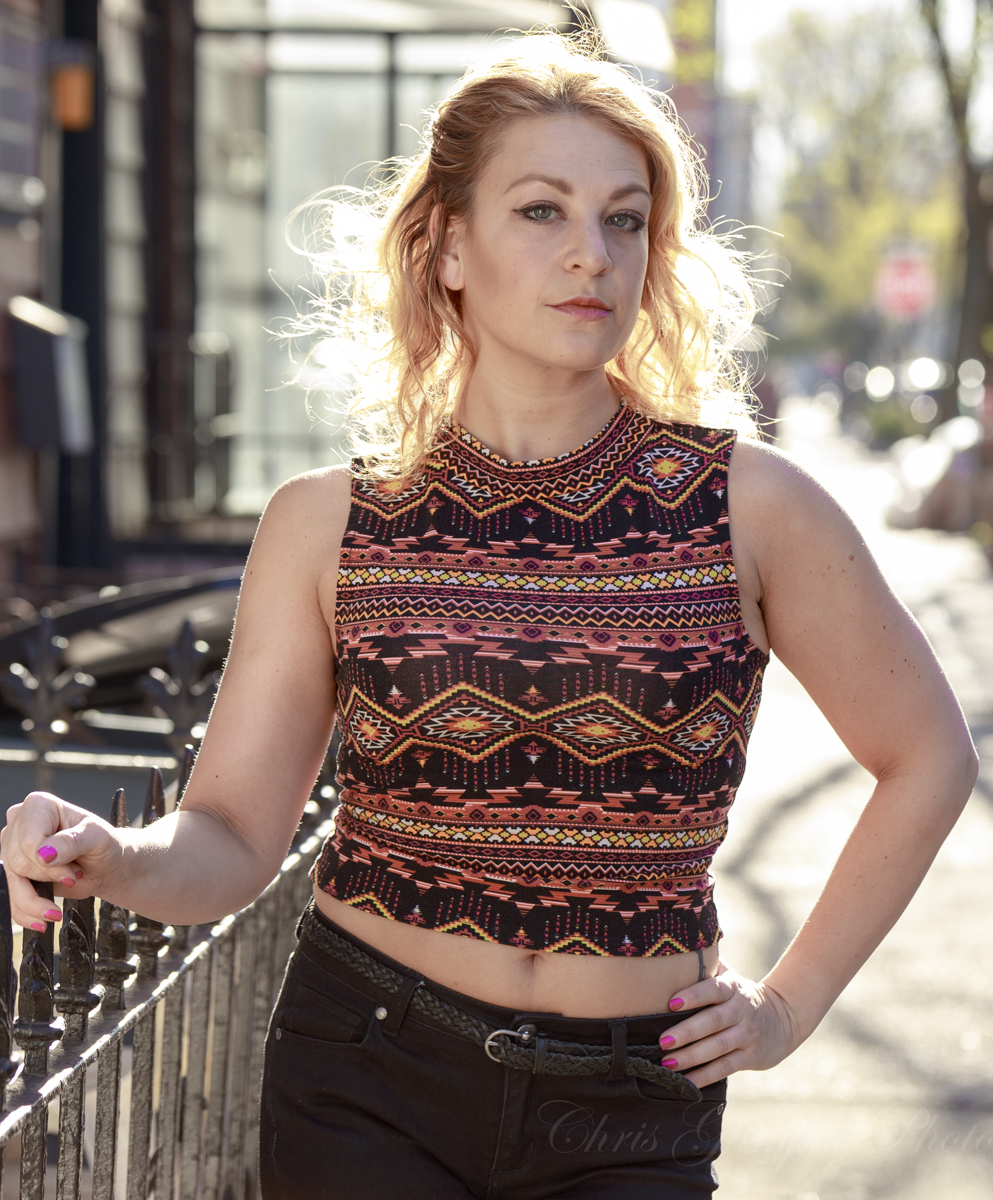
These images are from our Tamron 85mm f1.8 Di VC USD review, and the model is Natalie Margiotta. She's gotten to become fantastic at this and brings a ton of energy that is still easy to work with on set or on location. We did three different looks in a number of locations and after 83 images I genuinely didn't feel the need to overshoot because everything had come out really well. What you'll see is that a lot of the images have Natalie more or less centered. The reason for this is because it generally makes it easier for a model to work with a scene and be more fluid. That also lets me crop down later since there are so many megapixels. As you'll see in the video, I certainly do crop a lot in some situations. But in other situations, I decided that the environment is pretty important to the story. So what do you do in that case?
I used the vignetting feature to get more from the scene and lead the viewers' eyes to a certain part of the image. Combine this with effective use of color and lighting and you've got something that works on-camera.
Here are my edited images.


Be sure to subscribe to the Phoblographer on YouTube.
Get rid of the ads!
Did you enjoy reading this article as much as we enjoyed writing it? There's a way to support us and our reporting, getting ad-free navigation and more as a bonus. Subscribe to us for less than a coffee per month —just $3.99— or take advantage of our yearly subscription with a hefty discount for only $25.- An ad-free experience
- A free mystery box for Lightroom or Capture One
- All the books in our store
- 20% discount on Capture One
- 30% discount on Imalume Photo Theft Protection
- 20% off Herbs and Kettle Tea Company.
- 20% off your order from MPIX printing services.
- 5% off Viltrox Products via their eCommerce store.
- 10% off all film developing, printing and scanning services from Blue Moon Camera and Machine
- 15% off 7Artisans products: The lens and accessory maker is offering a sweet discount for Phoblographer's readers.