Last Updated on 08/02/2017 by Chris Gampat
Summer is the season of endless sunshine and vibrant colors, so this is the perfect time to add a fun twist to your photography game. Anastasia gives a few tips on how to get the best results.
Photography and text by Anastasia Egonyan – Model Chiara Lee – Edited by Alex Burchell
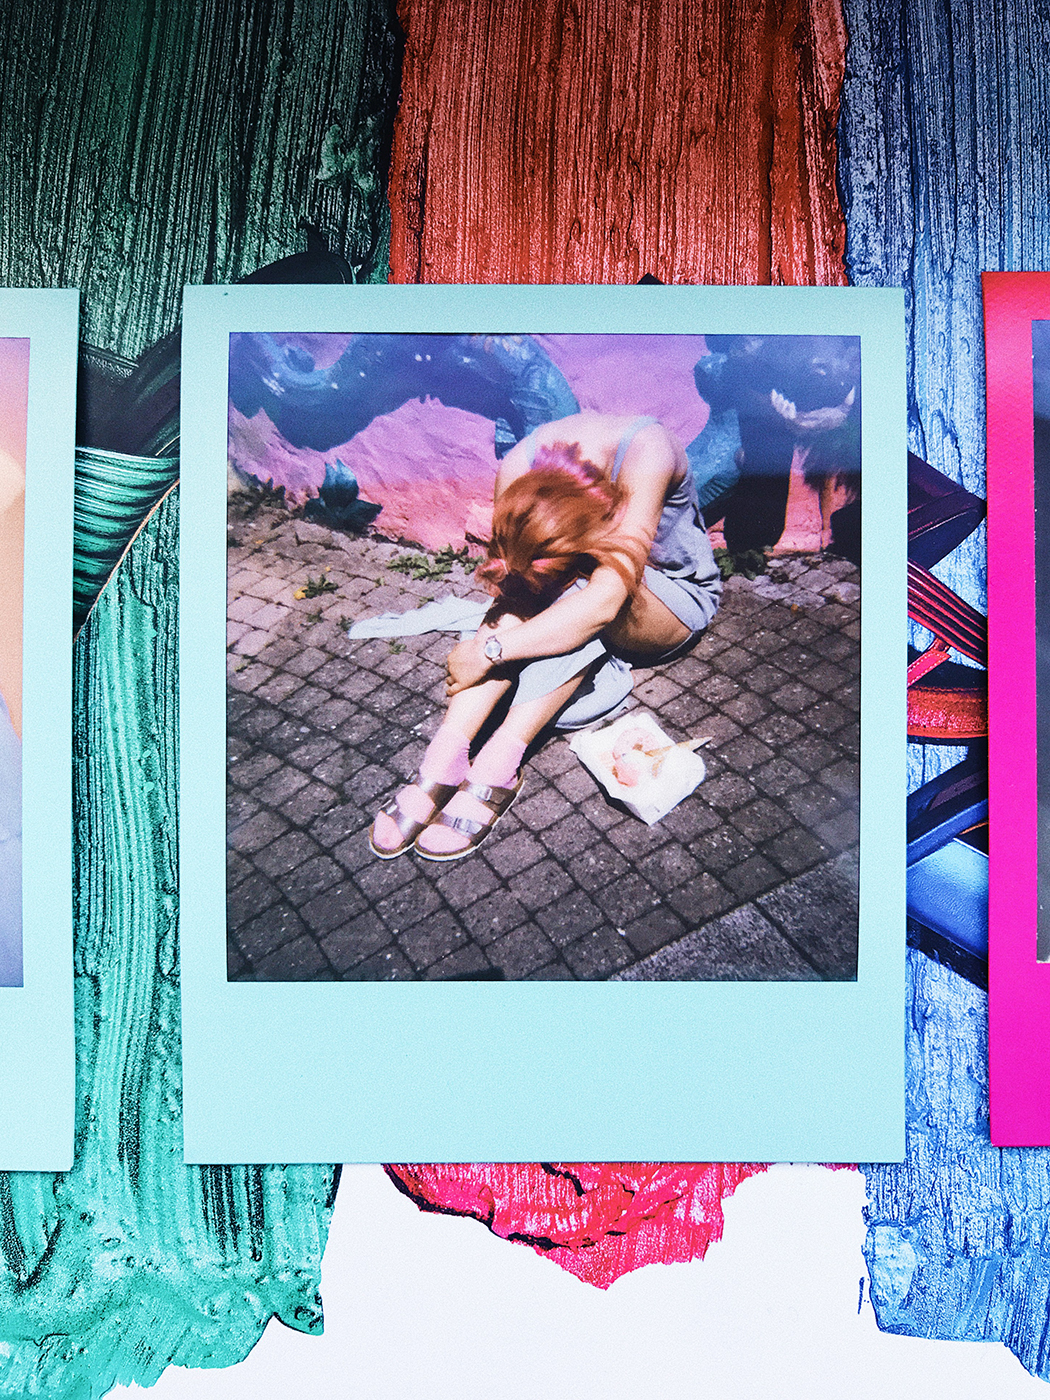
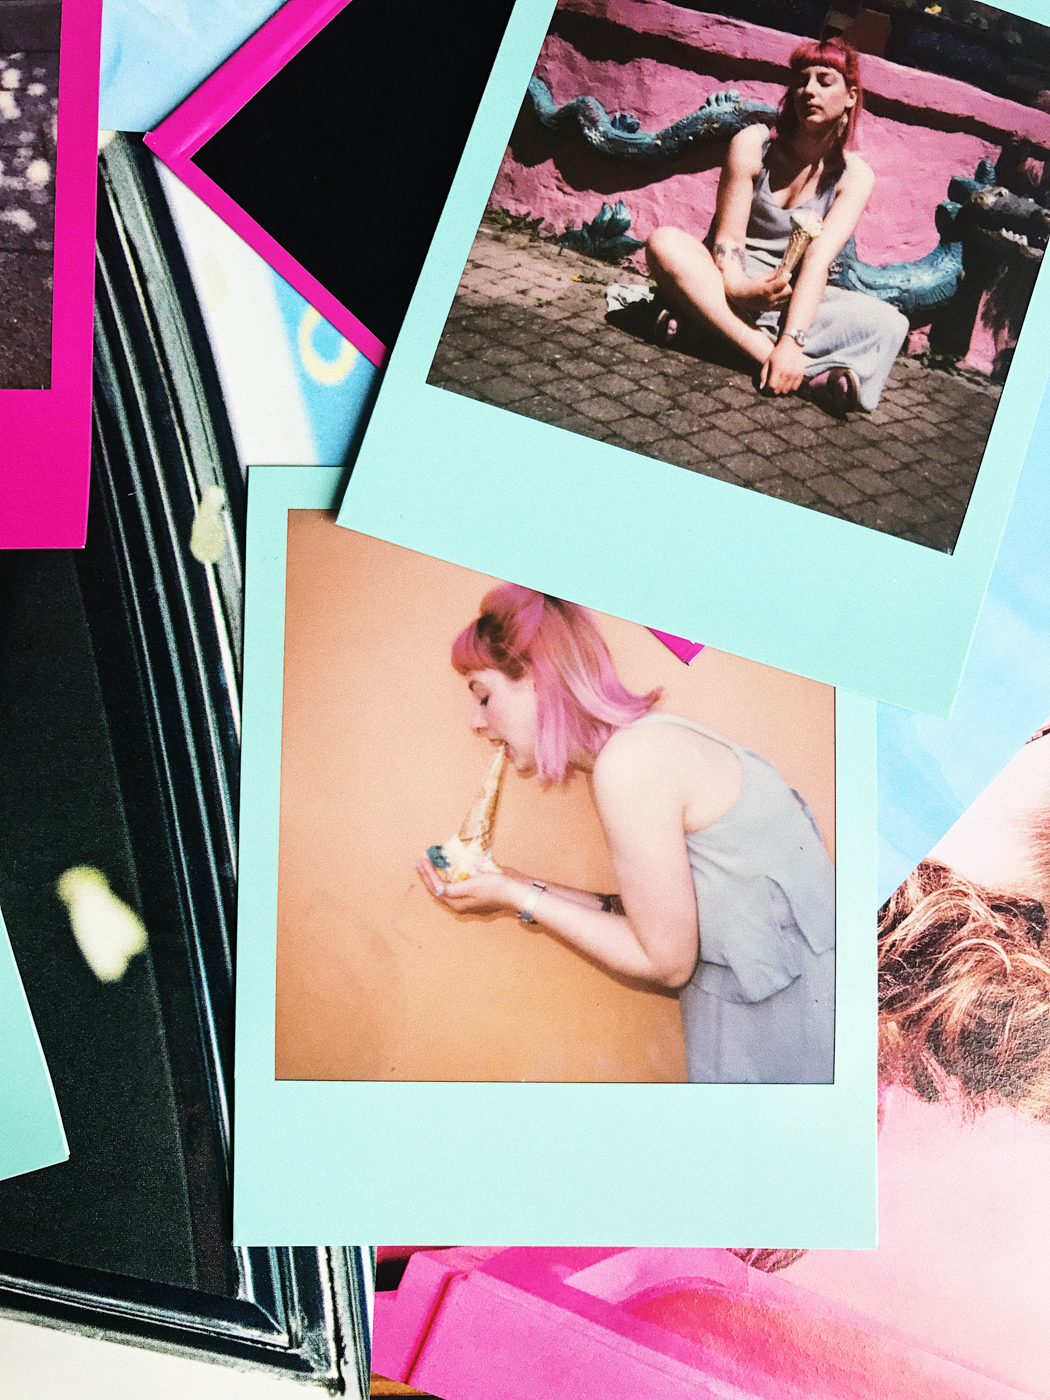
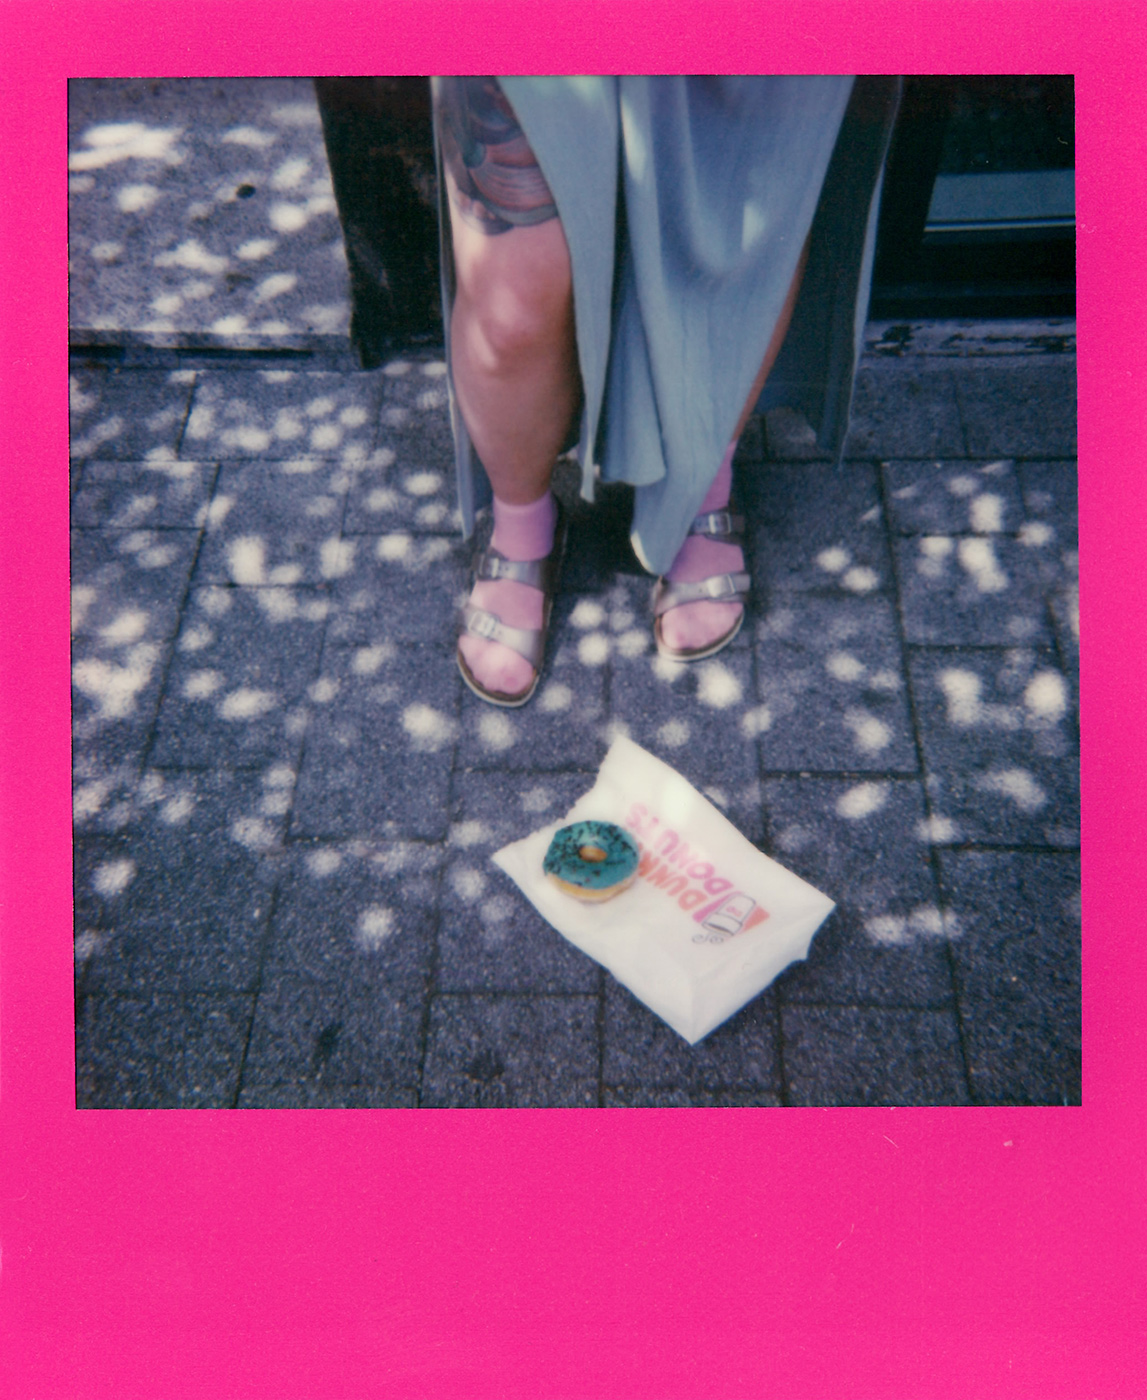
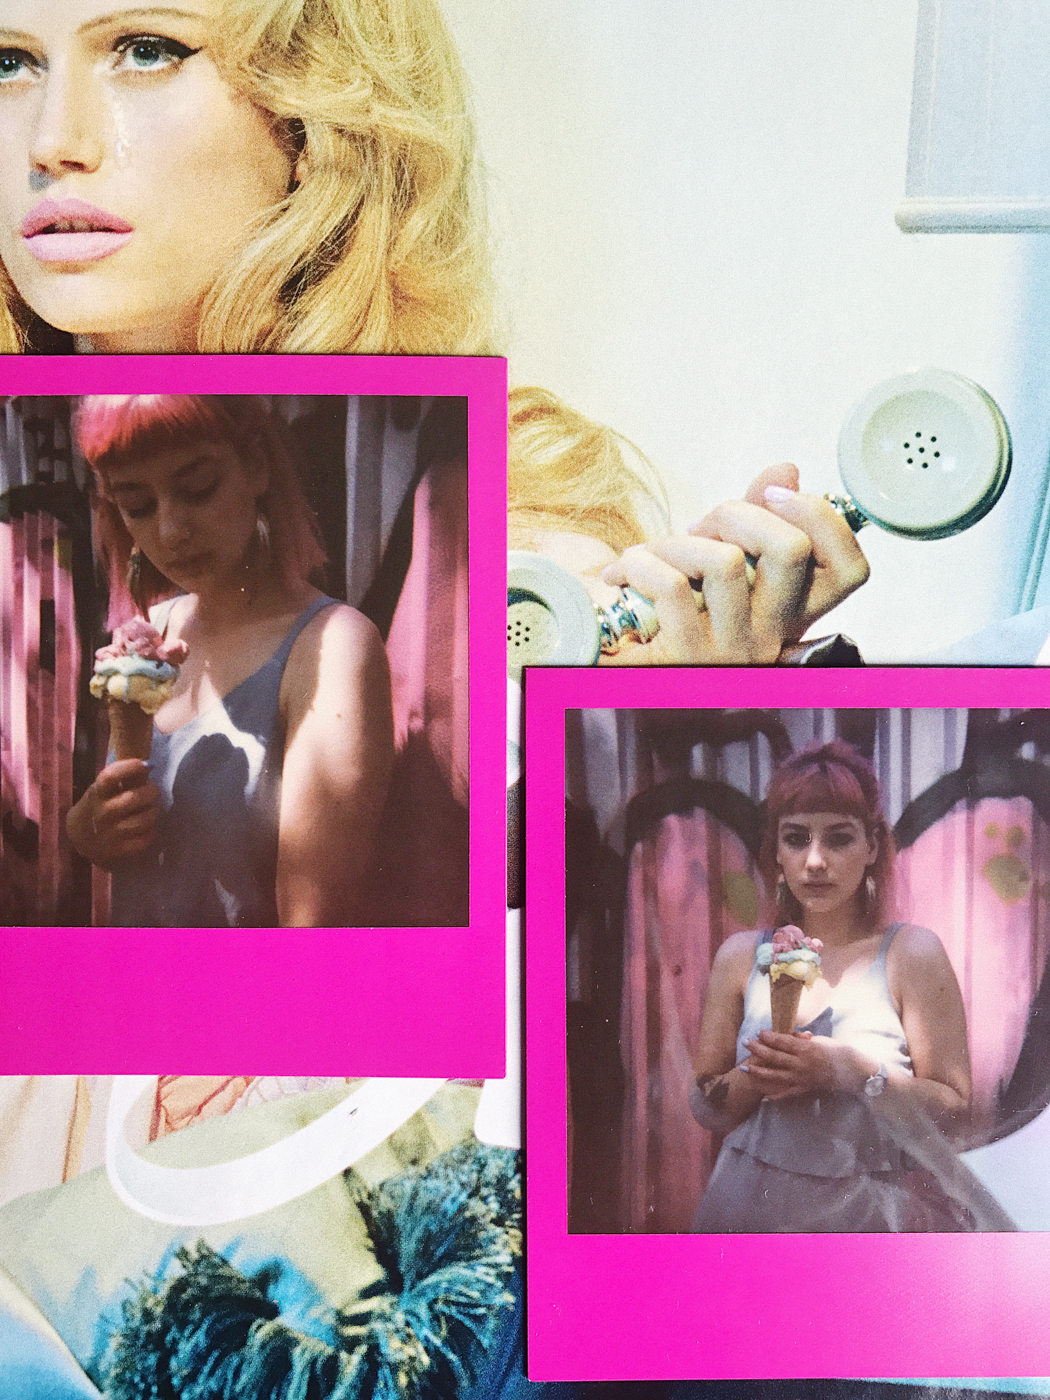
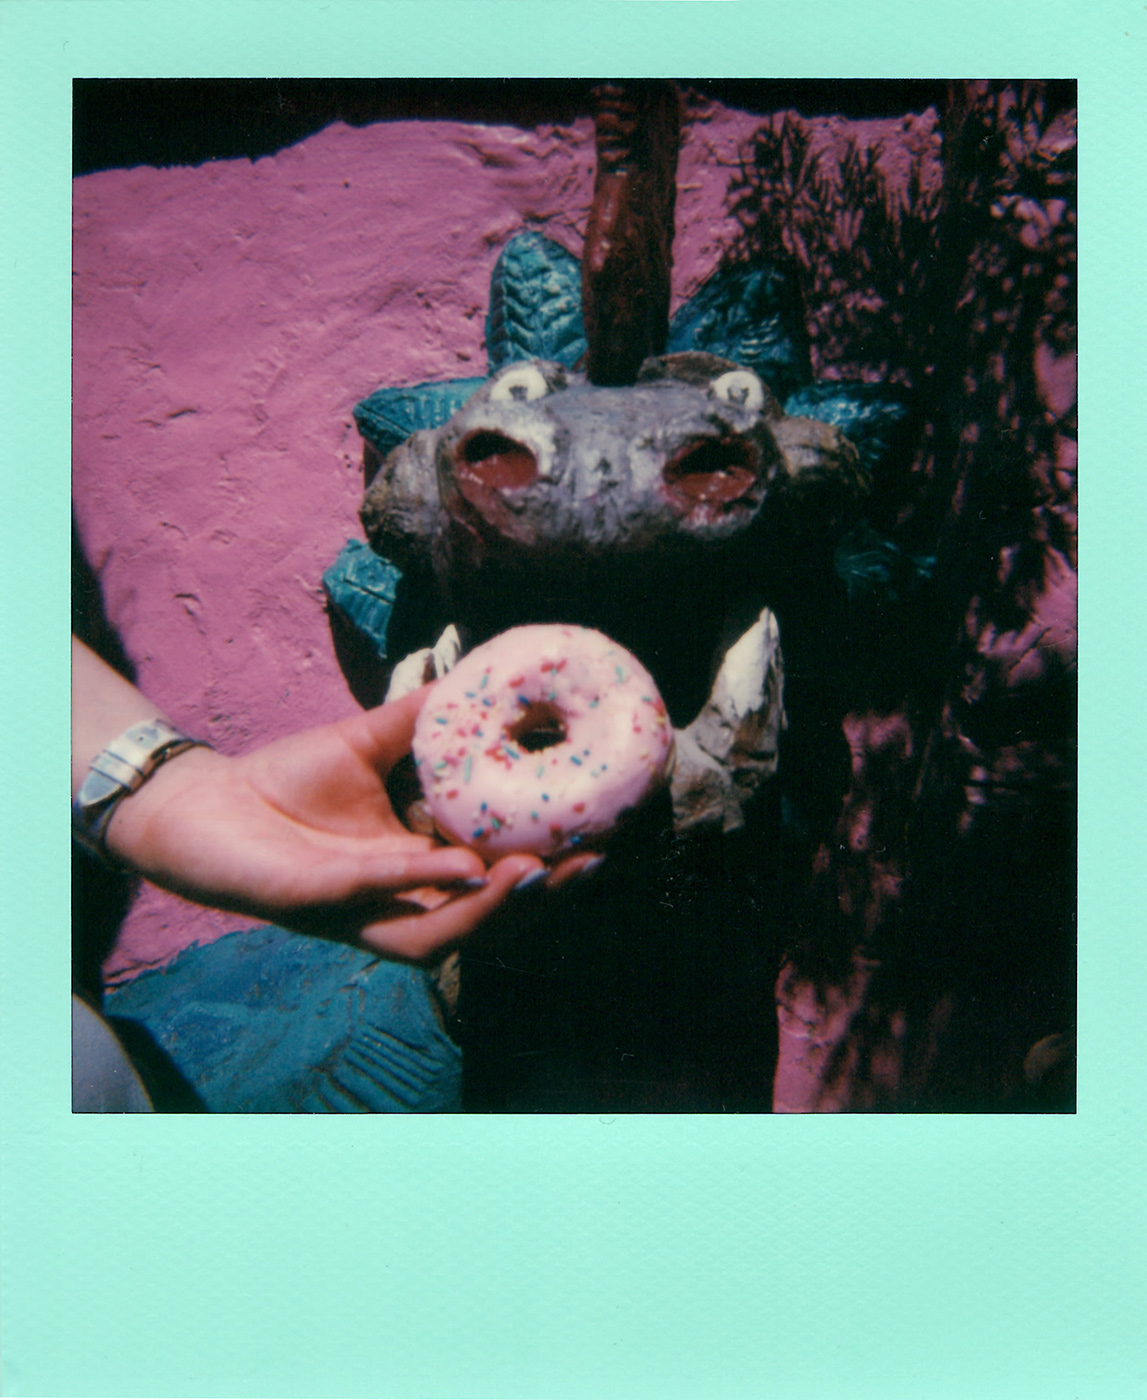
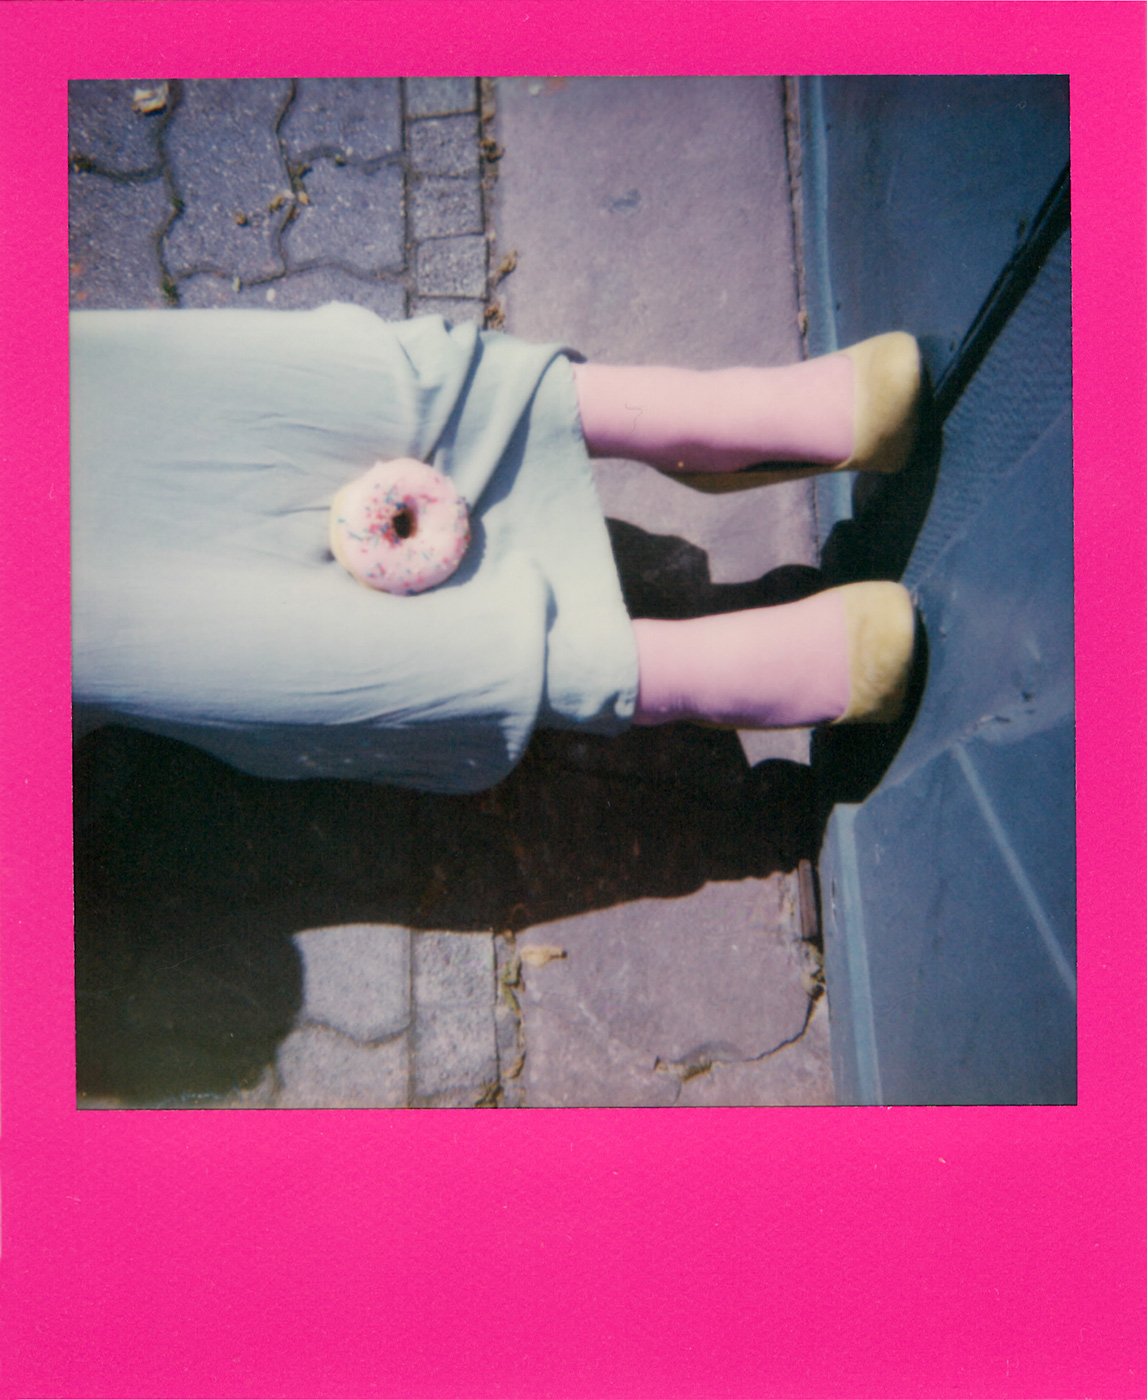
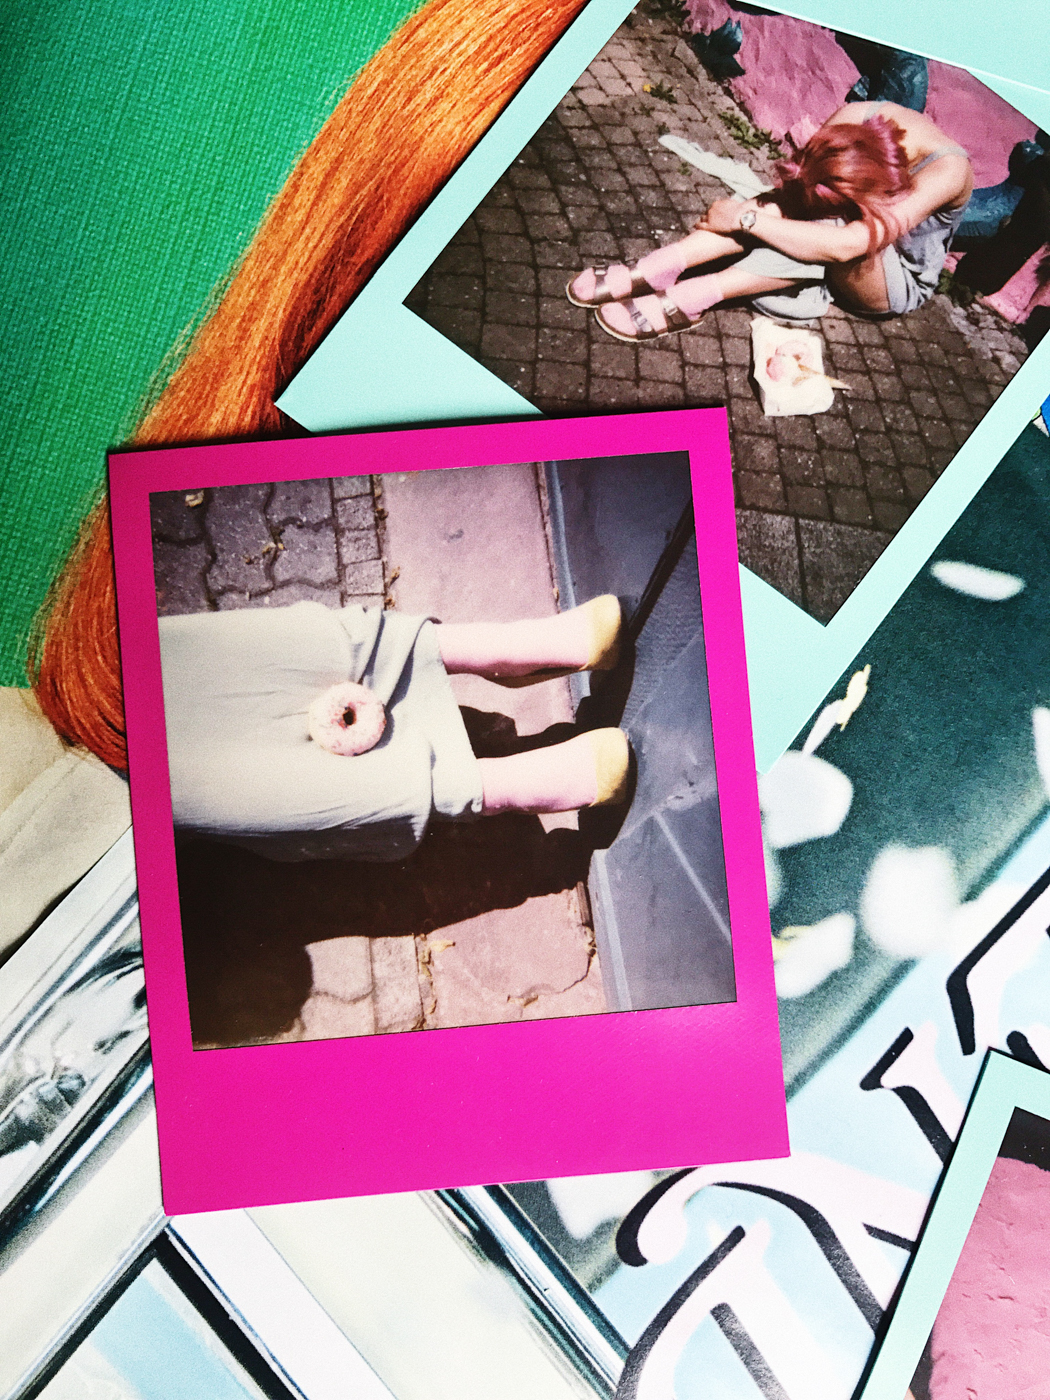
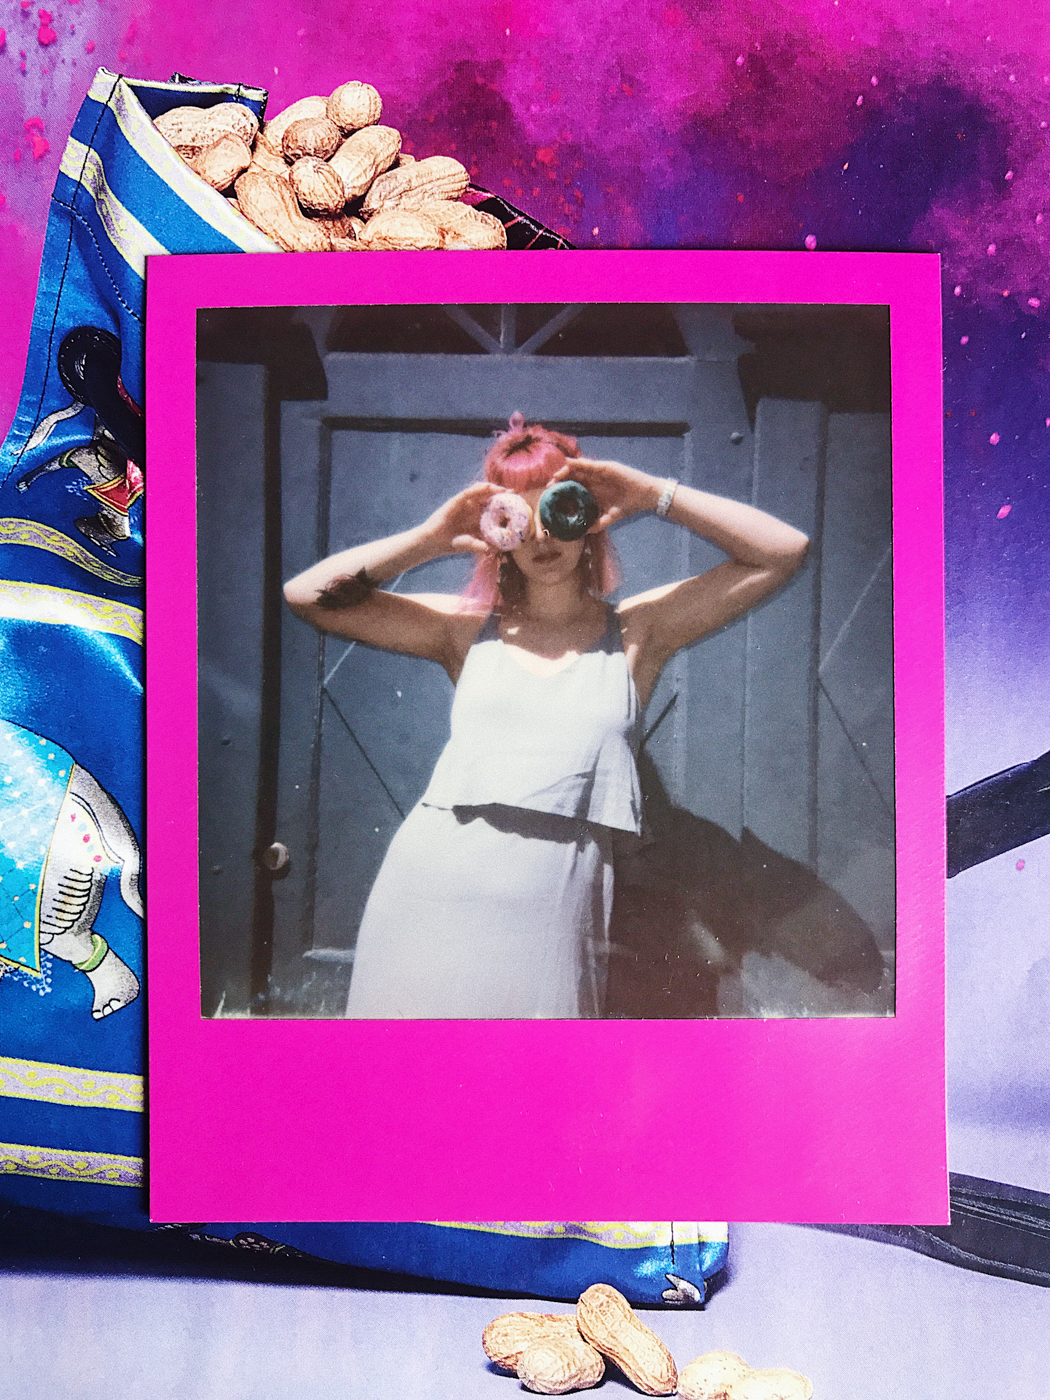
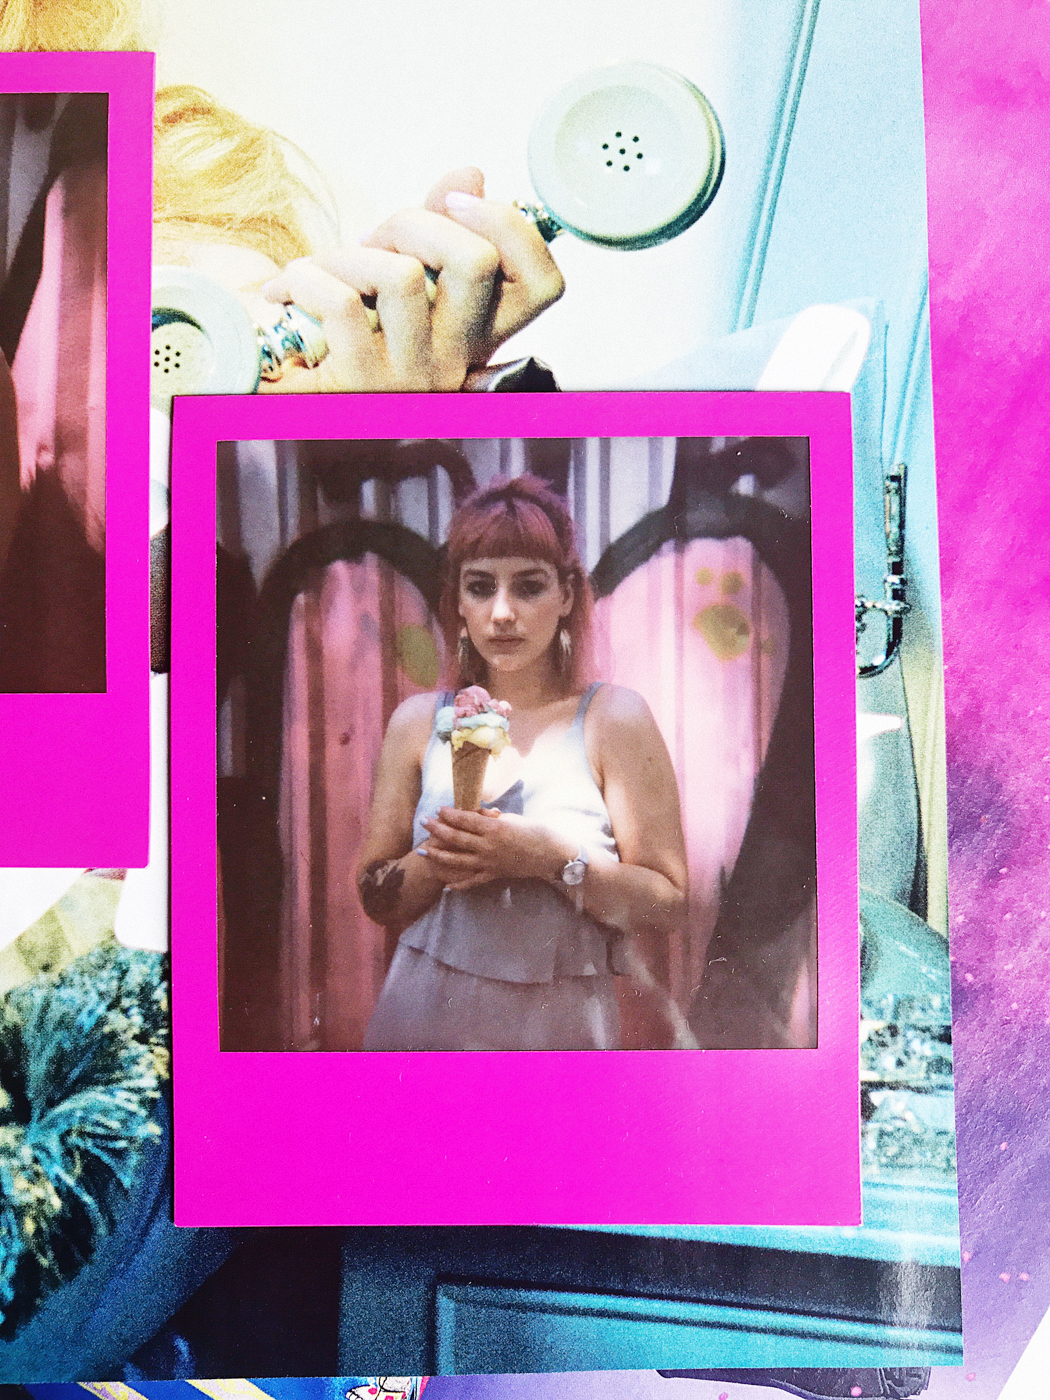
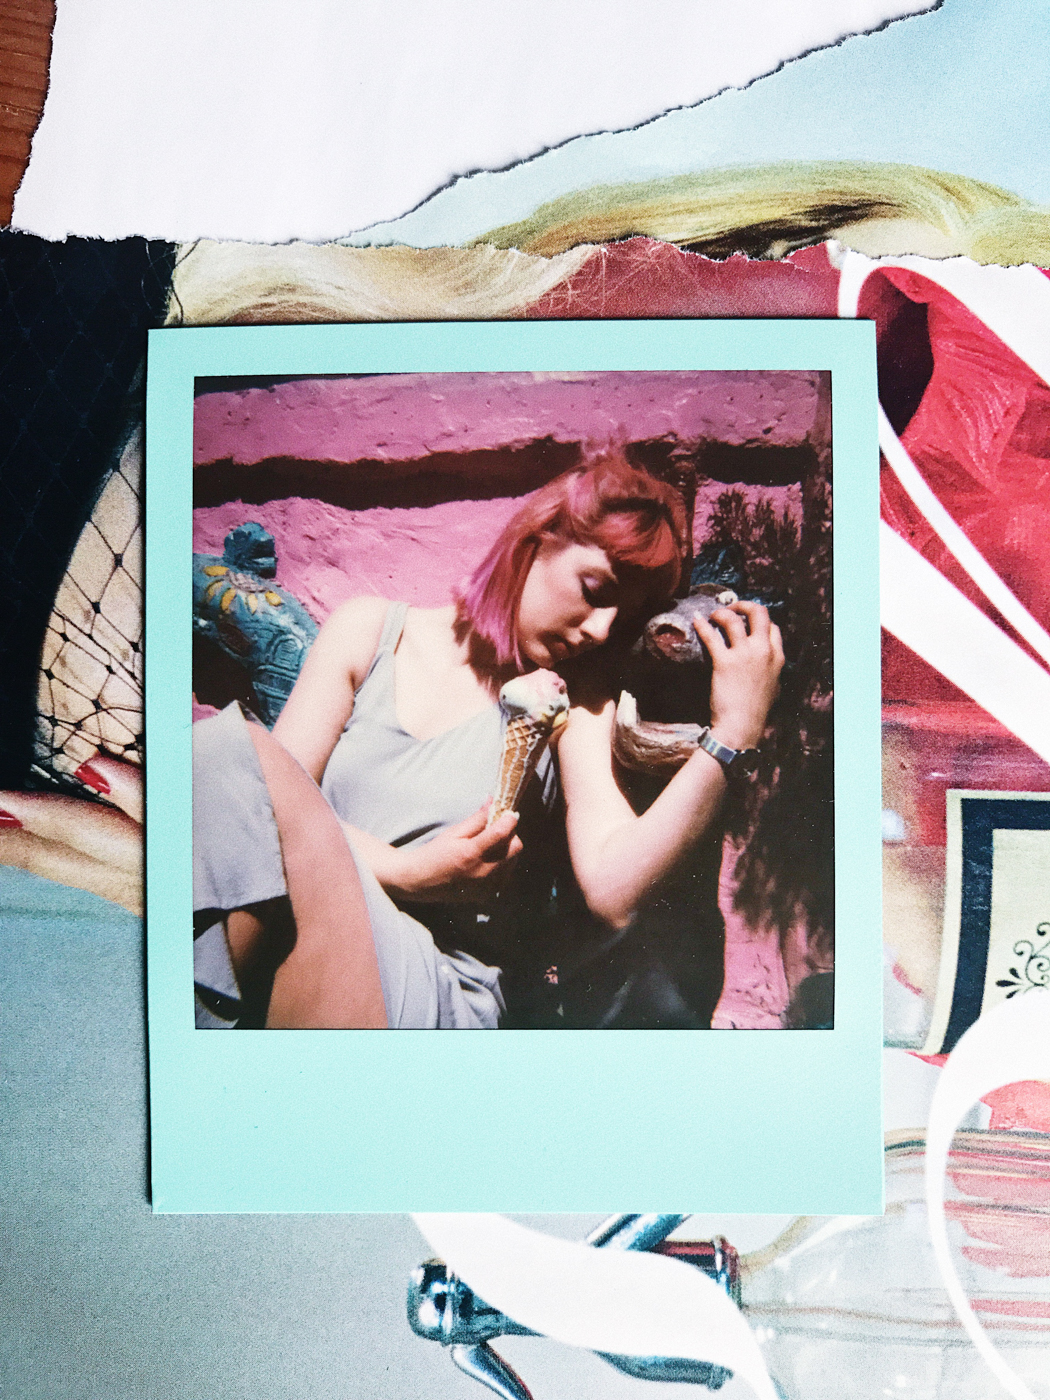
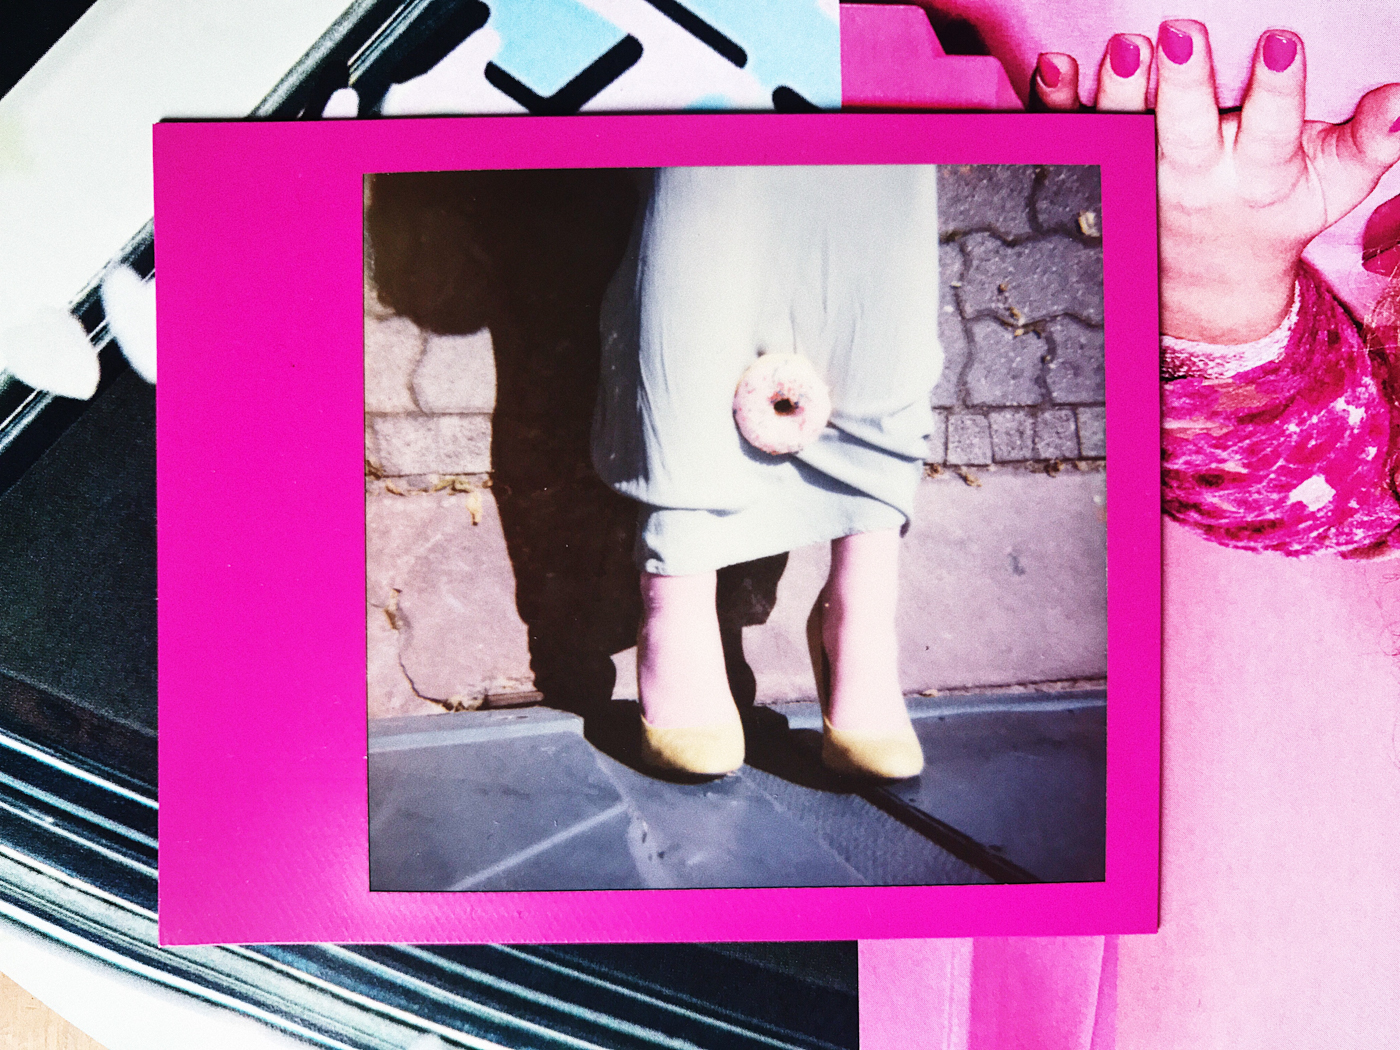
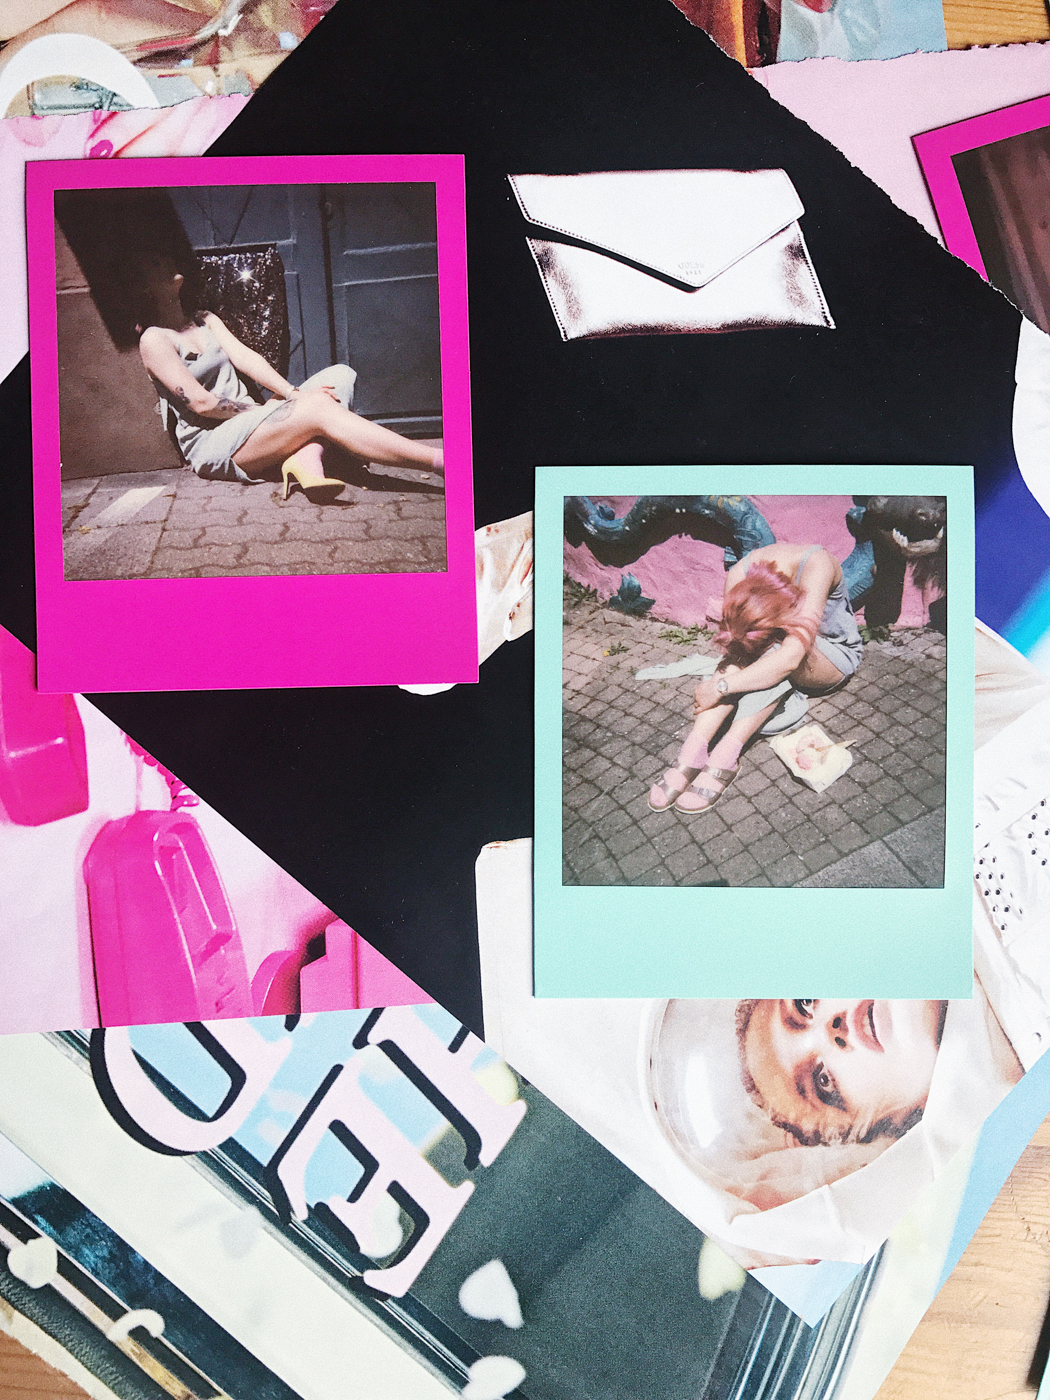
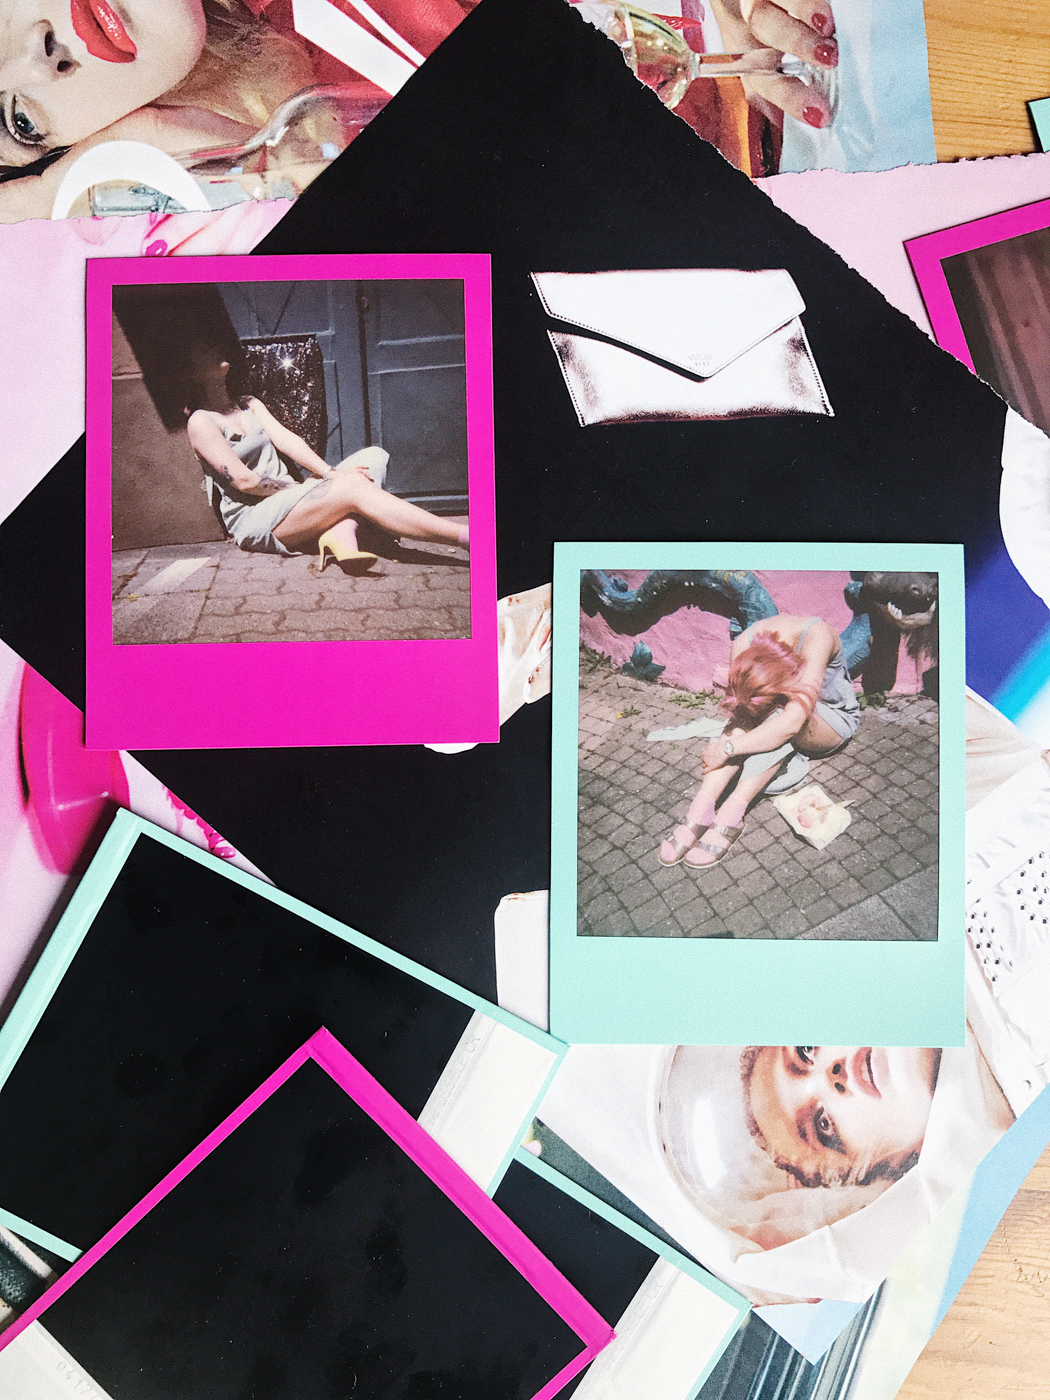
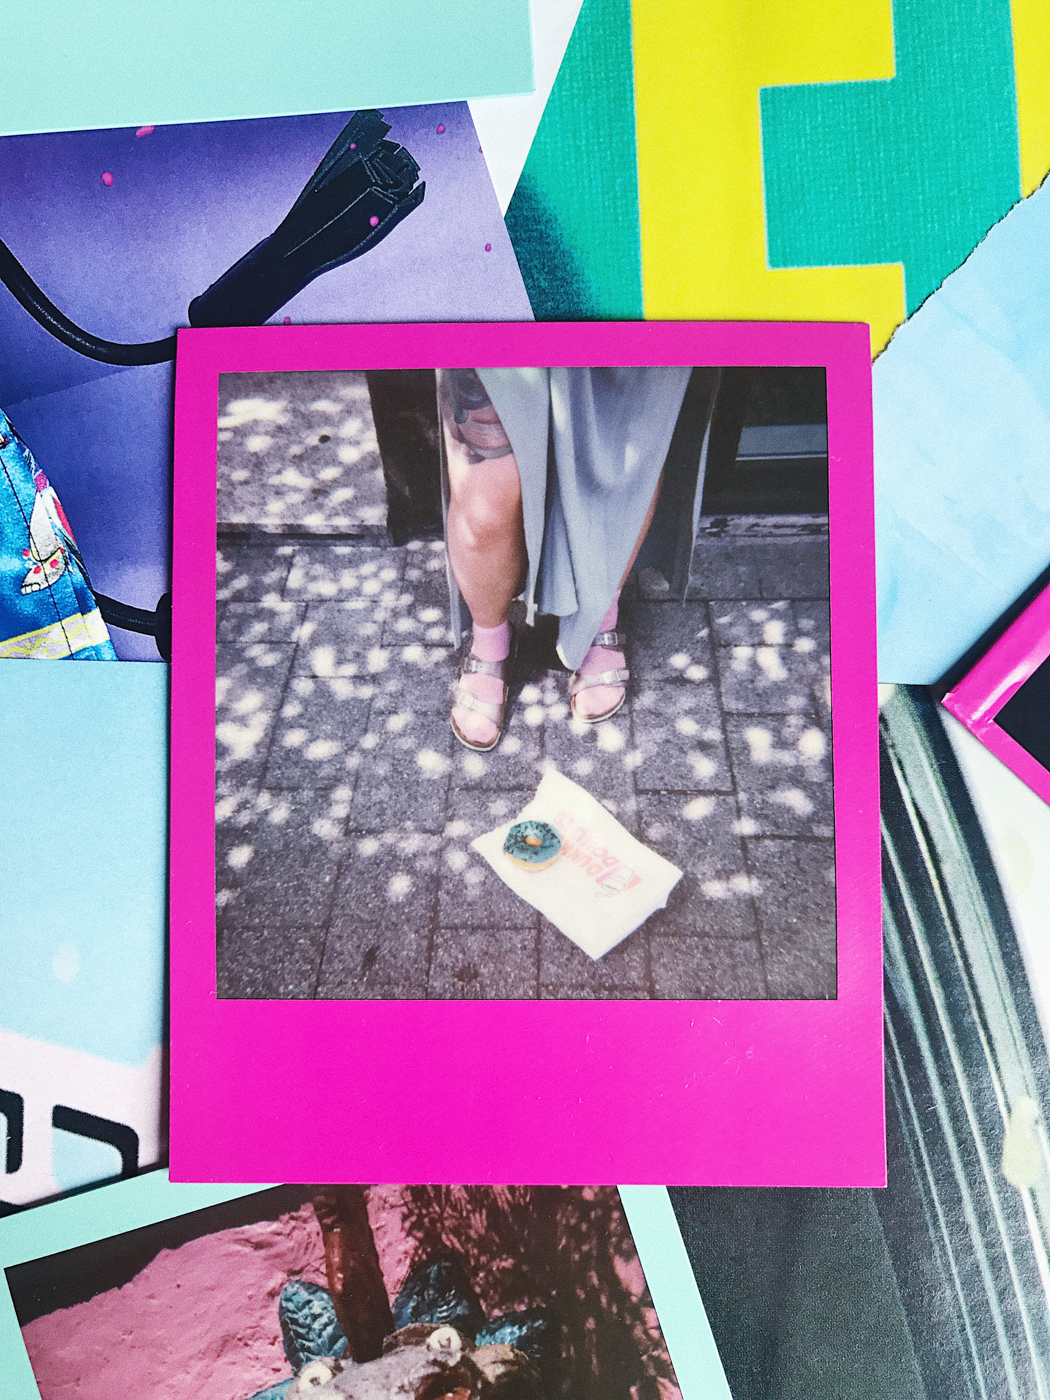
You know I have been keen on instant photography lately, so as soon as I had a chance to continue my experiments this project was born, full of colours and a bit over the top. This time I am testing the new Polaroid 600 limited edition films, the Hot Pink and Mint Frames by Impossible Project. Our Licorne Girl, Chiara, fits perfectly into this concept and colour scheme, so with her eccentric style we had an inspiration for a shooting instantly. Coloured frames always give a bit of a challenge as they set some boundaries on how and what to shoot. I find such boundaries really cool because I love moving outside my comfort zone sometimes.
What you have to consider when shooting Polaroids:
1. Instant film loves light. The more light you have, the better the results you will get. This is a mantra that you should repeat before you release the shutter. Do not rely on the flash too much; sunshine is the best light source you can get here.
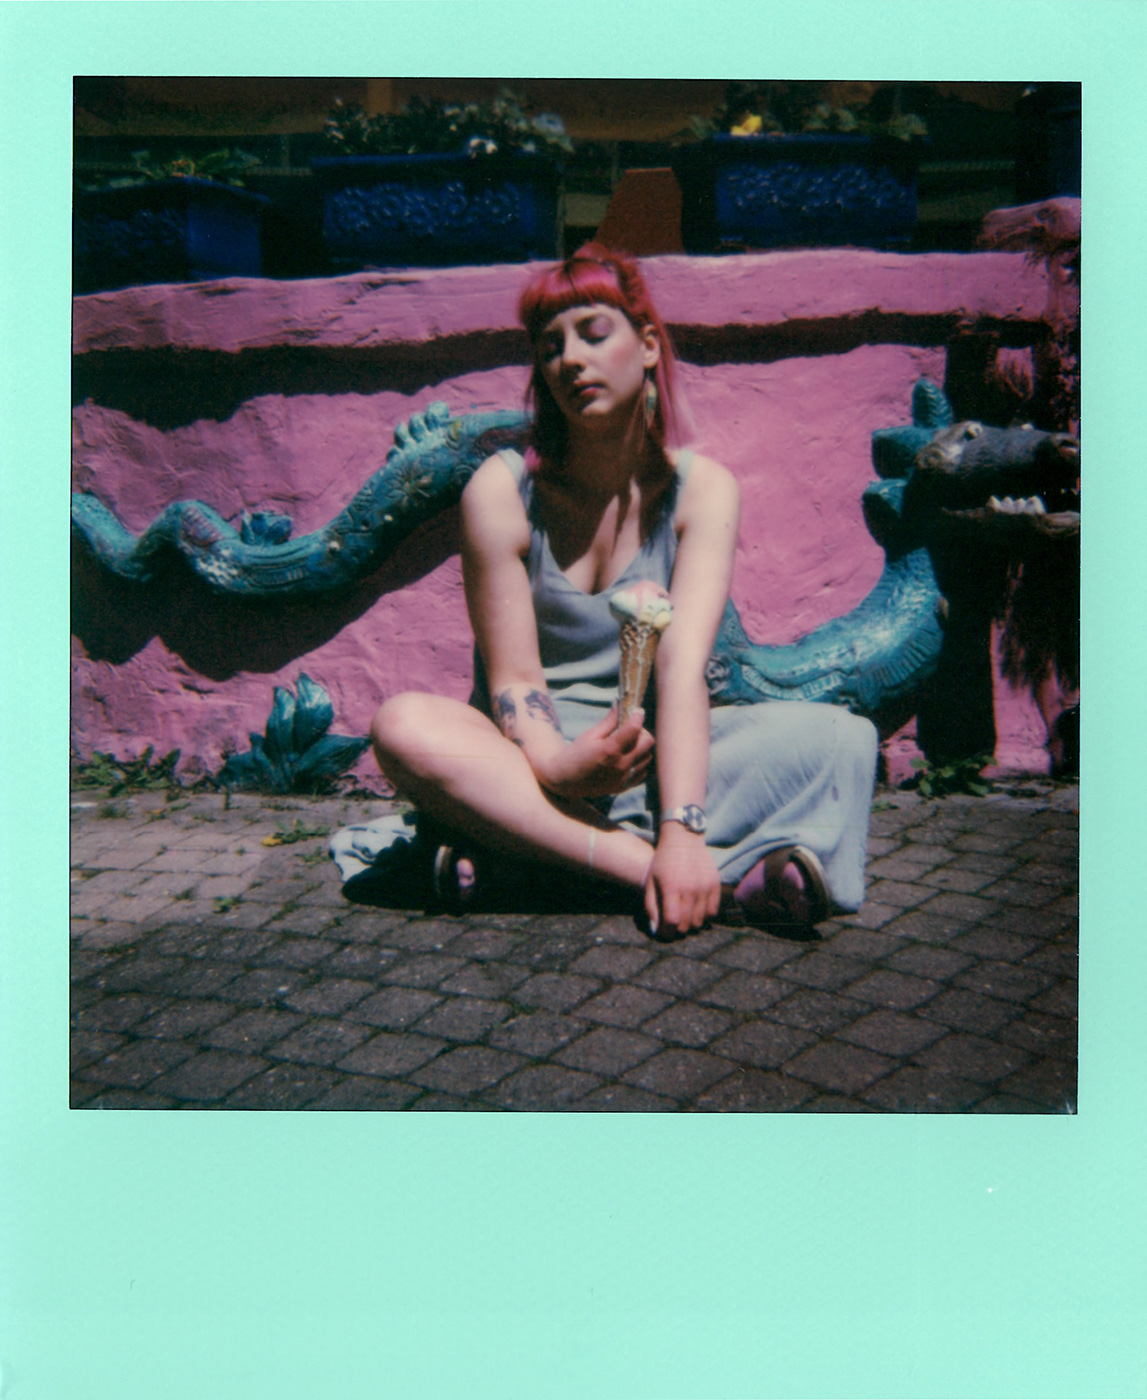
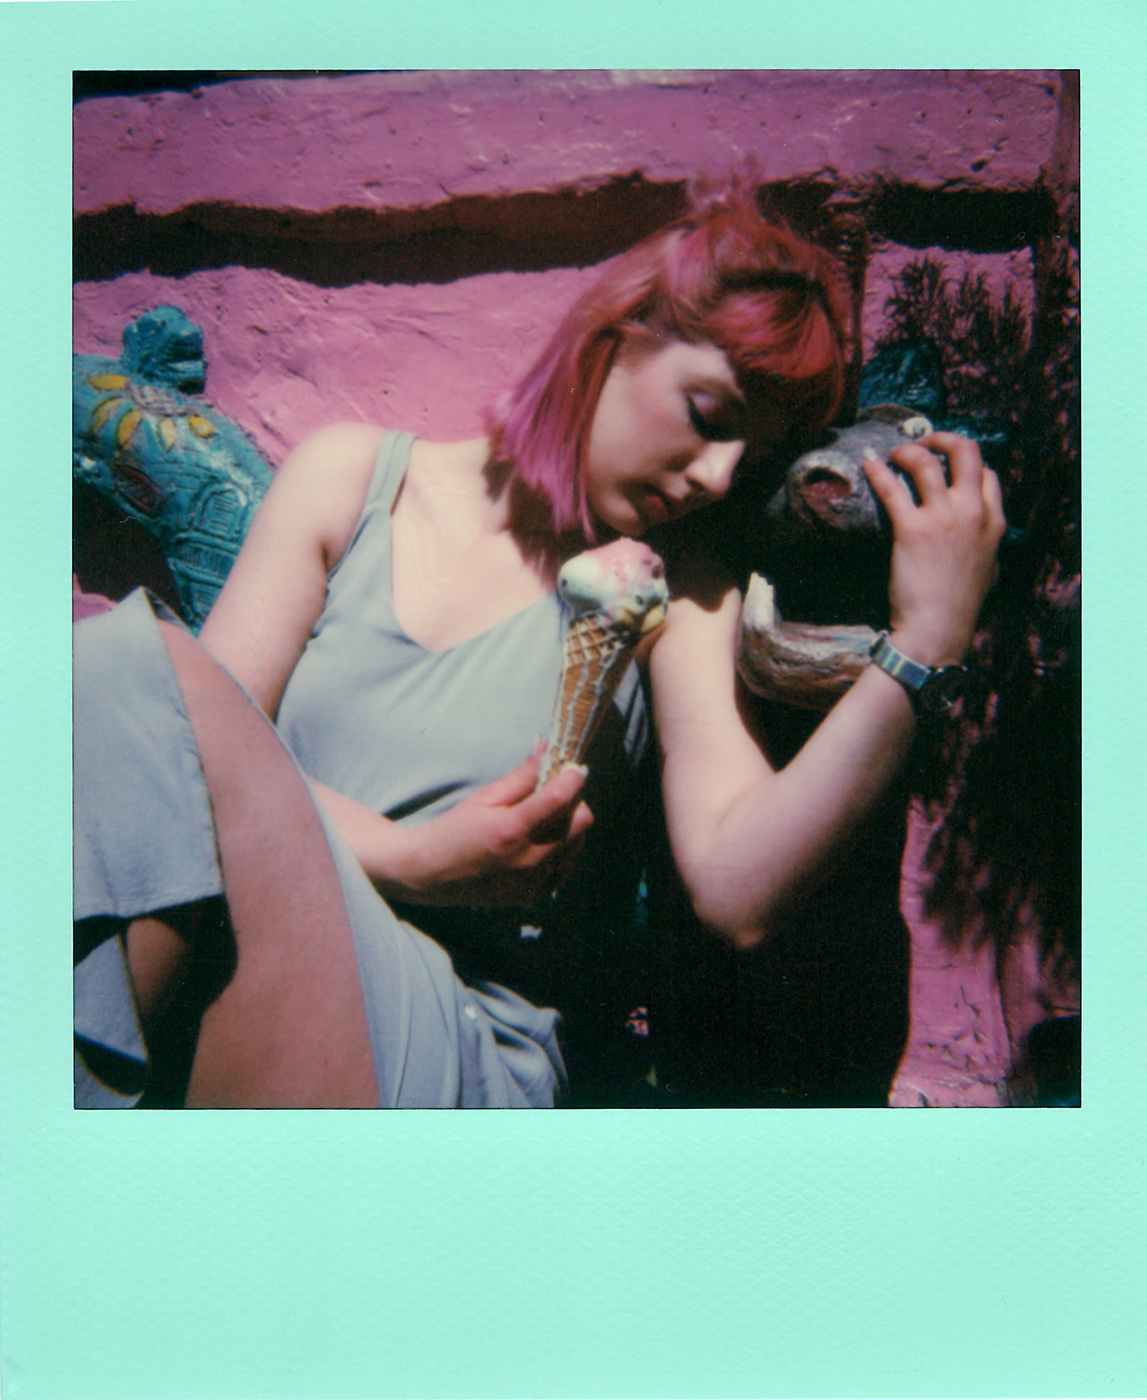
2. Direct light and solid background. When you have direct sunlight shining on the model and there is a solid background in frame (not an open landscape), you might find the results end up having more contrast in shadows and is generally darker in tones compared to what they are in reality. This is due to having only one light source that is shining on the subject. The camera meters the light from the brightest point of the scene (the model in this case) and ends up using a really high shutter speed which does not have enough time to gather the information from the darker parts of the surroundings. I like the results I got here, but if you are looking for something different then my next tip might help you out.
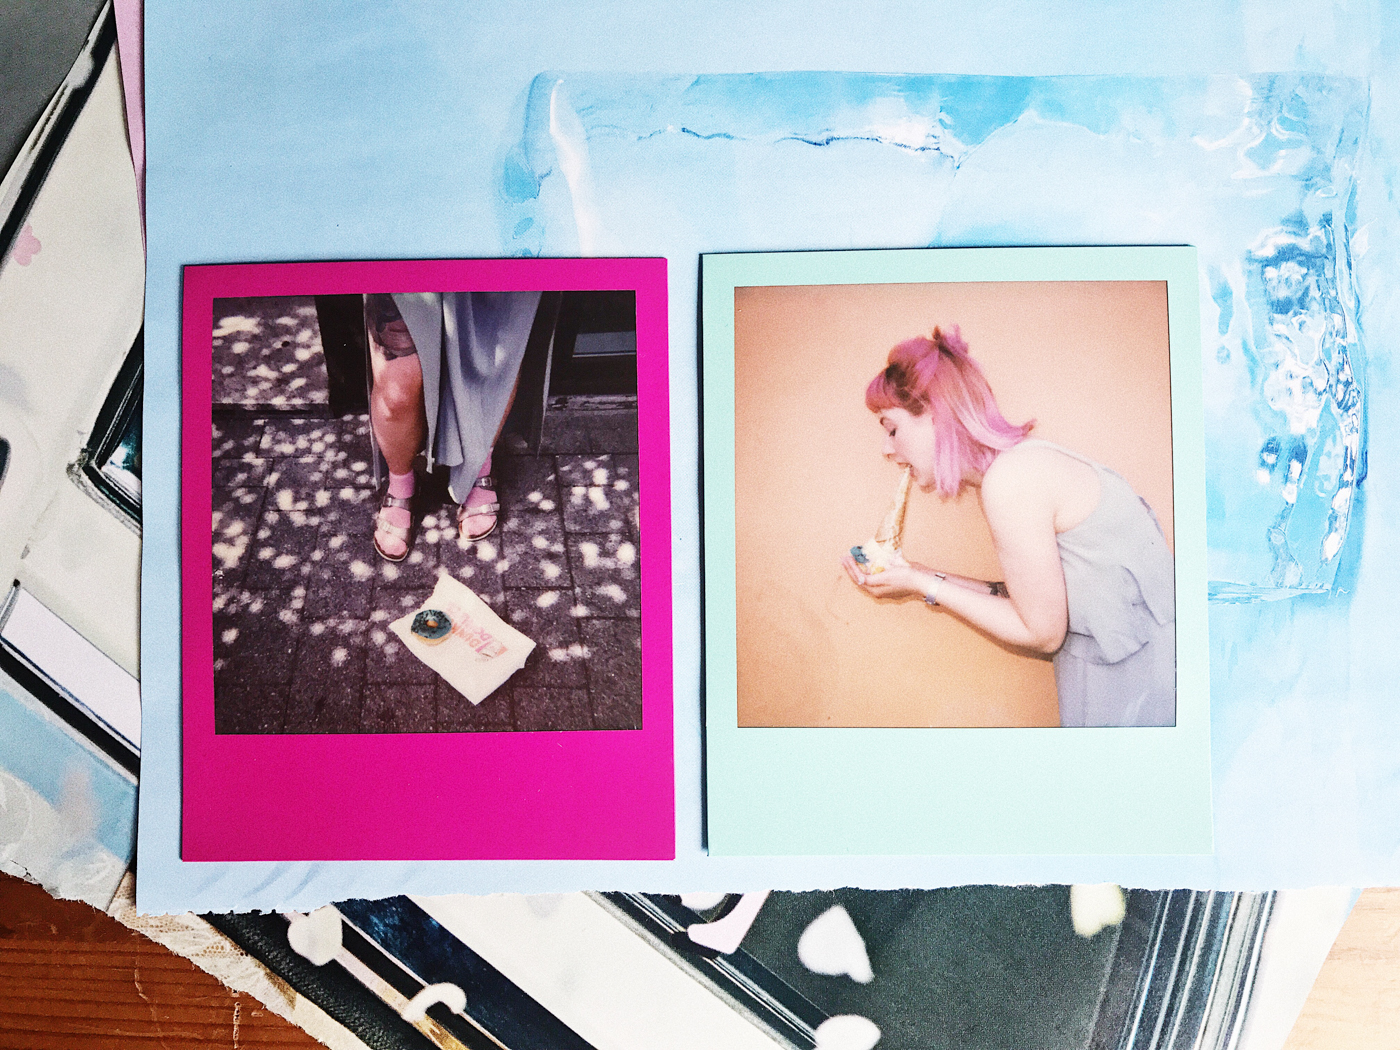
3. Shoot open landscape with direct sunlight to have brighter images and less contrast in shades. This way the sunlight is not limited to just one direction, and you get more reflected light around with highlighted background landscape. This means you have equally lightened areas all over the image, which makes the shutter speed less confused.
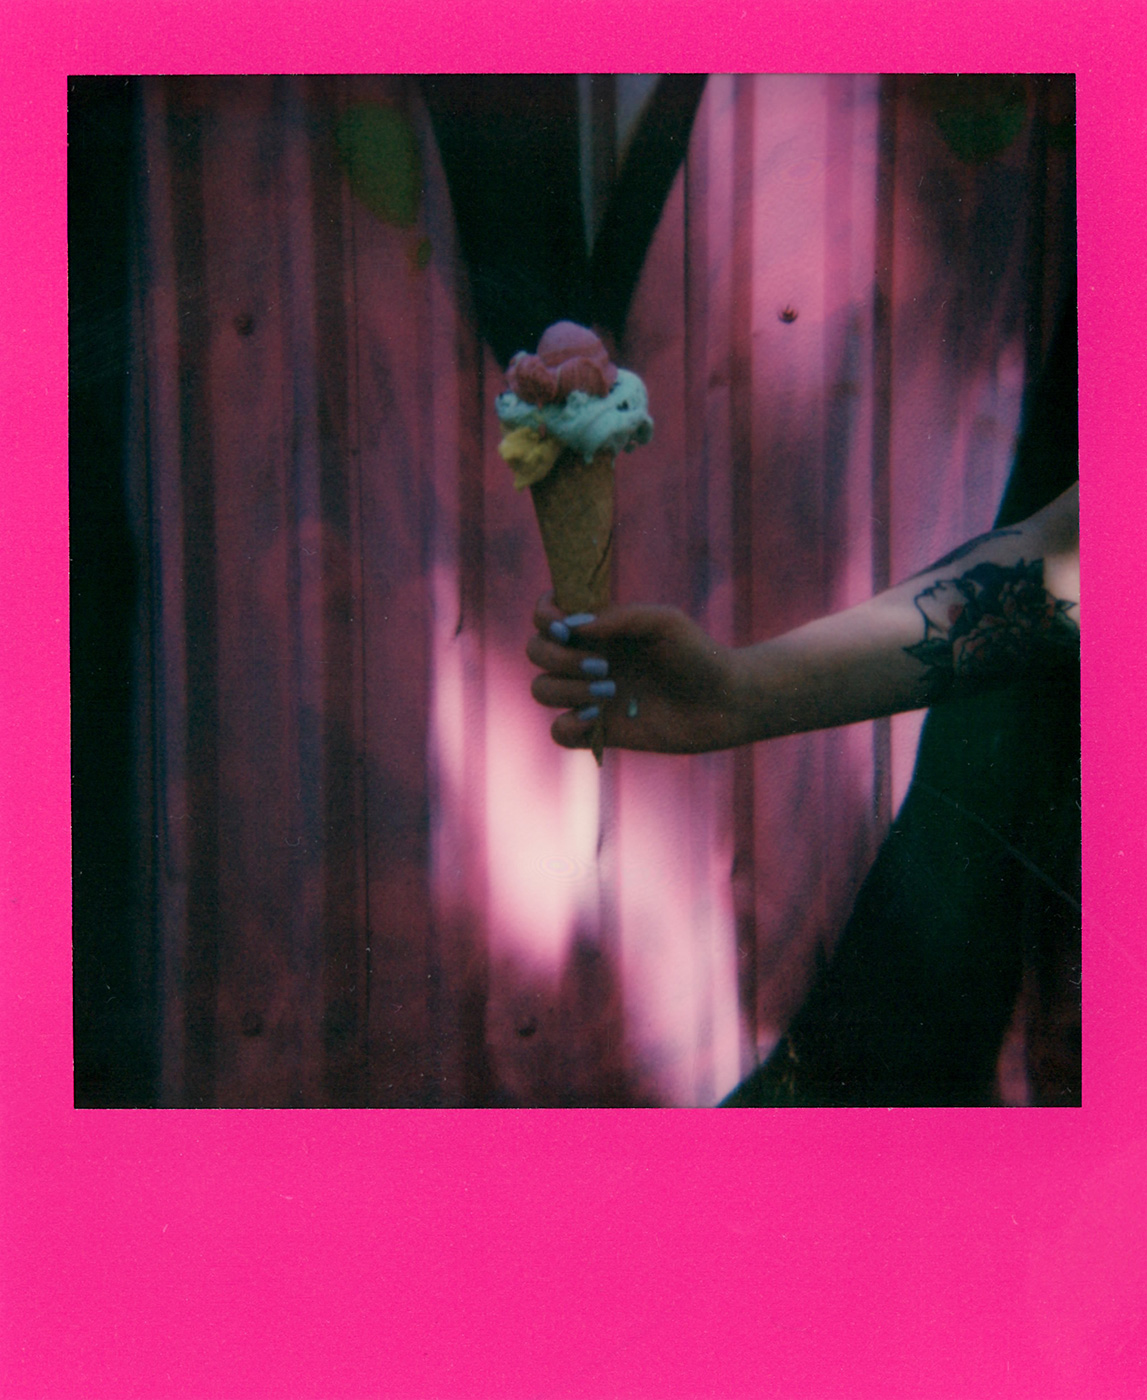
4. Light and shadows: Polaroid cameras always measure light from the brightest point. Be really careful when you are in shadow and still have some direct sunlight coming through the trees, off a roof and so on. This might turn out really cool if the shadow is not too dark and you still have enough surrounding light to make a good exposition. It will make the image look a few tones darker than it should, but you will not lose the details. You might be a bit disappointed if you end up with a really dark image and a few normally-exposed spots there if you didn’t plan that outcome. Make sure you control the situation.
What you have to consider when shooting Hot Pink and Mint Frames :
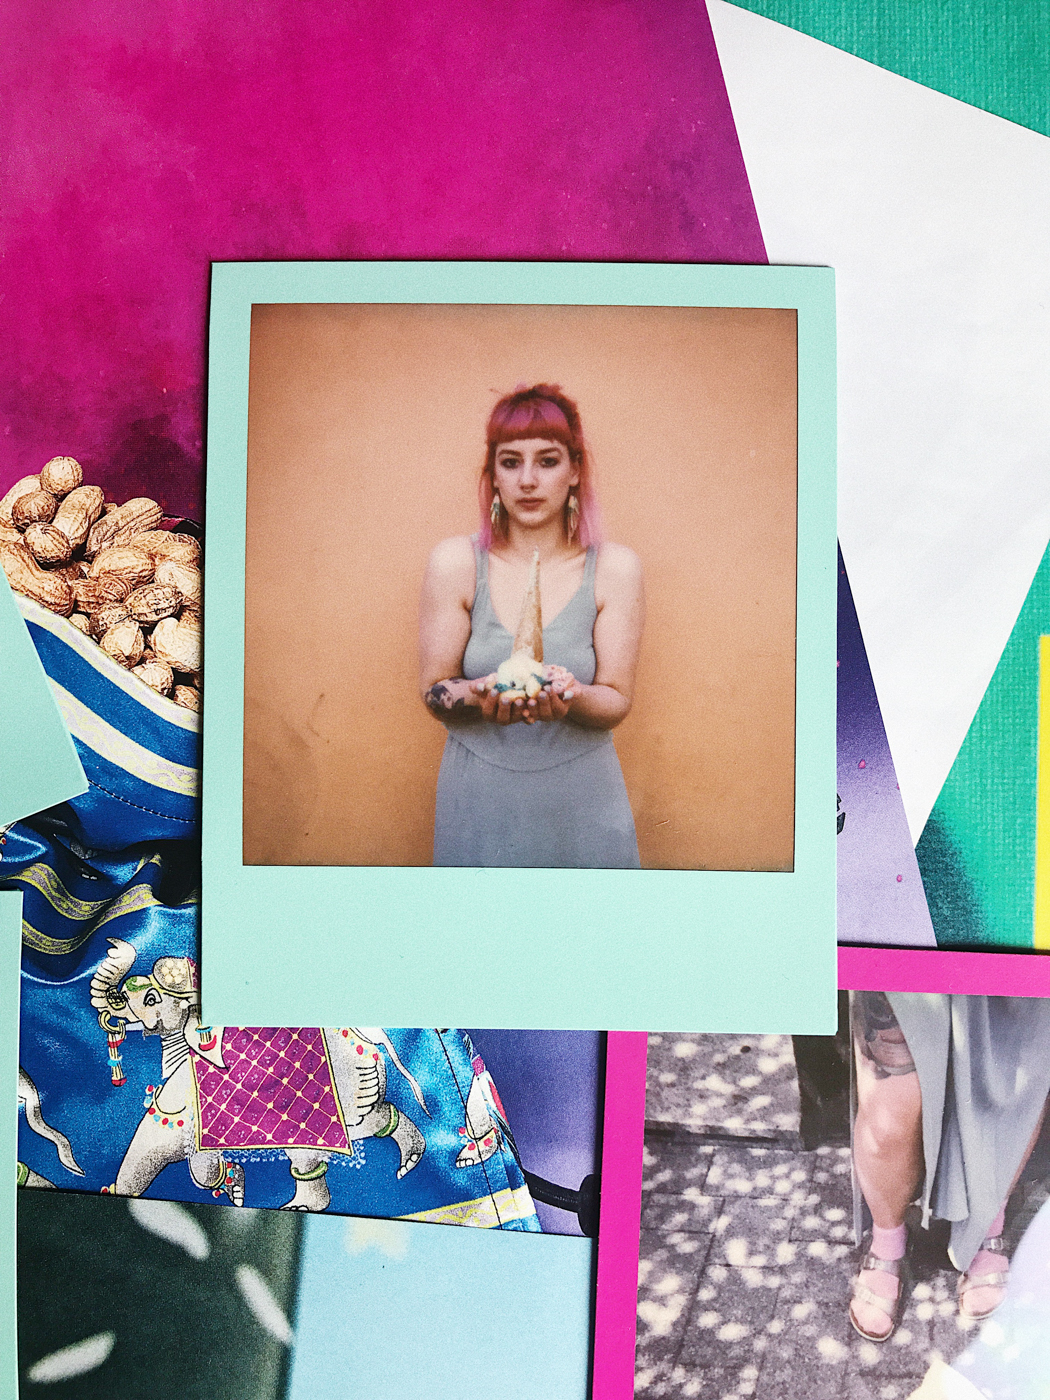
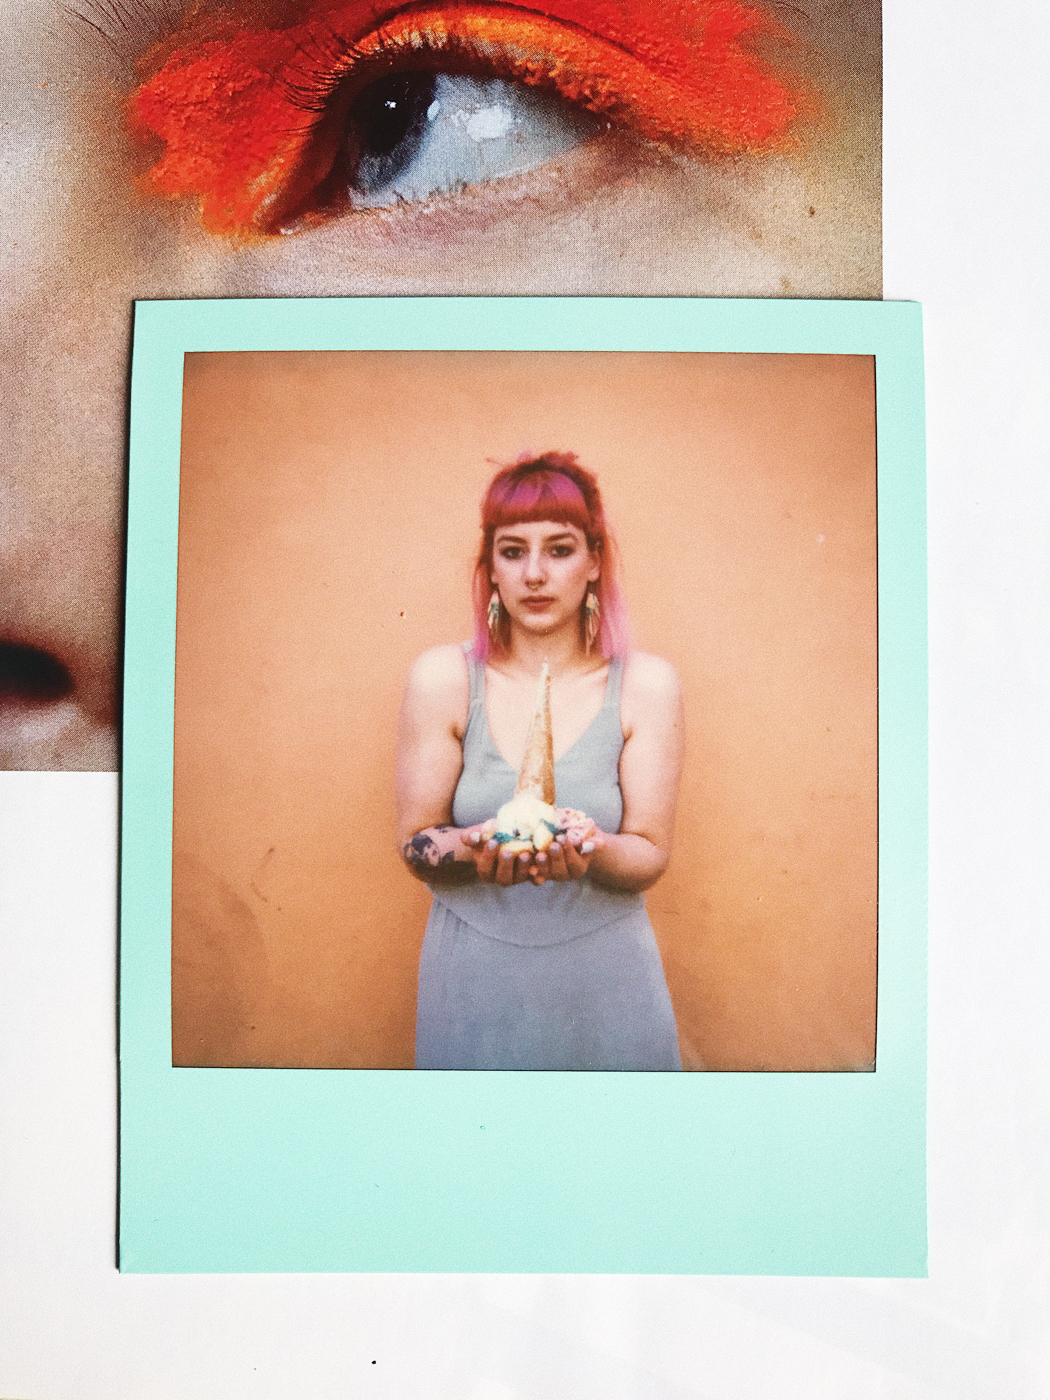
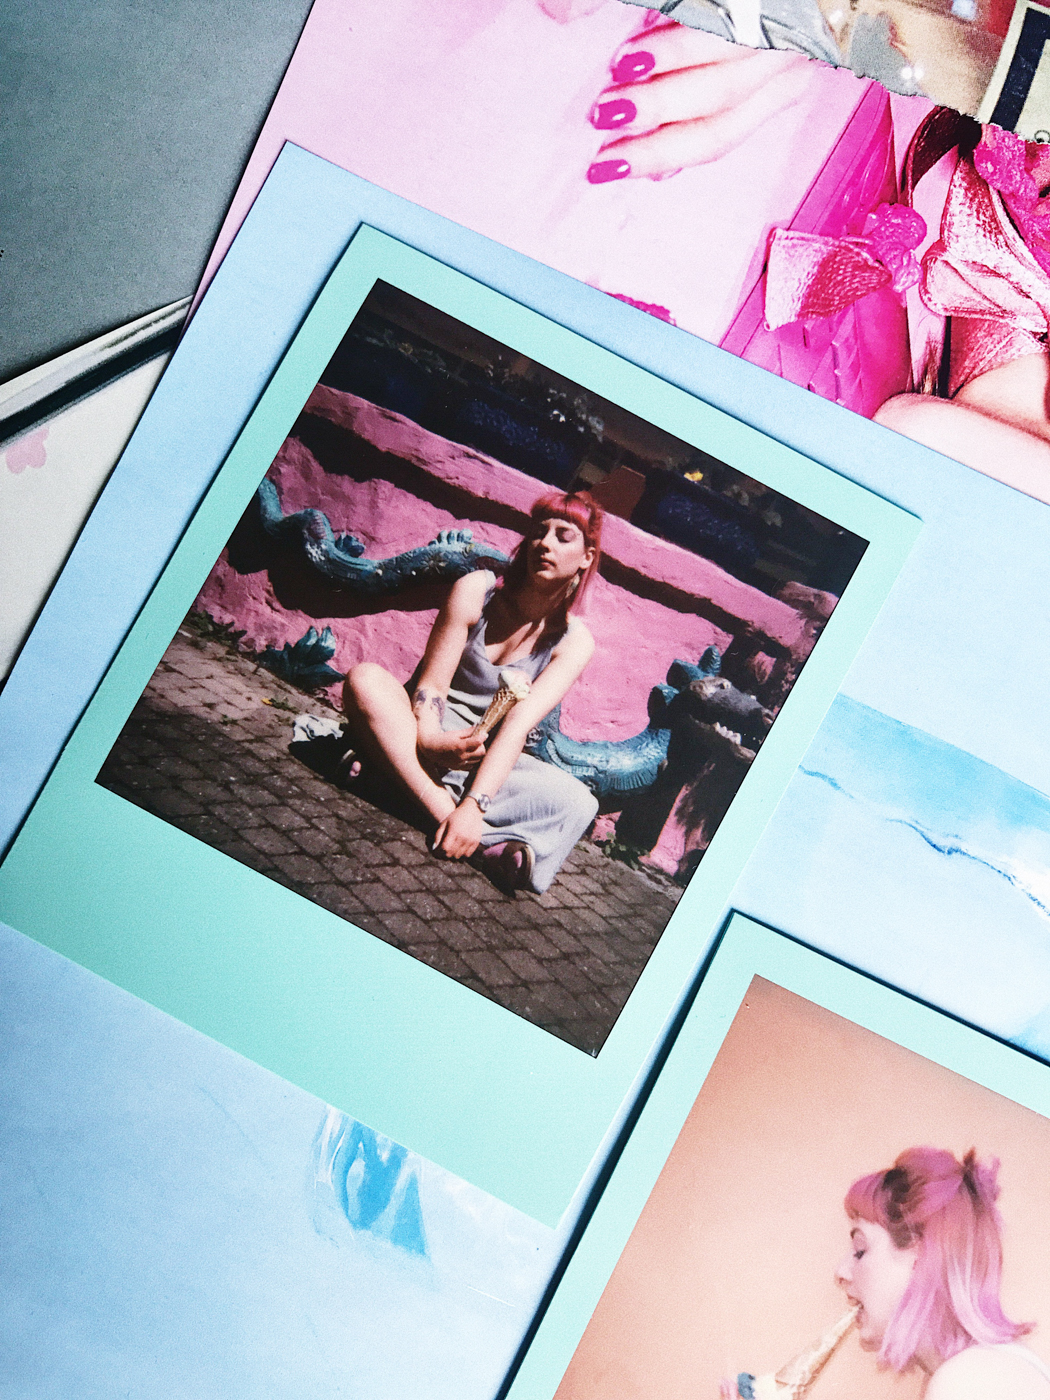
1. Colour is your No1 priority now. With such vibrant frames, you need to think twice about the content. Now you have to do some investigations on what colours would complement and contrast with pink and mint. I decided to play and mix them around with clothes, food, and hair(!), so we have all those things matching. I can definitely see more orange and yellow to contrast with mint, and blue and emerald green to contrast with pink.
2. The more light you have, the more colour you capture. These frames look best with the maximised saturation of the captured images. Direct light won’t always work best for you though. In my session you see a few images (with an orange background) that were shot in a large open space, and had a lot of focused and reflected natural light. They turned out to be more vibrant than the rest as the scene was very evenly well lit, and that axhieced the ideal exposure and the maximum colour saturation. I would also suggest open landscapes to get the desired results.
3. Make your subject fun and playful. Of course you don’t have to go arthouse-eccentric like I did, but doing something extra would totally fit in with this format. Get creative; play with colours, do crazy makeup, start an art project, or whatever else comes to mind! This is a great opportunity to grab those frames for a festival, an art-exhibition, or just a private party by the pool to give those events a special and vibrant touch!

Some tips on how to use the camera:
1. I had the Polaroid 600 Camera, ONESTEP and it was pretty easy to use to be honest. I found it worked best in the normal exposure mode, so switching here and there made no sense for me at all. I liked it better than the Polaroid 600 IMPULSE camera as the ONESTEP had a “portrait-macro” mode that allows you to bring the camera as close as 0.6-1.2 meters to the subject. I used it all the time and can’t imagine going out and out with full creativity without this function.
What I love about Impossible Project cameras is that they reissue them in really great condition and they come with a one-year warranty if something goes wrong. They also come with a frog tongue that protects the images from direct sunlight right after it’s shot. This is useful as the films are very sensitive to light in the first very few minutes and if you don’t protect it, bright light might ruin the shot.
Enough said; photography is an art, not science (or that is what I like to believe) and I think you should grab your own film to try and test for yourself, and see how it goes and feels. After you shoot your first film cassette, you will understand much better how it really works and what you can do with it. I am still very excited to test out the Black and Pink pack I am left with and share the upcoming article about my trip to Paris, a trip I shot in its entirety on polaroid film.


Get rid of the ads!
Did you enjoy reading this article as much as we enjoyed writing it? There's a way to support us and our reporting, getting ad-free navigation and more as a bonus. Subscribe to us for less than a coffee per month —just $3.99— or take advantage of our yearly subscription with a hefty discount for only $25.- An ad-free experience
- A free mystery box for Lightroom or Capture One
- All the books in our store
- 20% discount on Capture One
- 30% discount on Imalume Photo Theft Protection
- 20% off Herbs and Kettle Tea Company.
- 20% off your order from MPIX printing services.
- 5% off Viltrox Products via their eCommerce store.
- 10% off all film developing, printing and scanning services from Blue Moon Camera and Machine
- 15% off 7Artisans products: The lens and accessory maker is offering a sweet discount for Phoblographer's readers.