Last Updated on 10/25/2016 by Chris Gampat
Blog post by Vanessa Joy.
When you look at headshots, you’ll know that everyone is very aware of the various looks that so many photographers market. But creating your own and putting a stamp of genuine unique creative vision on it is also important to making people see your photos and know that you took them. That’s what Moshe Zusman and Vanessa Joy are trying to teach the next generation of photographers. To do this, Vanessa shared a number of her tips to every headshot photographer to be aware of.
Tip #1: Learn to read people’s faces.
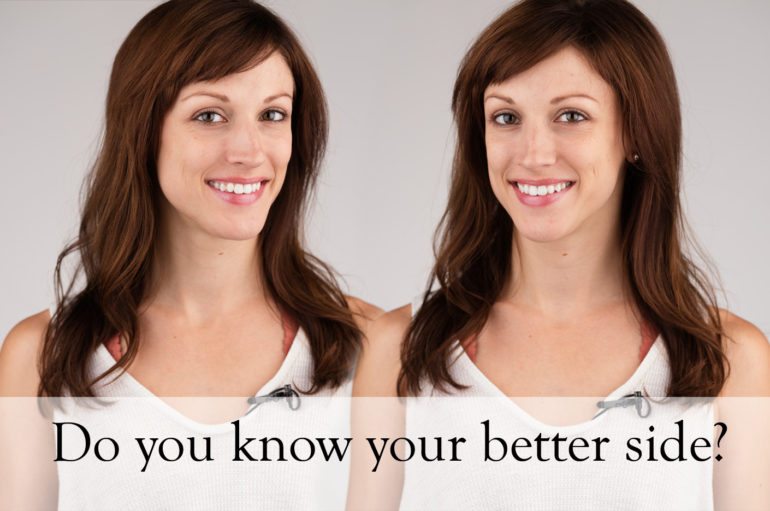
Everyone has a better side and for 7 out of 10 people, their better side is their left side. Regardless, whenever a client walks into your studio, you want to be able to read their face quickly to determine their better side. To do this, simply find what side of their face is more open. This means that the eye is vertically further away from the mouth on one side as oppose to the other. The nose is the easiest tell. On the better side, the nose will appear compressed into the face rather that be more pronounced. No one’s face is symmetrical and I warn you, once you learn to see this on people, it will haunt you even during normal conversations!
Tip #2: Know your gear.
It’s a no brainer that you have to know your gear as a photographer, but when talking about headshots even more specifically, you need to know your lighting gear like the back of your hand. Not to say that shooting natural light as opposed to studio light is more or less difficult than the other, but with studio light, every bit of light that is coming into your image is created by you and you have to know how to control it and mold it to your will.
Tip #3: Don’t forget the chin.
Obviously, posing is crucial to headshot photography, but if you learn nothing else about posing, learn to pose the chin first. When you have your client in front of the camera, ask them to push their chin out towards the camera, not up, not down, but towards the camera. Doing this will help elongate their neck, help them appear more relaxed with their shoulders down and avoid any double chins.
Tip #4: Know the two basic headshots lighting setups.
Make sure that you’re familiar first with butterfly and clamshell lighting setups. While there are a myriad of different lighting setups that you could use for headshots, these tend to be the most popular. The butterfly lighting setup is defined primarily by having lights on the left and right side, and the clamshell lighting setup is defined as having the lights on the top and on the bottom. Start there, and then work more intricate lighting setups into your repertoire.
Tip #5: Tether
One of the greatest advantages to shooting headshots, whether in the studio or on location, is that you’re static and you can tether straight to your computer. This helps you, as the photographer, be able to see the photo larger and on a more accurate screen than the back of your camera, which will help you make sure that your lighting and exposure is perfect. It’ll also help the client because the client will be able to view the images periodically and perhaps even pick their favorite right there on the spot. Personally, I love using Tether Tools’ products, specifically the Jerk Stoppers, making sure that my cables don’t go out of place and their coffee cup attachment to the tether table. To see a list of gear we use click here.
Tip #6: Set the mood.
Whether you’re shooting on location or in your studio, very few people are immediately comfortable in a photography setup. And because photographers are very much psychologists just as much as they are photographers, it’s your job to make them relax. The three easiest ways to do this is to simply talk to them about anything, anything at all, offer them something to eat or drink when they come in, and to have music playing in the background. So much of what makes photographers successful is about the experience they give their clients just as much as the final product.
Tip #7: Be a businessman.
As much as I would like to say you only have to be a good photographer in order to be a successful one, that’s just not the case. This is why we spend the entire 2nd day during our headshot bootcamp workshops on building an online presence, a website, and working on advertising and marketing. You have to make sure that your business is set up so that it is being seen by potential clients and ready to accept bookings as quickly and as easily as possible. Whatever your workflow is, make sure that you have one, including a plan for finding new clients.
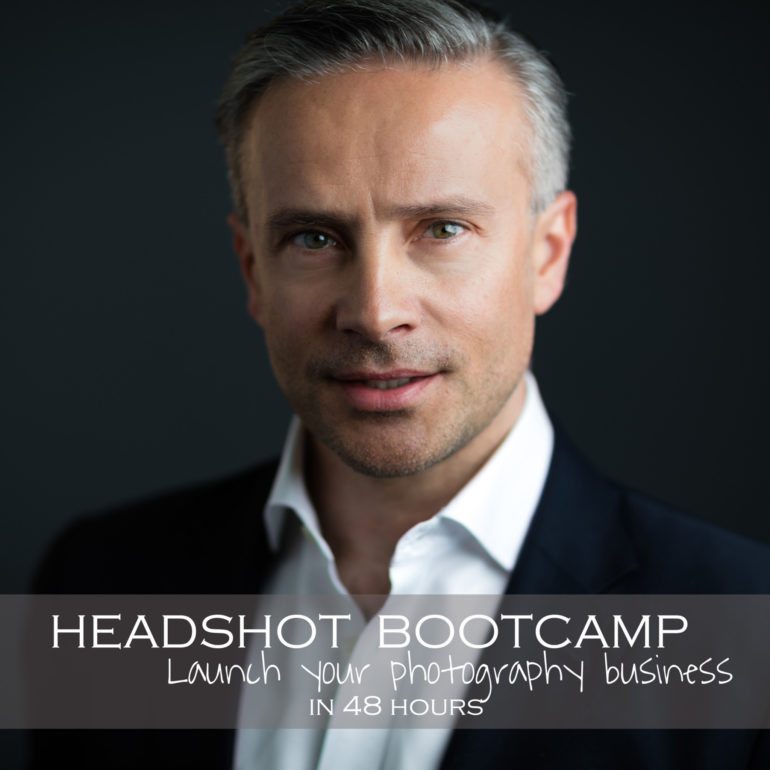
Be sure to checkout our touring Headshot Bootcamp where you’ll create a full headshot photography business from start to finish in just 48 hours. Use code ILOVEPHOBLOG for $250 any location.


