
Last Updated on 07/30/2016 by Chris Gampat
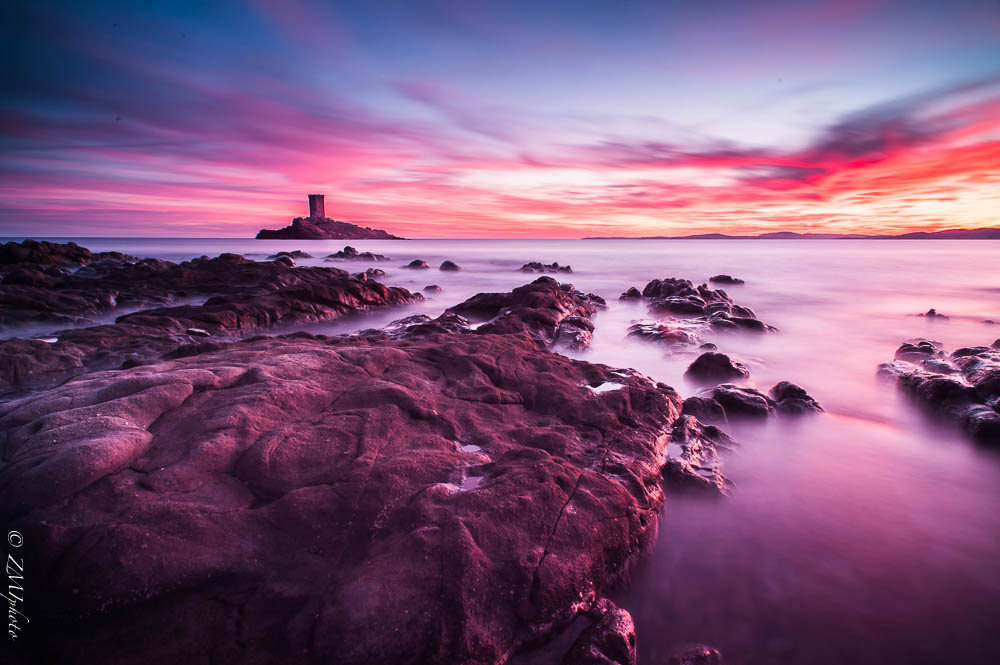
Seascape photography can help you create captivating imagery well worth hanging on your wall. One of the biggest tools that photographers use to create these images are Neutral Density (ND) filters. Essentially what they do (in layman’s terms) is cut down light in a scene. For many photographers, they’re very useful–and sometimes they’re a big staple in their camera bag.
Using ND filters isn’t really that difficult to do.
Vari-ND, Graduated or Standard?
- Graduated ND filters start out very dark in one part of the filter and become steadily lighter in shade as they go to the other end. These are very useful when it comes to trying to get an entire scene in the same exposure and problematic situations like super bright skies and super dark land (or sea.)
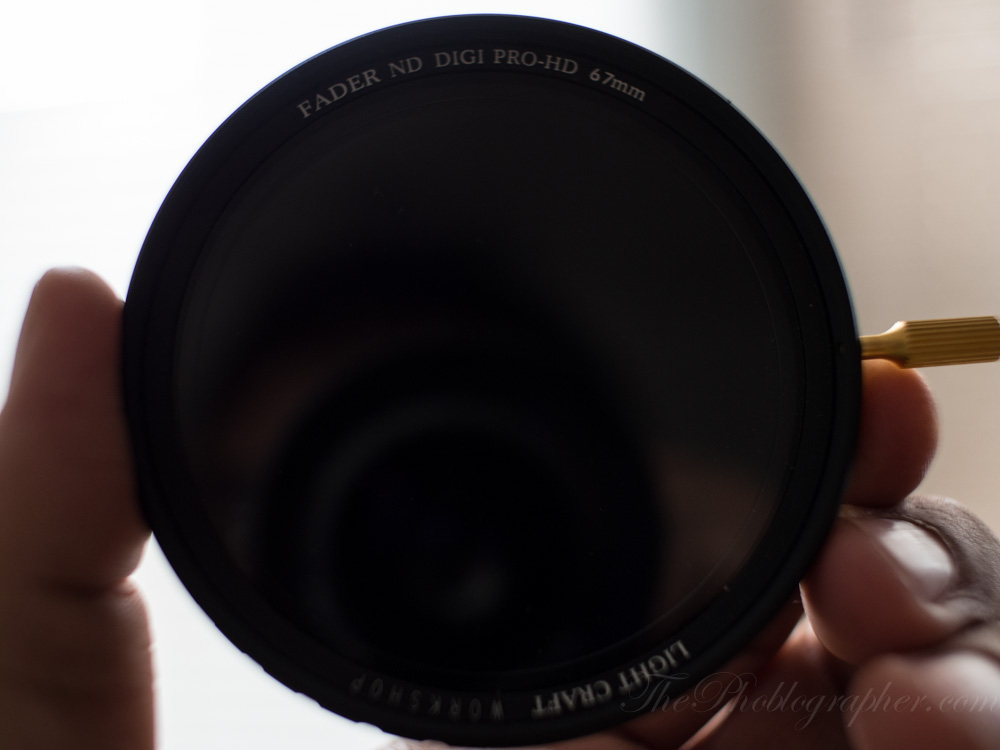
- Variable ND filter: Variable ND filters have an adjustable light cutting ability. they can control or cut out various stops of light and in the more recent years have become more popular due to their quality becoming better and better.
- Standard ND filters: Standard ND filters cut out only one amount of light all across the board and that’s it. They’re often more reliable than variable NDs in terms of color consistency but a whole lot is put into the mix with digital photography.
Most landscape photographers will buy a graduated ND filter and perhaps a variable ND filter. They’ll help you with lots of what you need.
You Need a Tripod
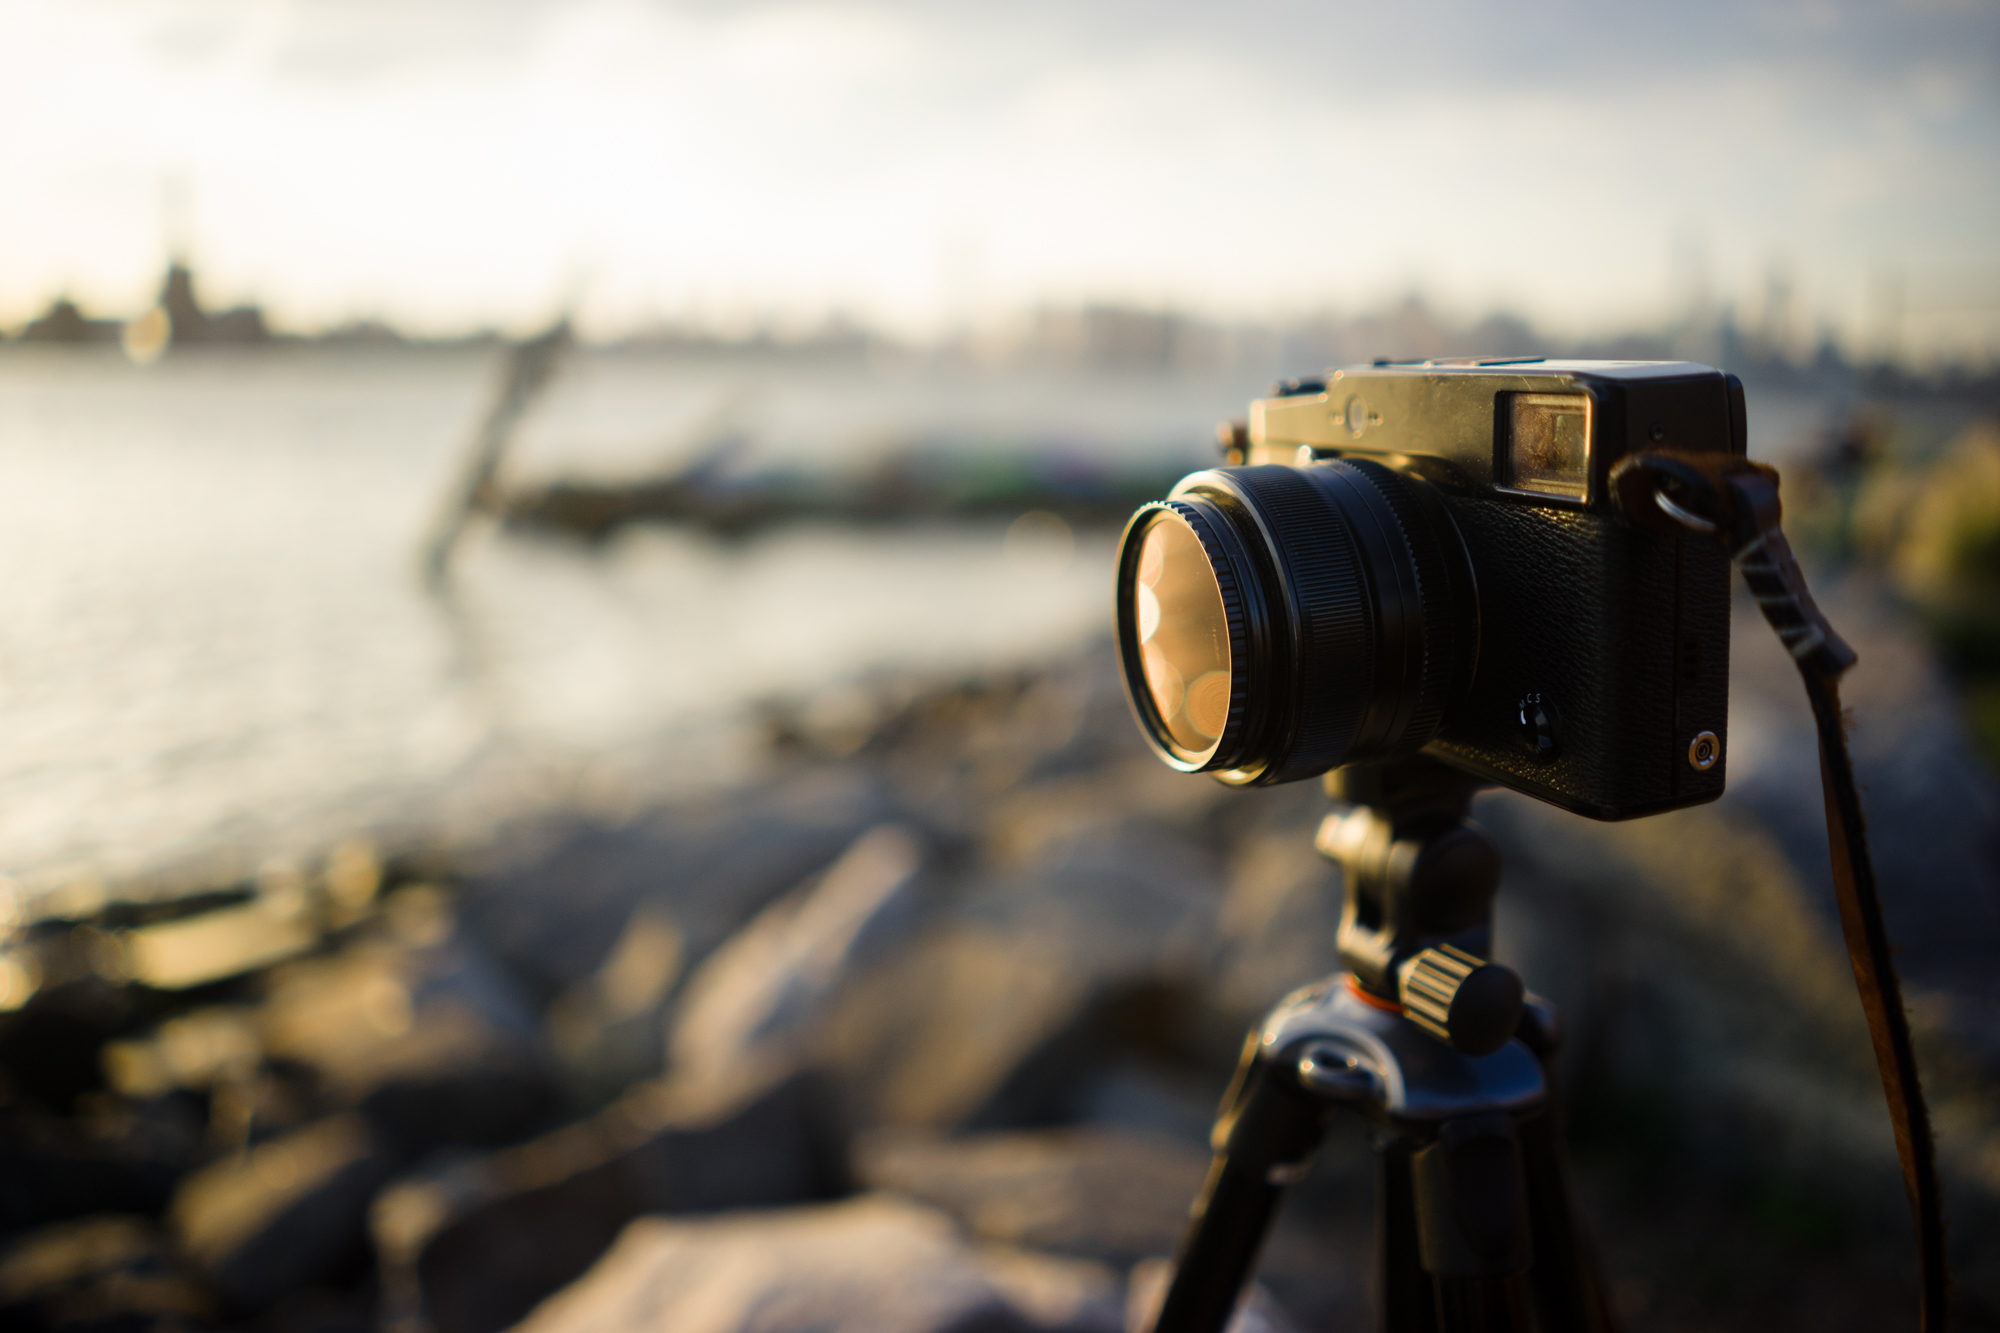
I believe that it’s very well understood and accepted amongst the landscape photography community that you’ll need a tripod for seascape photography. The reason why is because you’re often doing very slow exposures that don’t benefit from you shooting handheld. For many other applications, you probably don’t need one.
Your tripod ideally will be durable enough to hold your camera and have a head that allows minor adjustments to the camera and composition while still providing stability.
Wider Lens vs Telephoto Lens
Both wide lenses and telephoto lenses can be popular with landscape photographers, but most of the time wide angle lenses are superior. The reason for this has to do simply with how depth of field works. For example, at 24mm lens and a 105mm lens stopped down to f5.6 and when focused away to 10 feet will have varying amounts of the scene in focus. The wider lens will make it easier to focus on the entire scene–which is pretty much what you want to do.
So just to make things easier, reach for a wide angle lens.
When working with an ND filter and cutting out all that light, it also means that you can stop your lens down a bit less to get a scene properly in focus.
Lock in a White Balance Setting
If you don’t like the final white balance setting, you can just adjust one and then sync that setting to all the rest in your session in Lightroom. It’s often quite an interesting task as the sky can be very warm in appearance (if you’re shooting at sunset) and the water can be very blue or green depending on what you’re shooting.
Most ND filters can shift your white balance one way or another, though there are more and more on the market that are becoming very color neutral.
A Low ISO and Aperture Experimentation

Always Underexpose For the Highlights

Underexposing is as simple as stopping your lens down just a bit so that you still get that silky, slow shutter speed look in the scene.
Composition
Many cameras have a rule of thirds grid that can help and it can also really depend on the aspect ratio that you’re shooting in. For example, square seascape images are much tougher to get just right than you’d think. However, pinhole photographers have been doing them for years.
Get rid of the ads!
Did you enjoy reading this article as much as we enjoyed writing it? There's a way to support us and our reporting, getting ad-free navigation and more as a bonus. Subscribe to us for less than a coffee per month —just $3.99— or take advantage of our yearly subscription with a hefty discount for only $25.- An ad-free experience
- A free mystery box for Lightroom or Capture One
- All the books in our store
- 20% discount on Capture One
- 30% discount on Imalume Photo Theft Protection
- 20% off Herbs and Kettle Tea Company.