
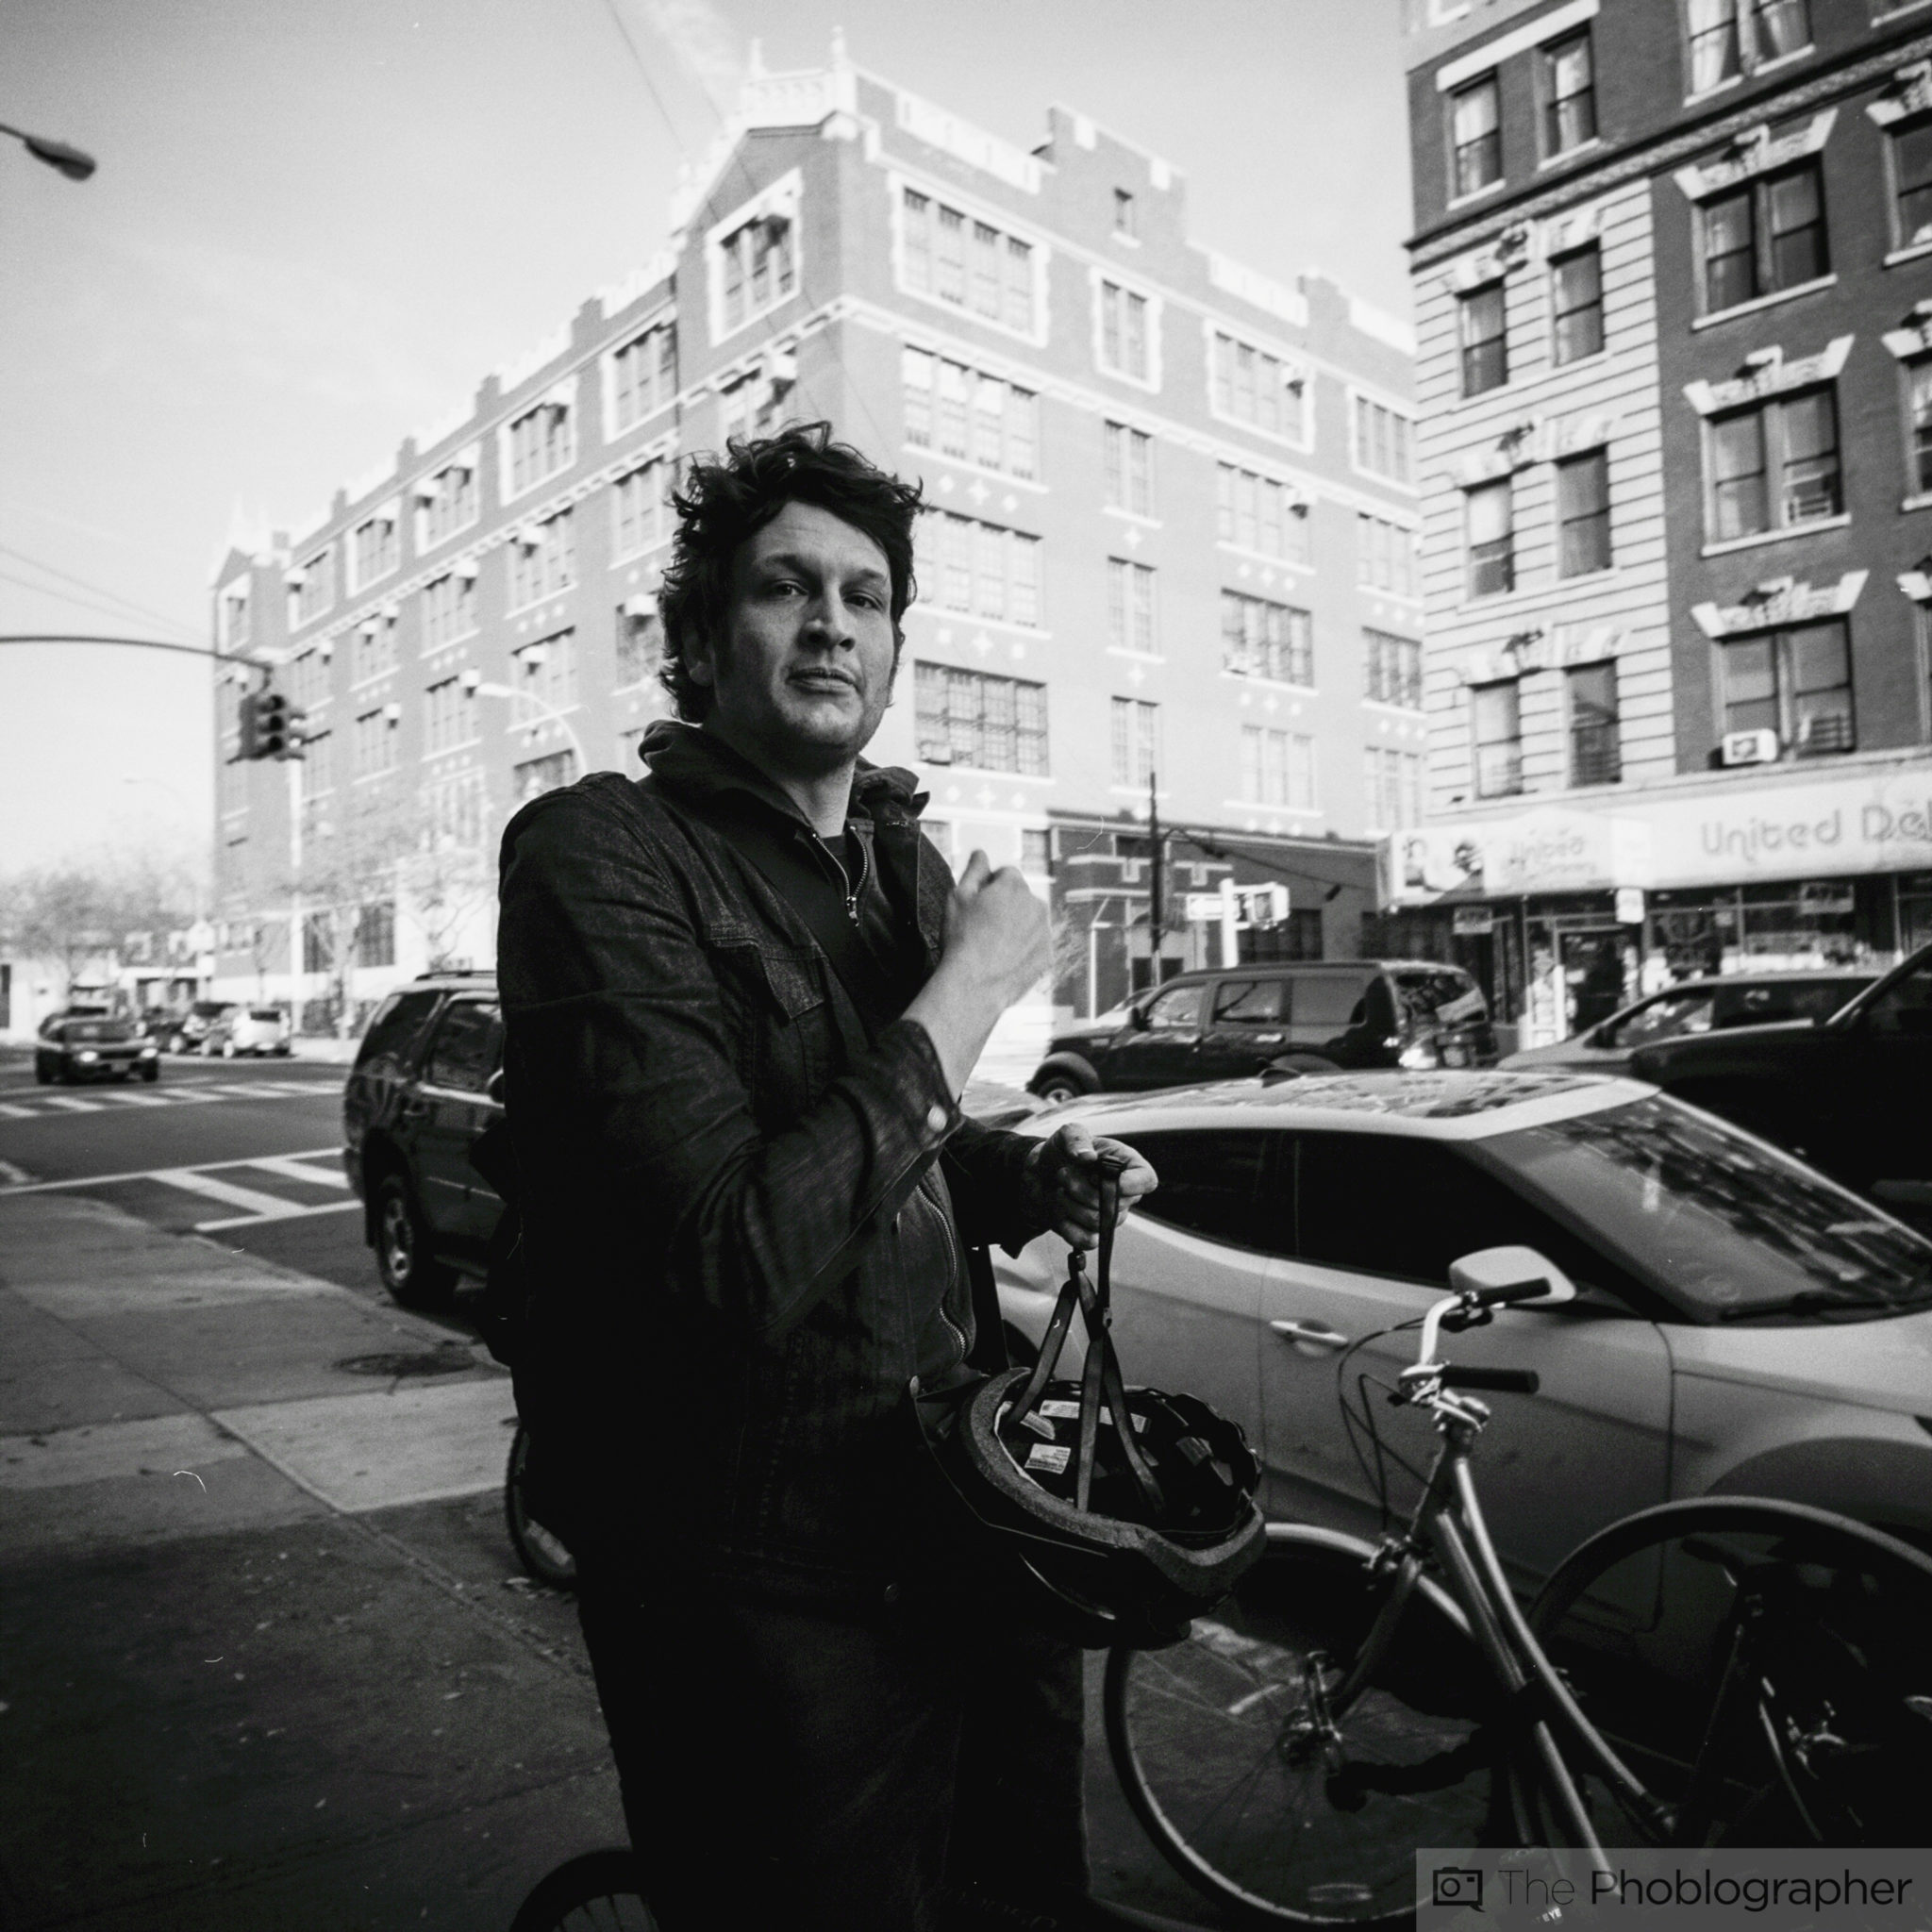
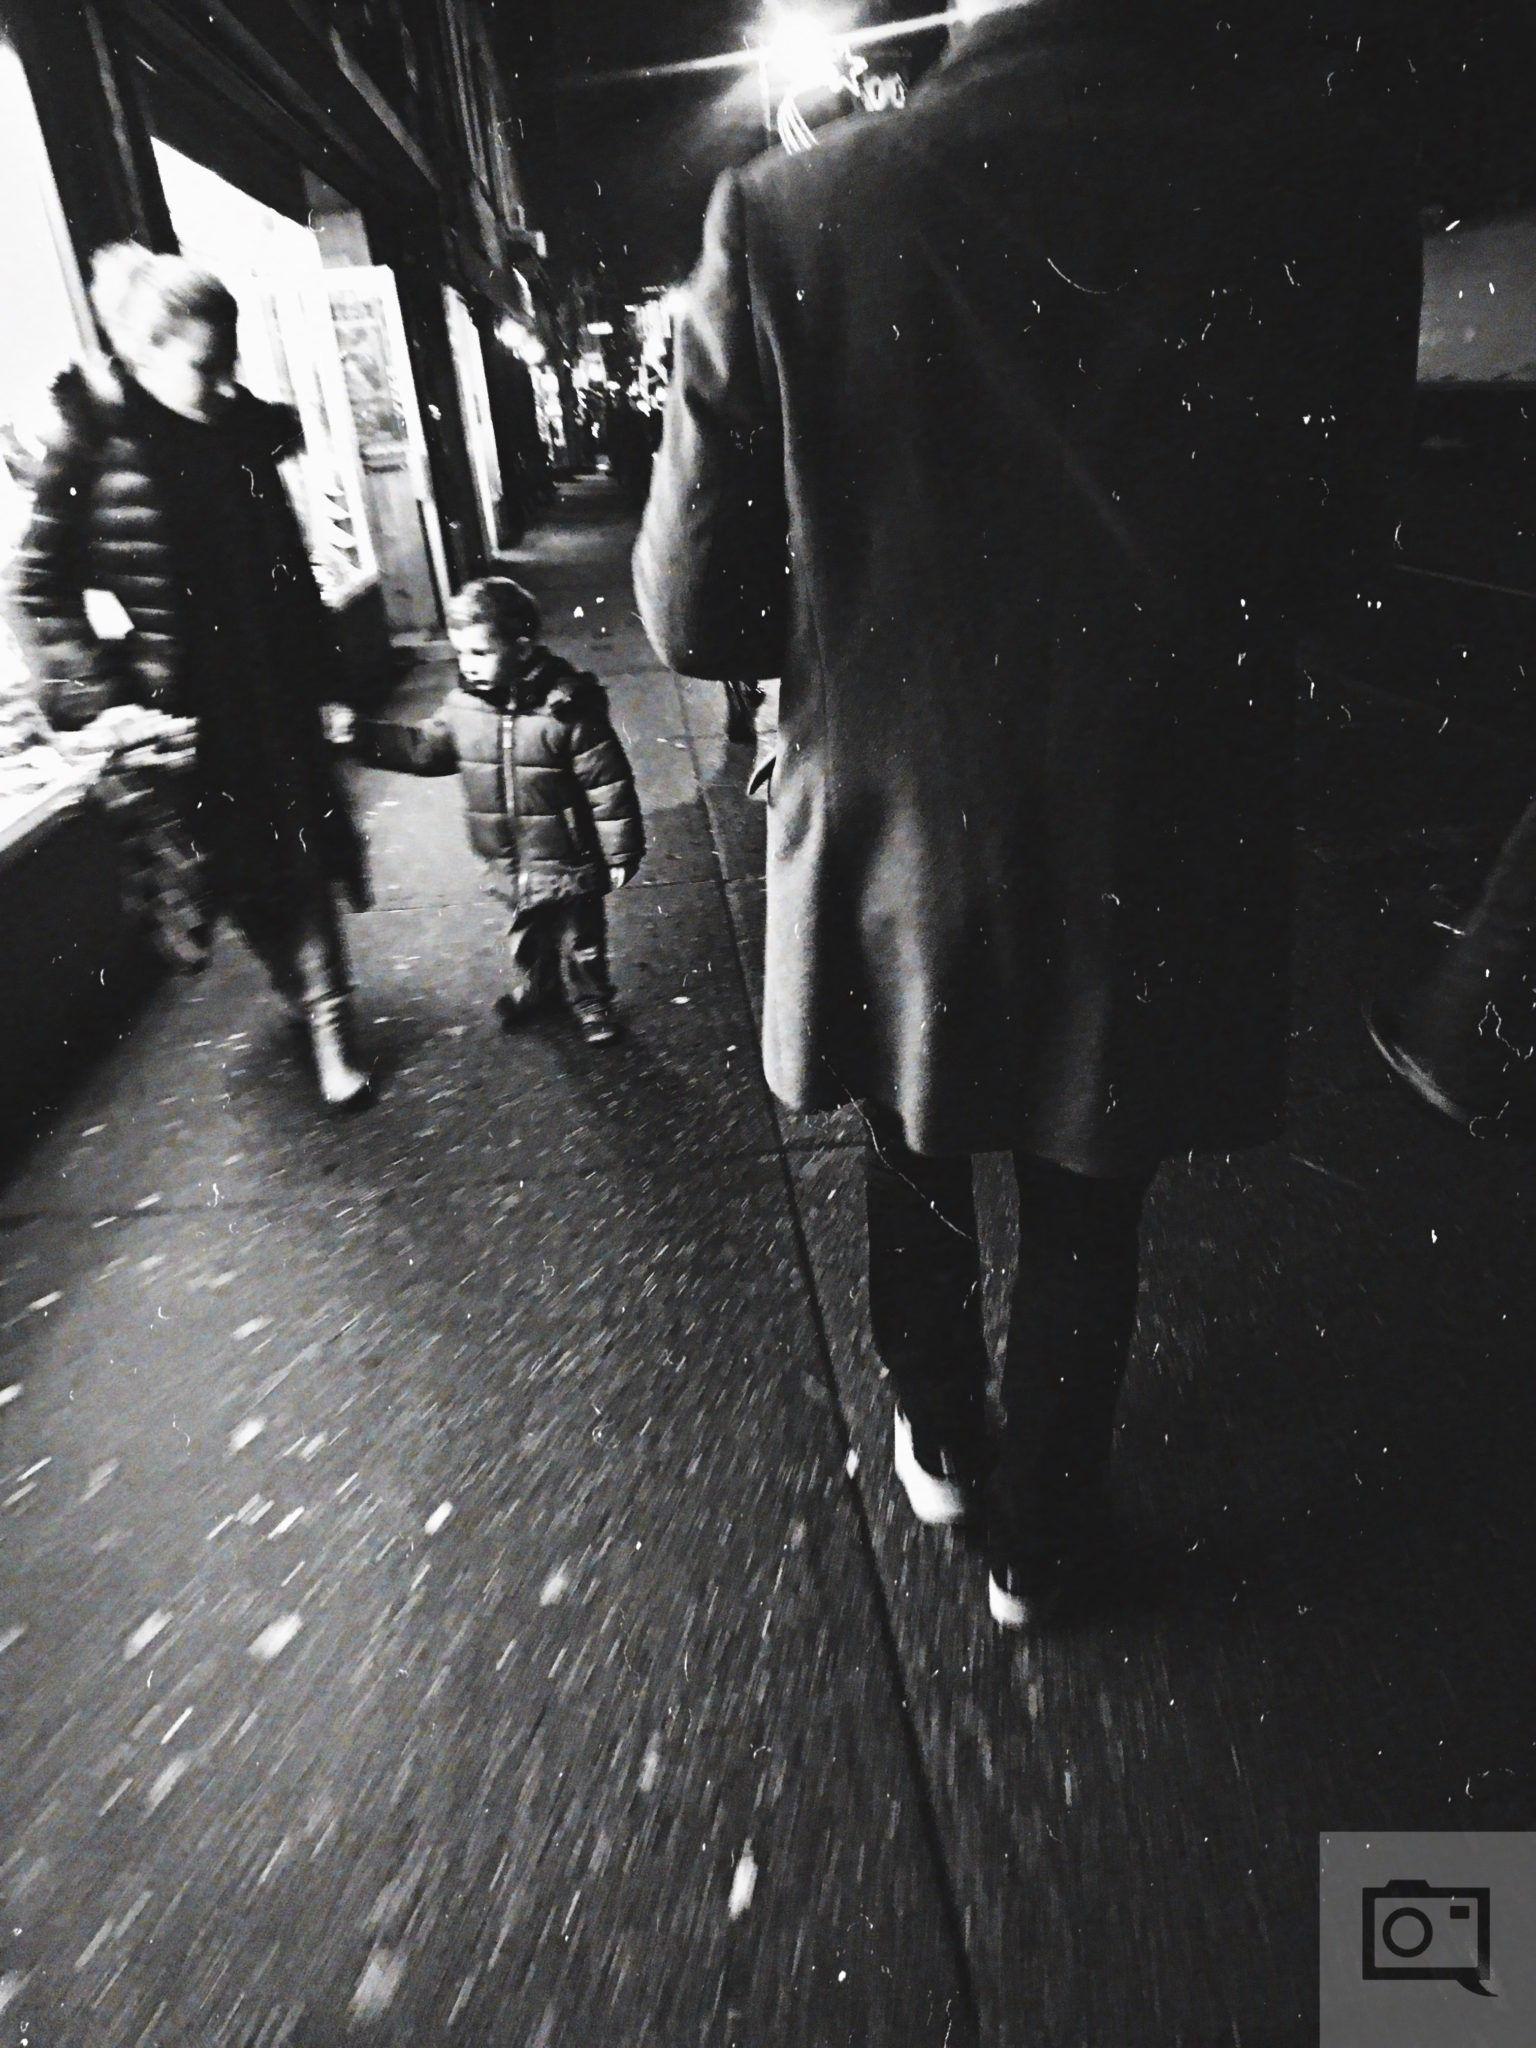
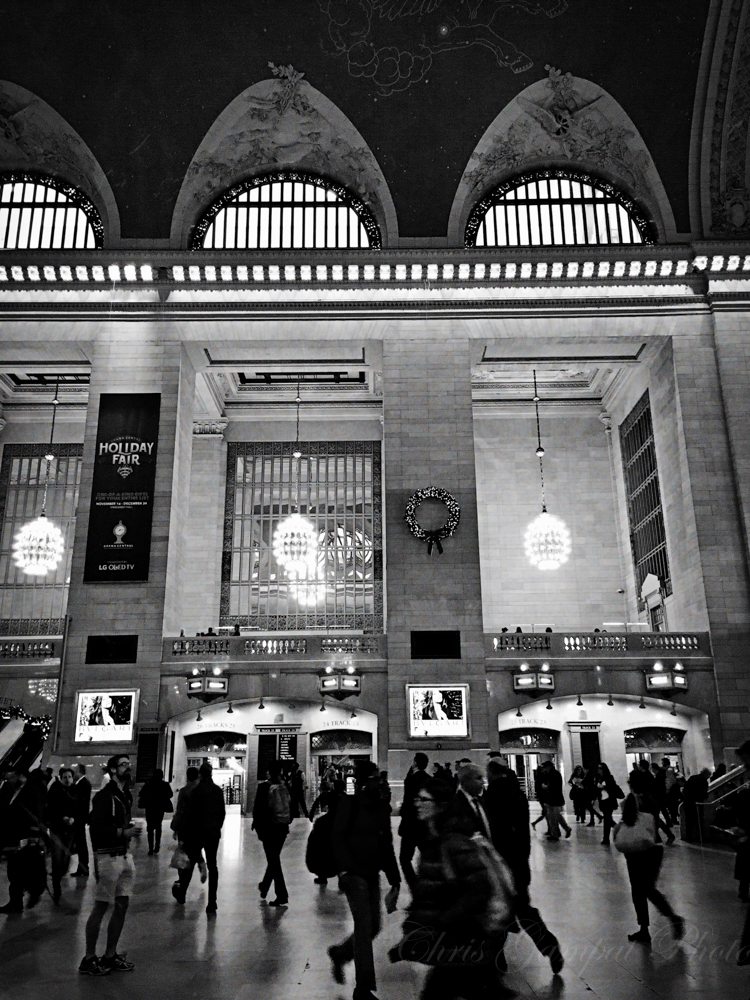
One of the most popular looks that many photographers showcase on the web is the high contrast black and white look.The growing popularity has to do with the fact that it obscures everything else in a scene to a certain point and forces people to focus on the most simple parts of the scene that they really want you to pay attention to. Black and white strips out of the color to make people really focus on the important details. Of course, it wasn’t always this way–but it’s seen a major resurgence in the digital photography world.
The look is beautiful and unlike the HDR fad, it’s much tougher to screw it up.
High Contrast Black and White: Roots
The really high contrast black and white look comes from film. Kodak Tri-X for example, is pretty high contrast but it’s possible to go even more high contrast. My personal favorite is Ilford Delta–which really makes the blacks oily and the whites milky. Additionally, it’s also very sharp and when combined with good lenses (or certain on-lens filters), can render even sharper photos.
High contrast black and white photos have been used by street photographers for years, then color came into being and then there has been a yearning for that nice, classic look that some of the great masters used.
So why did it make such a comeback? Perhaps it’s because depth of field effects aren’t really simple to get with a phone. The other option is to do it via the editing process.
Shooting
To be honest, the shooting process is very straight forward due to modern editing’s abilities. Any photo can be turned into a high contrast black and white but the best ones start with details in the highlights. What that means is that you need to typically underexpose a scene.
Why are you doing this? Modern cameras (even the JPEGs that phones shoot) have so much detail in the shadows that it really won’t matter.
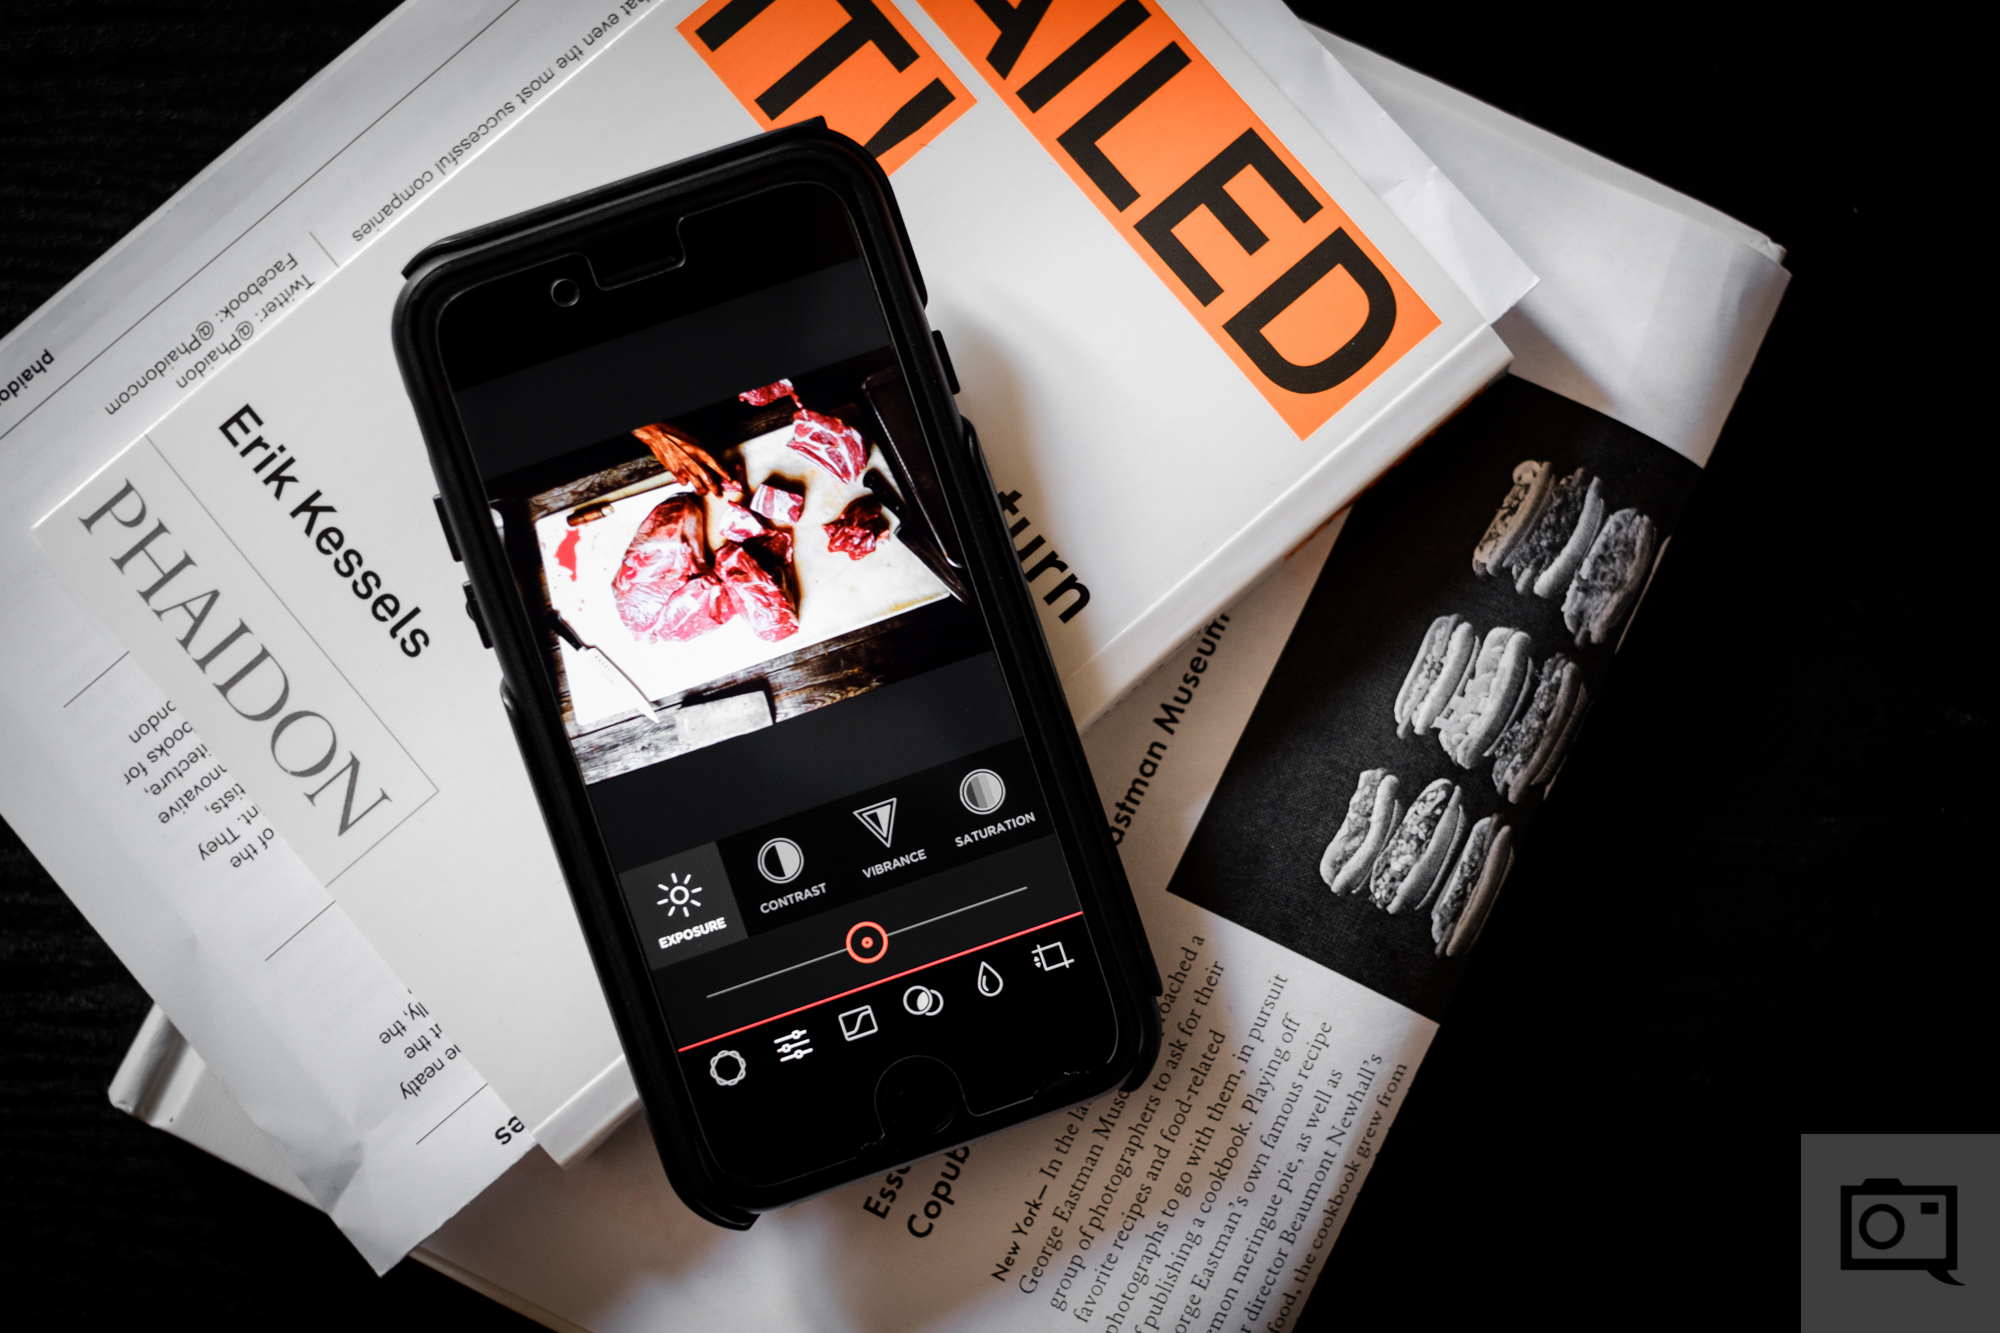
Editing
So what do you need to know about editing? First off, what you should know is that you’ll constantly be adjusting your exposure settings. Choose a black and white filter that is either already high contrast or pretty neutral. Then adjust the clarity, contrast, and if you can add grain then do it. Then adjust the exposure to your liking last.
If your editor allows you to adjust the blacks, whites, shadows or highlights then try to make them deeper. The major points here are your clarity and contrast–and they’ll vary based on the image you’ve shot and what you like in terms of contrast levels. Typically though you’ll be cranking the contrast up quite a bit.
That’s really all that there is to it!
Recommended Apps
Some of my favorite editing apps:
Adobe Lightroom: Lightroom is an incredible editor that lets you edit your RAW file images that your phone can shoot. Additionally, it has a load of editing options. One of the best features is the syncing it can do to your computer.
MuseCam: One of the most powerful editors on the phone, this app has one of the best interfaces on top of loads of presets.
Creatic: Like MuseCam, Creatic is also a very powerful editor and adds with it its own social network.
RNI Films: Like the look of film? Just add something like Tri-X or Ilford Delta to an image and edit away to your heart’s content.
Get rid of the ads!
Did you enjoy reading this article as much as we enjoyed writing it? There's a way to support us and our reporting, getting ad-free navigation and more as a bonus. Subscribe to us for less than a coffee per month —just $3.99— or take advantage of our yearly subscription with a hefty discount for only $25.- An ad-free experience
- A free mystery box for Lightroom or Capture One
- All the books in our store
- 20% discount on Capture One
- 30% discount on Imalume Photo Theft Protection
- 20% off Herbs and Kettle Tea Company.
- 20% off your order from MPIX printing services.
- 5% off Viltrox Products via their eCommerce store.
- 10% off all film developing, printing and scanning services from Blue Moon Camera and Machine
- 15% off 7Artisans products: The lens and accessory maker is offering a sweet discount for Phoblographer's readers.