
There are times and moments where even the best autofocus from the most advanced cameras won’t be able to deliver the image that you really want from them. In a situation like this, more advanced photographers often opt for a different method: zone focusing. Way before autofocus was even a concept, this is the method that was tried and true from many photographers out there. Lots of the world’s most iconic images were taken using this method and what you’ll find overall is that this old way of doing things can greatly help you out.
What is Zone Focusing
Zone focusing a lens is a lot easier than you think. Essentially what it involves is you going and actually focusing on subjects at a certain distance away with your lens. While that sounds simple enough there are other factors involved.
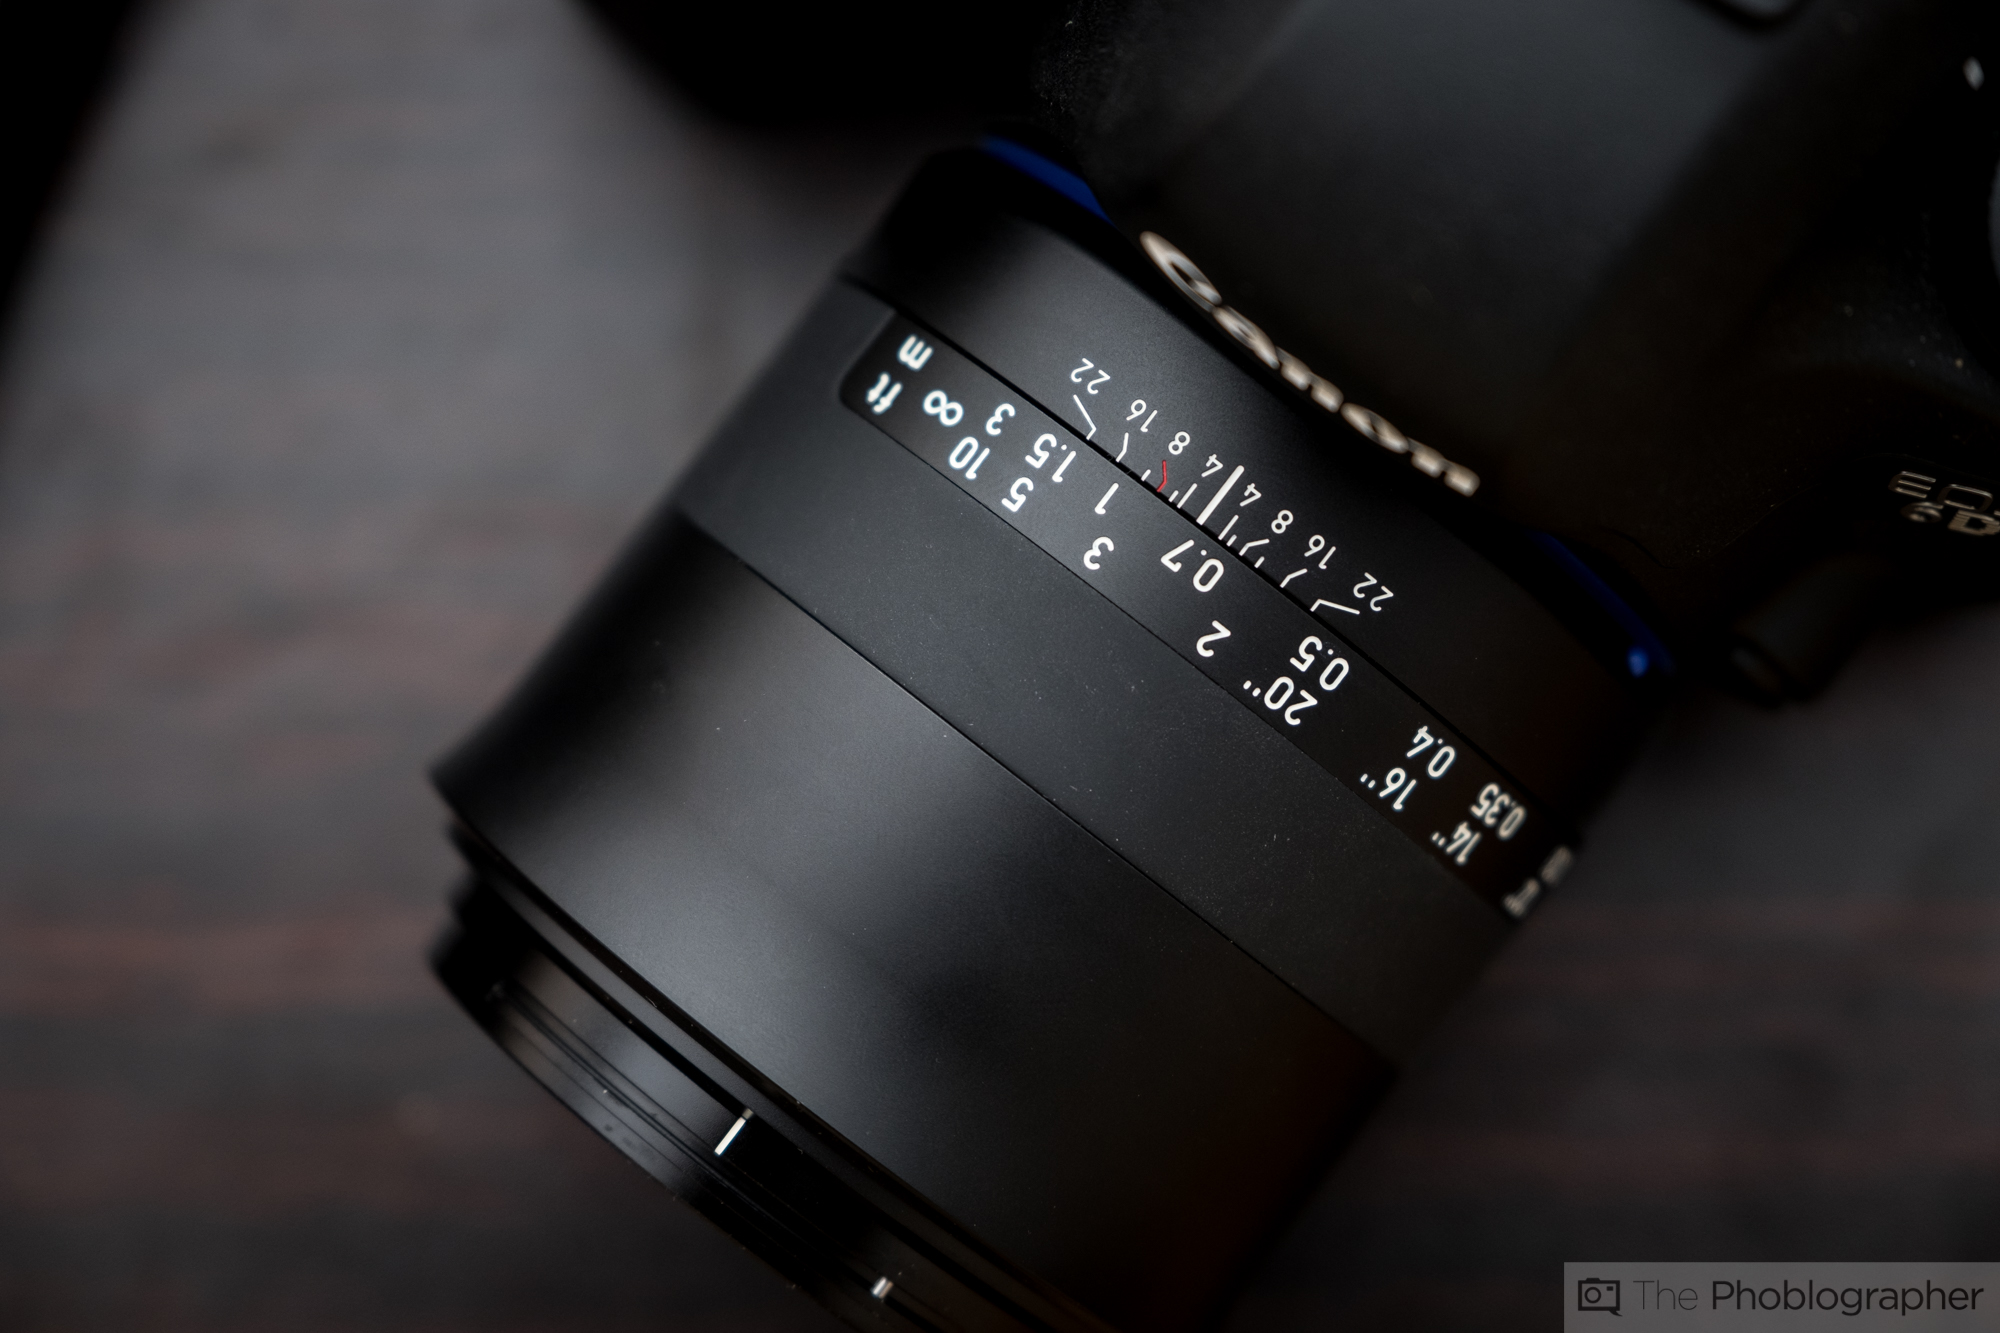
Basically what you do is focus your lens to a set distance, let’s say you’re focused to around 2.5 feet away like the image of the lens above shows us. At that distance and before f4, very little will be in focus.
Remember how as you stop your lens down, more and more of a scene comes into focus? Part of this is based off you the distance away that you are focused. According to the image of the lens above, as you stop down to f8, you’ll have anywhere between 2 feet and 3 three in focus.
So how do you apply that?
For Street Photography and Candids
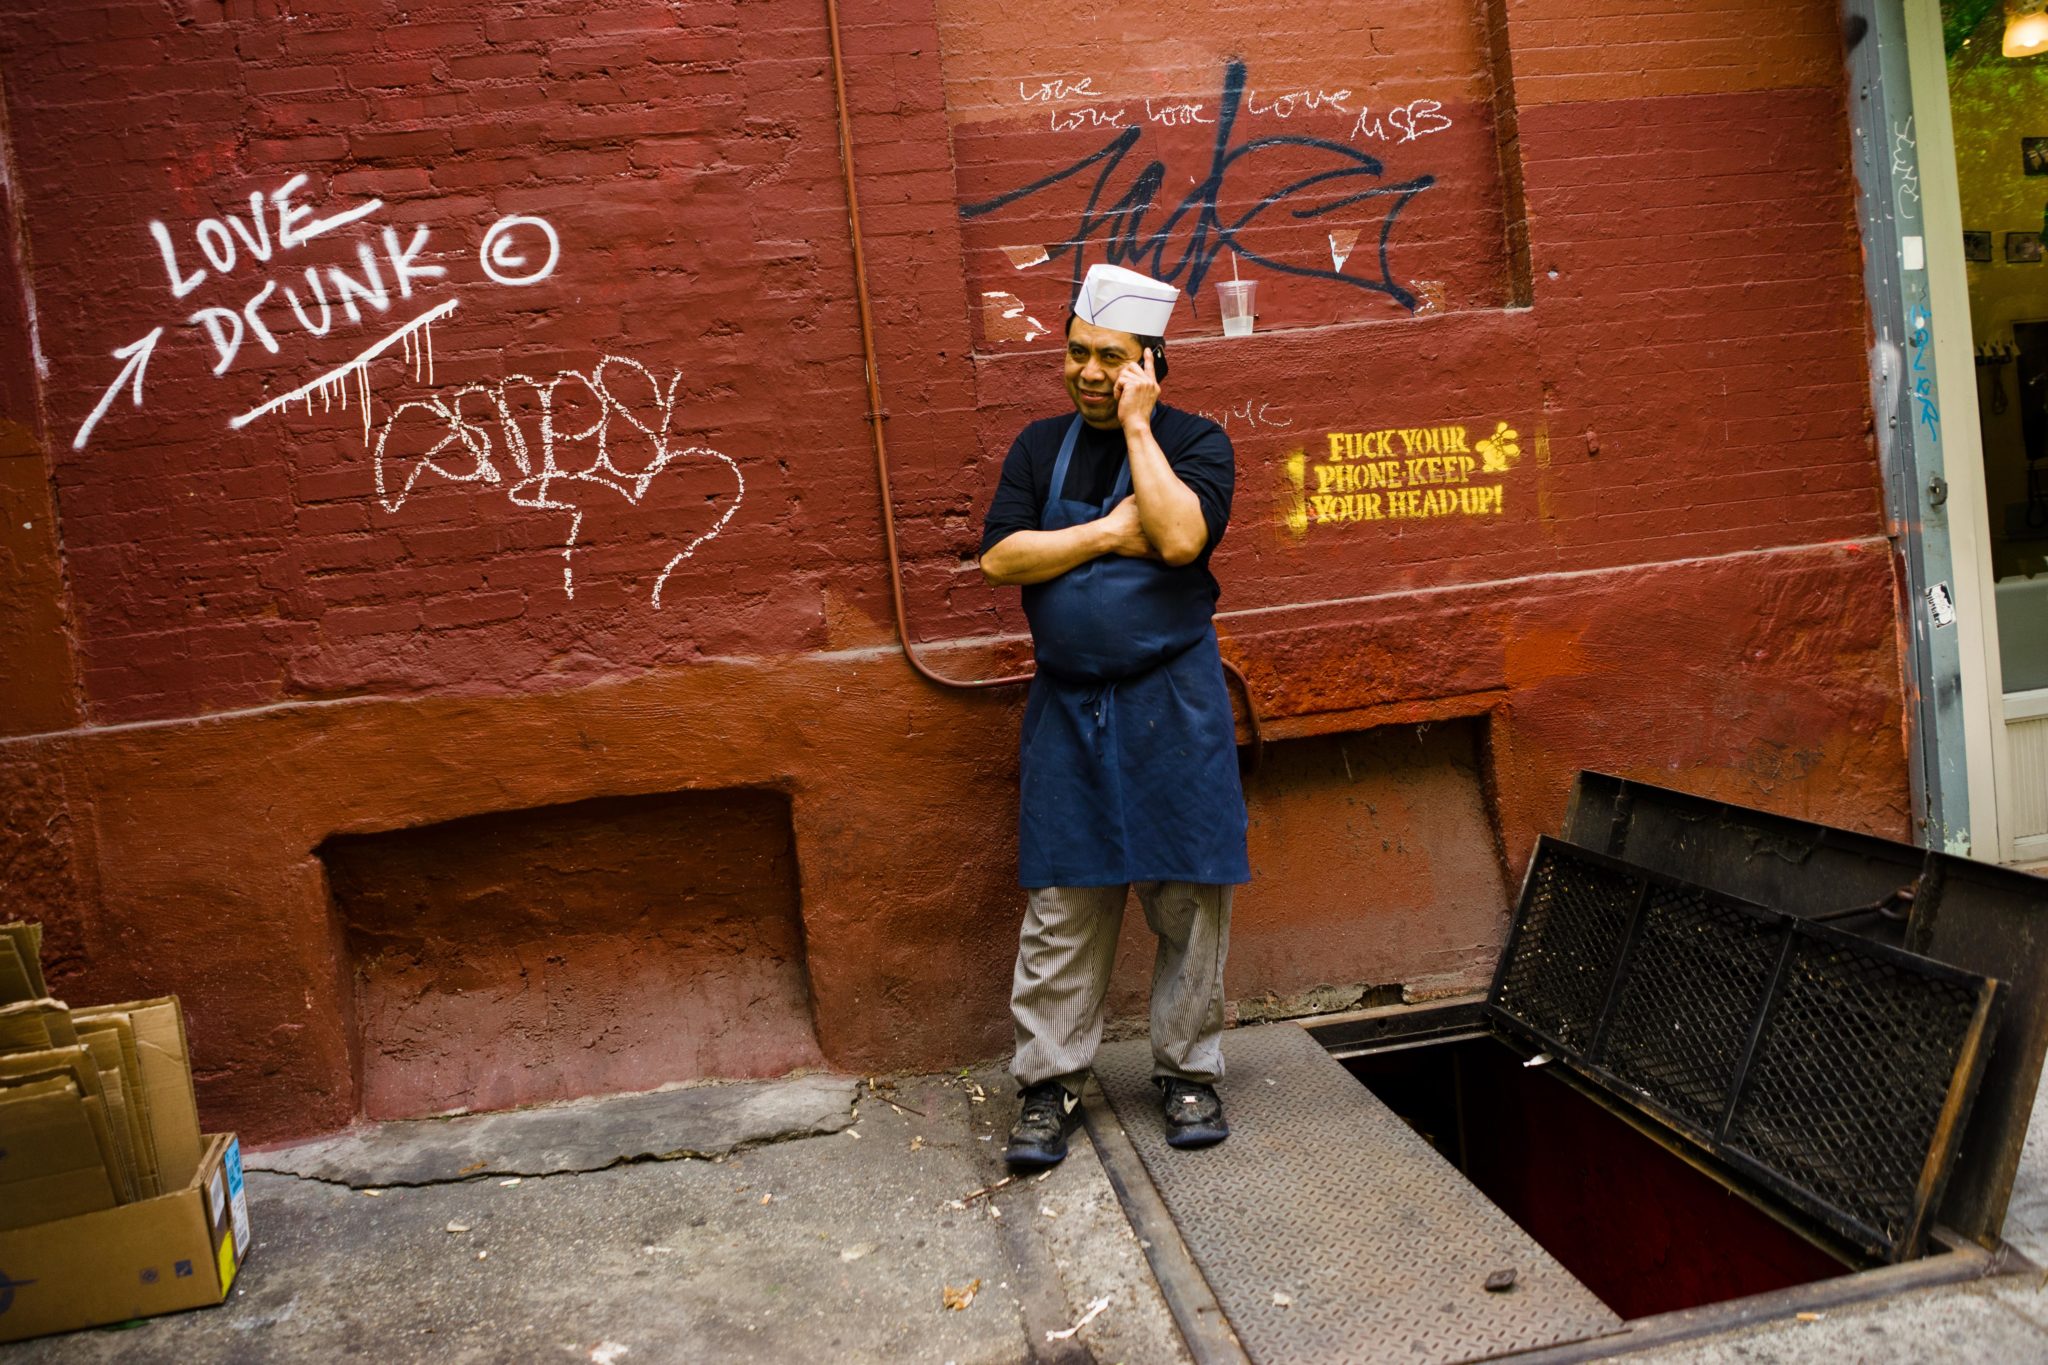
When it comes to using the zone focusing system for street photography and candids, you’re pretty much right at home. This is tougher than doing it for landscapes though–which we’ll get to in just a minute.
The variable for candids and street is that there are moving subjects in and out of the area. With street photography, you’re also usually walking yourself. So what makes this so tough is the fact that you are moving, your subject is moving and you have to get the shot at just the right time that the subject moves into the area that you’re focusing on.
Think about it like trying to touch a moving target as you yourself are moving. Then work on accuracy and consider all the variables that go into that.
On top of this, consider the laws of exposure. The more you stop your lens down, the more will be in focus, but you may want to have less of the subject in focus. So you’ll probably shoot at f2.8-f5.6. When you do that, you’ll find that you have an easier time.
Then consider the reciprocal rule of shutter speeds: which dictates that in order to get an image free from camera shake, you should shoot at a shutter speed that is the reciprocal of your field of view. So if you’re shooting with a 50mm lens on a full frame camera, then the slowest shutter speed you should technically be at is 1/50th. So you’ll need to raise your ISO to make some sort of consideration for that.
For Landscape Photography and Architecture Photography
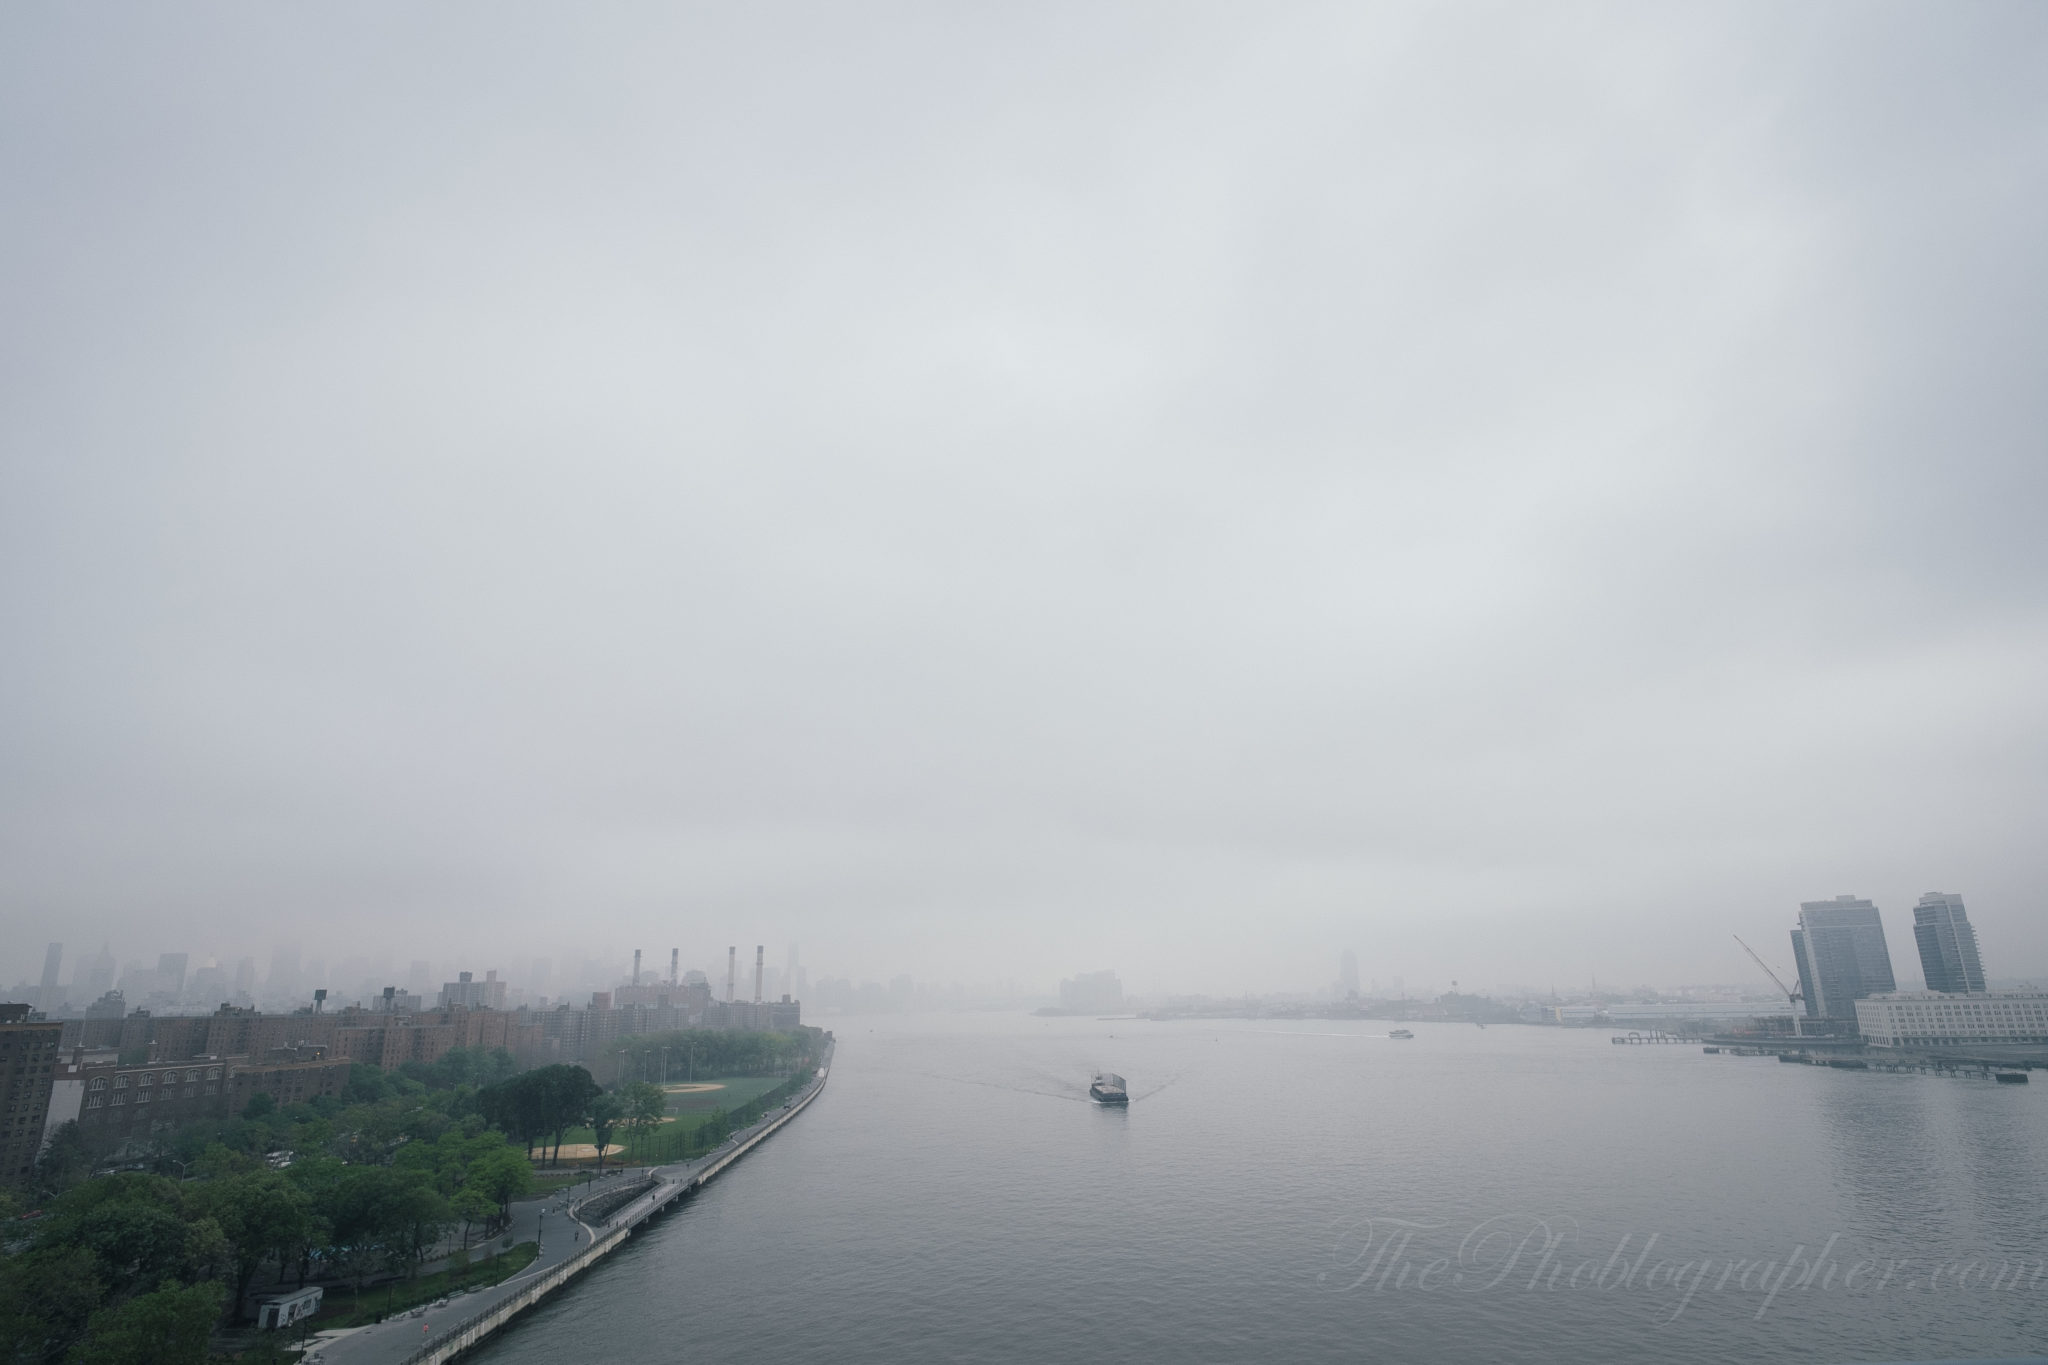
Landscapes are much easier to shoot than street photography images at least when it comes to using the zone focusing system. Basically all you need to do here is apply the rules as they are standard and that’s it. Ideally, you should use a tripod and a low ISO. As you focus in and through the lens’s range capabilities, you’ll find that stopping the lens down quite a bit can get more than enough of your scene in focus.
This concept is much easier with wide angle lenses–and that’s one of the many reasons why they’re so popular amongst many landscape photographers. But at the same time, telephoto lenses are also popular. If a wide angle lens and a telephoto lens are both focused out to 7 feet away, at any given aperture the telephoto lens will have less of an area in focus. For that reason, you need to really use a tripod or a higher ISO setting with telephoto landscape photos.
Go try it out this weekend!
Get rid of the ads!
Did you enjoy reading this article as much as we enjoyed writing it? There's a way to support us and our reporting, getting ad-free navigation and more as a bonus. Subscribe to us for less than a coffee per month —just $3.99— or take advantage of our yearly subscription with a hefty discount for only $25.- An ad-free experience
- A free mystery box for Lightroom or Capture One
- All the books in our store
- 20% discount on Capture One
- 30% discount on Imalume Photo Theft Protection
- 20% off Herbs and Kettle Tea Company.
- 20% off your order from MPIX printing services.
- 5% off Viltrox Products via their eCommerce store.
- 10% off all film developing, printing and scanning services from Blue Moon Camera and Machine
- 15% off 7Artisans products: The lens and accessory maker is offering a sweet discount for Phoblographer's readers.