Creating the Photograph is an original series where photographers teach you about how they concepted an image, shot it, and edited it. The series has a heavy emphasis on teaching readers how to light. Want to be featured? Email chrisgampat[at]thephoblographer[dot]com.
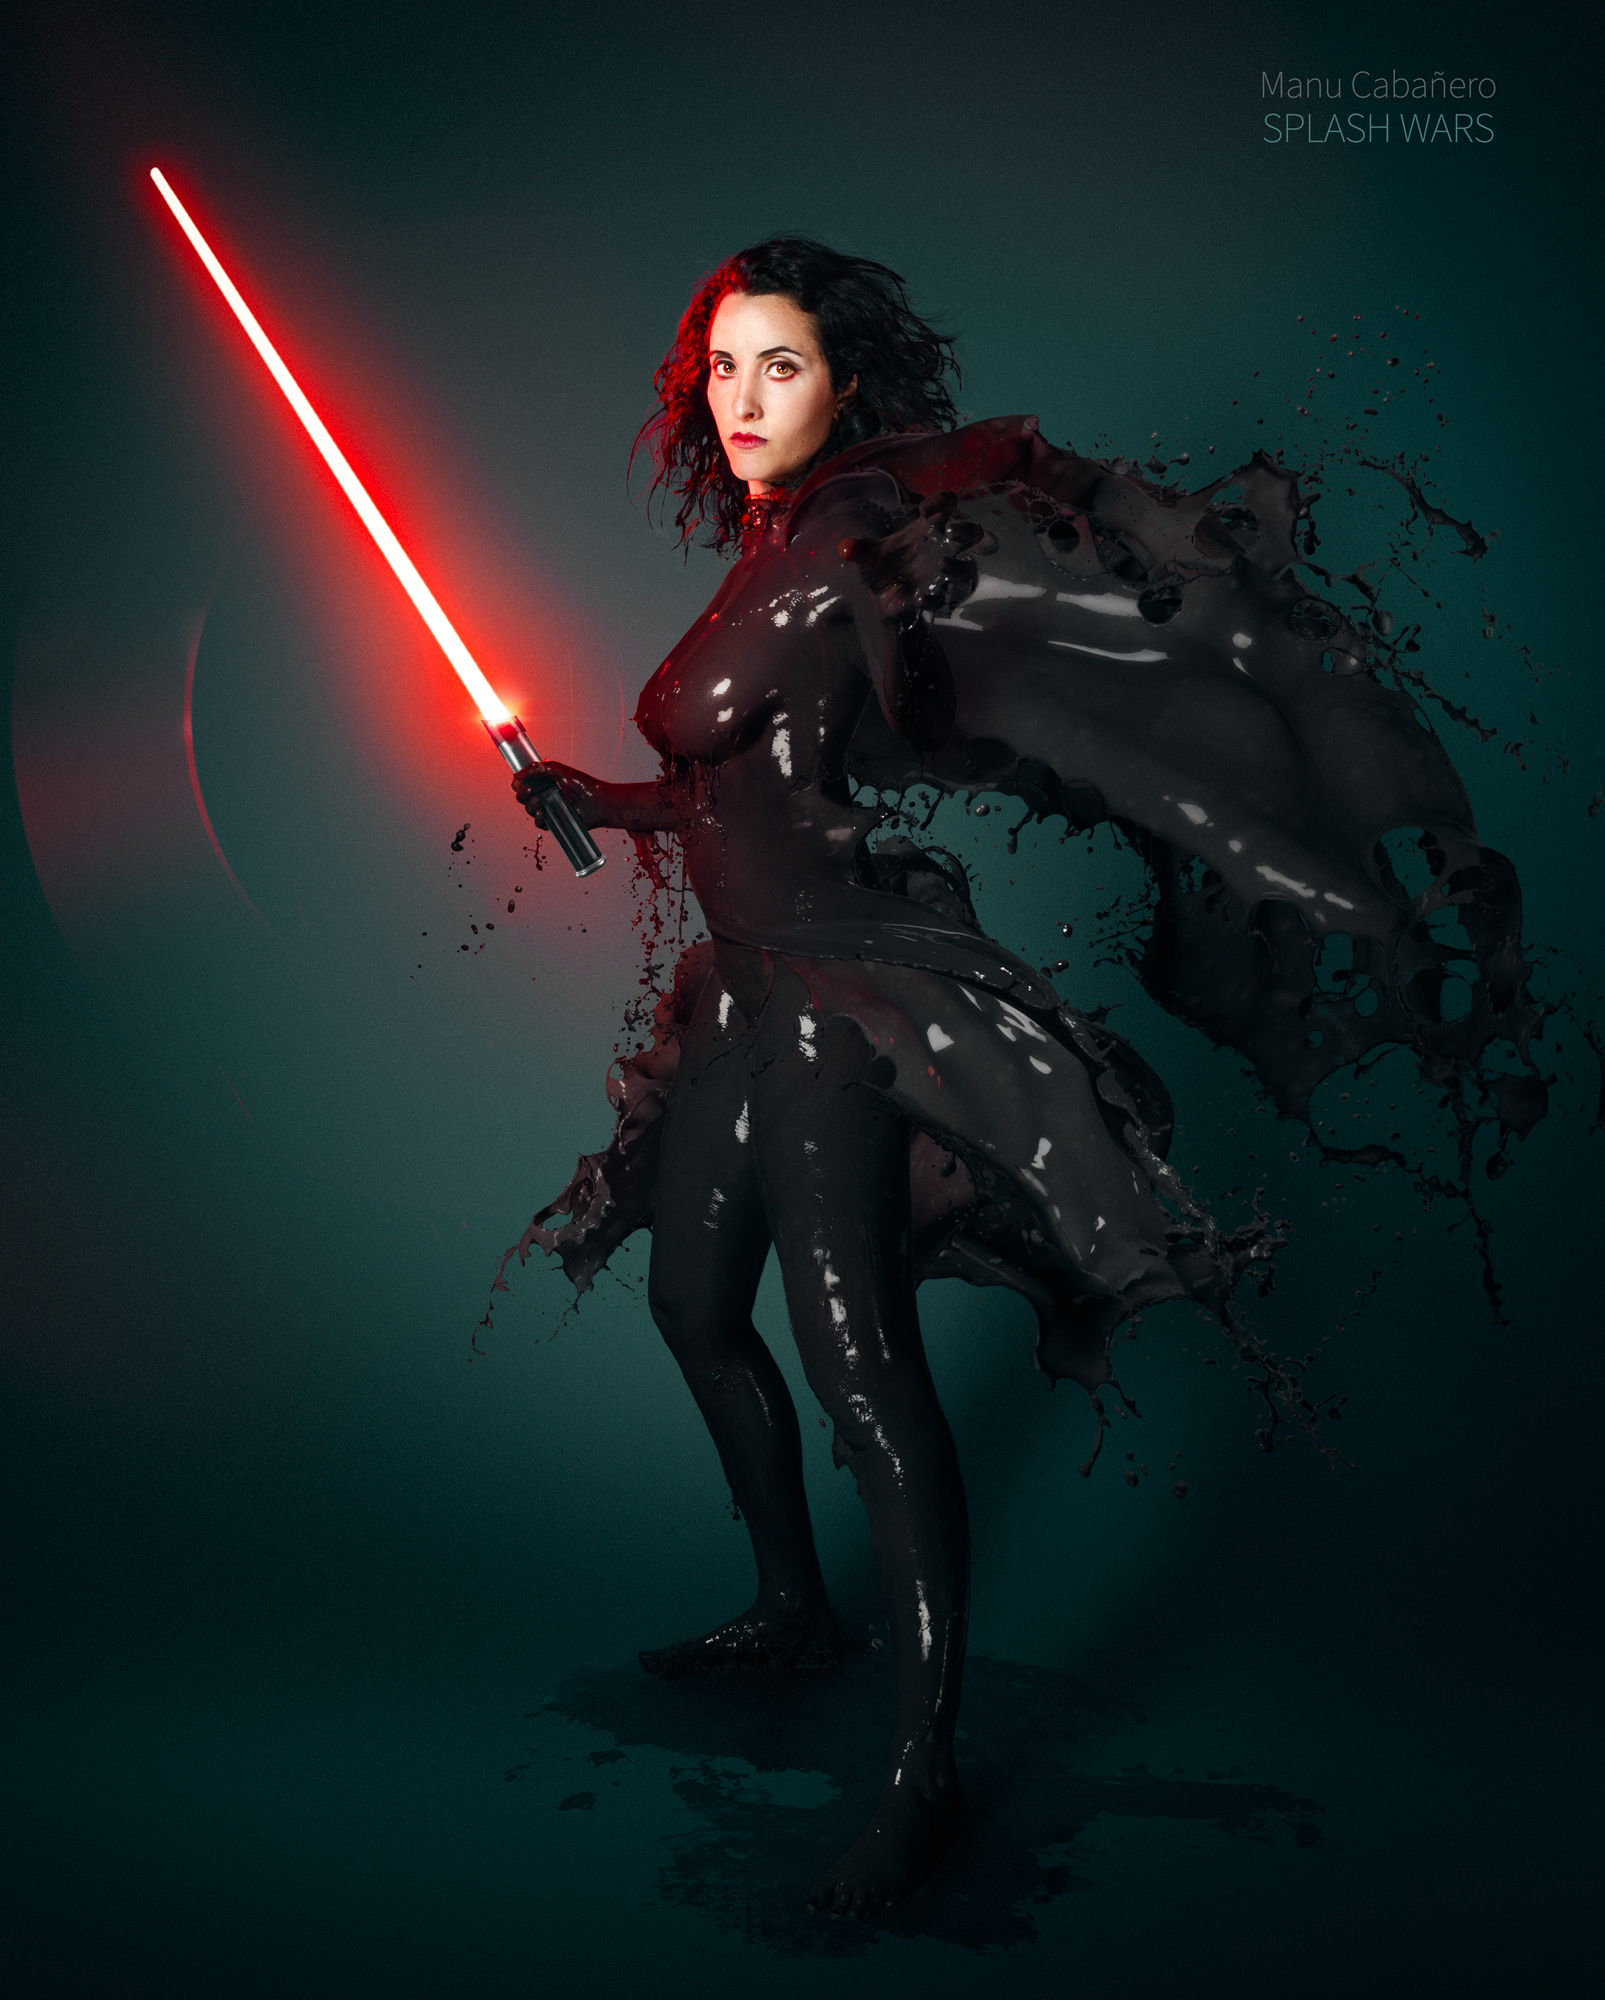
Earlier on, the Phoblographer featured the work of Manu Cabañero, who did the Splash Wars series of images. Manu drew his inspiration from the great Jaroslav Wieczorkiewicz and his Milky Pinups series. The idea: to create clothing on models out of milk–but to make the milk hit in shapes that resemble a specific look. In this case, we’re talking about Star Wars.
Manu was kind enough to walk us through his creation of the image that resembles Darth Vader.
The Concept
This was my second attempt at milk splash photography. The first time I did it the milk was used to create a fairly simple dress. This time I wanted to recreate Star Wars characters turning original male characters into female characters and using the milk as clothing. In this case I focused on Darth Vader.
The Gear
The Shoot
The shooting is based on maintaining a model with a pose for a couple of hours. To get a smooth workflow I keep in mind the idea of what will be the final result.
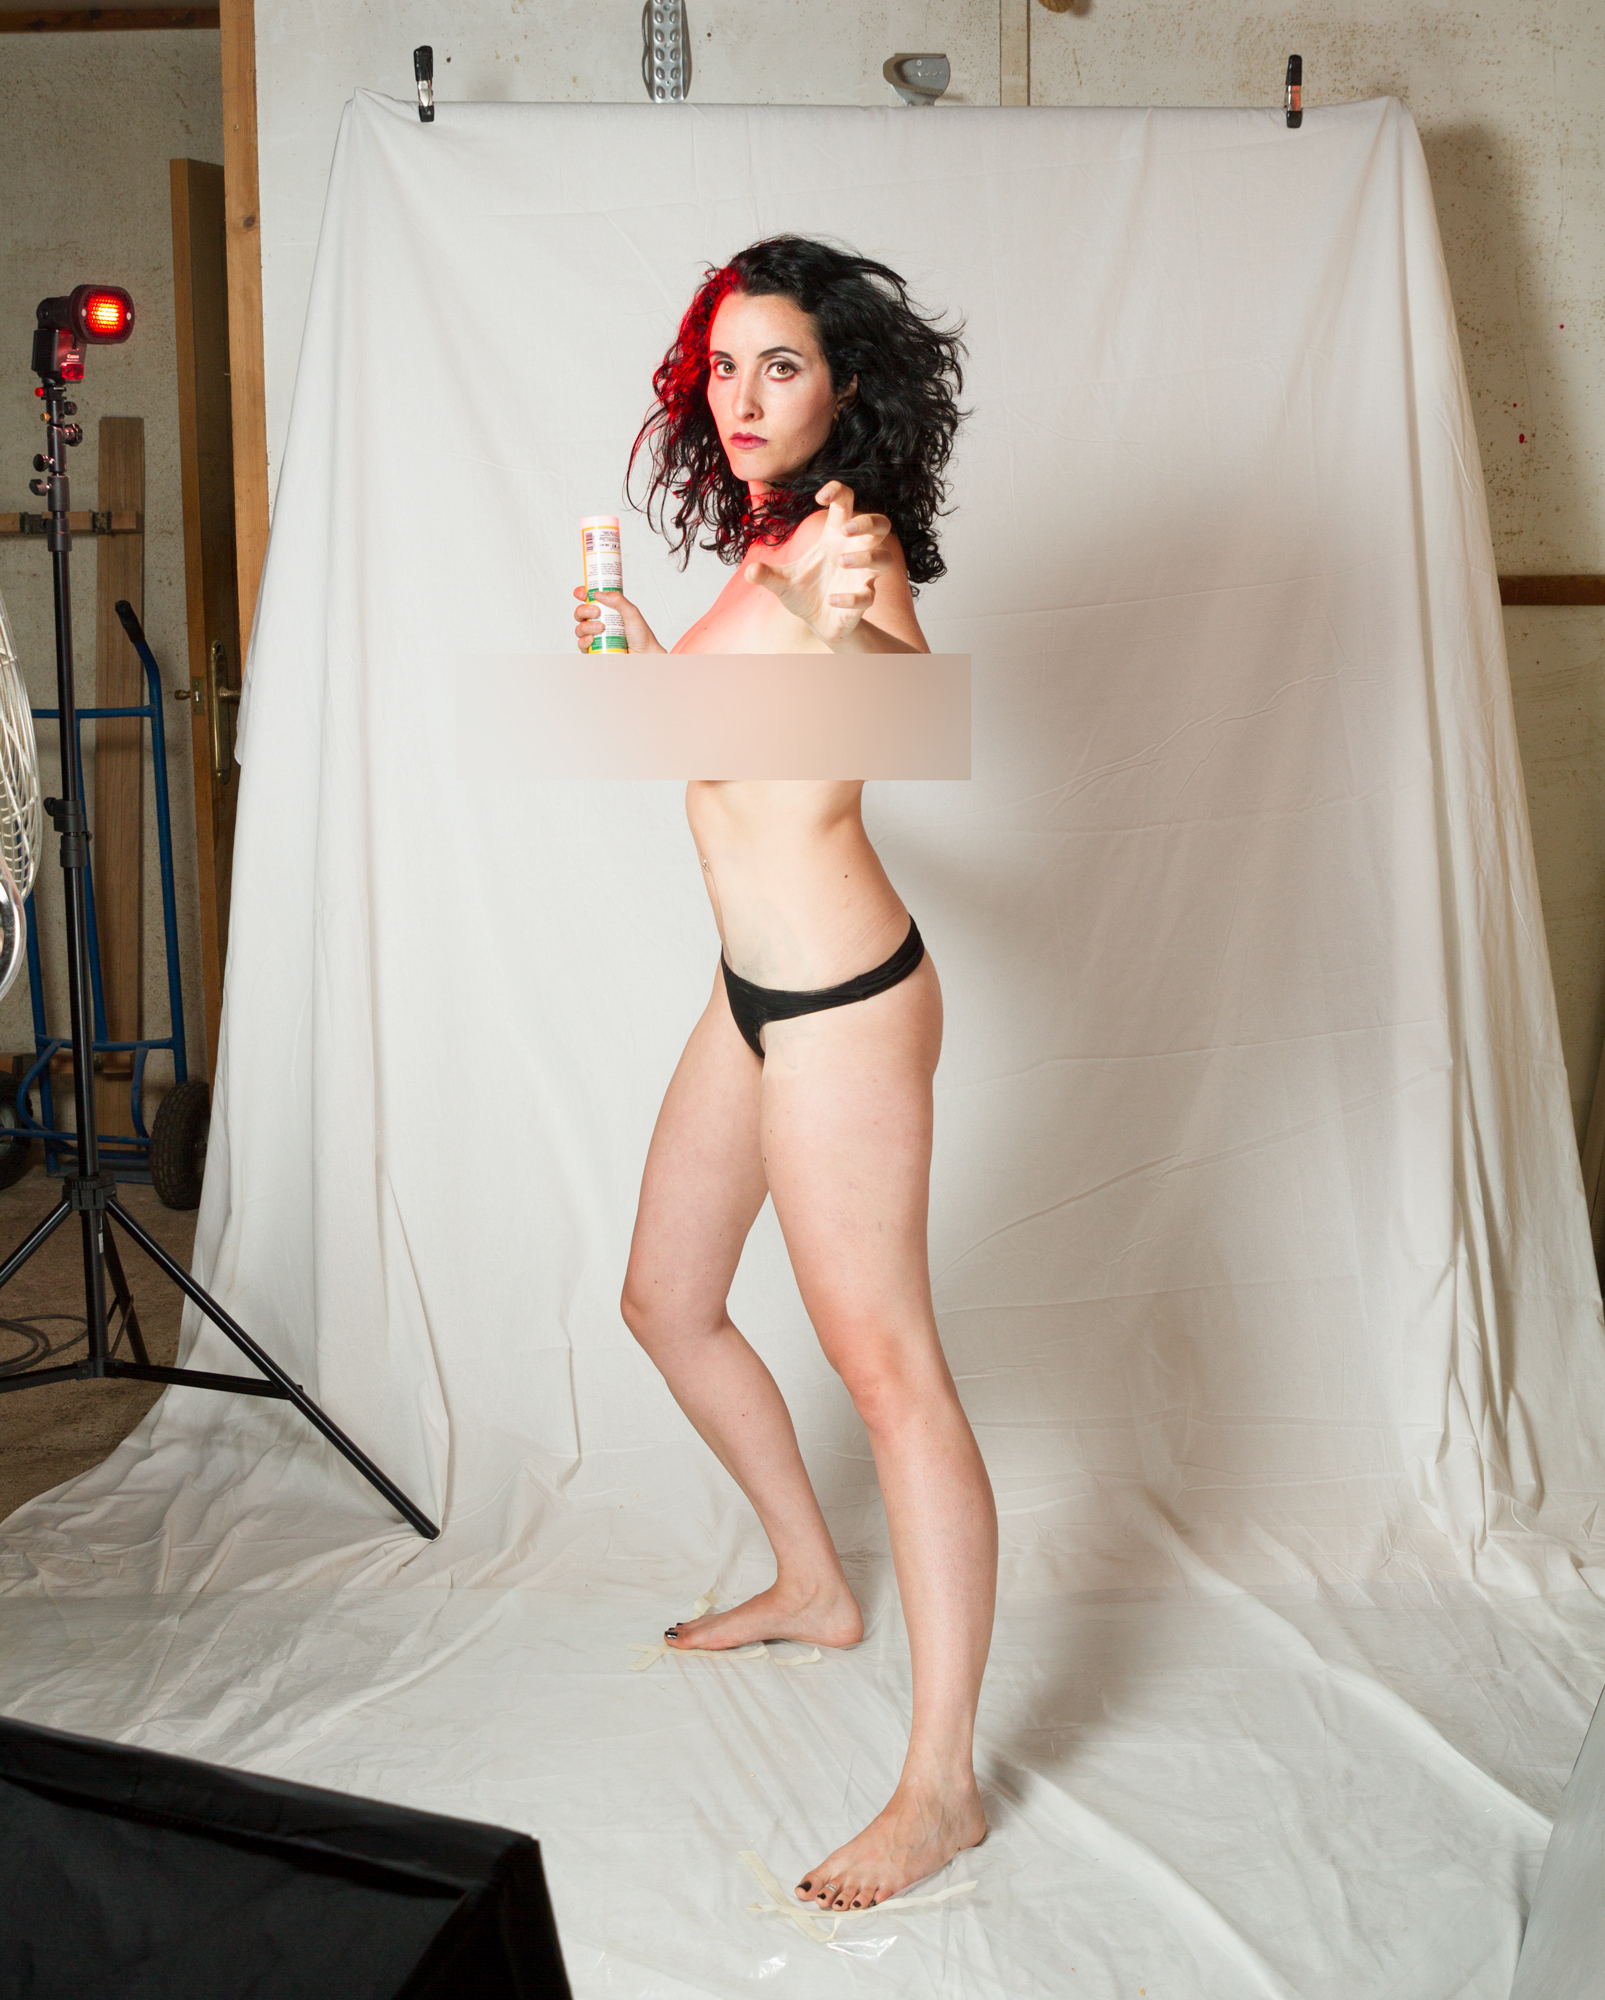
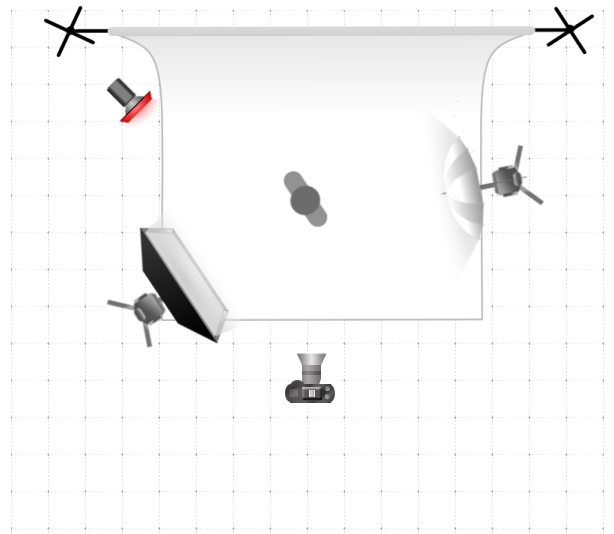
After deciding the pose, we set the lights considering that the model will hold a lightsaber (created in 3D). I used a standard light setting; a main light, a fill light and a red backlight for the lightsaber.
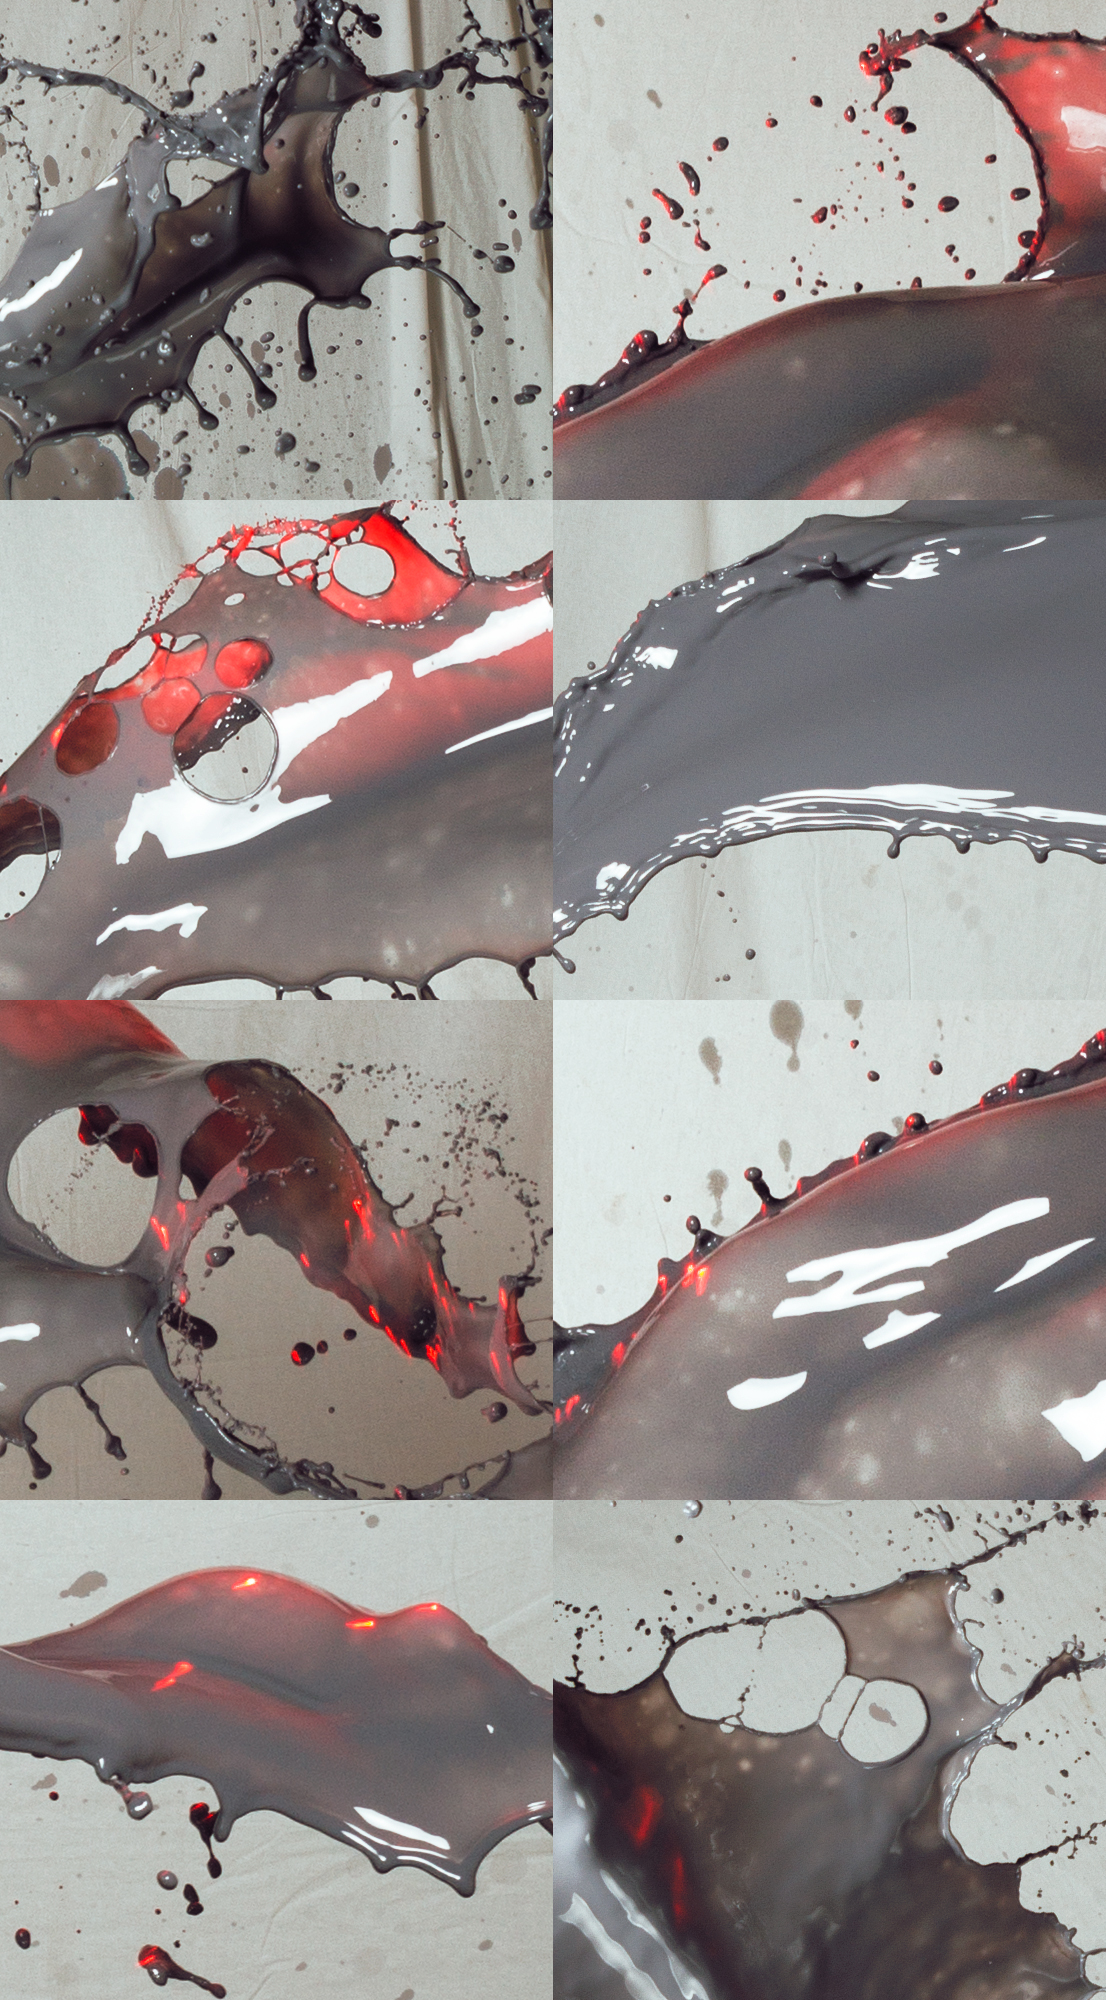
Once we had the pose and the light was time to prepare the milk! I used food coloring for the black milk. In fact was light grey milk, but I pushed it to black on photoshop. To trigger all the flashes at once I put all the speedlites on slave mode and I used the built-in flash of the 7D as the first flash to activate the others.
To create the costume of Darth Vader I had to cover the body with milk. For this, I took photos on every splash, covering part by part all of her body. Then I created the cape. The cape was a succession of trial and error to finally get the shape I wanted.
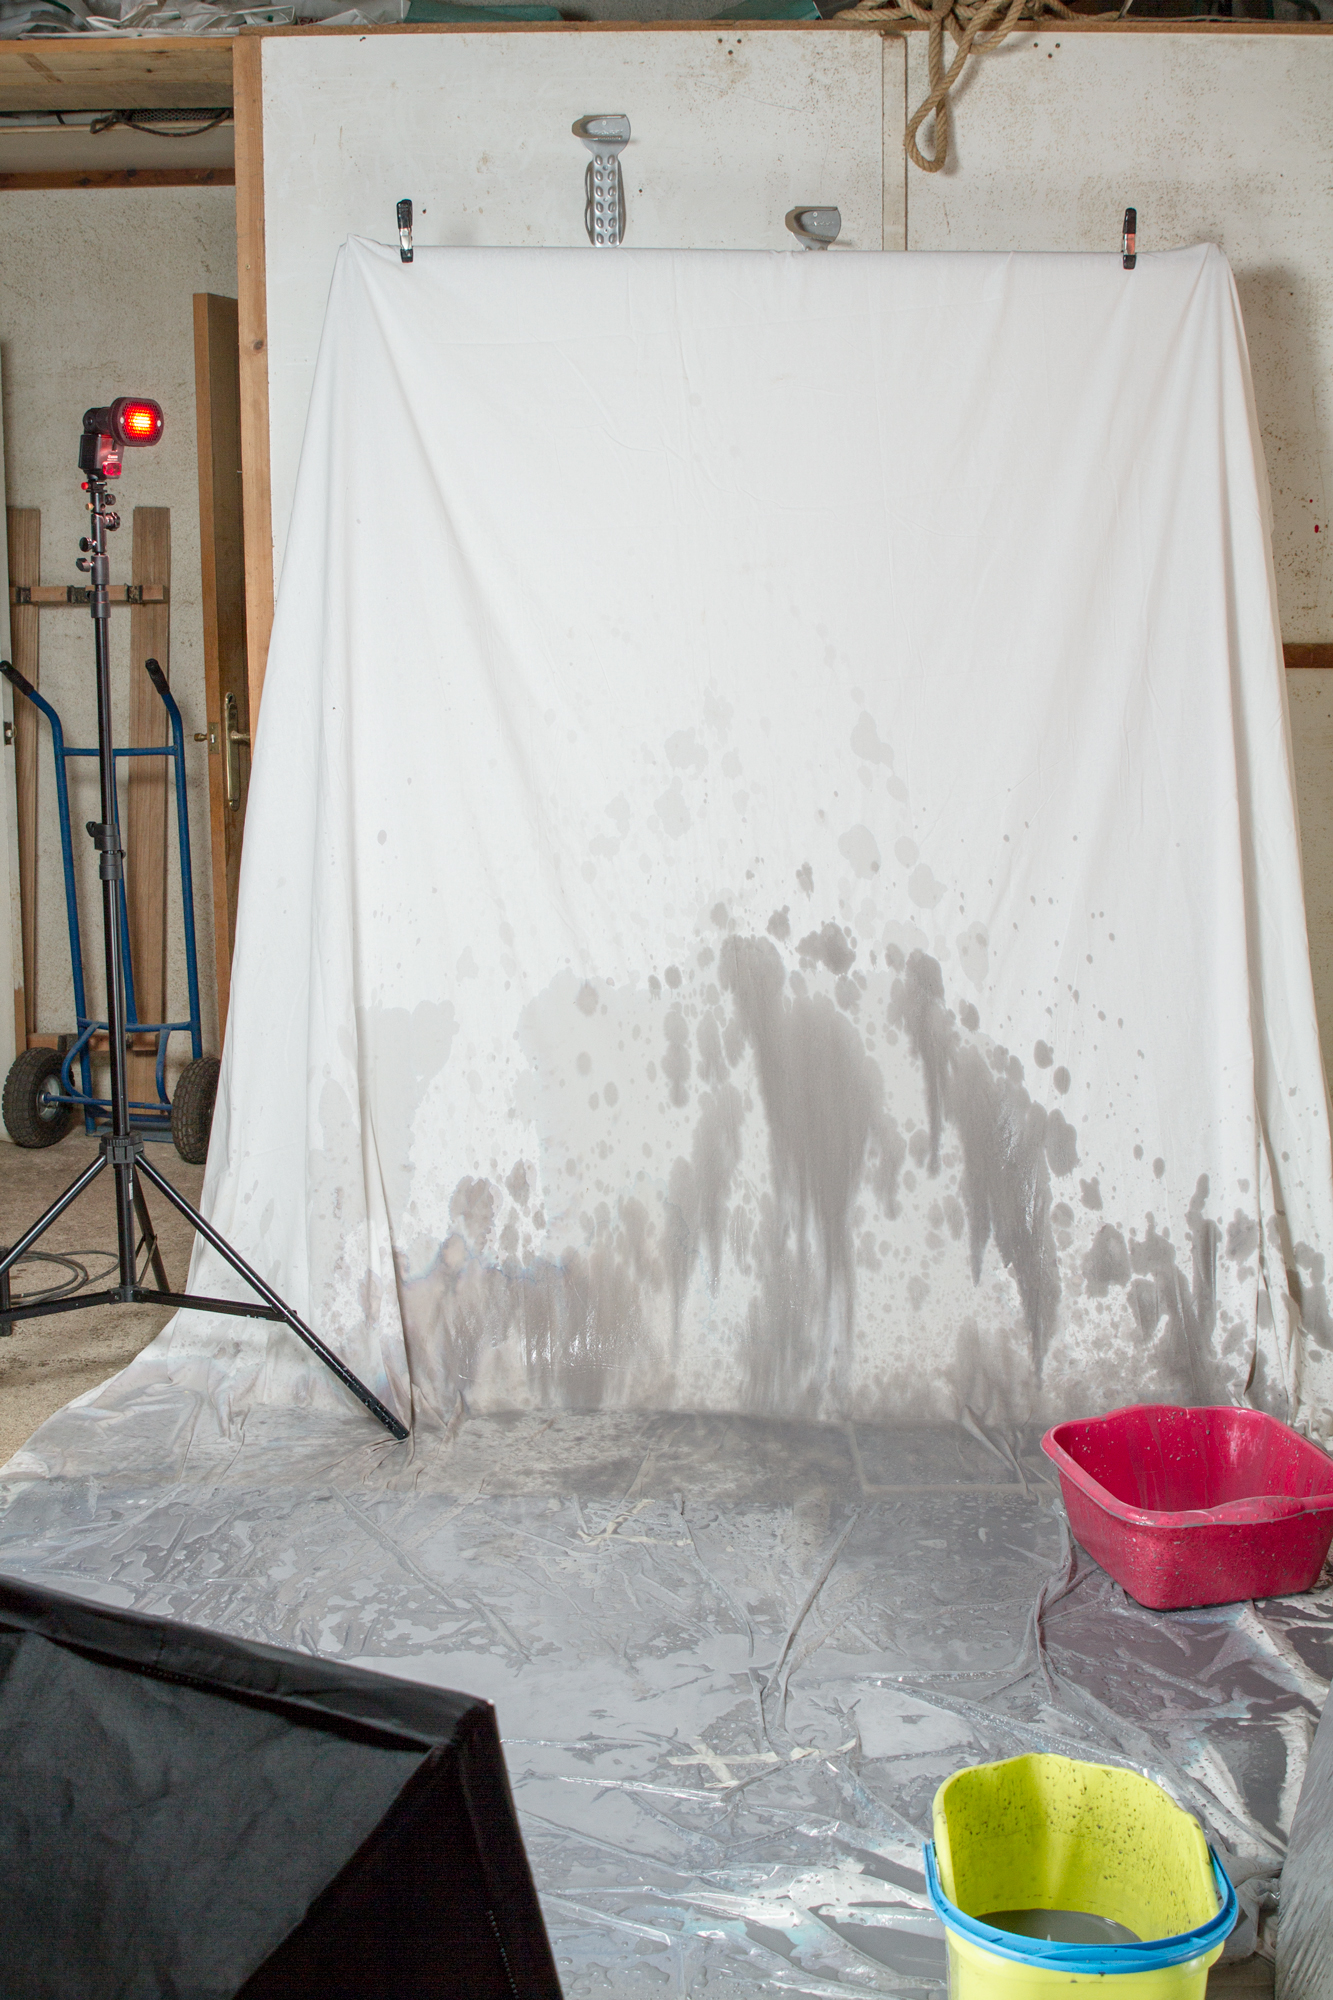
And the funniest part of all, cleaning up the mess.
Post Production
The post-production part was a matter of patience. First, I cut the model and removed the background and I did the same on the splashes.
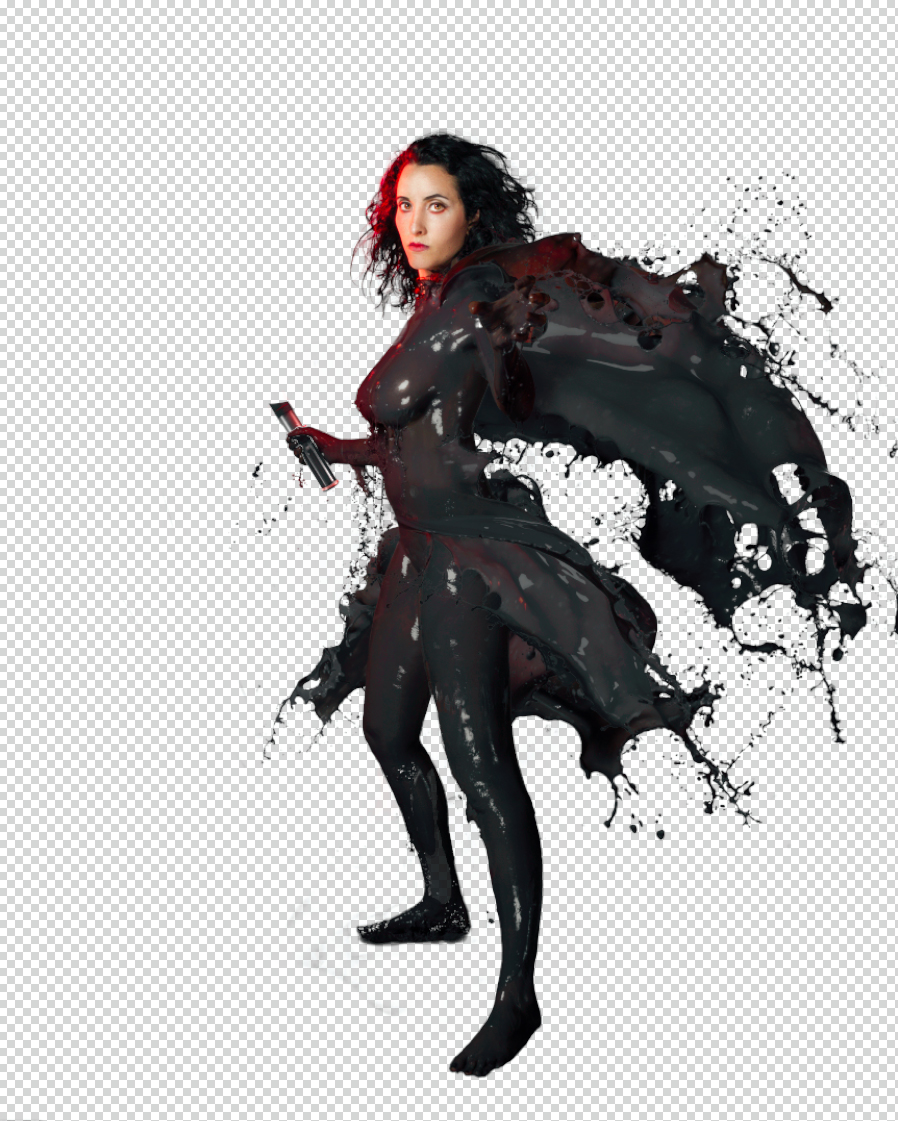
Once I had all the model with the costume, I modeled a 3D lightsaber, and then I created a red glow to finish the light effect.

For the background I used different colors and shades to match the light we had initially set.
Get rid of the ads!
Did you enjoy reading this article as much as we enjoyed writing it? There's a way to support us and our reporting, getting ad-free navigation and more as a bonus. Subscribe to us for less than a coffee per month —just $3.99— or take advantage of our yearly subscription with a hefty discount for only $25.- An ad-free experience
- A free mystery box for Lightroom or Capture One
- All the books in our store
- 20% discount on Capture One
- 30% discount on Imalume Photo Theft Protection
- 20% off Herbs and Kettle Tea Company.
- 20% off your order from MPIX printing services.
- 5% off Viltrox Products via their eCommerce store.
- 10% off all film developing, printing and scanning services from Blue Moon Camera and Machine
- 15% off 7Artisans products: The lens and accessory maker is offering a sweet discount for Phoblographer's readers.