When shooting macro images, the most accepted way to get the best photos involved using a macro ring flash. Today, that still holds true==but there are many alternatives that you can do to get similar or exactly the same effect at a much more affordable price point. Sounds too good to be true, right? Not really, the only trade off that you’re doing is using manual flash output instead of TTL. But otherwise, you’ll be saving money.
If you’re a macro shooter, here are those three setups.
Setup 1
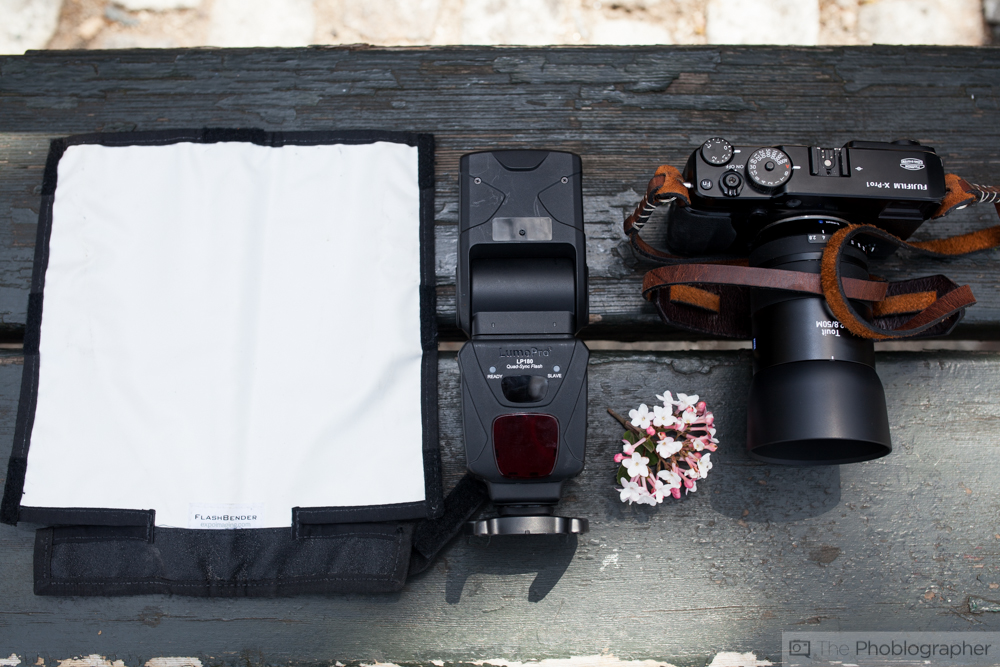
How to use it: Place the flash in the hot shoe and have the large flash flashbender attached to the head. As you’re going to photograph your subject, bend the flashbender into such a way that it covers the object kind of like a flash surface roof. This will all depend on what direction you’re shooting from, but make sure that the bender is always above and on top of the macro subject.
For the best results, shoot at a lower ISO and make sure that your flash is metered perfectly in live with the lens’s aperture.

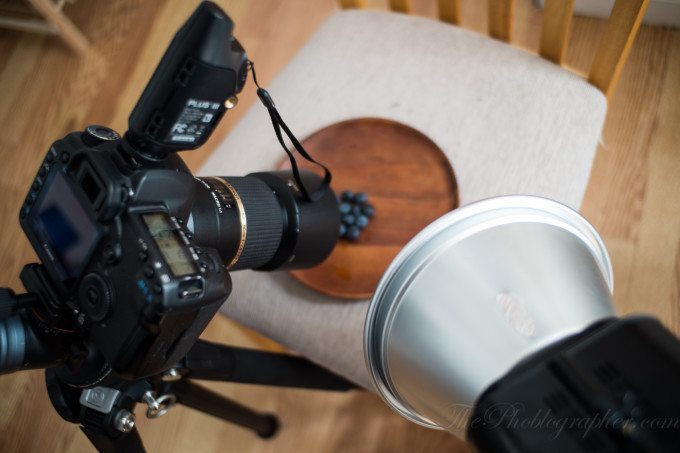
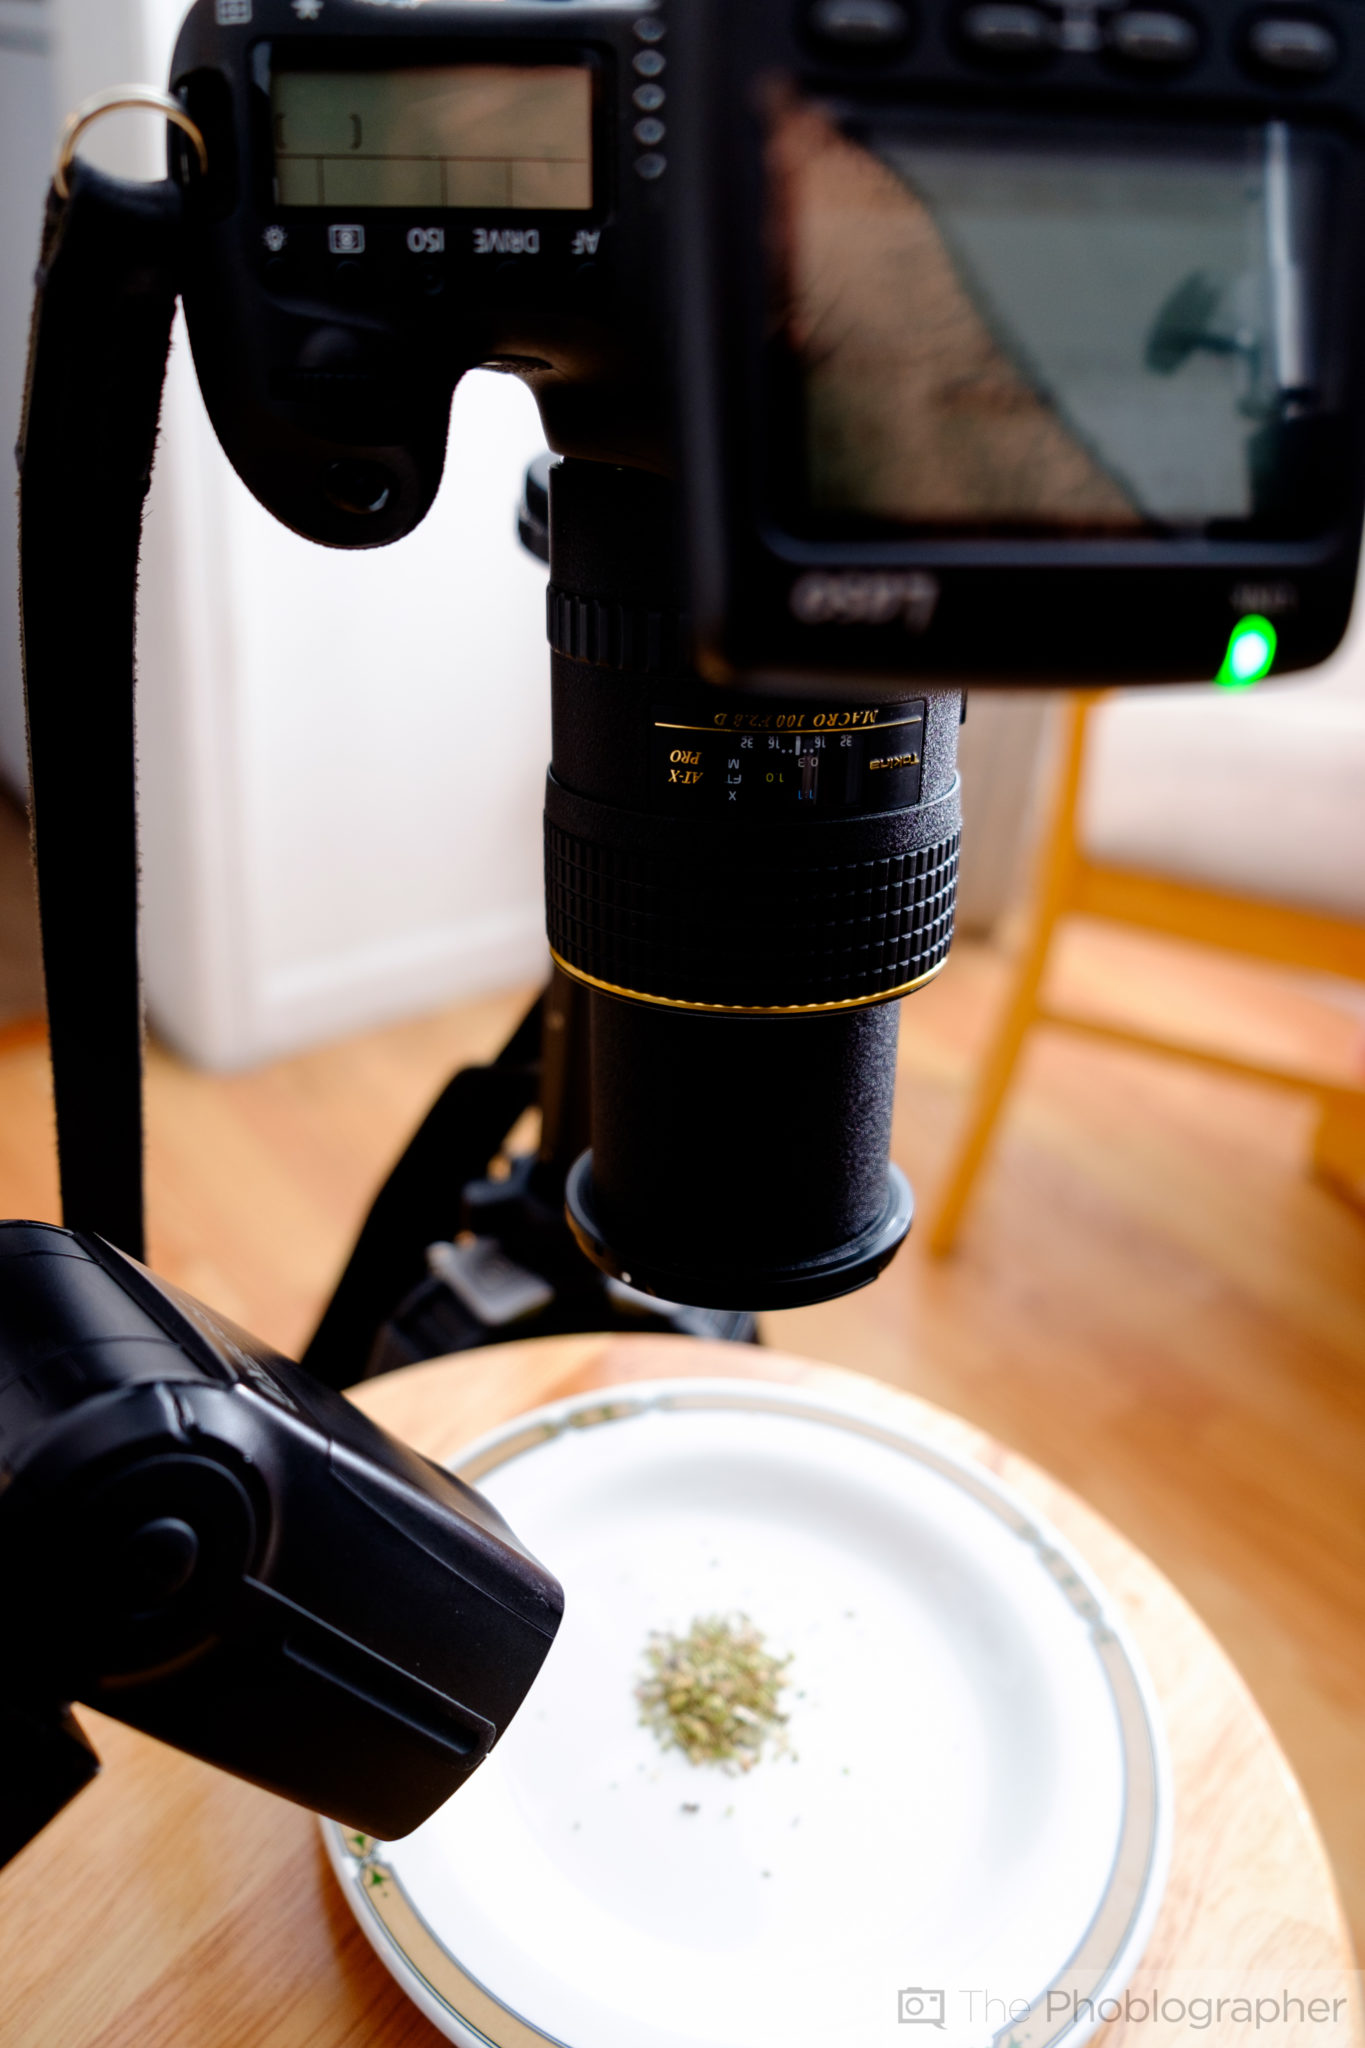
Setup 2
- Adorama Flashpoint Zoom Li-On flash with radio transmitter
- Light Stand
- Umbrella Adapter with shoe mount
How to use it: Place the flash close to your subject and zoom the head into the widest position. Meter the flash to the lens’s aperture, and shoot. This is the most straight forward way to shoot.

Setup 3
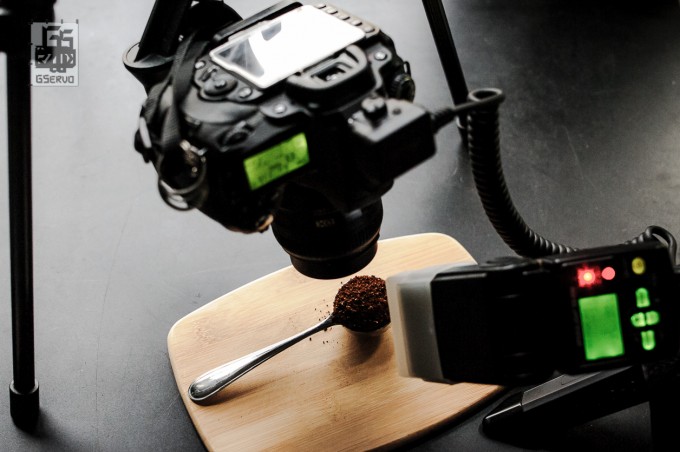
How wot use it: This is essentially the same setup as the previous one but by using a cord in the scene. When you add in a cord, you don’t get as much versatility as you do when using a radio transmitter, but for macro photography you’ll get similar results. Again, make sure that your flash is metered to your aperture.

Get rid of the ads!
Did you enjoy reading this article as much as we enjoyed writing it? There's a way to support us and our reporting, getting ad-free navigation and more as a bonus. Subscribe to us for less than a coffee per month —just $3.99— or take advantage of our yearly subscription with a hefty discount for only $25.- An ad-free experience
- A free mystery box for Lightroom or Capture One
- All the books in our store
- 20% discount on Capture One
- 30% discount on Imalume Photo Theft Protection
- 20% off Herbs and Kettle Tea Company.
- 20% off your order from MPIX printing services.
- 5% off Viltrox Products via their eCommerce store.
- 10% off all film developing, printing and scanning services from Blue Moon Camera and Machine
- 15% off 7Artisans products: The lens and accessory maker is offering a sweet discount for Phoblographer's readers.