Last Updated on 10/27/2015 by Chris Gampat

Peak Design creates products that are typically a major hit with everyone; they’re built well and have to be for the adventure photographers that they’re designed for. But none of their products are useful all the time with the exception of the Slide Camera strap. So when the company announced their CAPTURELens and Lens Kit, I was pretty intrigued at their promise to make lens swapping much easier. At the same time though, many thoughts went through my head as a former photojournalist and a wedding photographer and immediately had my doubts.
And after giving it a try, I’ve still got my doubts.
Editor’s Note: We’ve made addendums to this review. Please see the bottom.
Pros and Cons
Pros
- Really secure way to mount and carry your lenses providing they’ve clicked into place.
- Integrates well with a CAPTUREClip
- Great for small lenses.
Cons
- Not so great when dealing with larger lenses.
- If the hood is on the lens, it’s easy for said lens to start getting in the way.
- Not really useful on the hip/belt; but is pretty solid on a camera bag
- Needs more release buttons
- Turning the CAPTURELens requires a bit of strength and it isn’t as simple as advertised.
Gear Used
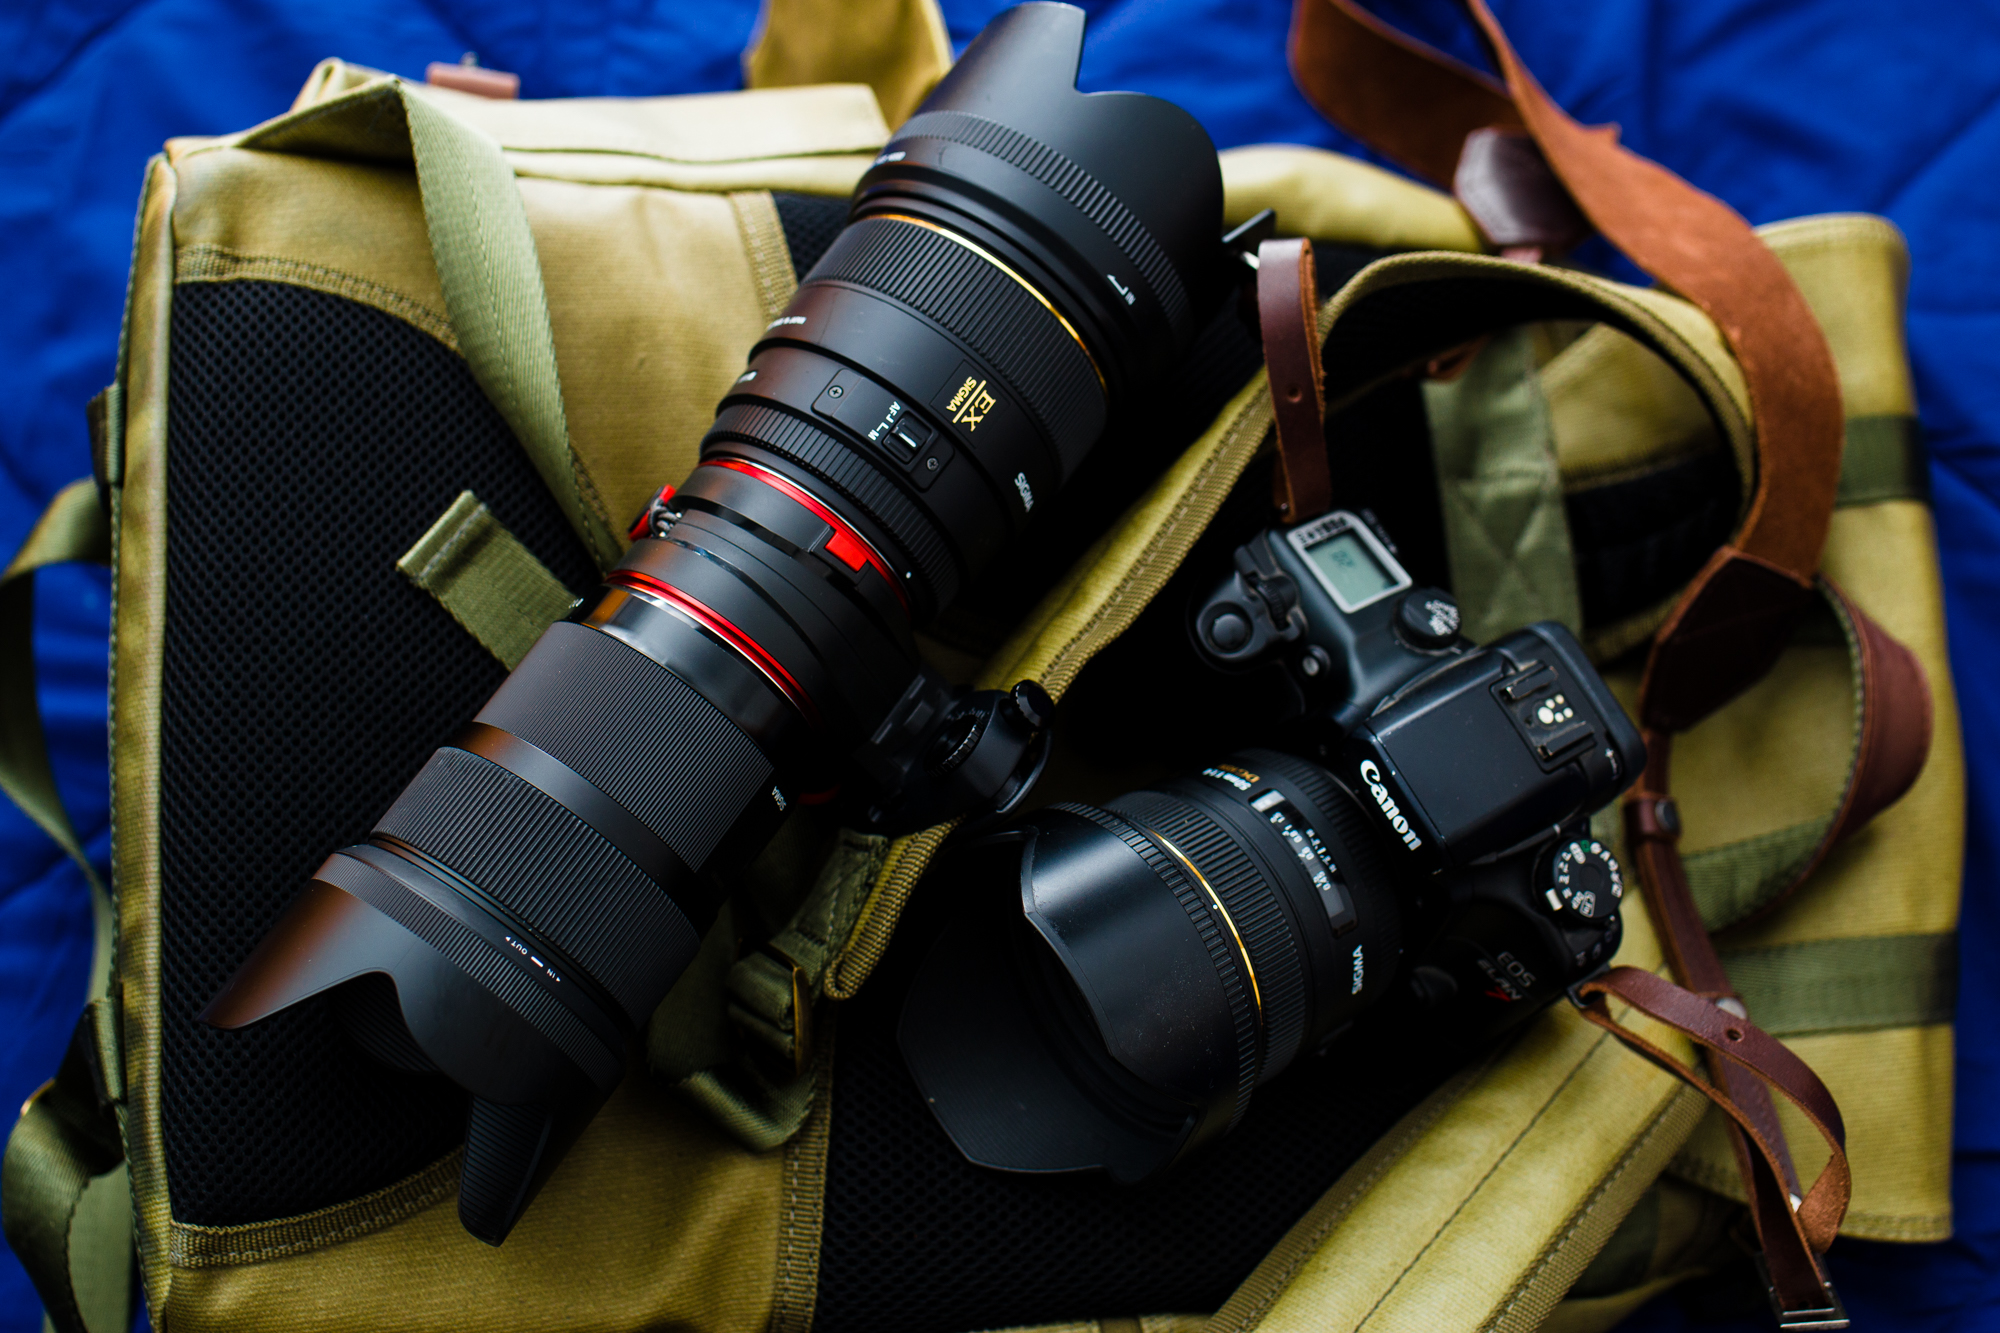
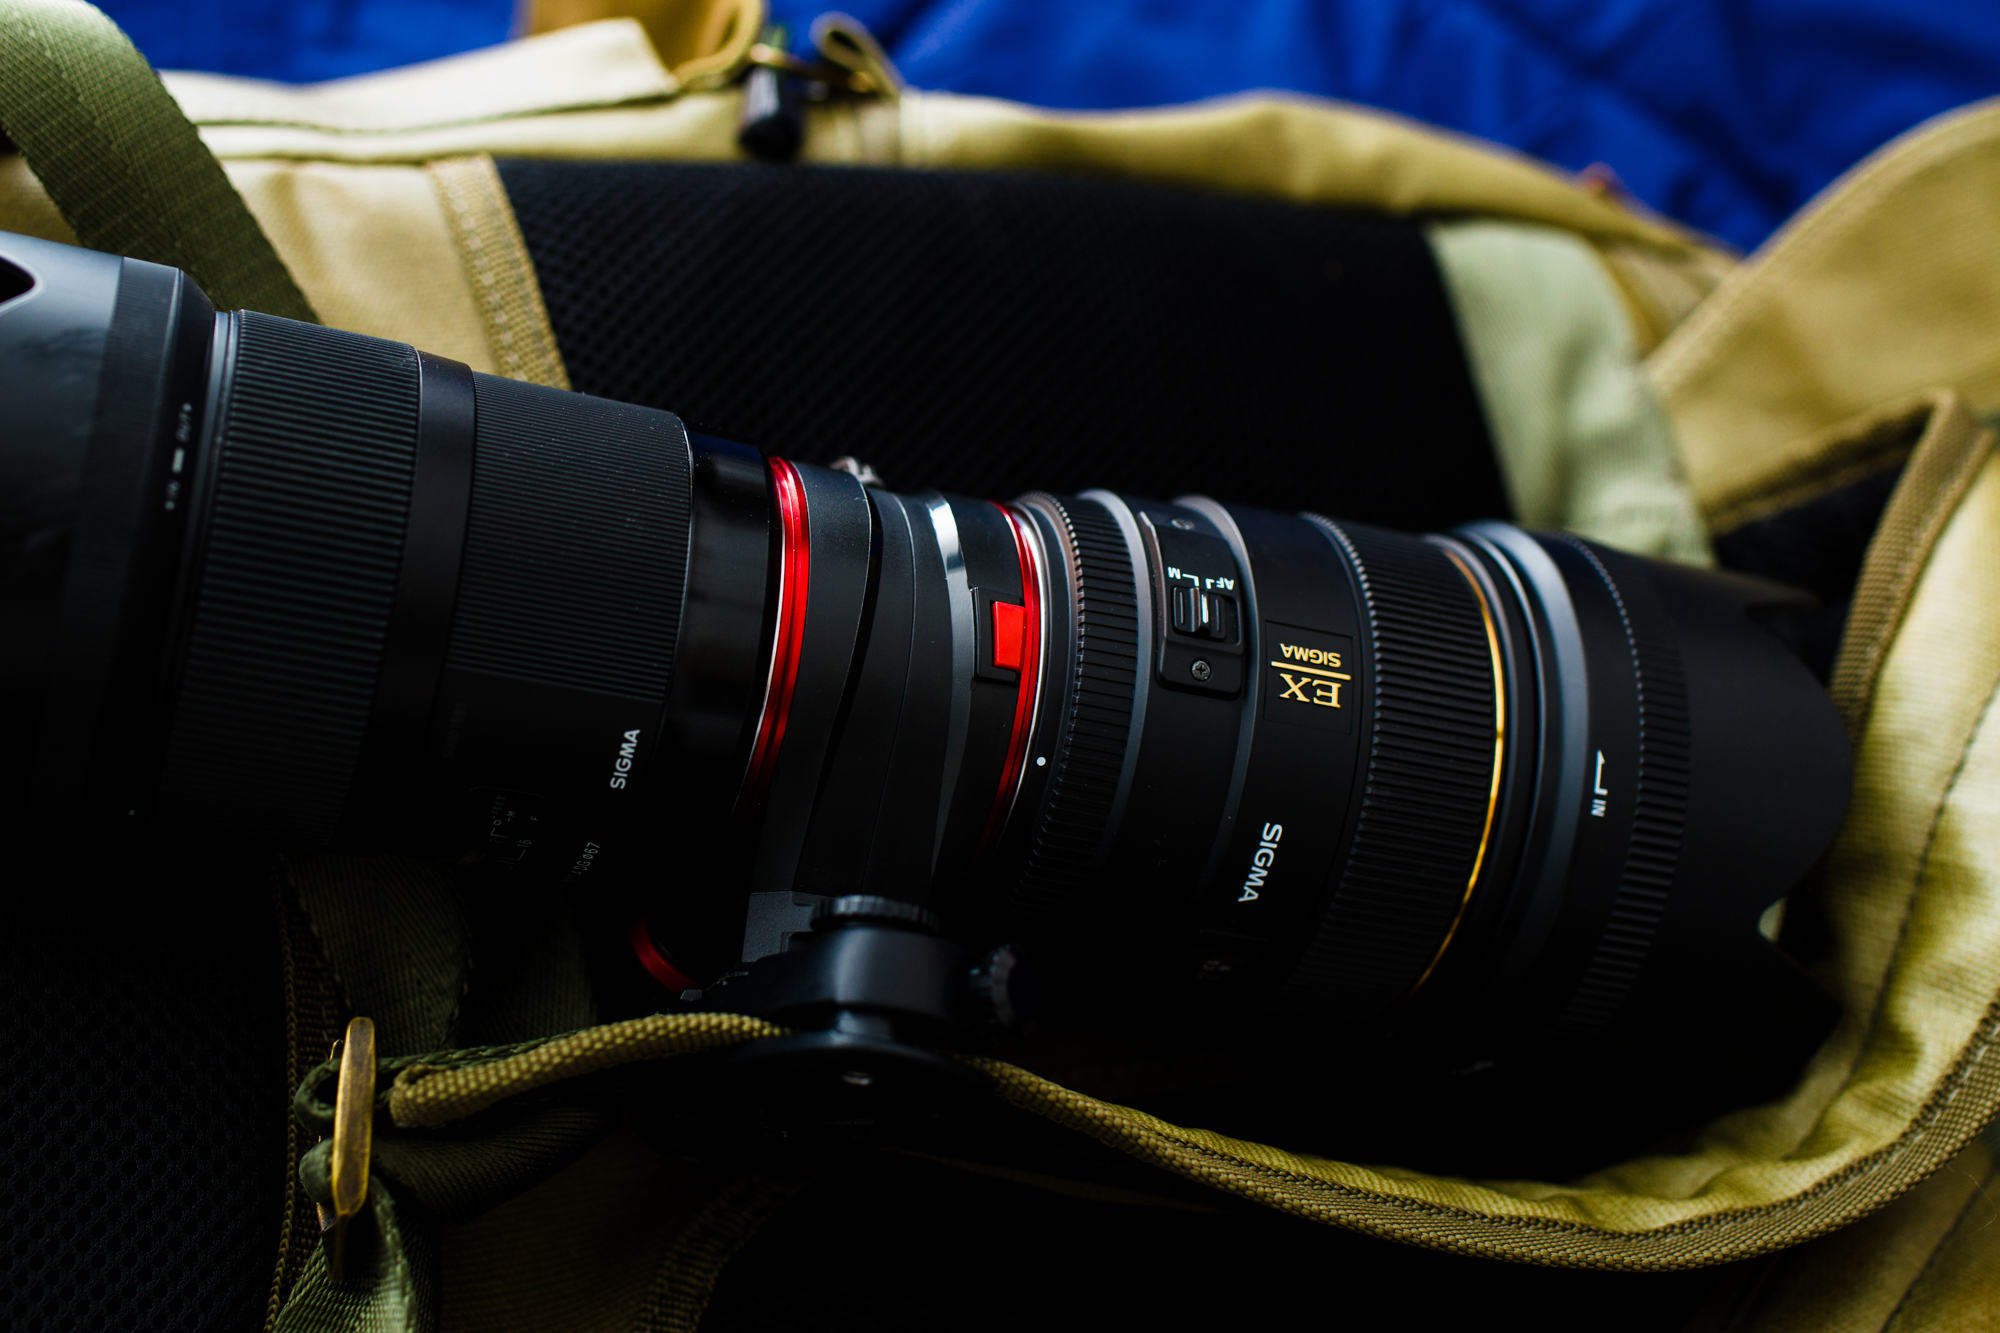
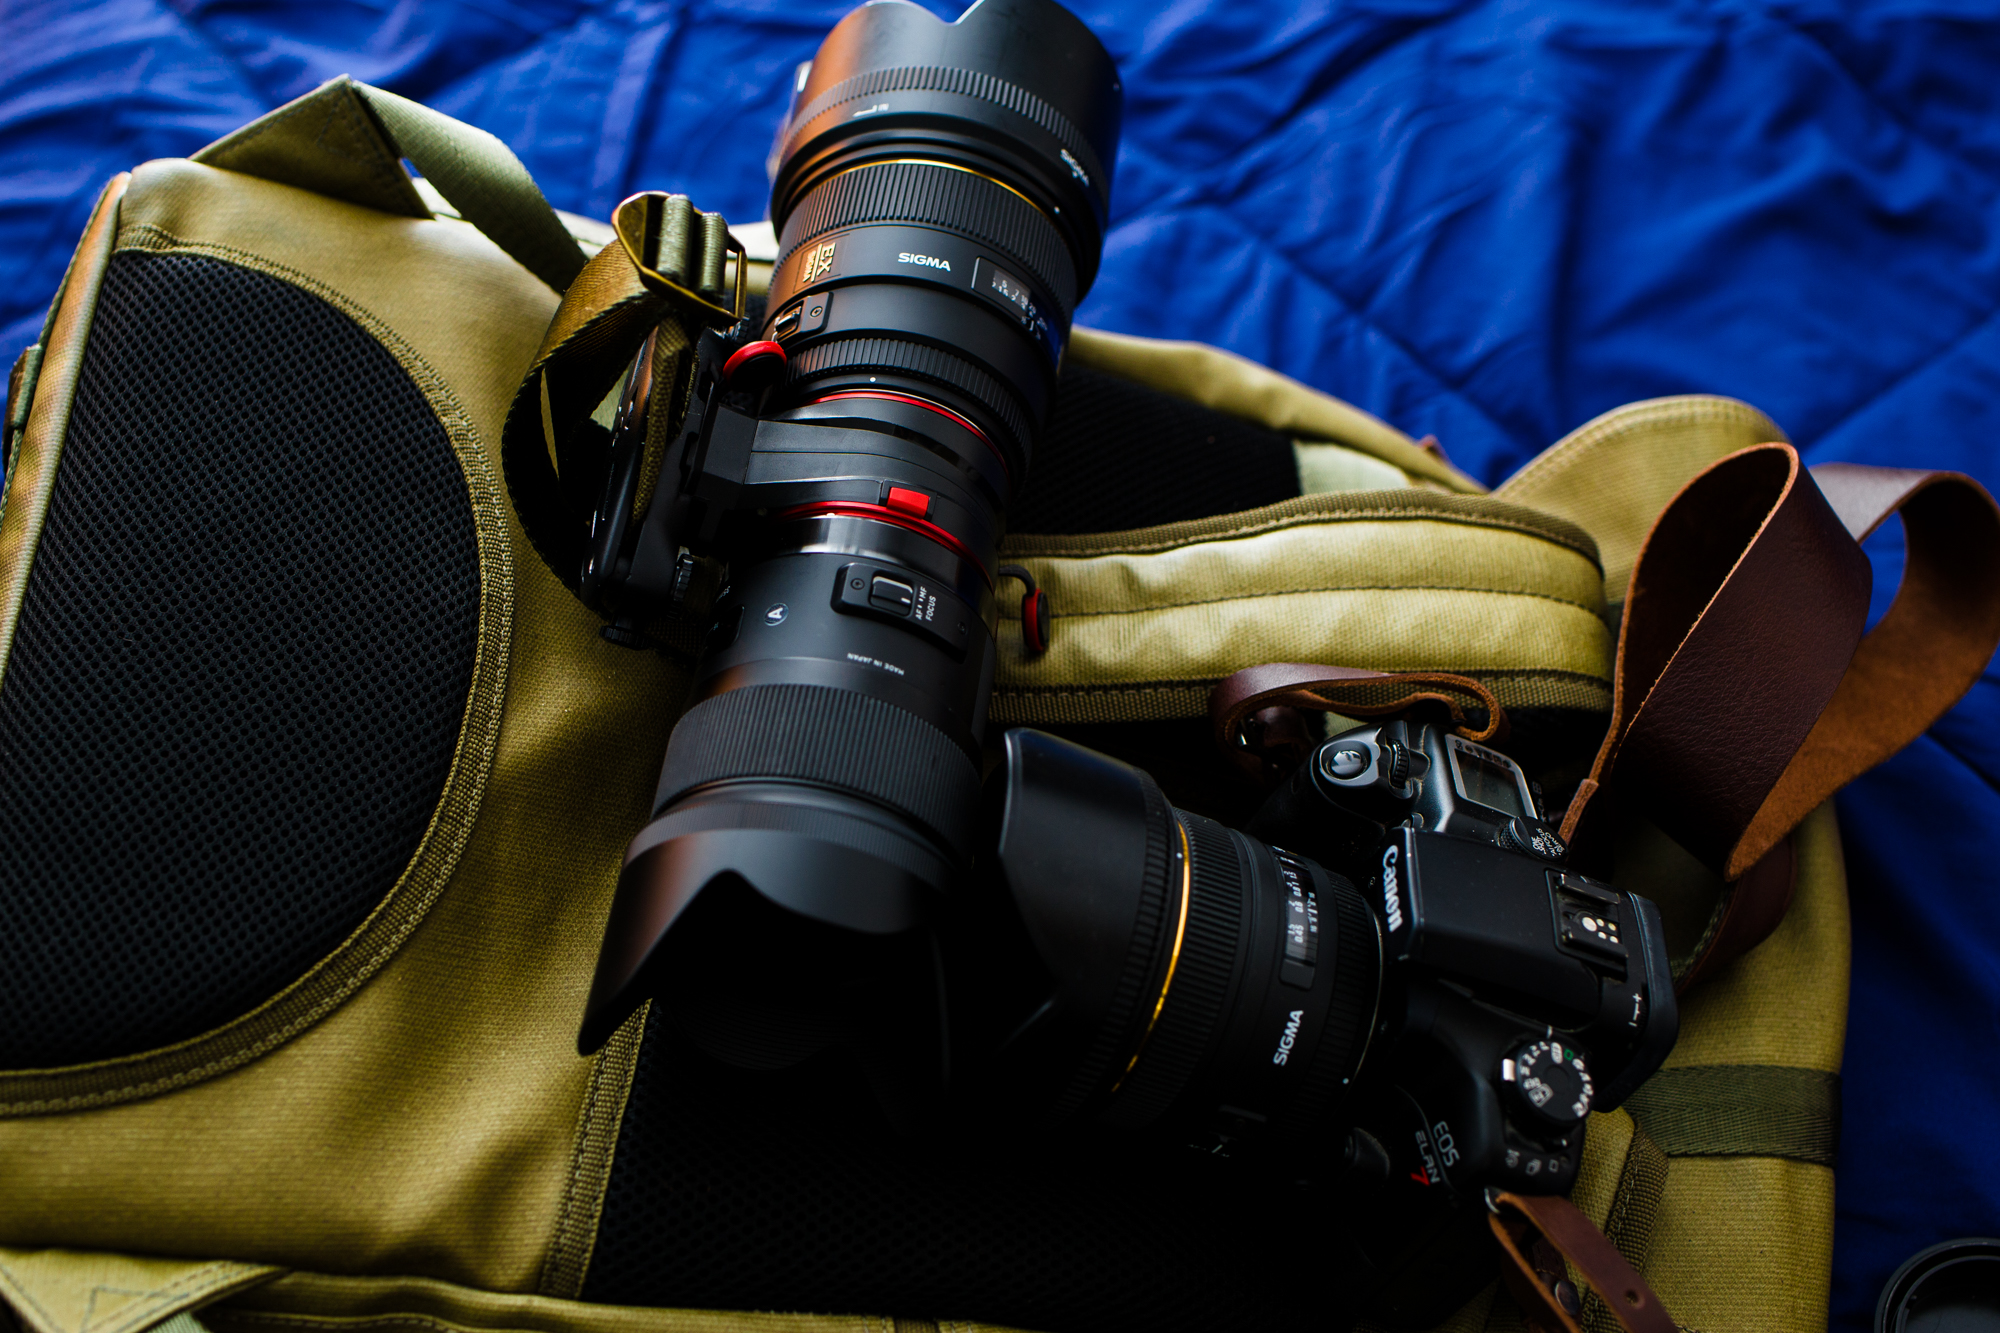
We tested the CAPTURELens and Lens Kit with the Canon 6D, Sigma 35mm f1.4 Art, Sigma 85mm f1.4, Tamron 45mm f1.8, and the Sigma 50mm f1.4. The Lens Kit was attached to the Langly Alpha Pro Camera backpack.
Ergonomics
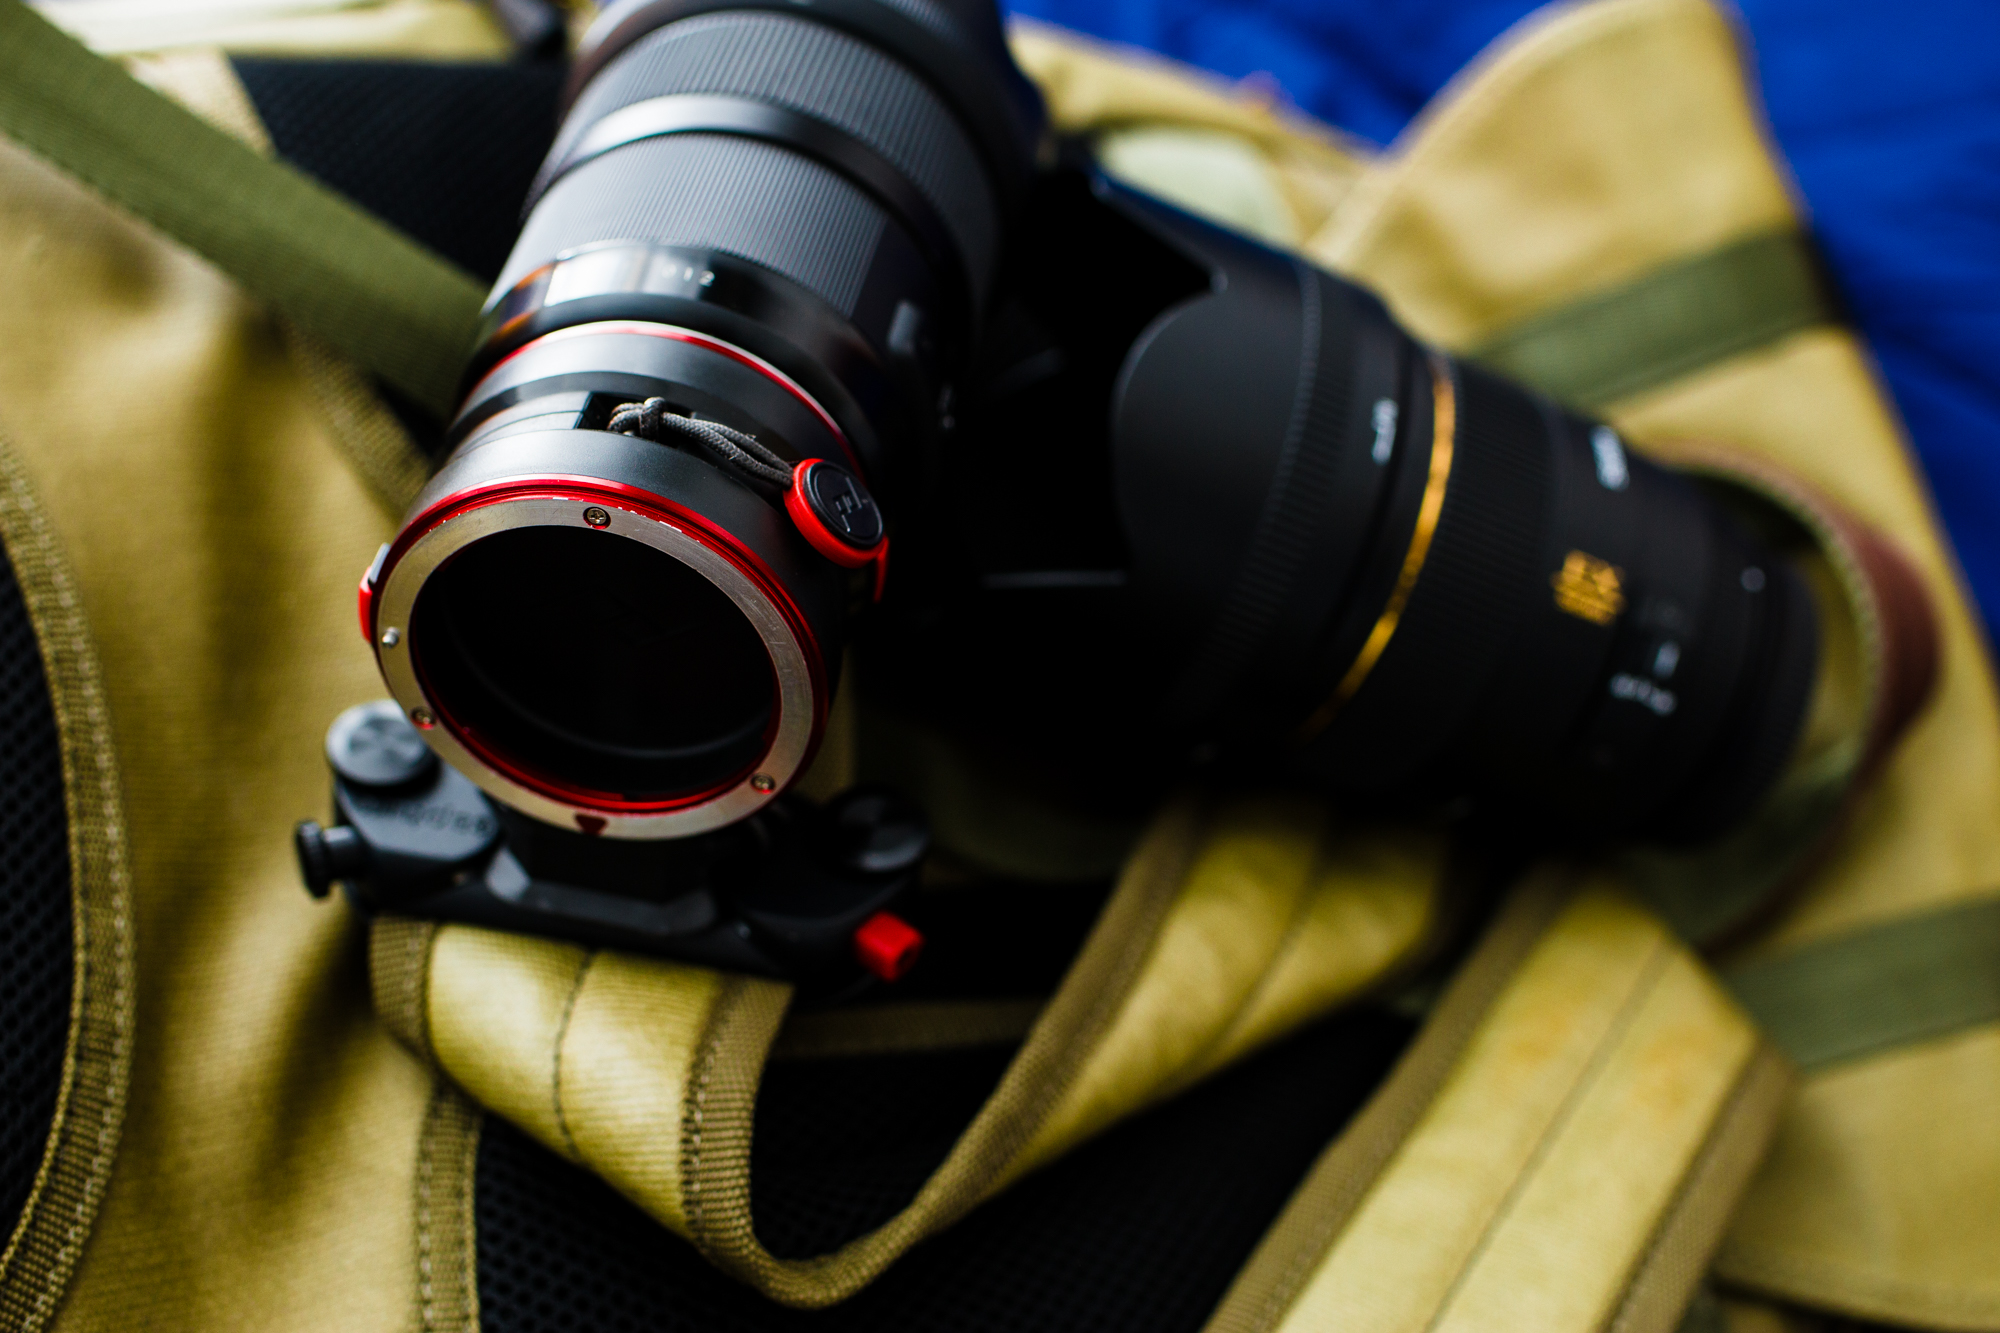
The Peak Design CAPTURELens is designed to hold two lenses or one while you shoot. It’s made of metal and uses a solidly designed mounting system with buttons–just like most cameras do. It even has a two little sticky pads to hold your lens caps.
To use it to its best advantage, you’ll need to mount it into a CAPTUREClip–which is part of the Lens Kit. For the best results, you should lock the release button on the clip, then just mount your lenses since the CAPTURELens won’t really be coming out of this clip.
Build Quality
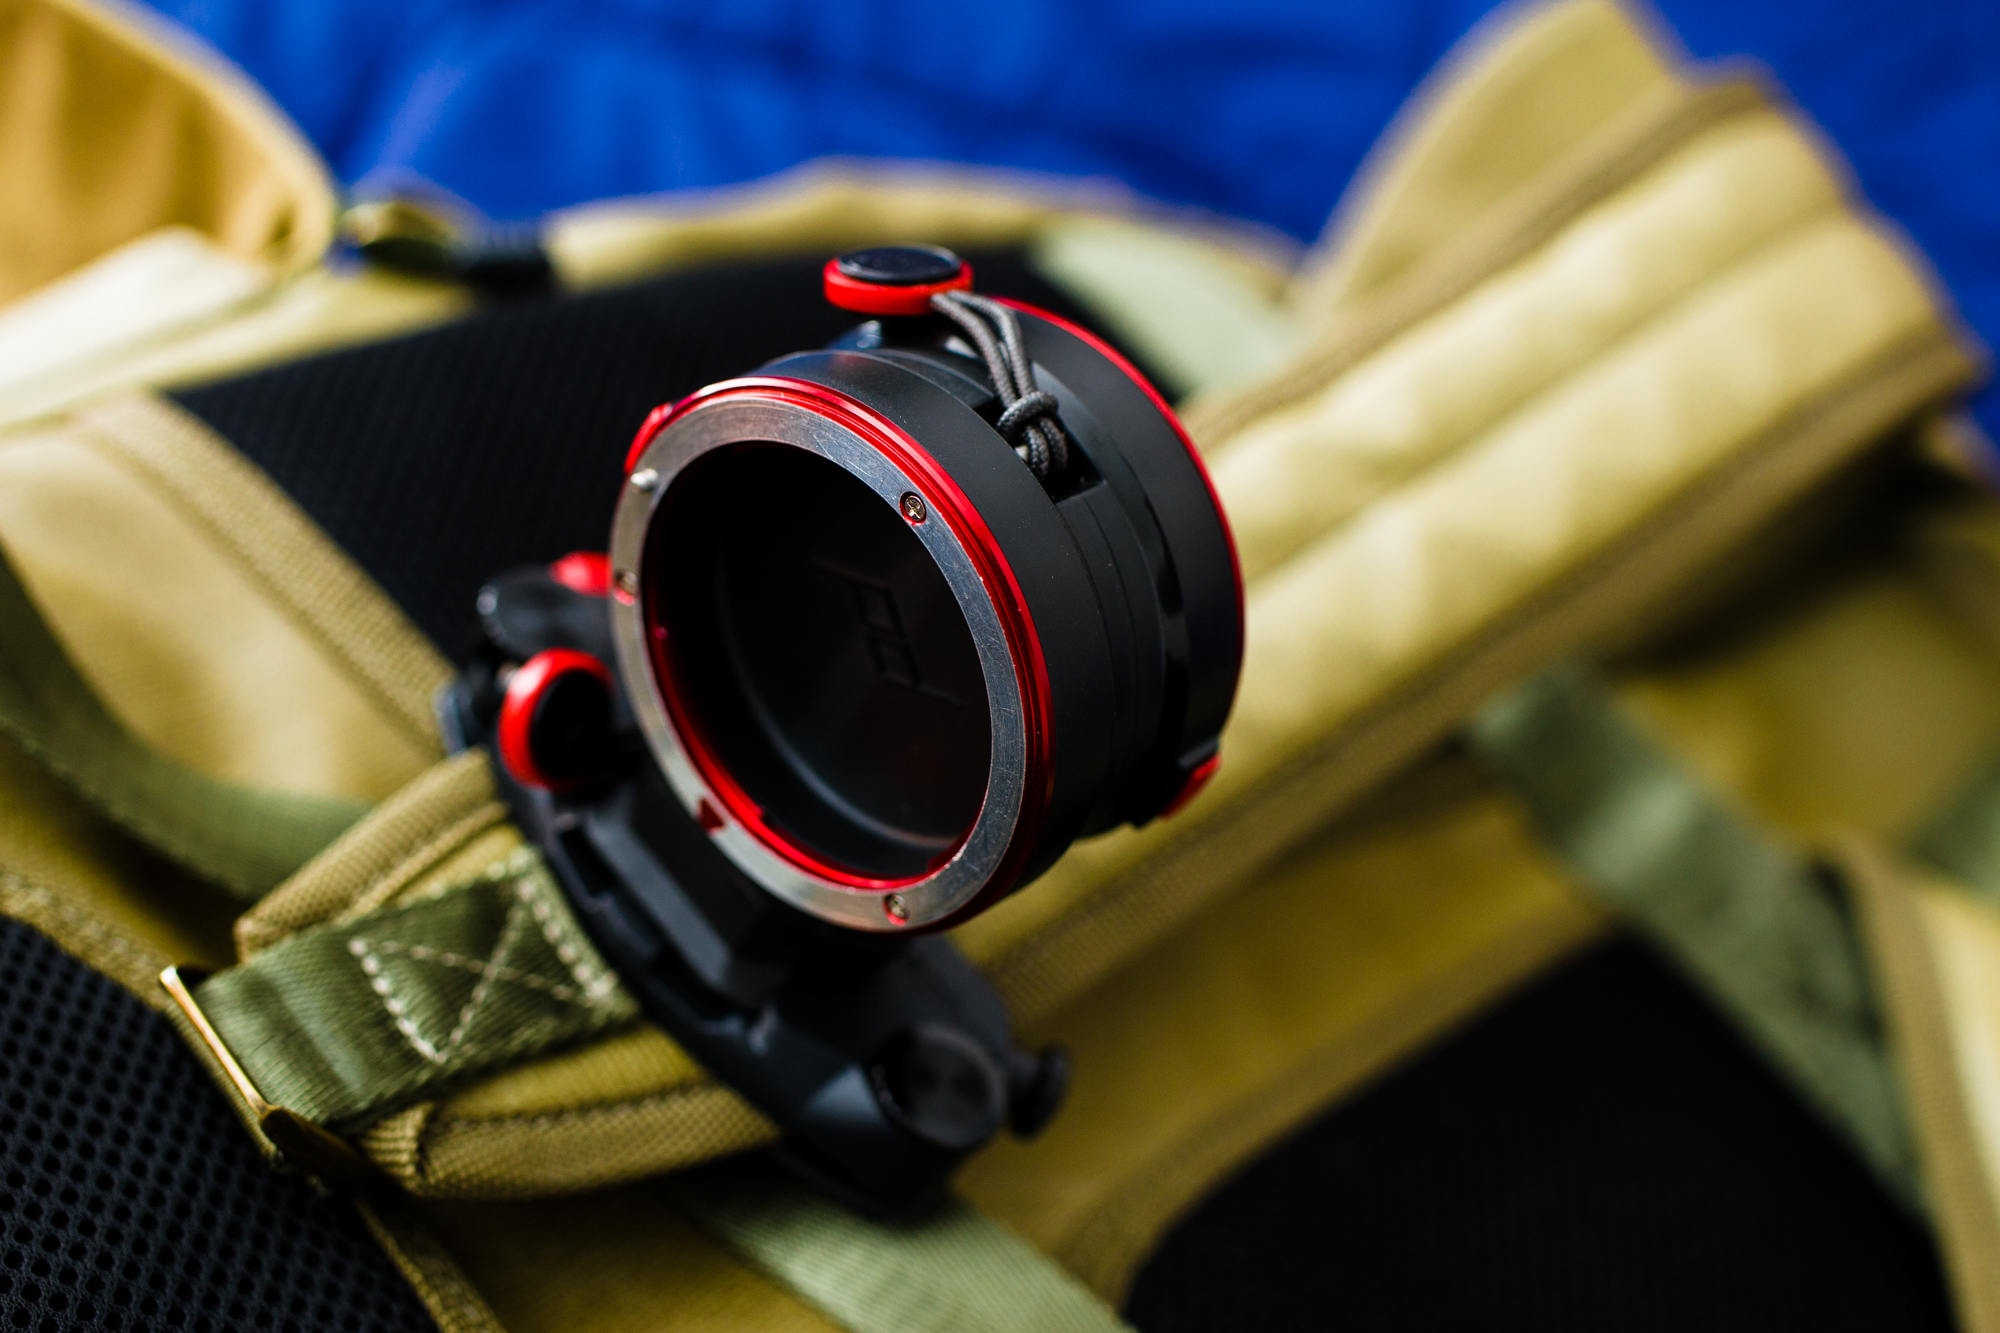
For the most part, CAPTURELens is very solidly designed. At no point during my use with it did I feel 100% confident that my lenses were going to fall out providing that they were fully clicked into place and I rotated them in the right way (with the lens mount dot facing the bottom of the CAPTURELEns mount.) Of course, that means you need to be careful about all this. At first, I had initial hangups about it, but those were eventually gone. The key here is to ensure that you hear and feel the click.
On the side of the mount, you’ll spot a red button for you to release the lens. What would have been really, really nice is if this design gave you three release buttons around the mount to make the access even quicker in real life use. In terms of ergonomics and how you grip it, this just makes more sense.
Ease of Use
Here’s Peak Design’s video for the product above, which demonstrates a lot about how it’s used. For the most part, it’s best used on a backpack, and I’m not really comfortable using it on a Peak Design Messenger bag for the reason that I hang the bag around to make it sit on my left side. This is just how I’ve always been comfortable putting my bag and changing my lenses.
It’s a formula that I’ve always been comfortable with and I’ve never seen any reason to change it if it helps me get the shots I need quickly.
Traditionally what I’d do if I were on the move is:
- Open the bag with one hand then grab the lens I wanted
- Unmount the lens on the camera with the other hand
- Do a lens swap from one hand to the other or put the new lens on the camera, and do a hand off of the old lens to the other hand after the camera and lens are fully clicked into one another.
- Put the used lens in the bag and the new one on the camera.
- Close the bag up with one hand and turn the camera back on with the other
- Go shoot
But with the CAPTURELens what I need to do is:
- Unmount the lens from the camera and leave the camera sensor exposed for a little bit.
- Place the lens in the CAPTURELens mount holder
- Flip the holder 90 degrees
- Flip the holder again 90 degrees to get to the lens that I need since I could never flip it a full 180 degrees with one smooth motion. This is what happens most of the time for me no matter what the positioning happens to be (left or right strap.)
- Unmount the lens I want
- Put it on the camera
- Turn the camera back on
- Go shoot
Quite obviously, I don’t expect everyone to be able to do what I can as a former wedding photographer and photojournalist–to boot I wear my camera strap in a different way that’s more comfortable to me and my muscle memory. If the CAPTURE Clip is used and I’m not using a strap, this becomes a bit easier but even then not by much.
Let me try to explain this in pictures.

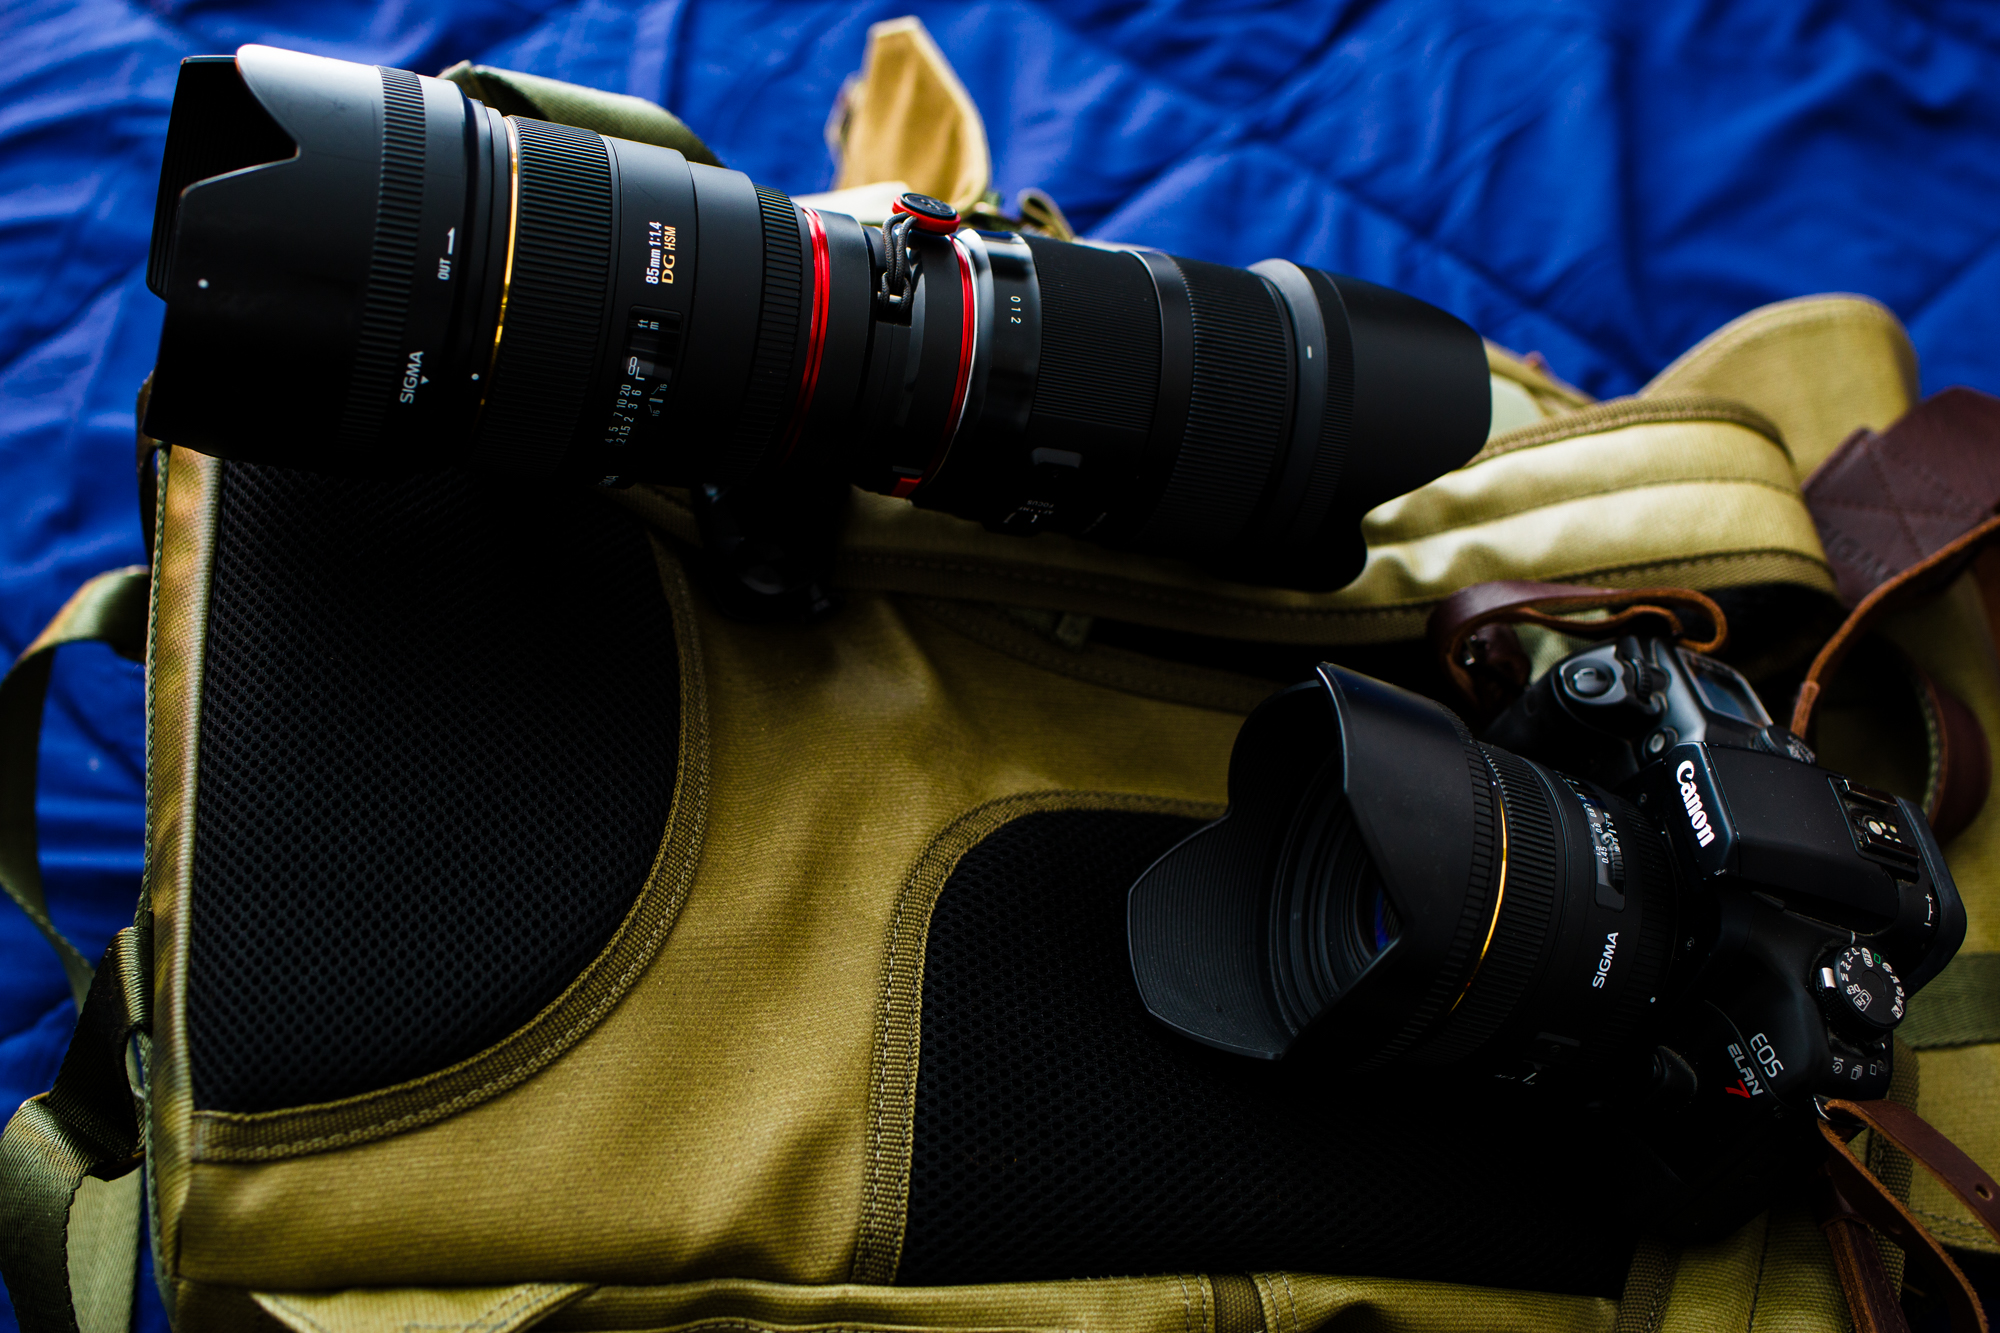
To start, in order to swap the lens positioning, you need to pull the CAPTURELens away from you and then twist. While it’s possible to twist it 180 degrees in one motion, it’s really not as simple as advertised. I’m obviously not gripping it this way to turn the CAPTURELens, but instead I had to do this to demonstrate how it works.

Consider this to be position one for your cameras and lenses. Let’s say the camera is on a strap around you and the two lenses are in this position. When you put the backpack on, the lenses are going to get in the way of one of your arms and they’re also possibly going to get in your face if the hoods are popped up. This works a bit better if the lens hoods are reversed but then there is an extra step with needing the put the hoods on the correct way.
The CAPTUREClip is attached to a strap on my camera bag; and I typically use it this way very comfortably with no real hassle. It’s not as quick as using it from the hip, but it works when my hips need to be a bit more free.
Imagine a person wearing this setup above and imagine that person in the setup in the images below.
Turn the lenses this way and imagine trying to use them. That’s a bit awkward to say the least.
Swap them another 90 degrees and now the lens that was on top is now below and vice versa.
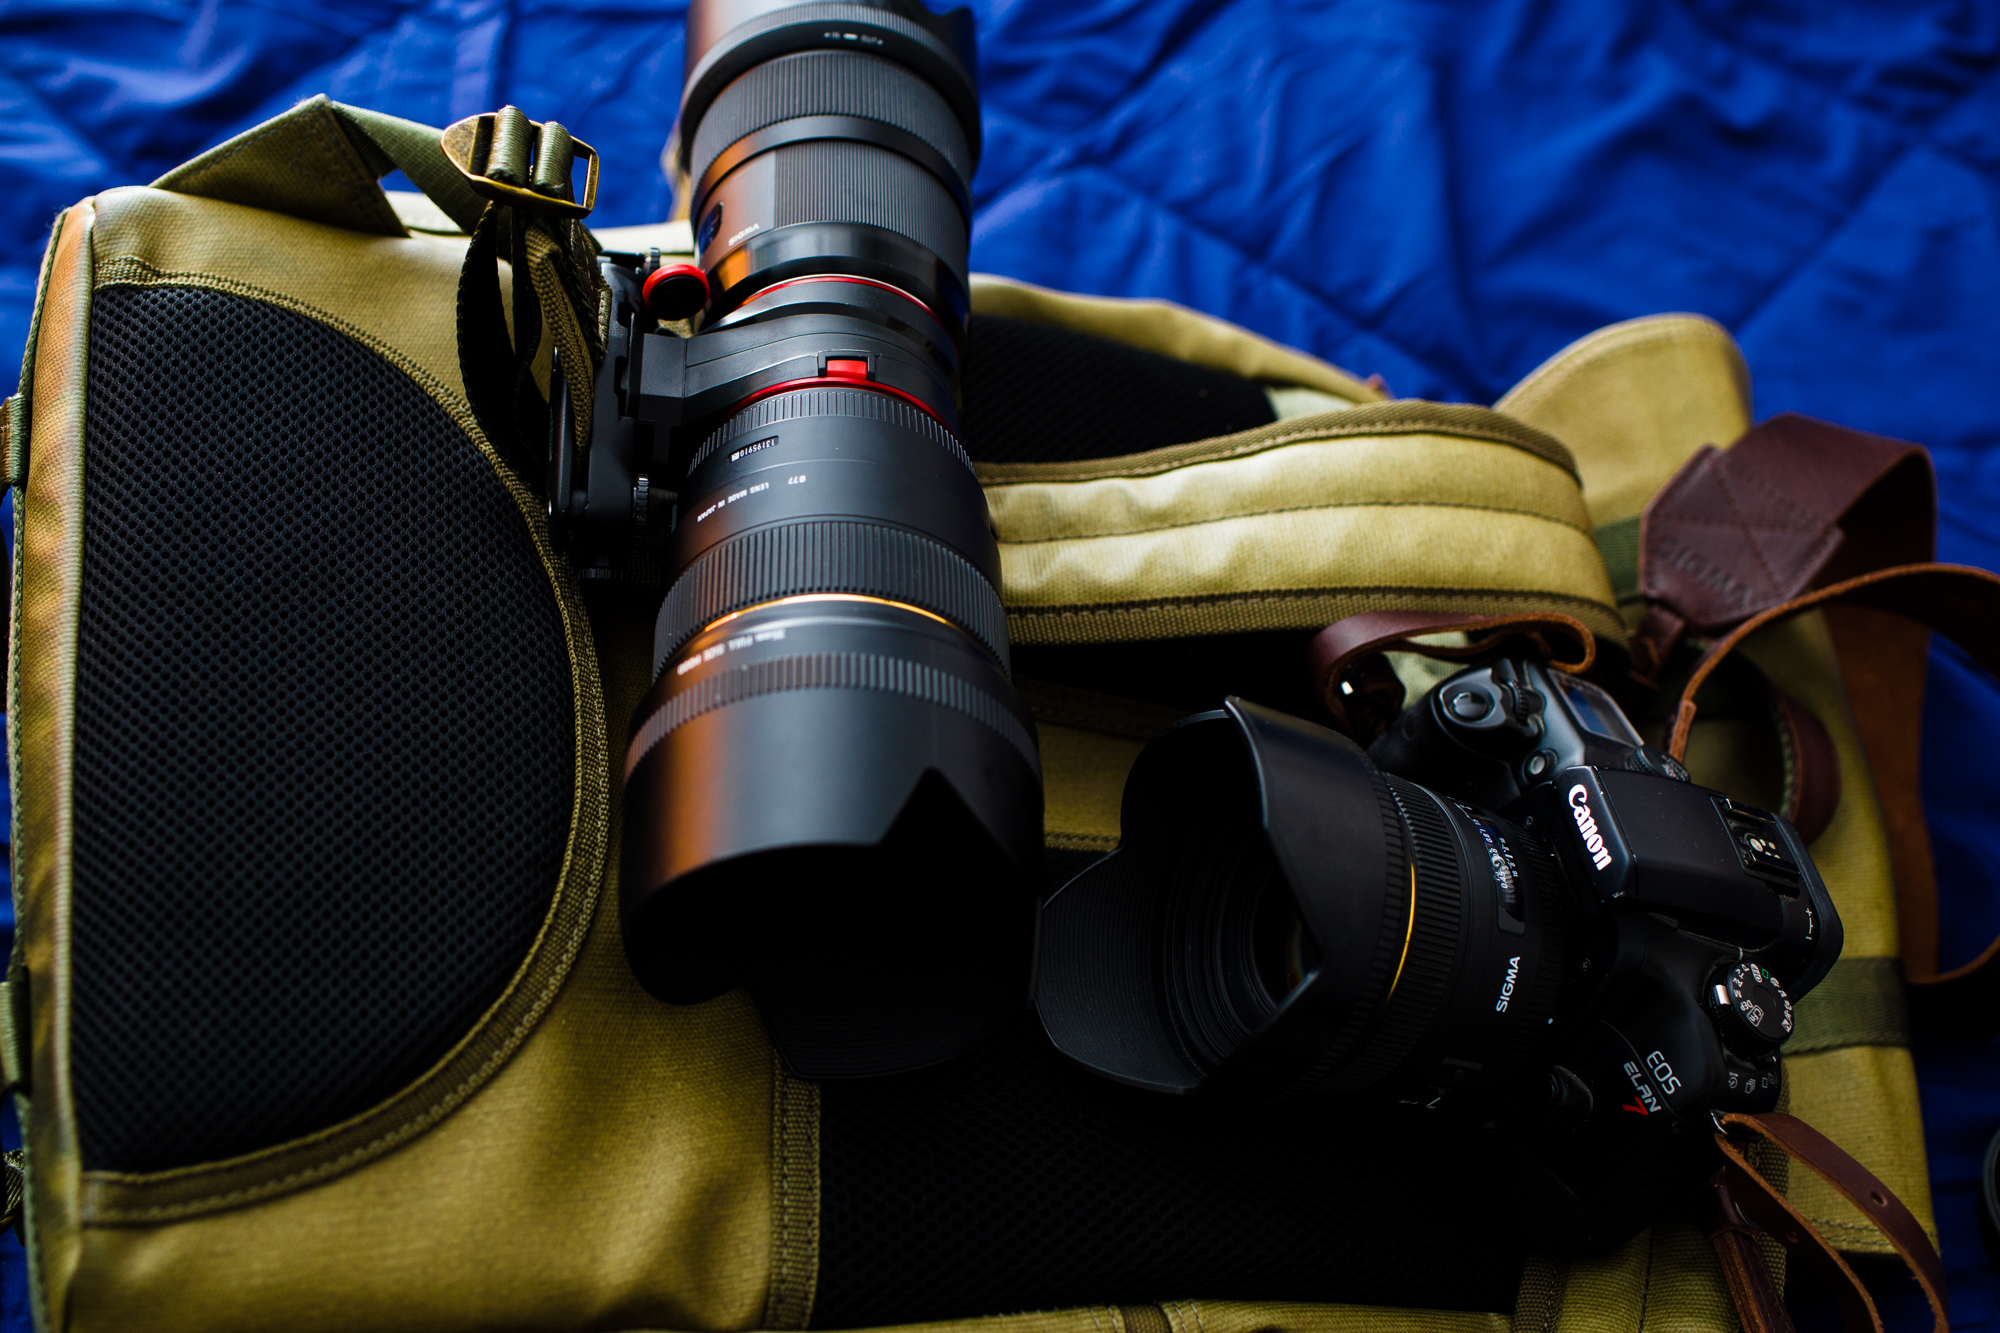
Turn the CAPTURELens again and you’ve gone back to this horizontal position. What you’ll notice here is that the clip is mounted to the right side. As I was writing and re-reading this review, I went back again and did what I did before–switched it up by putting the CAPTUREClip on the left and the camera on the right. This was done just to ensure that all my ducks were in a row.
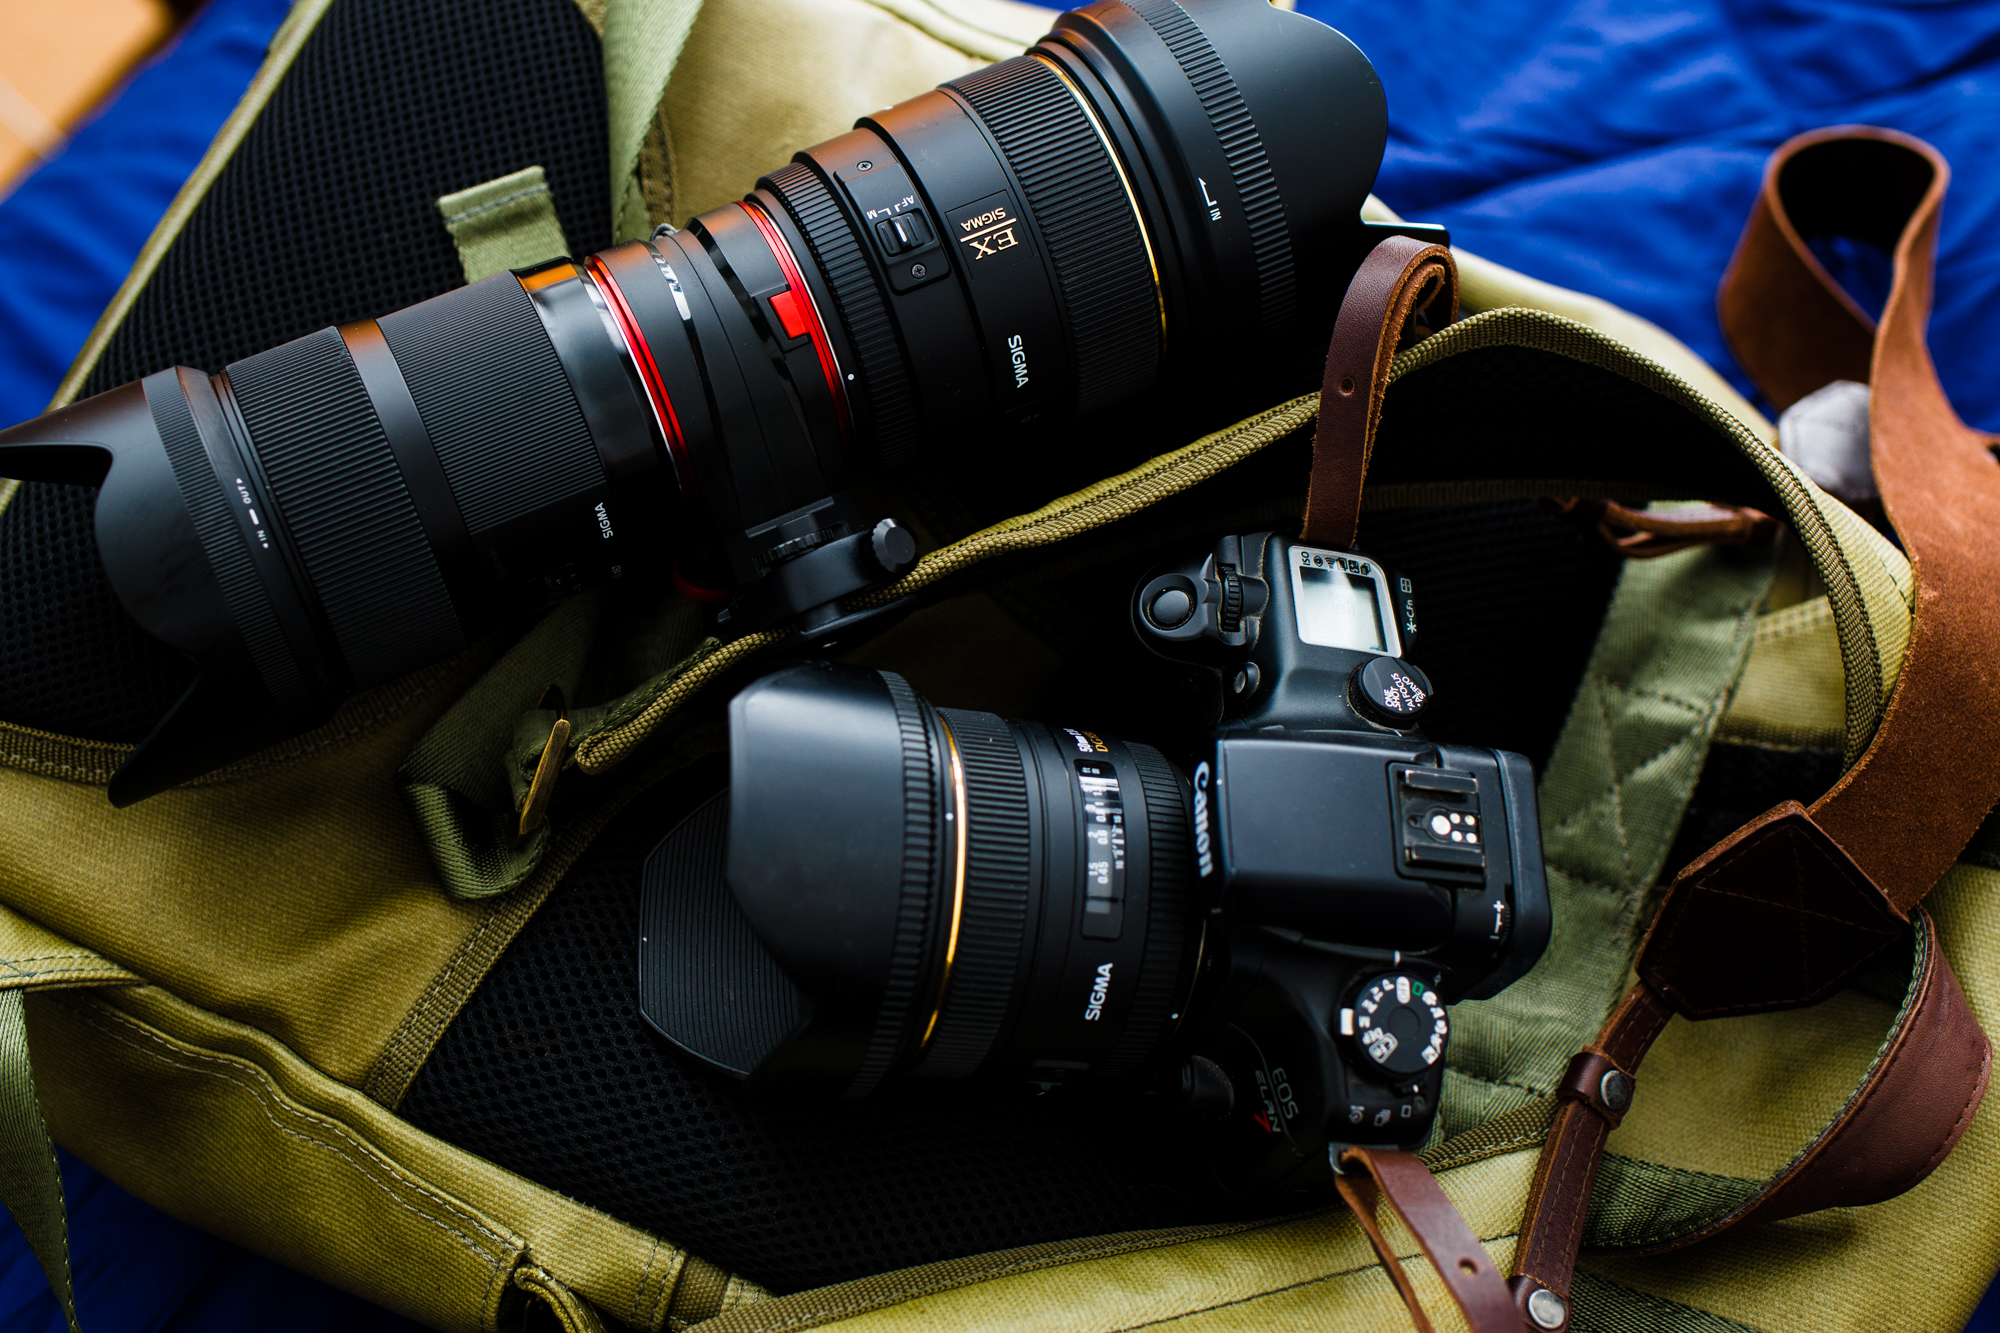
The problem here is that this doesn’t really feel comfortable and I still didn’t find that doing the one handed motion was that smooth and simple. I typically have my camera slung from the right shoulder to my left hip and to get ready to shoot, I typically grab the lens first, bring the camera to my eye and then my right hand meets the camera. But with the camera slung this way, it made everything awkward to use with big f1.4 lenses though I’m sure it would be less painful with smaller glass.
If your camera lens has the hood attached and ready and so do your other lenses, then this will be a major pain in the ass when it comes to using the setup. If you’re using smaller lenses like the lineup from the Sony E mount or nifty 50 lenses, then you won’t be too troubled. But when it comes to using big f1.4 primes (and I can imagine big f2.8 zooms) you’ll run into ease of use issues.
If you put both the camera bag down and the camera down, then you also won’t spend so much time with your camera sensor uncovered; but if that’s the case then you may as well just stick it into your camera bag.
Conclusions
In its current state, I’m really not a big fan of the CAPTURELens. I believe that it needs a lot of improvement to be really viable and work effectively. For what it’s worth, I’m also just much more of a fan of putting the lens into my camera bag where I know it won’t suffer from bumps or hits from other people, things, or acts of nature and gravity–in the case of my tripping and falling, the lenses in the bag will be protected but the lenses around me are going to suffer the brunt of my weight.
If you’re only using two lenses, then it isn’t as terrible–but at the same time you may as well just reach into your camera bag and make the process even faster and ambidextrous. If you’re using three lenses, it becomes even more complicated. Upon rewatching the demo video, the camera sensor is exposed for a fairly long amount of time. If you’re a pro, this can result in a smeared or dirty sensor that can screw up all your images.
Either way, Peak Design has a lot of work to do here, and we’re really not happy with the product in its current state for DSLRs. For mirrorless cameras, this works pretty darn well due to those systems having smaller lenses.
On a personal note, I just really prefer to do all my lens swapping with two hands and with care and safety in mind.

We give the Peak Design CAPTURELens three out of five stars. Considering how much Peak Design has evolved as a company, I really, really hope that they get this right in version two.
Editor’s note: we talked to Peak Design and they told us that this is a prototype, one of four in the nation. We weren’t aware of this when testing. I should make it clear that to get the best out of this product, your camera bag always needs to be tightly secured against your body but the unit could also do with a better way of rotating the lenses around. Our decision stands otherwise.
Editor’s Note 2: the system is much better on a belt and it’s possible to save up to 5 seconds when it comes to changing lenses; which is fine if you’ve got one camera. Still though, your lens around your waist isn’t the most safe spot for it. Mounted to another camera or in your bag is so much better.
Get rid of the ads!
Did you enjoy reading this article as much as we enjoyed writing it? There's a way to support us and our reporting, getting ad-free navigation and more as a bonus. Subscribe to us for less than a coffee per month —just $3.99— or take advantage of our yearly subscription with a hefty discount for only $25.- An ad-free experience
- A free mystery box for Lightroom or Capture One
- All the books in our store
- 20% discount on Capture One
- 30% discount on Imalume Photo Theft Protection
- 20% off Herbs and Kettle Tea Company.