
ND filters have been used by landscape photographers for many years. They’ve evolved over the years to become much better in quality and have found use amongst portrait and commercial photographers too. However, they’re most commonly associated with landscape photographers and more typically with seascapes. But that doesn’t mean that you can’t use one otherwise.
After the jump, we’ll give a quick introduction to using ND filters for landscape photography.
What is an ND Filter
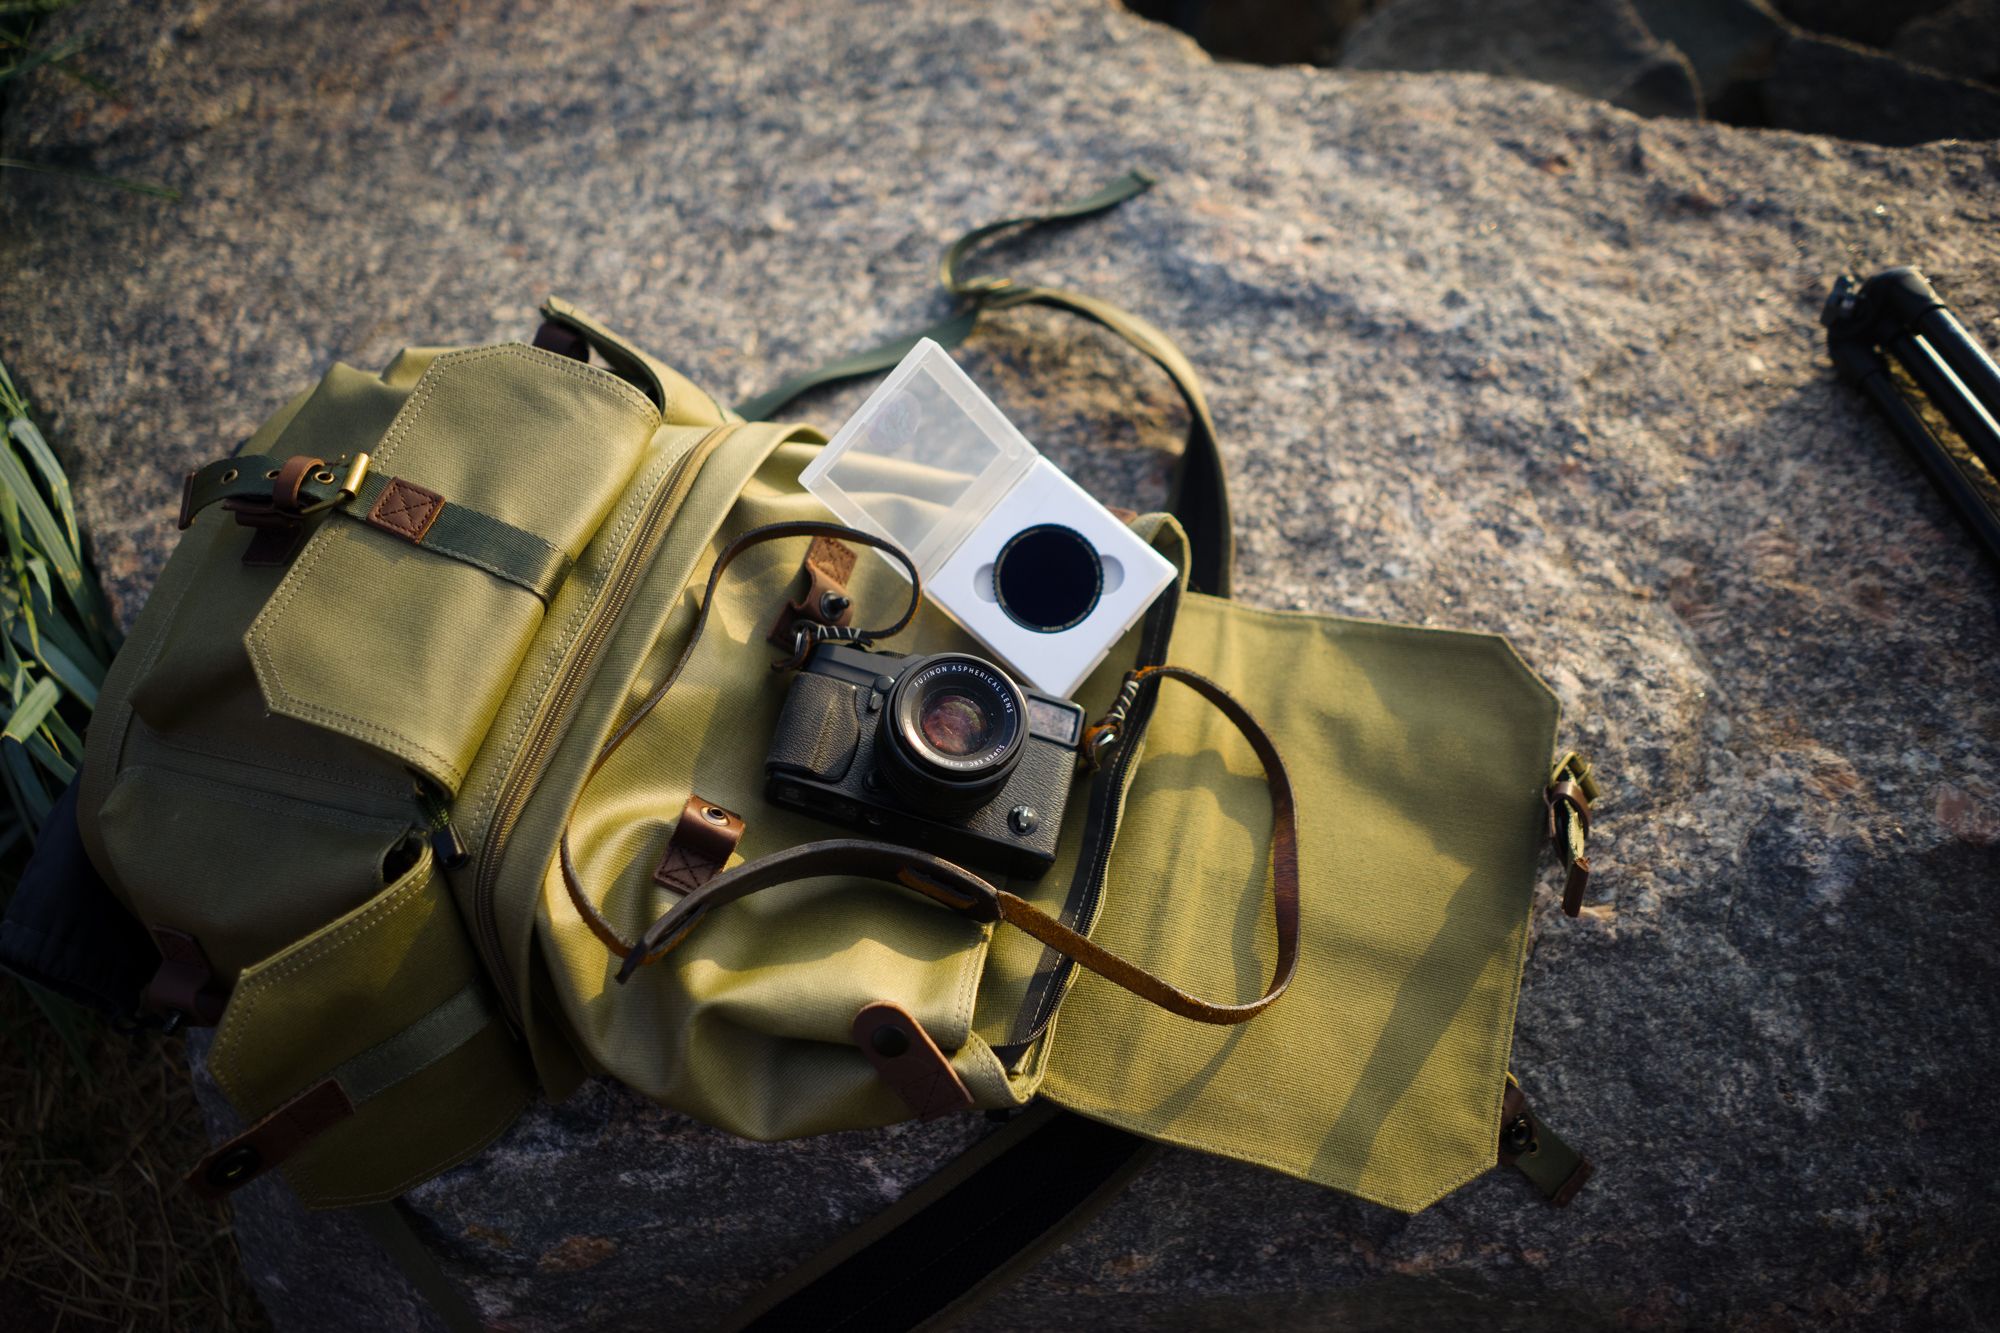
ND filters are also known as neutral density filters and come in three different types. There is the graduated ND filter, standard ND filter and variable ND filter. Graduated ND filters are very dark on one side and very light on the other side. In between the lightest and darkest areas the glass becomes accordingly darker from the light side. These filters are typically used to photograph proper landscapes.
Then there are standard ND filters which only take down a certain numbers of stops of light. Many photographers will use ones that cut out six stops of light while others will cut out up to 12 stops of light.

Lastly, there is the variable ND filter–which allows the photographer to dial in exactly how much light cutting abilities they want to use. They’re most often used with videographers these days, but can still be very useful for commercial work and seascape work.
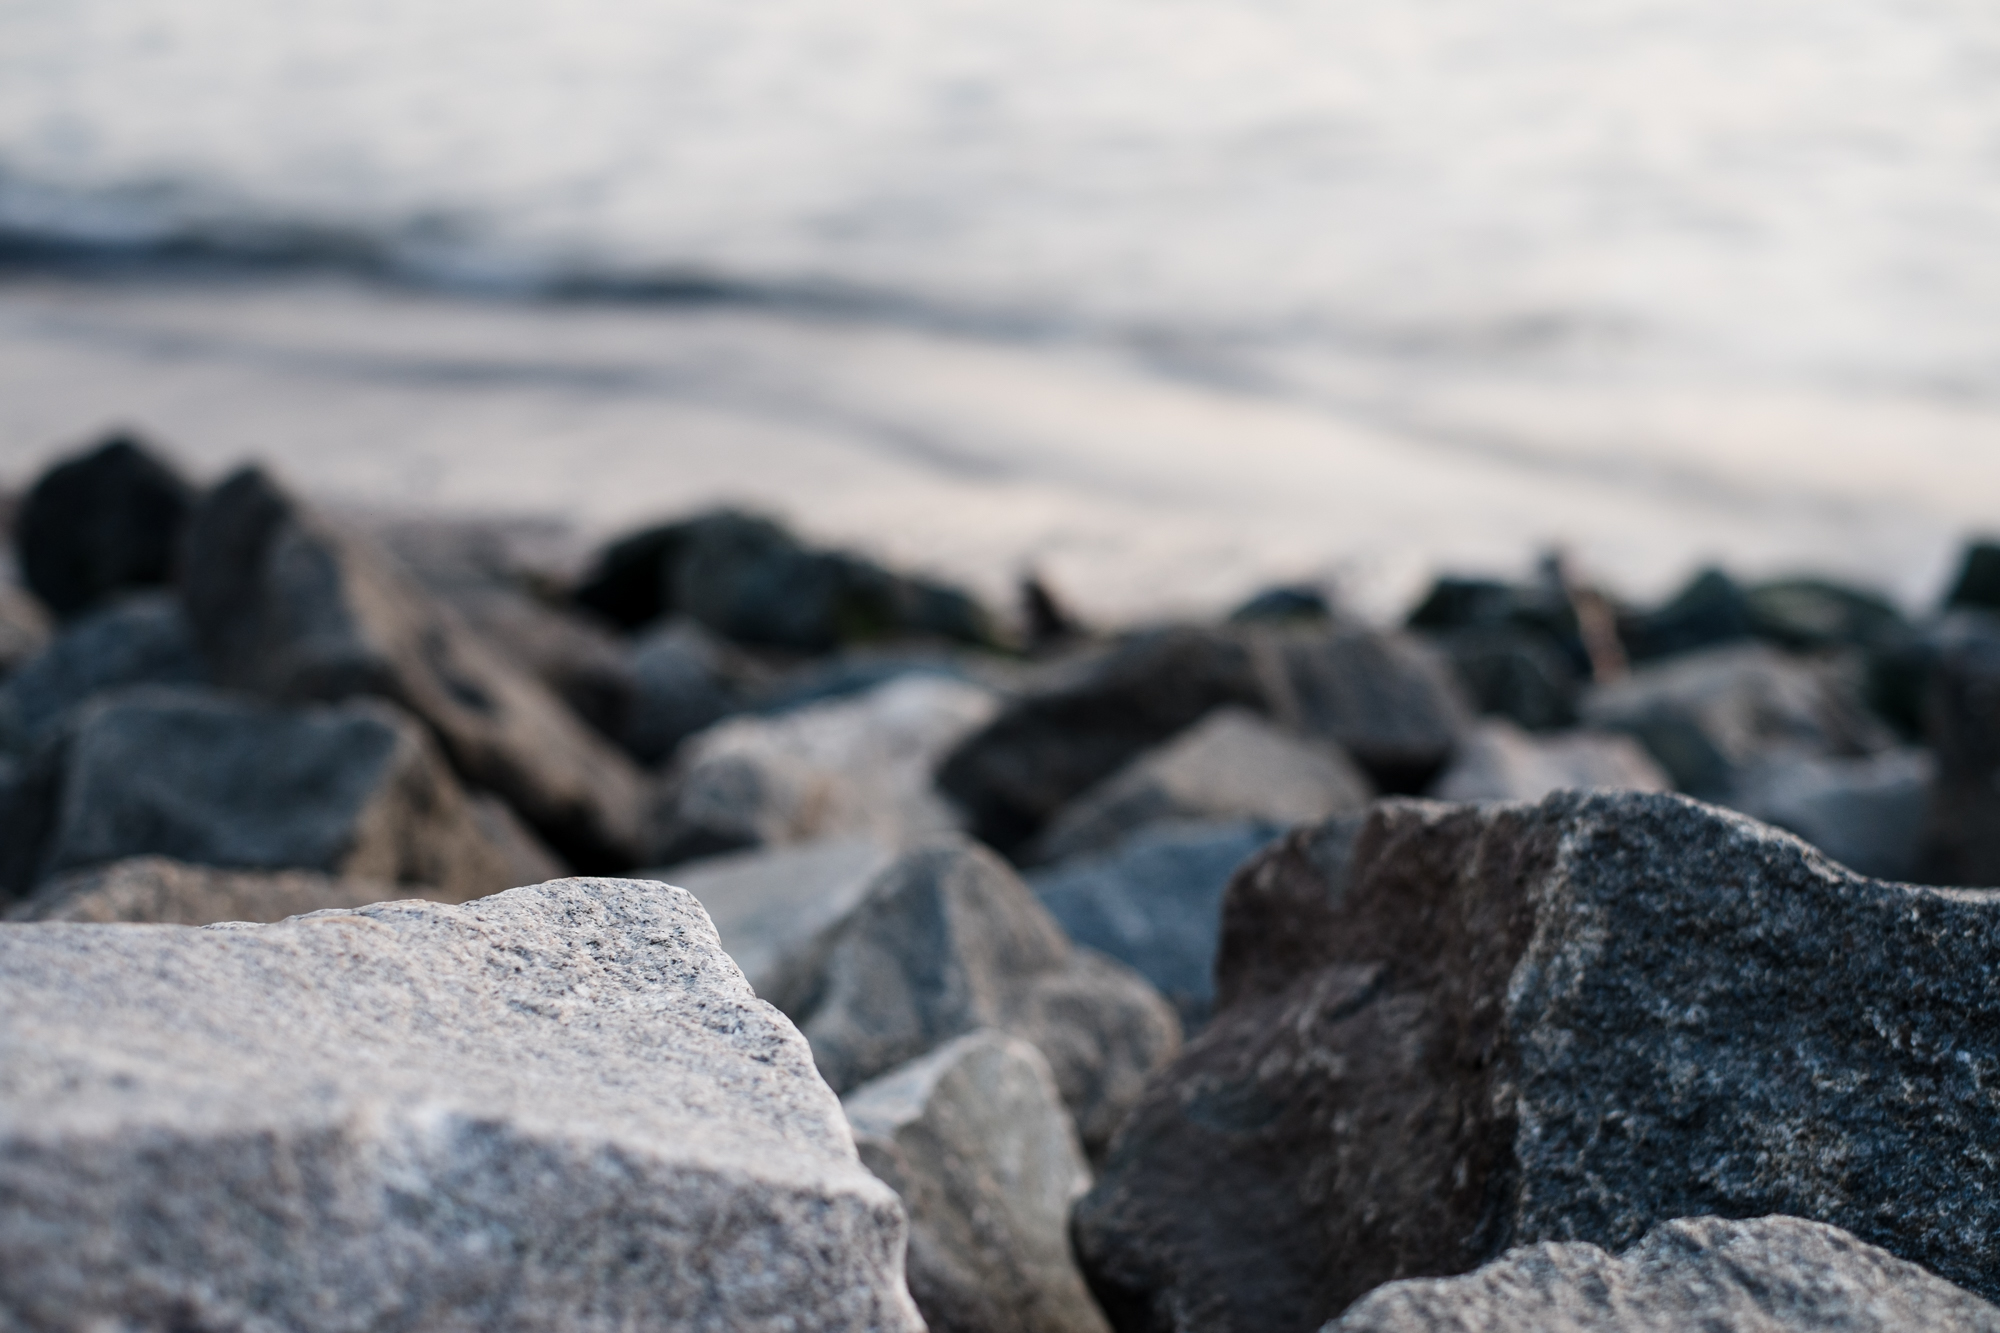
They’re used to cut down on light in a scene and therefore let you use a slower shutter speed or a wider open aperture in bright light. The slower shutter speed is why they’re so popular with seascape photographers who want a dramatic look with waves crashing against the banks.
How Do You Use It?
Here’s how you use each different type of ND filter.
Standard ND filters
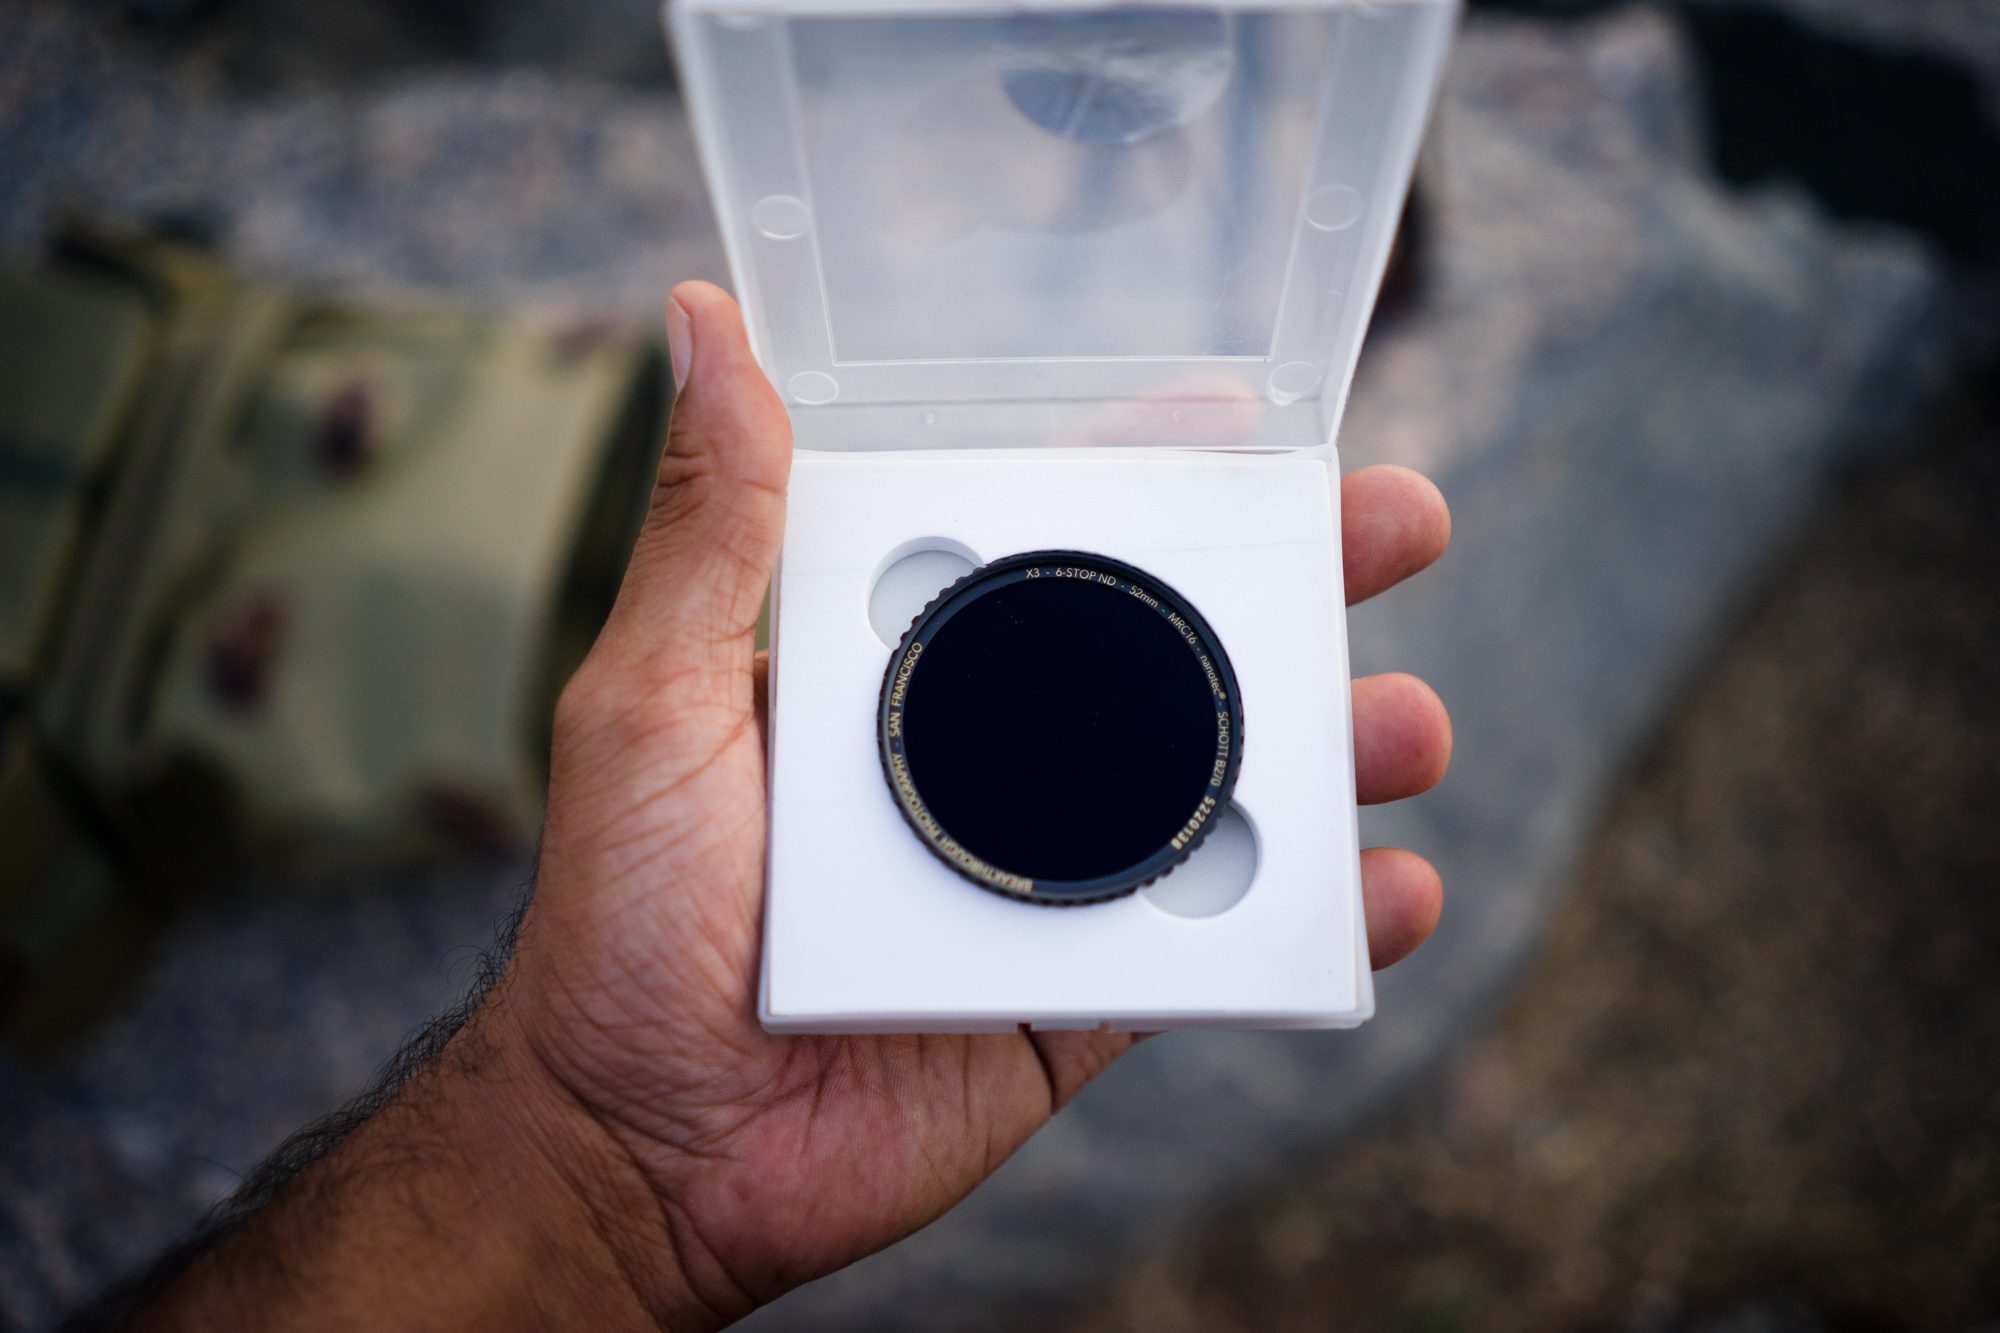
For standard ND filters, you simply screw them onto the lens and shoot away. We recommend working in manual mode and shooting with a very low ISO and with your camera on a tripod. If you’re shooting with a DSLR, it may become very tough to use the viewfinder or for the camera to autofocus, so use manual focusing instead and the LCD screen with Live View mode. Then you just need to figure out what you want in terms of your final exposure.
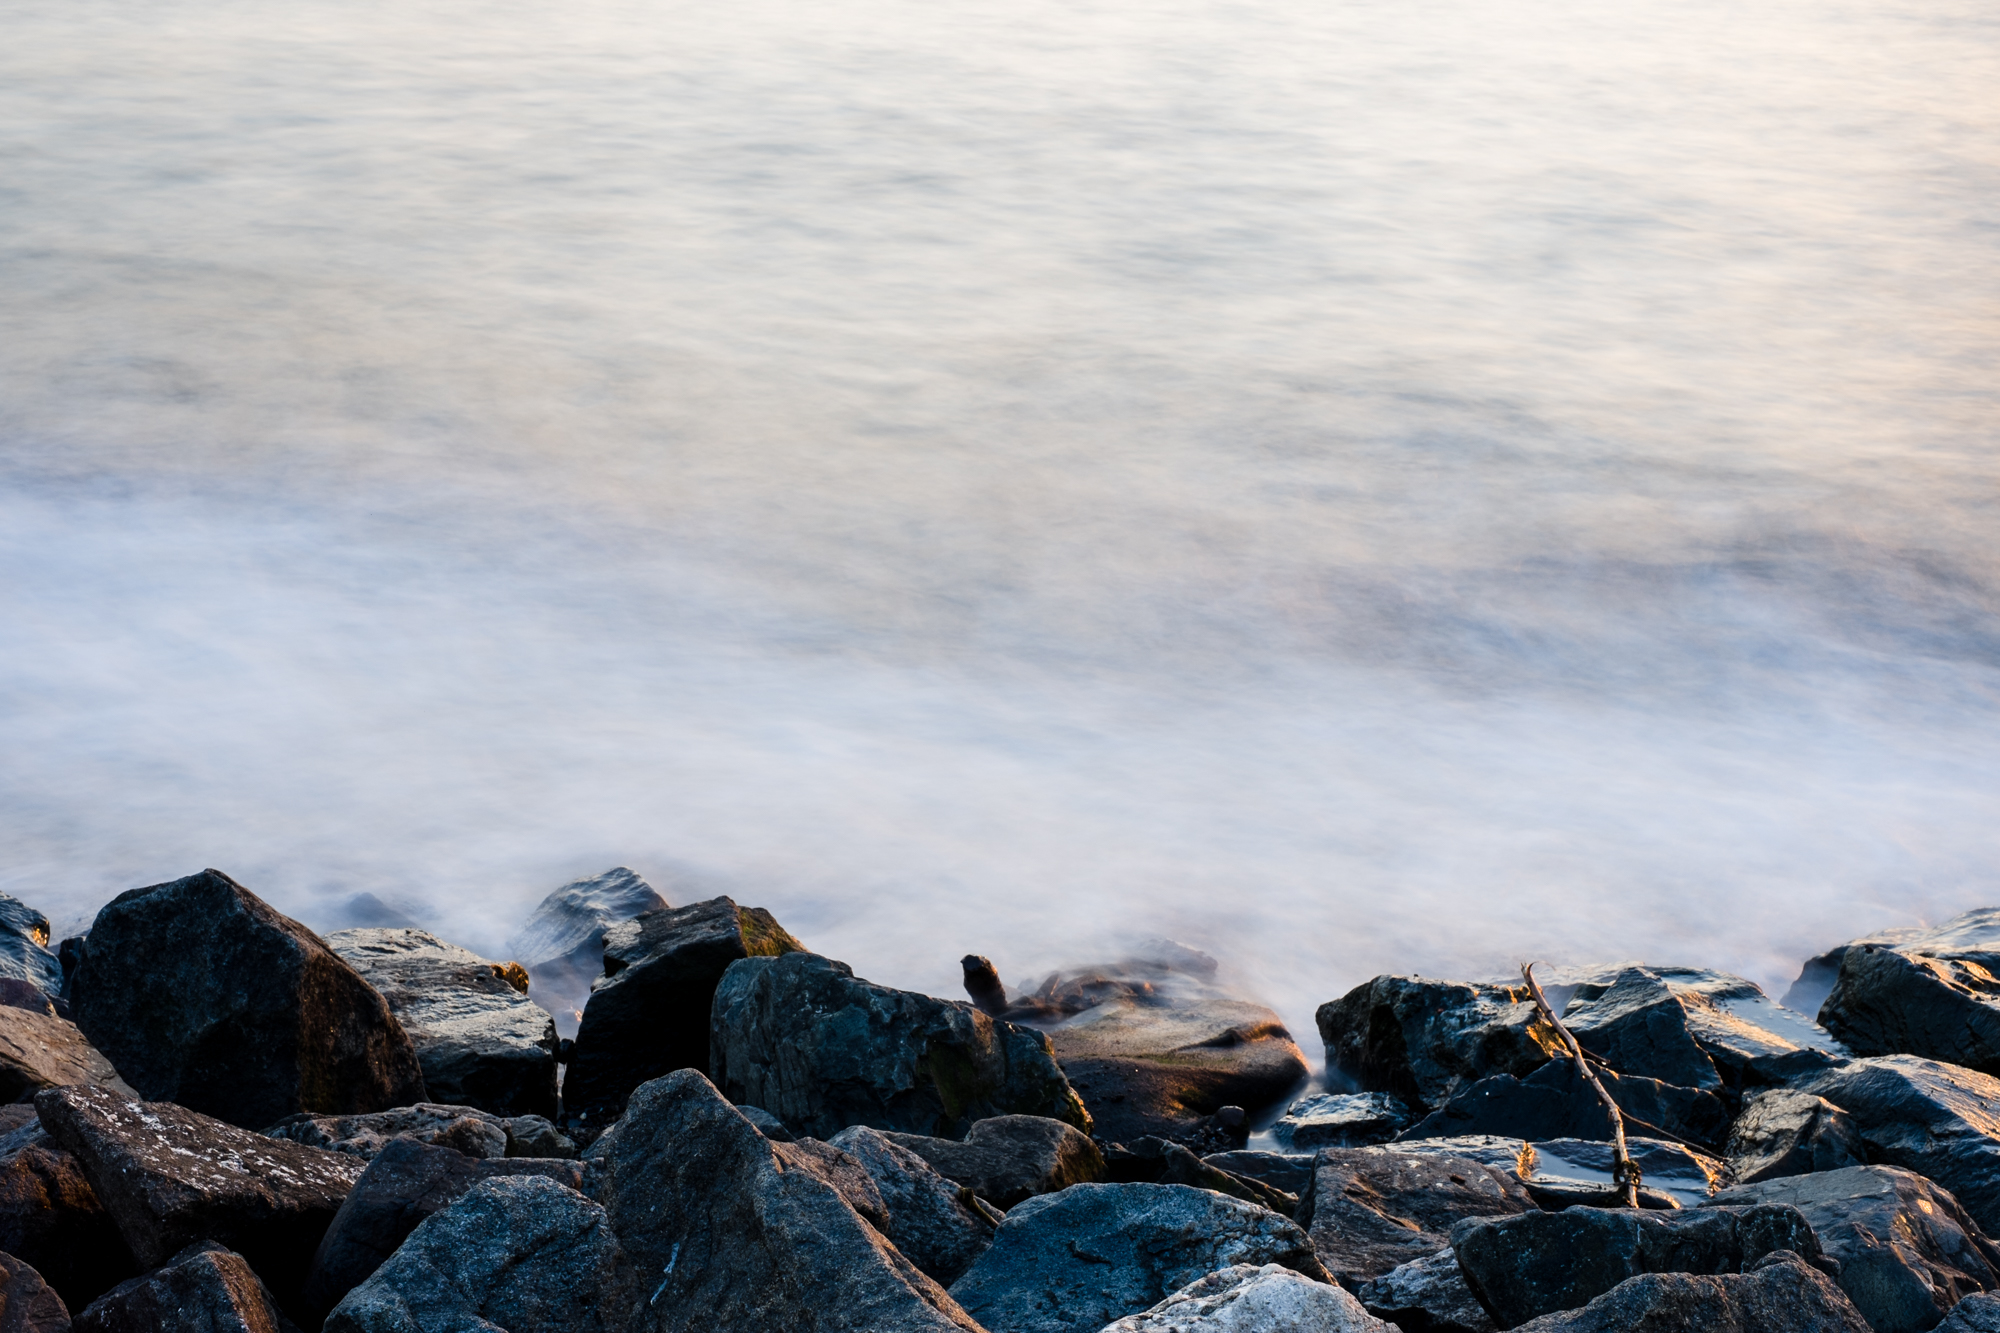
Want the dramatic look of waves crashing onto the shore? Slow the shutter speed down and stop your lens down to ensure that you’ve got a wide scene in focus.
Just want to focus on a small area of the scene? Then open up the aperture and start shooting with a higher shutter speed.
In general, we’d recommend overexposing your scene by around a half a stop or a full stop to get an even more dramatic look. Then pull the highlights in post-production when you bring the images into Adobe Lightroom–which is what we really recommend when editing images like this.
Variable ND Filters
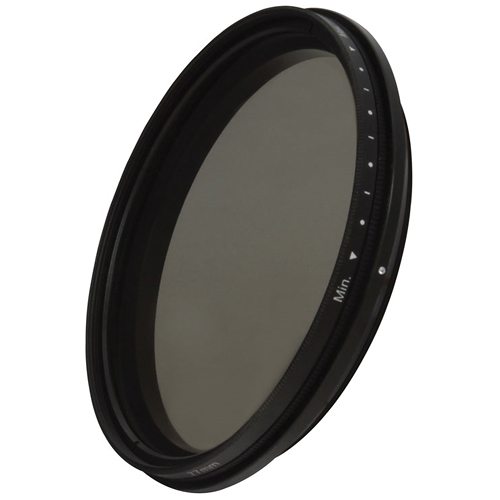
With a variable ND filter, you can dial in as much light cutting abilities that you want. Think of it as another exposure parameter: so that means that you have shutter speed, aperture, ISO and the ND filter’s effect.
In a situation like this:
– The shutter speed controls movement in the scene
– Aperture controls depth of field
– ISO controls overall sensitivity and image noise
– The ND filter controls how much light is cut from the scene.
Graduated ND Filters
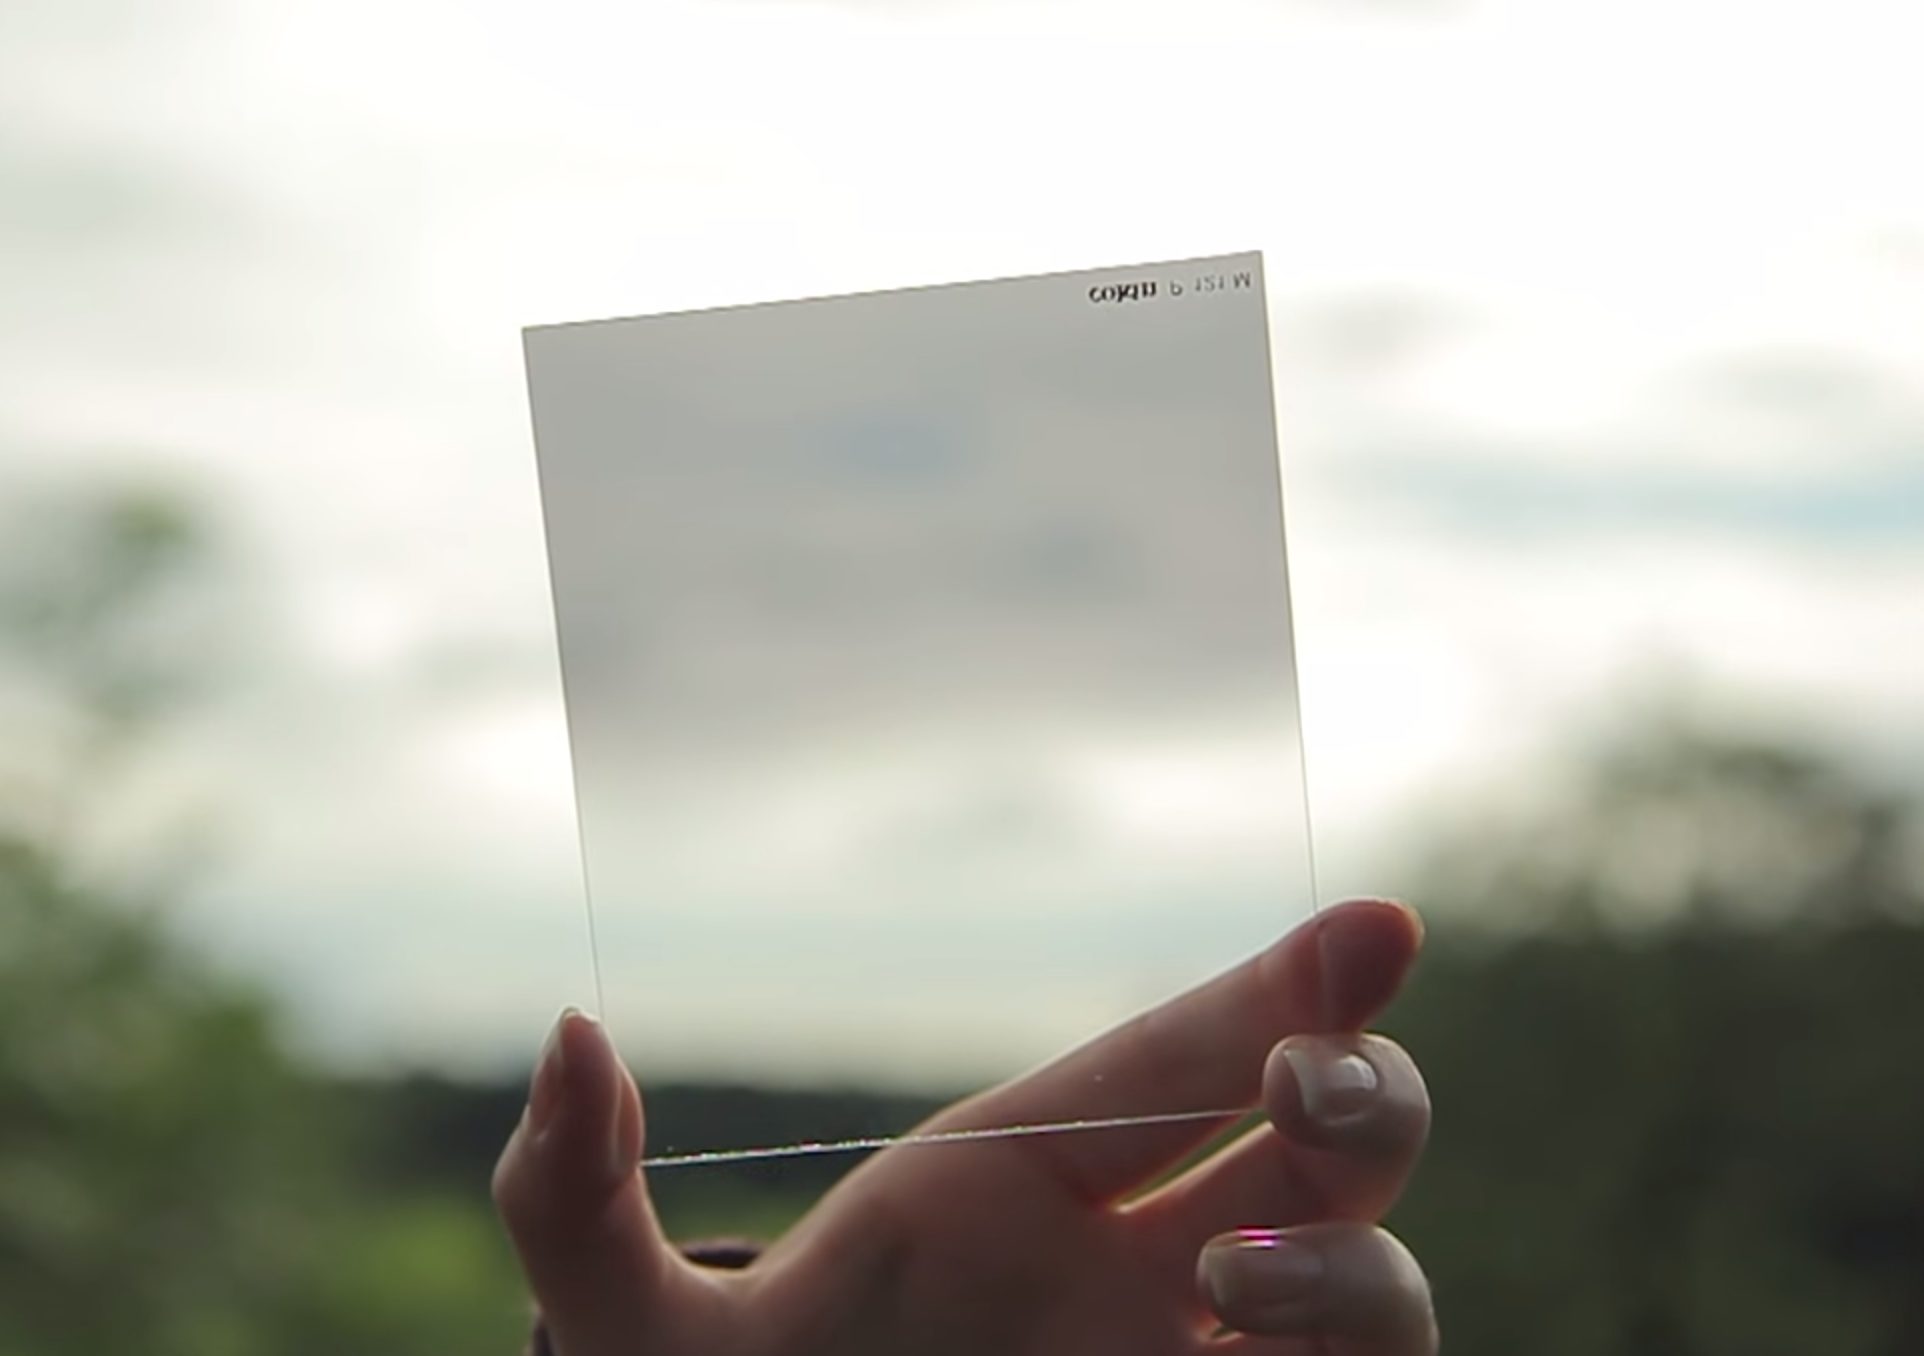
Then there is the graduated ND filter–which is used in a totally different way. These ND filters are very dark on one side and very light on the opposite side. Now here’s the setup: when looking at a landscape you have lots of differences in light. The land itself usually is ridden with shadows while the sky is incredibly bright. So getting the entire scene perfectly exposed requires either lots of dynamic range or very low contrast in the brightest brights and the darkest darks in the scene.
To do this, you’ll equalize the scene with the graduated ND filter. This means that you place the darkest part up towards the sky in the scene and the lightest part down towards the most shadow ridden area of the scene. This means that the camera will let in more light from the shadows and less light in the highlights–therefore creating lower contrast and more equilibrium in the scene with the most information in the highlights and shadows.
Then you simply shoot as normal. Of course, you can also figure out different calculations of the darkest scene and the lightest scene and find an even middle ground but that’s not as necessary with cameras made after 2009. We talk about it a bit more here, but here’s a video for you to demonstrate even more.
Get rid of the ads!
Did you enjoy reading this article as much as we enjoyed writing it? There's a way to support us and our reporting, getting ad-free navigation and more as a bonus. Subscribe to us for less than a coffee per month —just $3.99— or take advantage of our yearly subscription with a hefty discount for only $25.- An ad-free experience
- A free mystery box for Lightroom or Capture One
- All the books in our store
- 20% discount on Capture One
- 30% discount on Imalume Photo Theft Protection
- 20% off Herbs and Kettle Tea Company.
- 20% off your order from MPIX printing services.
- 5% off Viltrox Products via their eCommerce store.
- 10% off all film developing, printing and scanning services from Blue Moon Camera and Machine
- 15% off 7Artisans products: The lens and accessory maker is offering a sweet discount for Phoblographer's readers.