When you’re first getting started in lighting, you’ll probably have the very basics, which could be a single speedlight or single monolight with no umbrella, softbox, or anything else like that. There are many, many ways to make the best of a very minimal situation as long as you’re in the right environment or you’re in the right shooting situation. And even then, you can always make things work for you if you can just think a bit differently and creatively.
This is how you make the best of a single speedlight–and this guide is designed for beginners.
Make it Blend in with Ambient Lighting
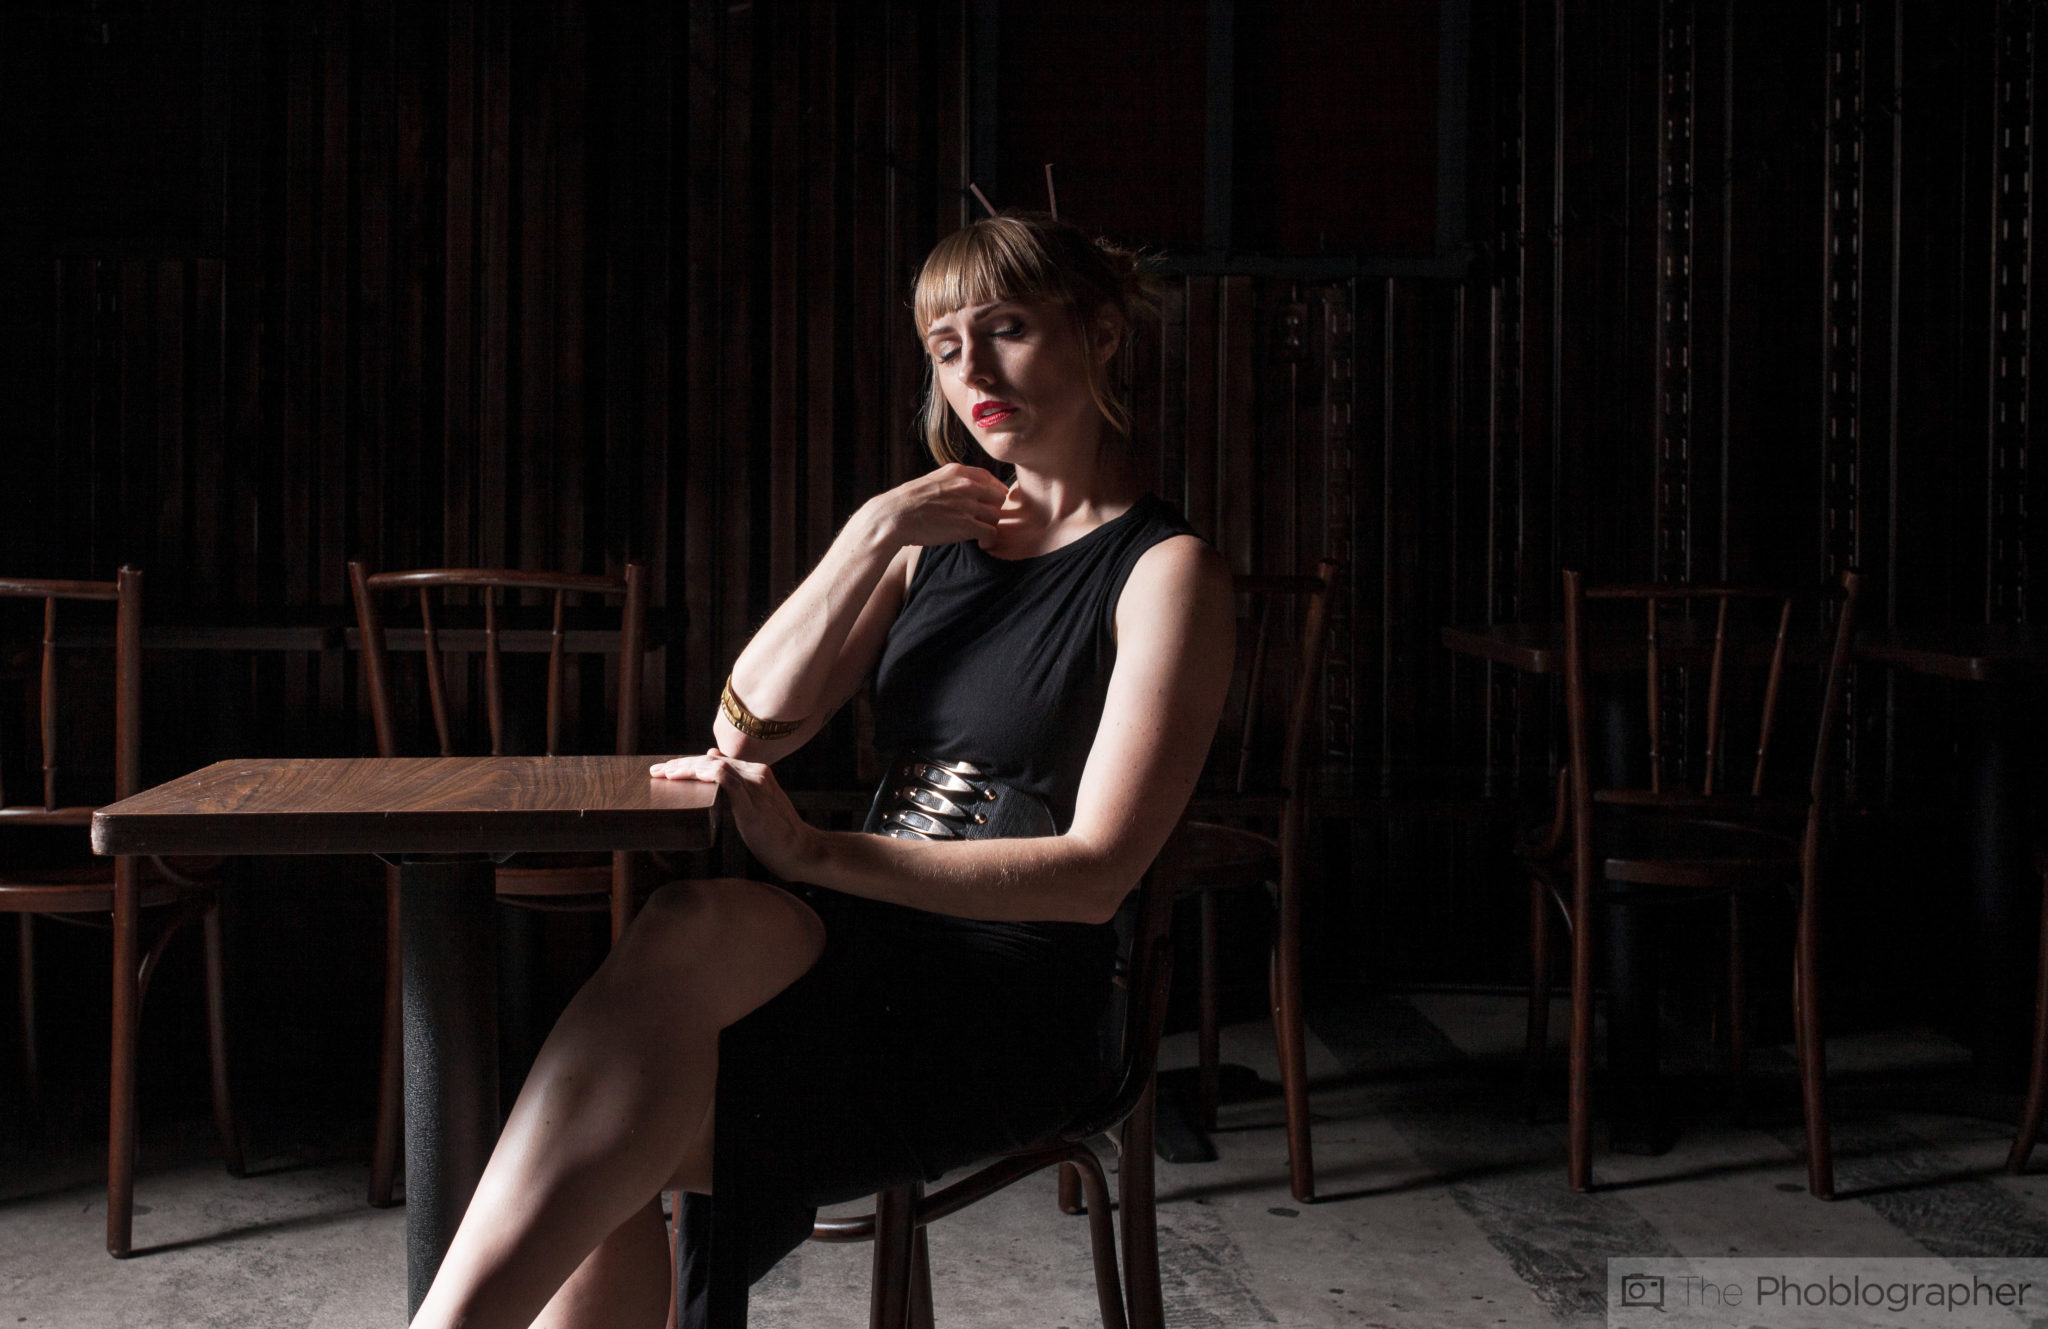
Though it’s sometimes very tough to do, one of the best ways to use a single speedlight is to make it blend in with ambient light to make it look natural. This takes an understanding of apertures, shutter speeds, ISO settings and flash output settings. Doing this is very situational and it forces you to think creatively. There are two big ways to make the light look more natural but we will get to those in a second.
The big train of thought behind making a strobe look natural has to do with the fact that in many situations, you’ll find a lack of natural light. So emulating the look of a window or even a cloudy day can help to add another element to your photo.
The absolute easiest way to make strobe output work with ambient lighting involves what’s called high speed sync, or overpowering the sun. There’s a bit about that in the article hyperlinked in the previous sentence.
Set it to its Widest Zoom Setting
Flashes have zoom settings to match accordingly with lenses. Theoretically, if your flash output is covering a larger surface area, the light will be softer on your subject. Many flashes come with what’s known as a wide angle diffuser that is designed for it to be used with 14mm lenses. When this reflector is active and the power is very low, it will deliver very soft light that will give just enough punch to also bring out details in a subject that weren’t so easily viewable.
Conversely, if you narrow the beam, it will be much harsher–kind of like what a snoot can do. Of course, you may want a look like this for still lifes. We’re going to leave the creativity up to you, but you should know that the zoom settings also plays into the basic laws of lighting:
– The larger the light source in relation to an object, the softer it will be.
– The smaller the light source is in relation to an object, the harsher it will be.
A better example is shown in this post.
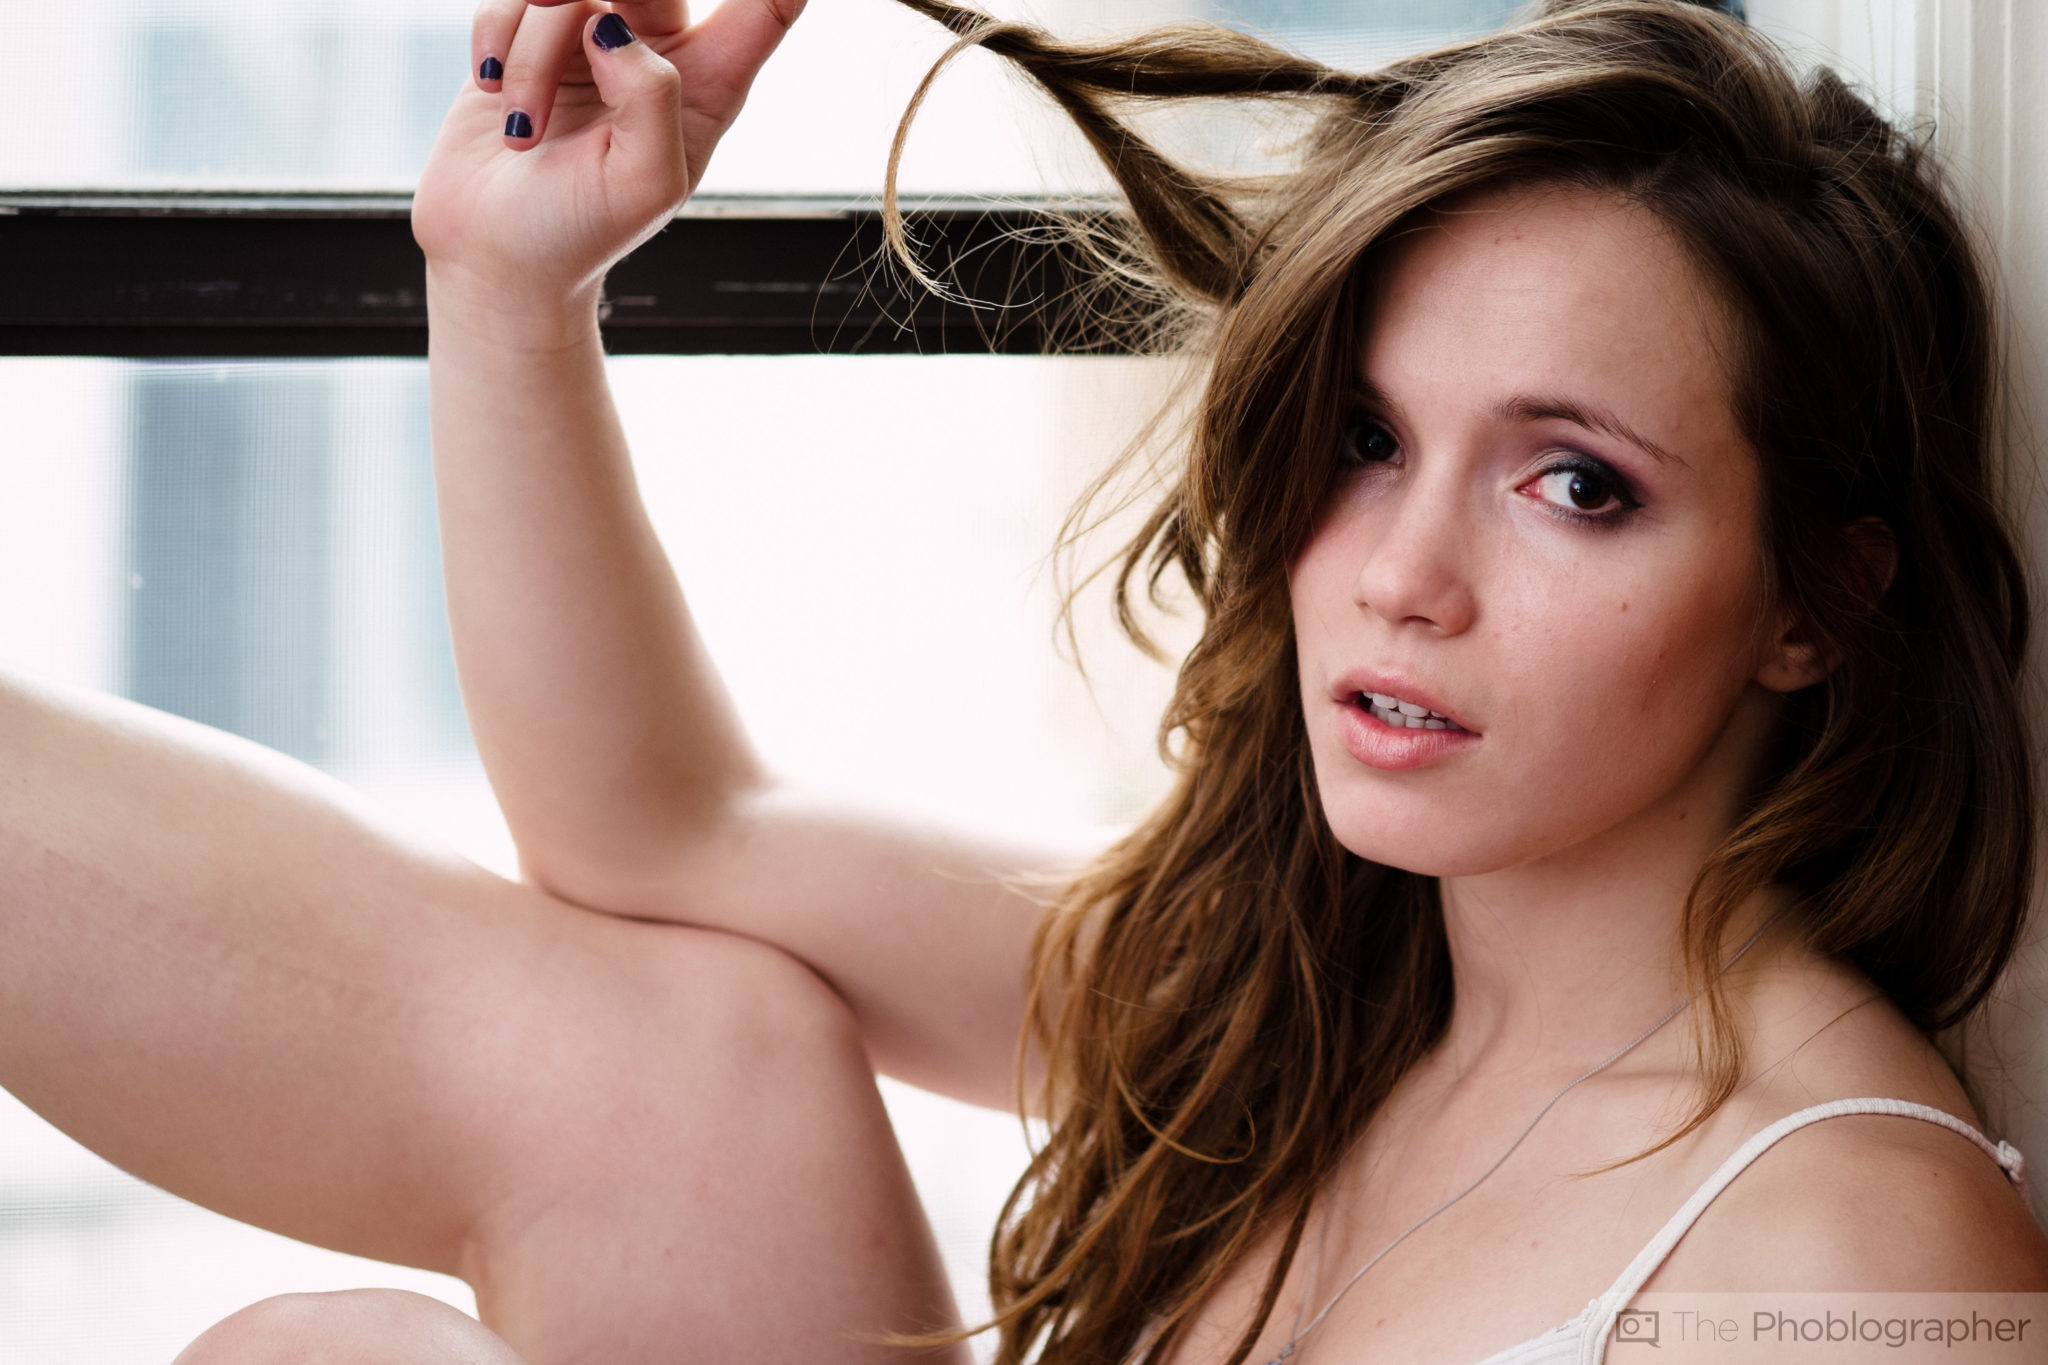
Bounce it Off of a Significantly Larger White Surface Than Your Subject
In this section, we’re going to highly emphasize the need for the surface to be large and white. The reason for this is because that way the surface isn’t manipulating the color. If you bounce strobe lighting off of a red brick wall, the light will be tinted with red. But since the light is white (or daylight) in color to begin with, then you’ll get nothing but soft white light illuminating your subject.
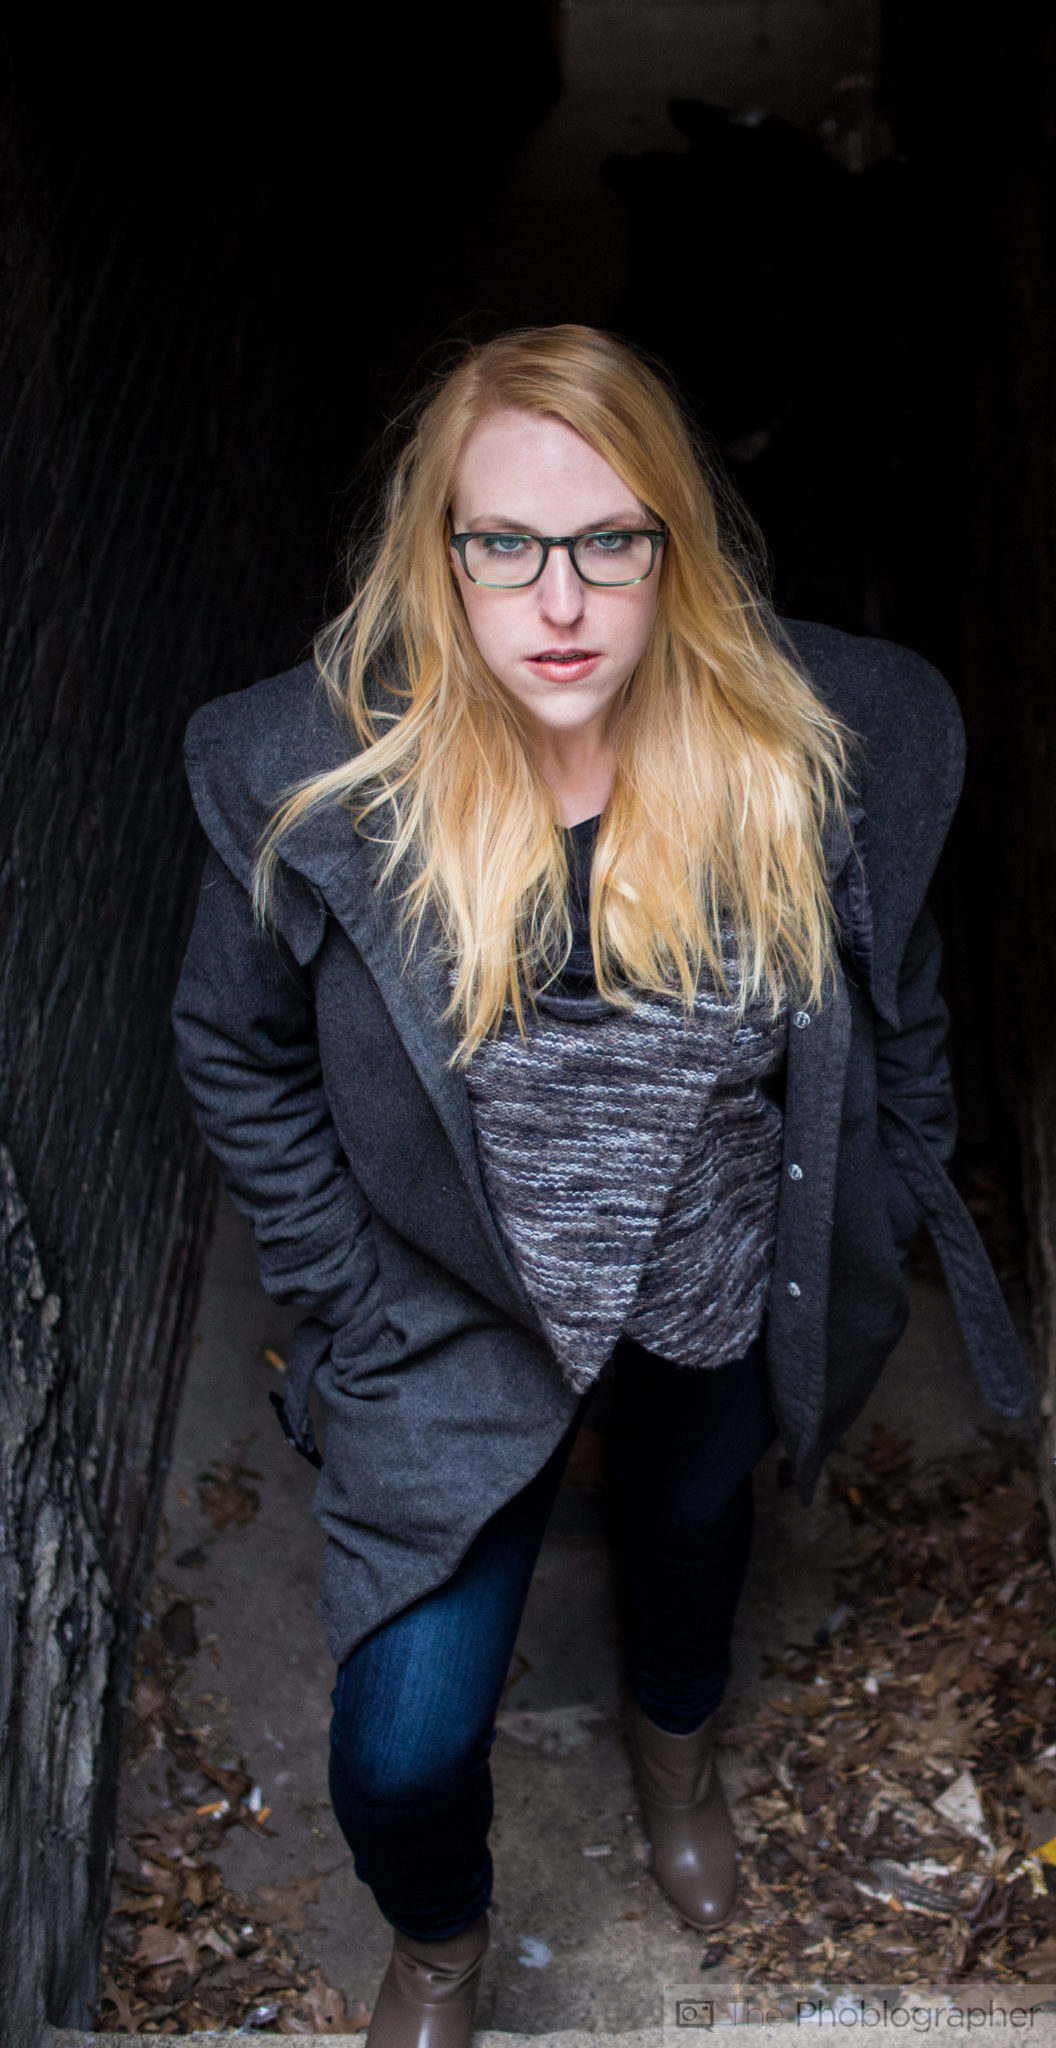
This is a very, very elementary way of working with a flash and almost everyone does it to start. Don’t just look at surfaces above your subject–consider surfaces on the side too.
If you’re trying to a illuminate a subject from the front, then aim the strobe behind and above you to give them better frontal lighting coverage.
Get rid of the ads!
Did you enjoy reading this article as much as we enjoyed writing it? There's a way to support us and our reporting, getting ad-free navigation and more as a bonus. Subscribe to us for less than a coffee per month —just $3.99— or take advantage of our yearly subscription with a hefty discount for only $25.- An ad-free experience
- A free mystery box for Lightroom or Capture One
- All the books in our store
- 20% discount on Capture One
- 30% discount on Imalume Photo Theft Protection
- 20% off Herbs and Kettle Tea Company.
- 20% off your order from MPIX printing services.
- 5% off Viltrox Products via their eCommerce store.
- 10% off all film developing, printing and scanning services from Blue Moon Camera and Machine
- 15% off 7Artisans products: The lens and accessory maker is offering a sweet discount for Phoblographer's readers.