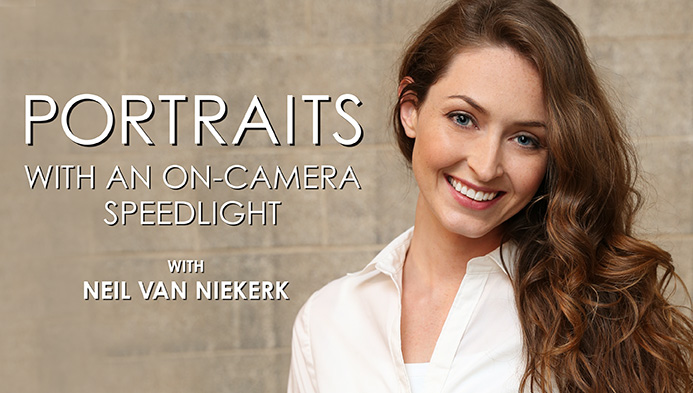
Instantly improve your portraits with six tips for using an on-camera speedlight. Then, learn everything you need to know to harness light for stunning portraits both indoors and outside from award-winning photographer Neil Van Niekerk. Sign up for the online Craftsy class Portraits with an On-Camera Speedlight for 50% off now — a special limited-time offer for ThePhoblographer readers!
Editor’s Note: This is a sponsored post from Craftsy
Bounce the Light off a Wall
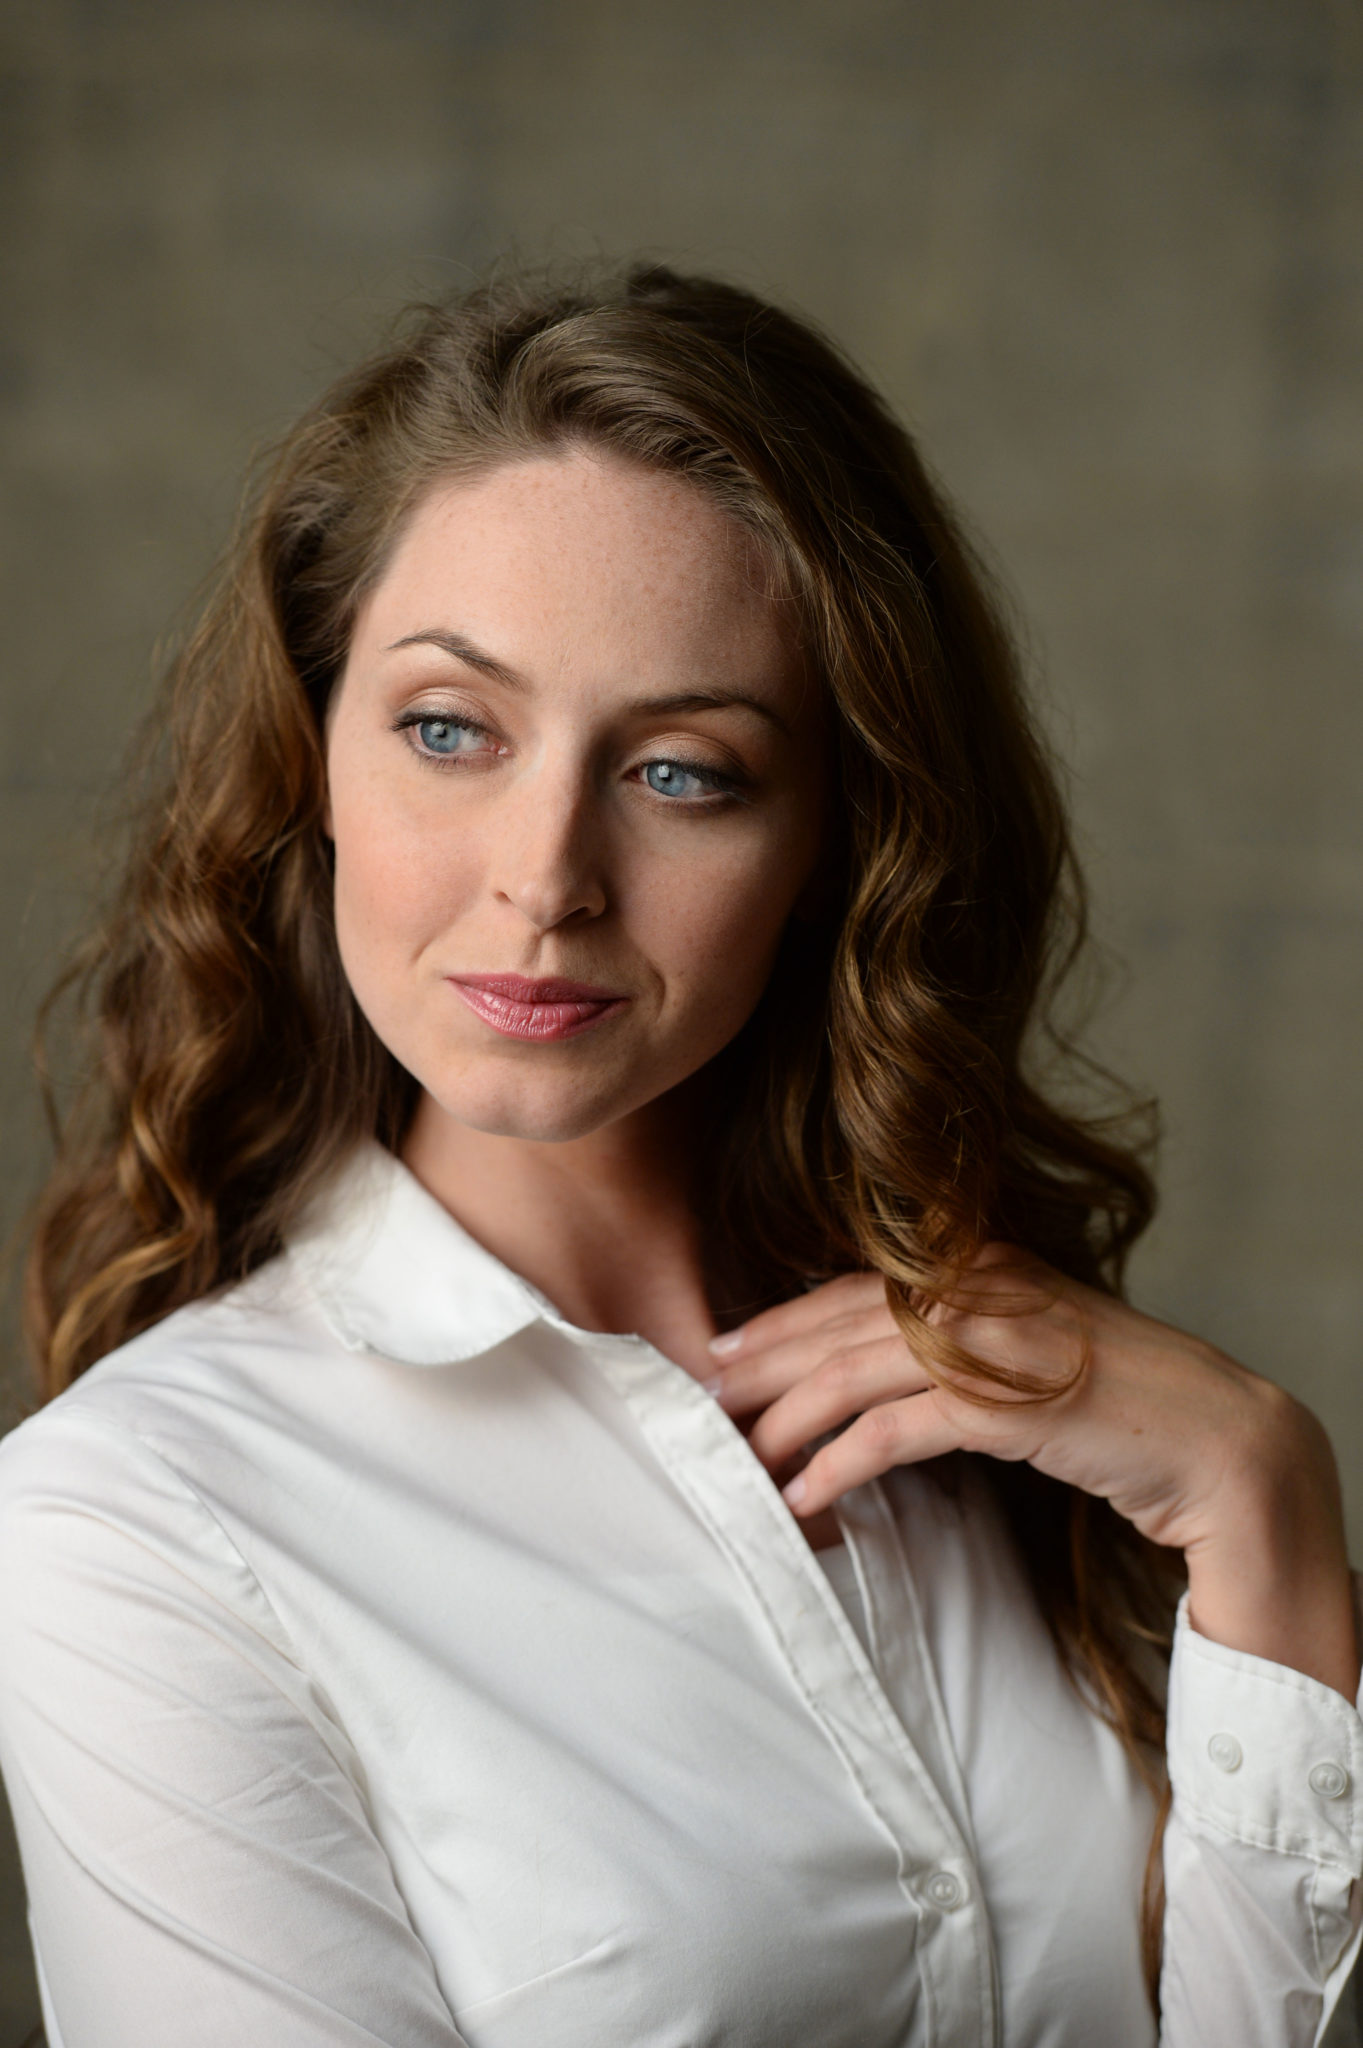
Since a large light source generally looks better than a small one when photographing people, find a way to make your little speedlight look like a bigger light than it really is. The best way to do this is to bounce the light off of a wall or ceiling. The light will lose intensity (versus shooting it directly at a subject) because of the greater distance it must travel, but the size is usually worth it. Your light source can go from 2×3 inches to 8×8 feet just be shooting into a wall or ceiling.
Use a Modifier (Gary Fong, Omni-bounce, foam or even the bounce card)
If you are in a position where you are not near a wall or ceiling, or the walls and ceilings are painted a dark color not helpful for bouncing light, a compact light modifier can help. Popular options are Gary Fong’s Lightsphere or the Sto-Fen Omnibounce. Or you might like to use a piece of white foam. Anything that spreads the light out and makes the source bigger will help your portraits to look more pleasing. Even the little bounce card that is included in some speedlights can be helpful, especially when used in conjunction with light bounced off a wall or ceiling.
If You Have Strong Ambient Light, Use the Flash as a Fill
For outdoor portraits, your speedlight can also be used as a fill light. When your subjects are under harsh sunlight and shadows fill in under their eyes, nose and chin, a direct speedlight can fill in those shadows and give you a more appealing look. You could also bounce the light off of a wall to fill for an even softer look.
Gel the Speedlight for the Ambient Light
Mixing color temperatures can look strange in a photo. Most speedlights are daylight balanced, meaning the color temperature is the same as what you would see outside on a sunny day. If you are shooting inside with warm orange-y incandescent lights or green fluorescent lights, it is important to use gels on your speedlight to match the ambient light.
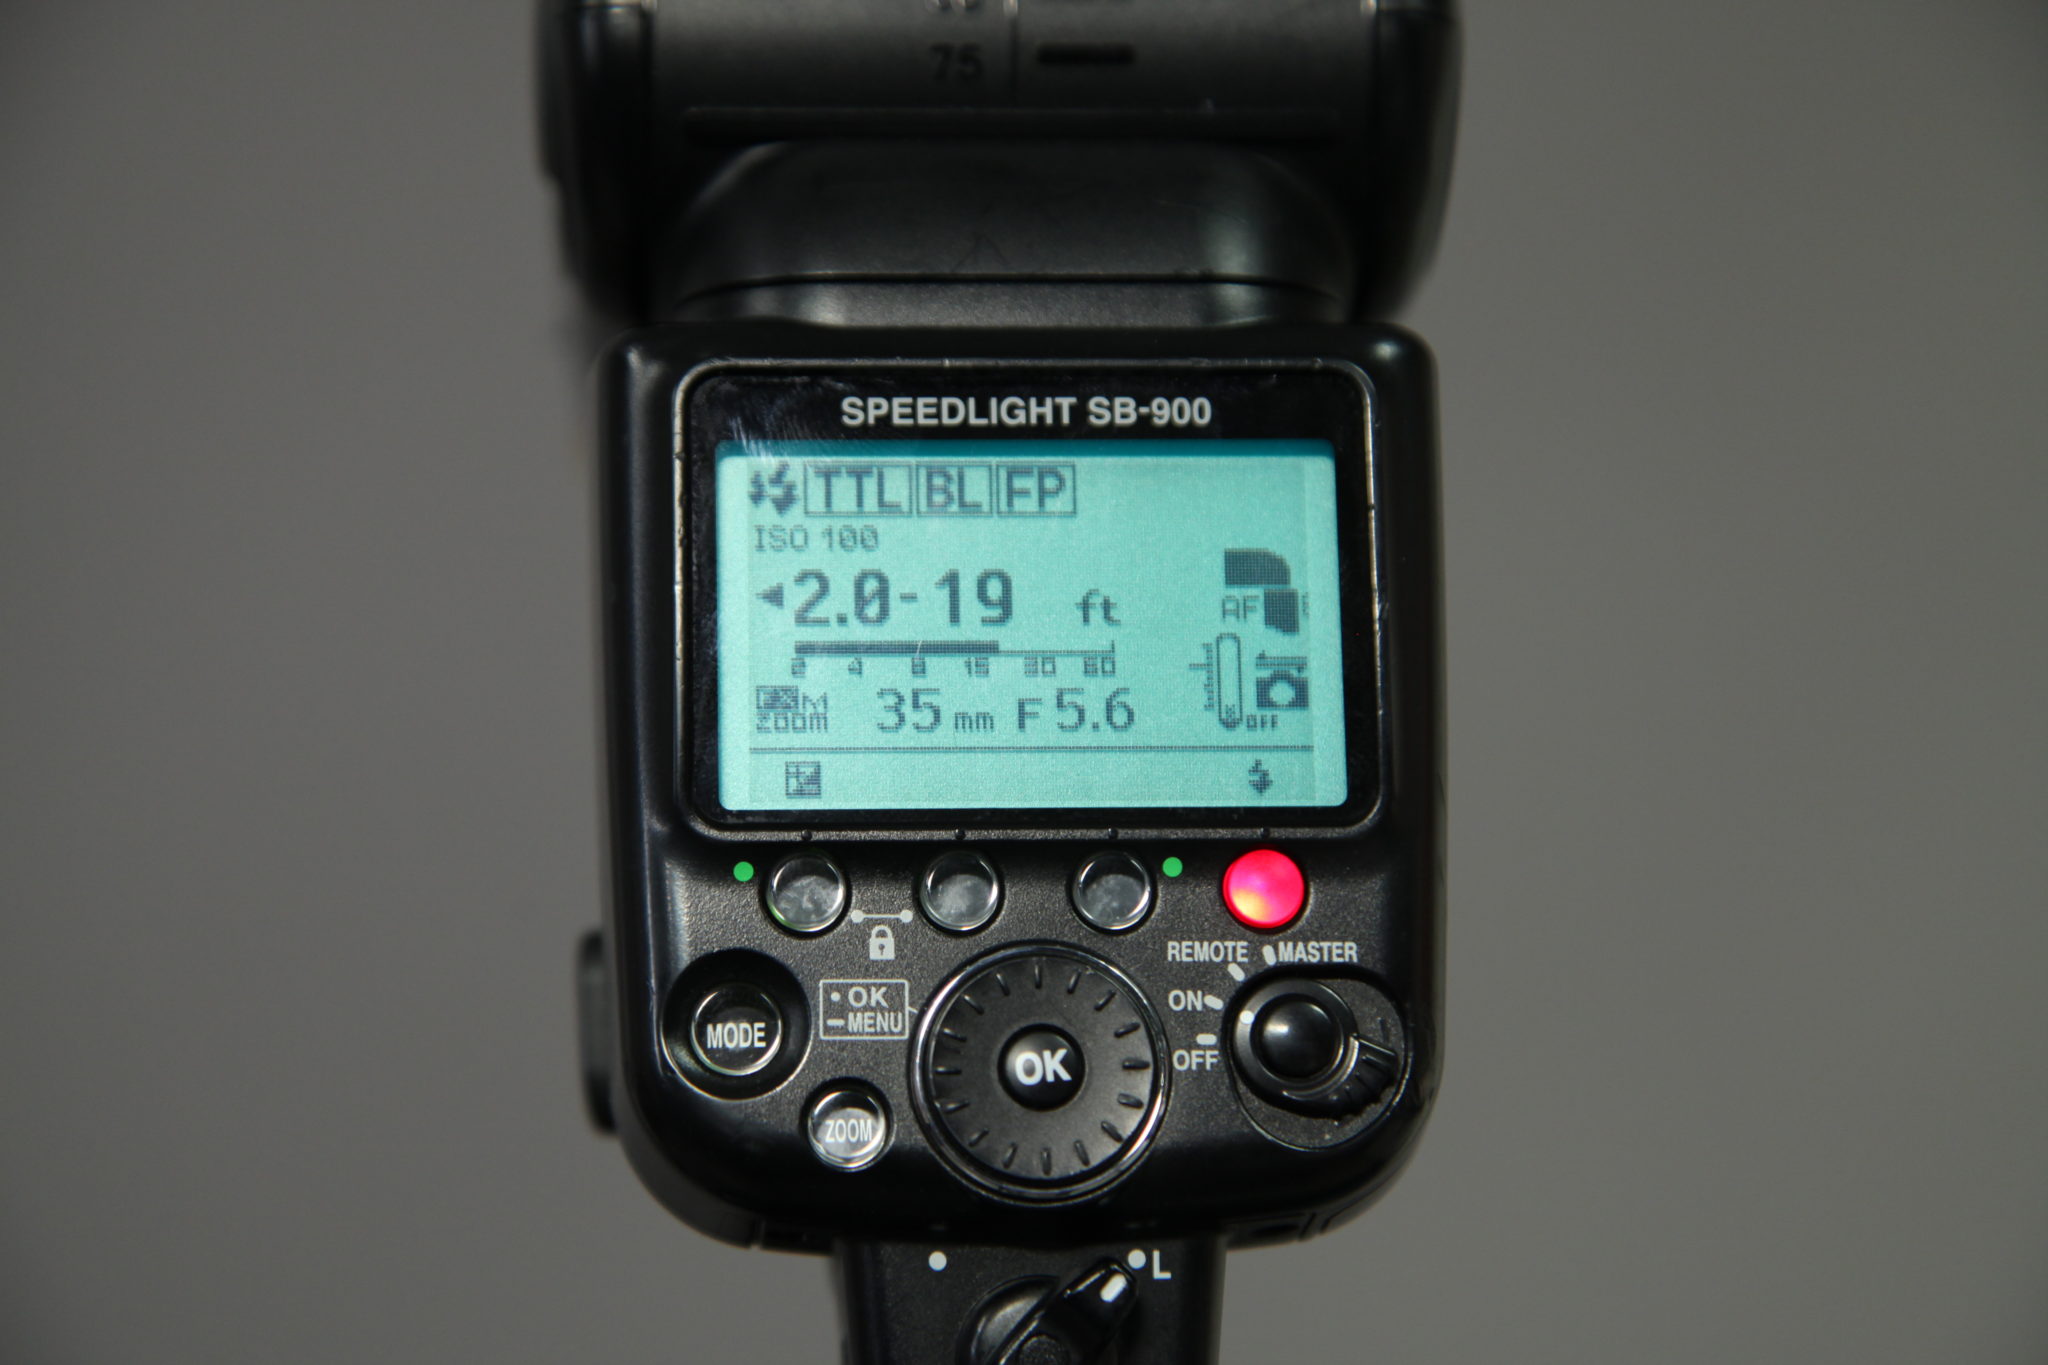
Use TTL When You Need to Work Fast
TTL — or Through the Lens — settings allow you to work quickly without having to continually adjust your flash intensity or focus. In TTL mode the camera and lens talk to one another and make calculations based on the available light and distance to your subject. Allowing your camera and speedlight to do this work is not always exactly accurate, but it allows you to get close enough in a pinch.
Drag Your Shutter
You can get some interesting effects and deeply saturated colors by dragging the shutter. Dragging the shutter simply means holding the shutter open longer than you would without a flash. For example, when photographing people if you generally shoot no slower than 1/60 sec, you could drag the shutter by shooting at 1/15 sec, allowing more light into the camera, and letting the flash “freeze” the motion. Anything the flash hits will appear sharper than it would without the flash.
Now that you have a few tricks up your sleeve, take the next step towards standout portrait photography when you sign up for the online Craftsy class Portraits with an On-Camera Speedlight for 50% off now! Enjoy lifetime access to seven easy-to-follow video lessons you can watch anytime, anywhere as you master lighting and advanced on-camera flash techniques. Plus, get personalized advice and your photos critiqued by expert Neil van Niekerk.
What do you find to be most helpful to keep in mind when shooting portraits?
This offer expires on 6/28, 2014 at midnight MT. This has been a sponsored post kindly brought to us by Craftsy.
Get rid of the ads!
Did you enjoy reading this article as much as we enjoyed writing it? There's a way to support us and our reporting, getting ad-free navigation and more as a bonus. Subscribe to us for less than a coffee per month —just $3.99— or take advantage of our yearly subscription with a hefty discount for only $25.- An ad-free experience
- A free mystery box for Lightroom or Capture One
- All the books in our store
- 20% discount on Capture One
- 30% discount on Imalume Photo Theft Protection
- 20% off Herbs and Kettle Tea Company.
- 20% off your order from MPIX printing services.
- 5% off Viltrox Products via their eCommerce store.
- 10% off all film developing, printing and scanning services from Blue Moon Camera and Machine
- 15% off 7Artisans products: The lens and accessory maker is offering a sweet discount for Phoblographer's readers.