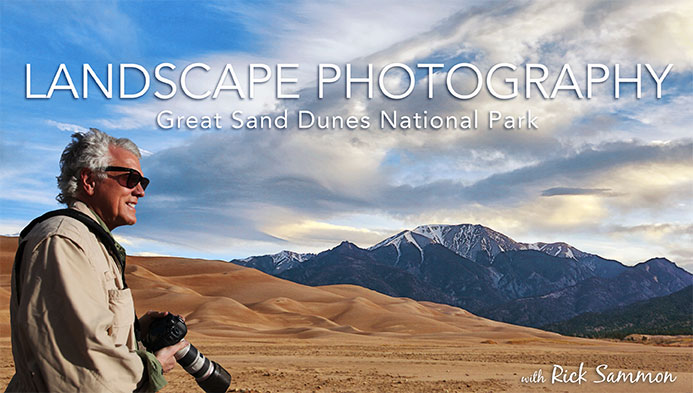
Capture superior landscape photos during sunrise, midday and sundown with seven tips from award-winning photographer Rick Sammon, who has traveled to and photographed almost 100 countries. Plus, enter for your chance win Rick’s online Craftsy class Landscape Photography: Shooting From Dusk to Dawn here (a $59.99 value!)—an exclusive offer for The Phoblographer’s readers!
Editor’s Note: This is a sponsored post from Craftsy
1. Catch blue light.
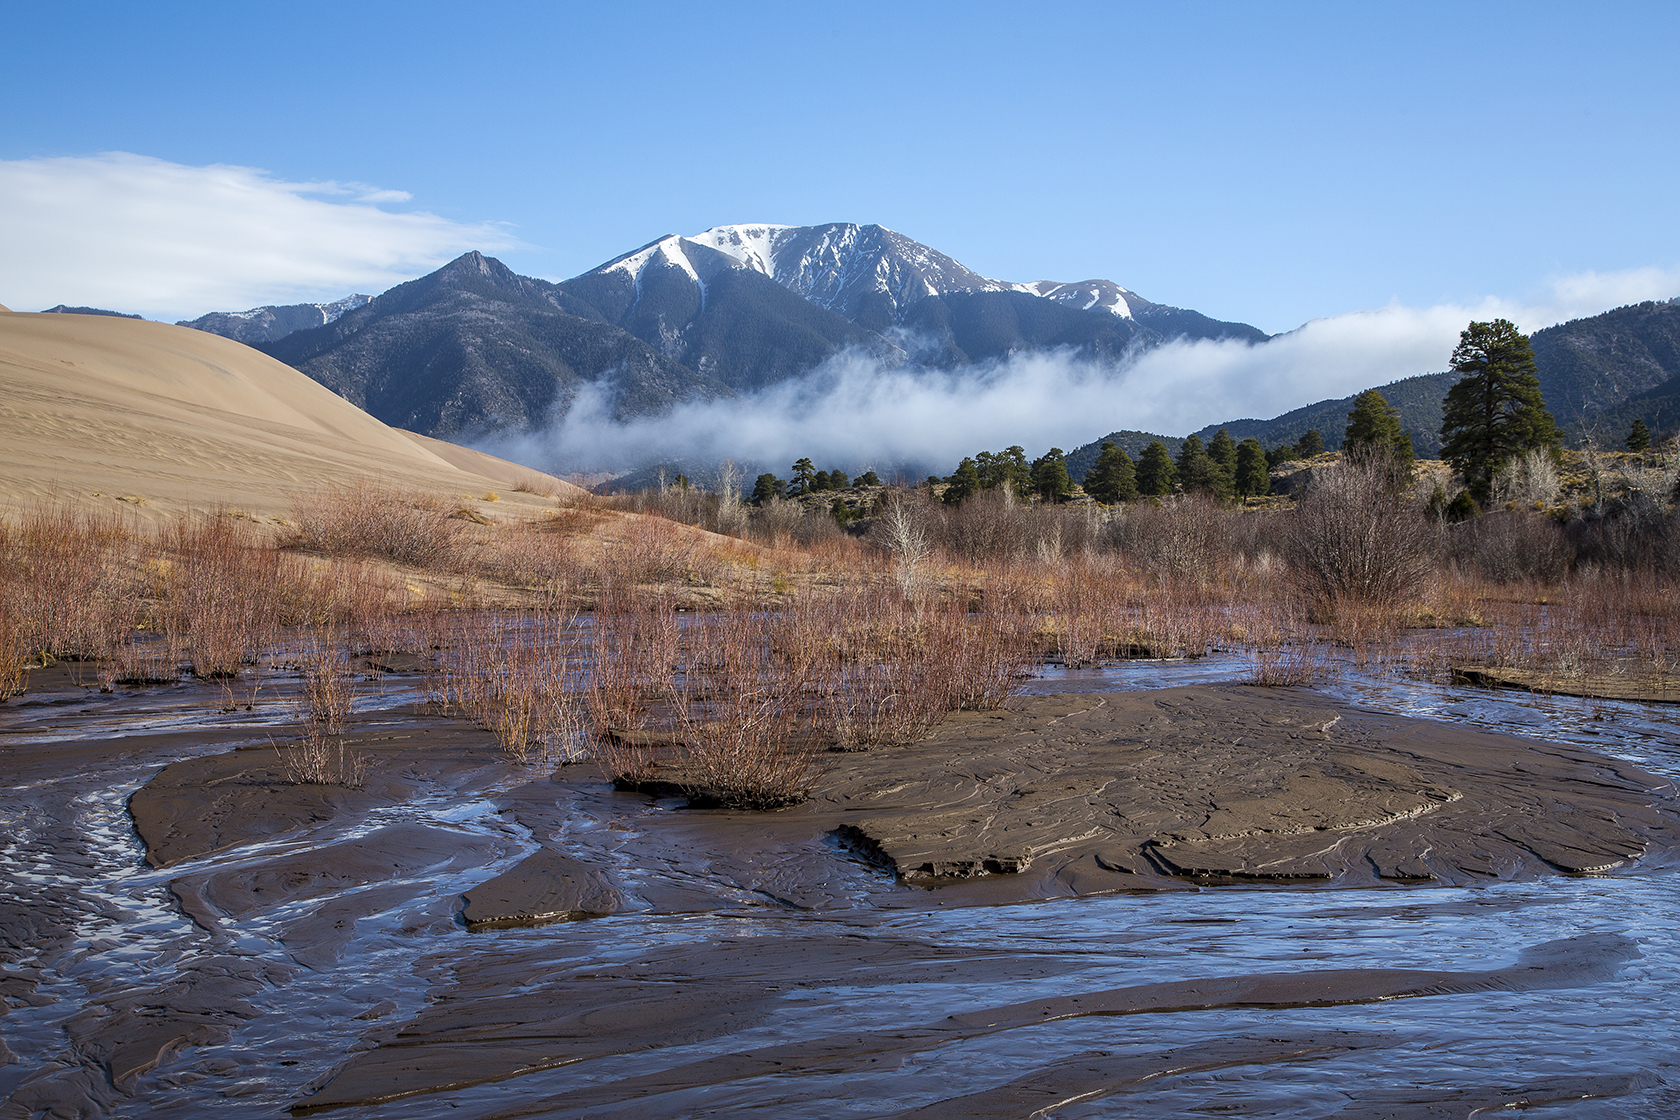
Make the most of the blue-tinted lighting provided during twilight, the twenty minutes right before sunrise and just after sunset, for dramatic effects. This overcast light will illuminate your scene in a vibrant, stunning fashion. To capture the best photos during this time of day you’ll want to: shoot in manual mode for better control over exposure, use a longer exposure than normal daytime photos, and be sure your camera is stabilized to prevent shake. The best area of the sky for capturing the richest blues is directly opposite of the sun. During this time you’ll be able to get the best silhouette shots and amazing shadows; longer shadows will add more texture, depth and interest to your photos.
2. Chase golden light.

The golden hour is the hour shortly after sunrise or before sunset when the sun’s intensity is reduced because it’s low to the horizon, producing soft, diffused light, allowing more dynamic colors to show. Soft light is preferable for landscapes, as you won’t lose any details to extreme shadows or blown-out highlights. When shooting during the magic hour use a wide aperture, and set your white balance to cloudy, otherwise you risk neutralizing the warm, golden glow.
3. You can get good photos, even in midday sun, any time of year.
Make sure your highlights aren’t over-exposed during midday shooting, and try to shoot with the sun behind you. If you’re shooting midday during winter, and having a hard time capturing the details in white snow without underexposing the other elements in the shot, try a natural-looking HDR effect by bracketing your shot.
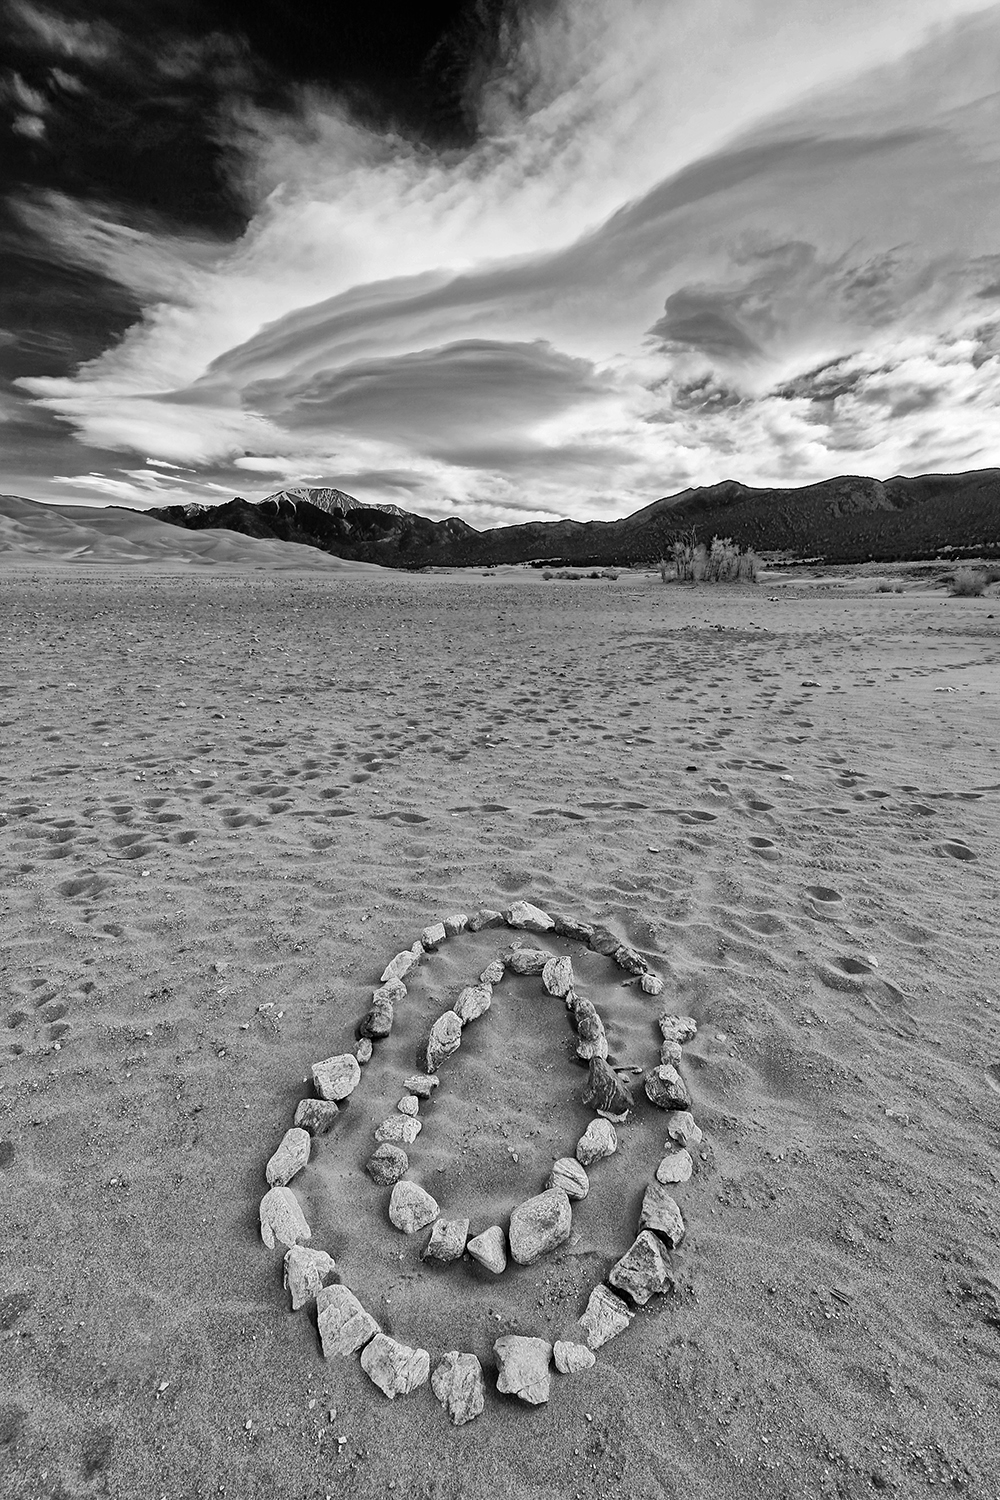
4. Placement of the horizon line is important.
In landscape photography the horizon line is incredibly important, if the sky is interesting you want to place the horizon line at the bottom of the frame. If the foreground is the most interesting you want to place the horizon line near the top of the frame. Avoid placing the horizon in the center of the frame to avoid a boring composition (unless you have a reflection scene like a lake).
5. Think like a painter.
Cropping gives you a second chance at composition. Avoid placing your subject in the exact center of your composition as the viewer’s eye will get stuck on it; off-center works much better. Consider creating a vignette by darkening the edges of your scene just a bit to draw attention to the main subject.
Now that you know a few tricks, take the next step when you enter for your chance to win Rick Sammon’s online Craftsy class Landscape Photography: Shooting From Dusk to Dawn today!

Don’t miss out on the opportunity to adventure through stunning vistas (in the convenience of your home!) as Rick reveals essential lens, filter and framing strategies that will help you get the perfect landscape photos any time of day. Plus get HDR, panorama and black-and-white style tips to elevate your shots. Rick will even critique your photos and answer any questions you have as you go.
What are some of your favorite tips for shooting landscapes throughout the day?
One winner will be randomly selected on May 19, 2014 at midnight MT. This has been a sponsored post kindly brought to us by Craftsy.
Get rid of the ads!
Did you enjoy reading this article as much as we enjoyed writing it? There's a way to support us and our reporting, getting ad-free navigation and more as a bonus. Subscribe to us for less than a coffee per month —just $3.99— or take advantage of our yearly subscription with a hefty discount for only $25.- An ad-free experience
- A free mystery box for Lightroom or Capture One
- All the books in our store
- 20% discount on Capture One
- 30% discount on Imalume Photo Theft Protection
- 20% off Herbs and Kettle Tea Company.
- 20% off your order from MPIX printing services.