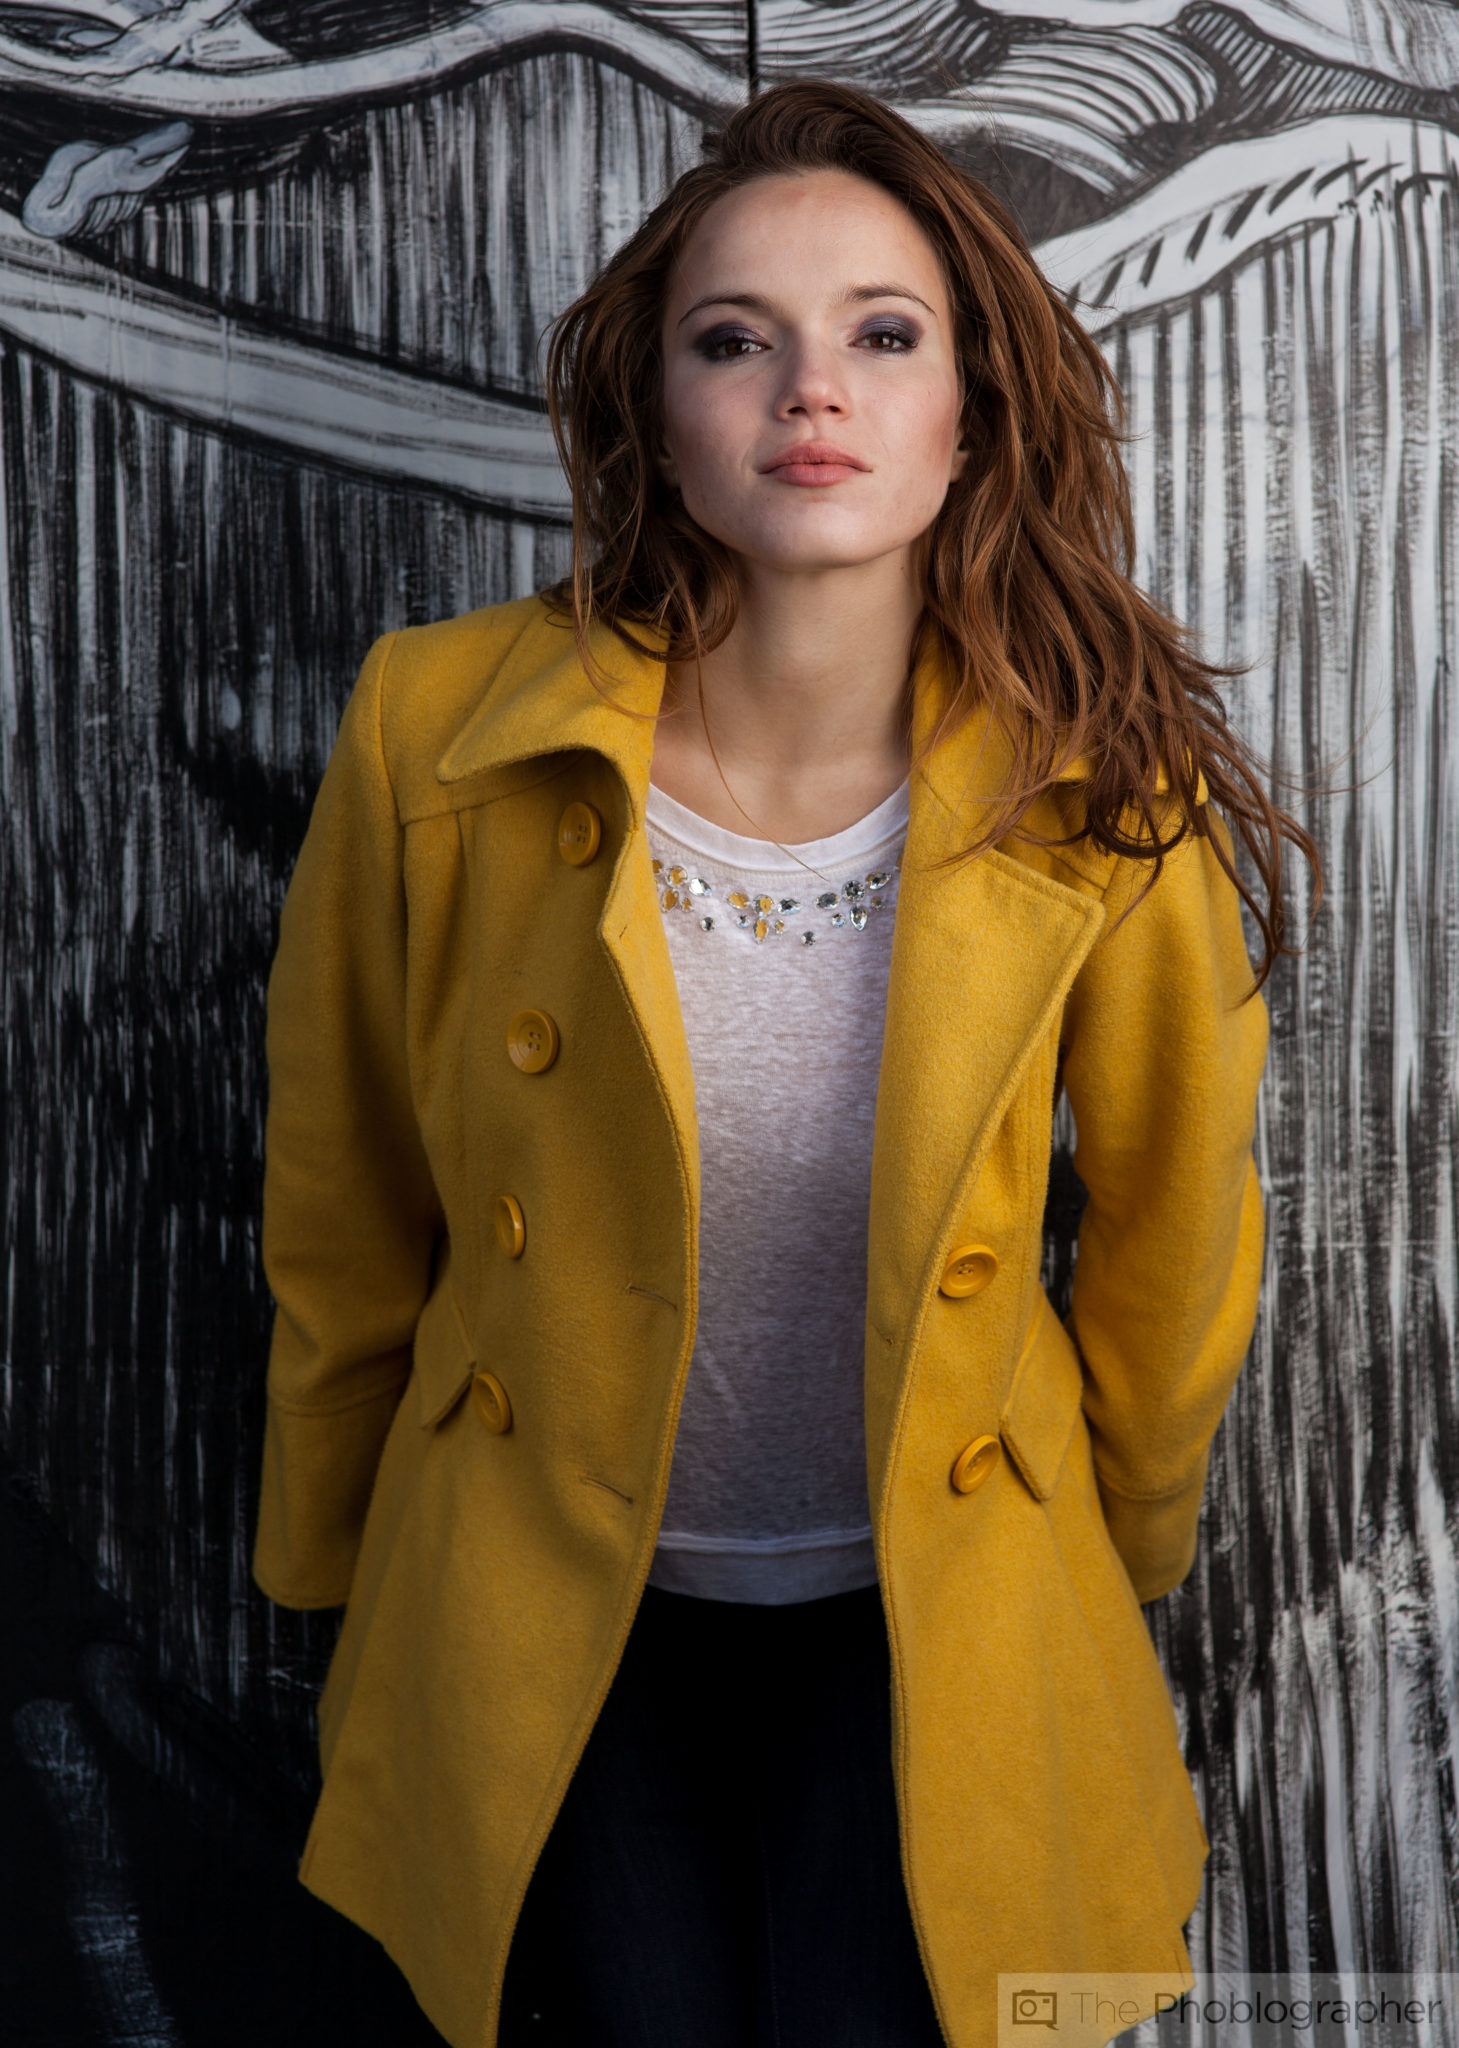
Over time, many budding portrait photographers often hit a plateau in terms of their shooting style and technique. Their gear bags have the lenses and lighting kit that have brought them success in the capturing aspect of the whole thing. Yet when it comes time to load the images onto the computer and process them, the myriad menus and features can be overwhelming.
Enter Lindsay Adler, a portrait and fashion photographer who learned her way around Photoshop with a very hands-on and experimental approach. Instead of going through the ABCs of each tool as if you would in a college course, she goes over what works for her in the most efficient way possible. With these tips, you can begin to hone your skills by familiarizing yourself with what the basic tools do and know when they will or won’t work for any given image. Instead of being vaguely aware of what every single menu item does, you’ll become more adept at the essential techniques that will take your portraits to the next level.
Editor’s Note: This is a guest blog post by Glenn O. After three years of editorial work overseas as an editor of a photography publication, Glenn Orion now calls Baltimore, Maryland home where he focuses on wedding photography. This post is also brought to you by creativeLive.
The world’s largest online Photoshop conference – is back!
Broadcast over five days on two channels, creativeLIVE Photoshop Week 2014 features 40 classes on everything from simple shortcuts to advanced skills — like photo restoration and making your own presets. Eleven of the world’s leading Photoshop masters including Russell Brown and Bryan Hughes will show you how and when to use every tool and arm you with specific post-production strategies for every kind of photography. So get excited and mark your calendars for February 24-28!
Adjustment layers and layer masks
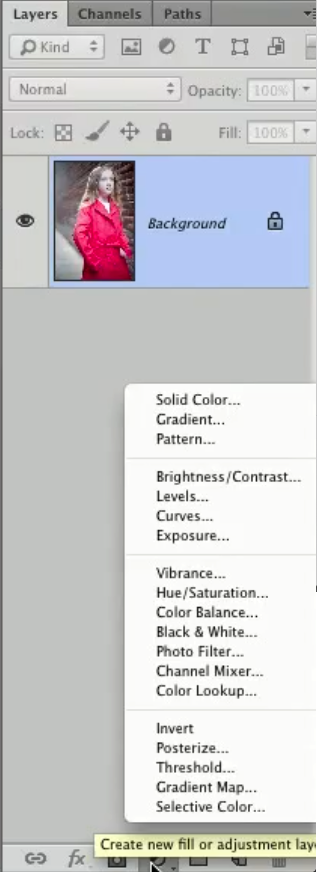
Technical composition aside, one of the ways the viewer’s eye is drawn to the subject within an image is by providing an area with high contrast. This can be achieved in a number of ways. The simple, non-destructive approach would be with adjustment layers and layer masks.
Adjustment layers are found along the bottom of the Layers panel via the Create new fill or adjustment layer menu. Clicking on any of the items such as Levels, creates a new layer on top of your image (the background layer). Think of each of these new adjustment layers as a sort of gel that affects everything underneath it. You’ll also notice that a layer mask automatically appears next to it and by default is completely white. By painting black or white over the mask with the brush tool, you effectively take away or add the effect of the mask. As Lindsay reminds, “Black conceals, white reveals.” Understanding this concept is key and a fundamental technique that will save you time and frustration in the future.
Levels
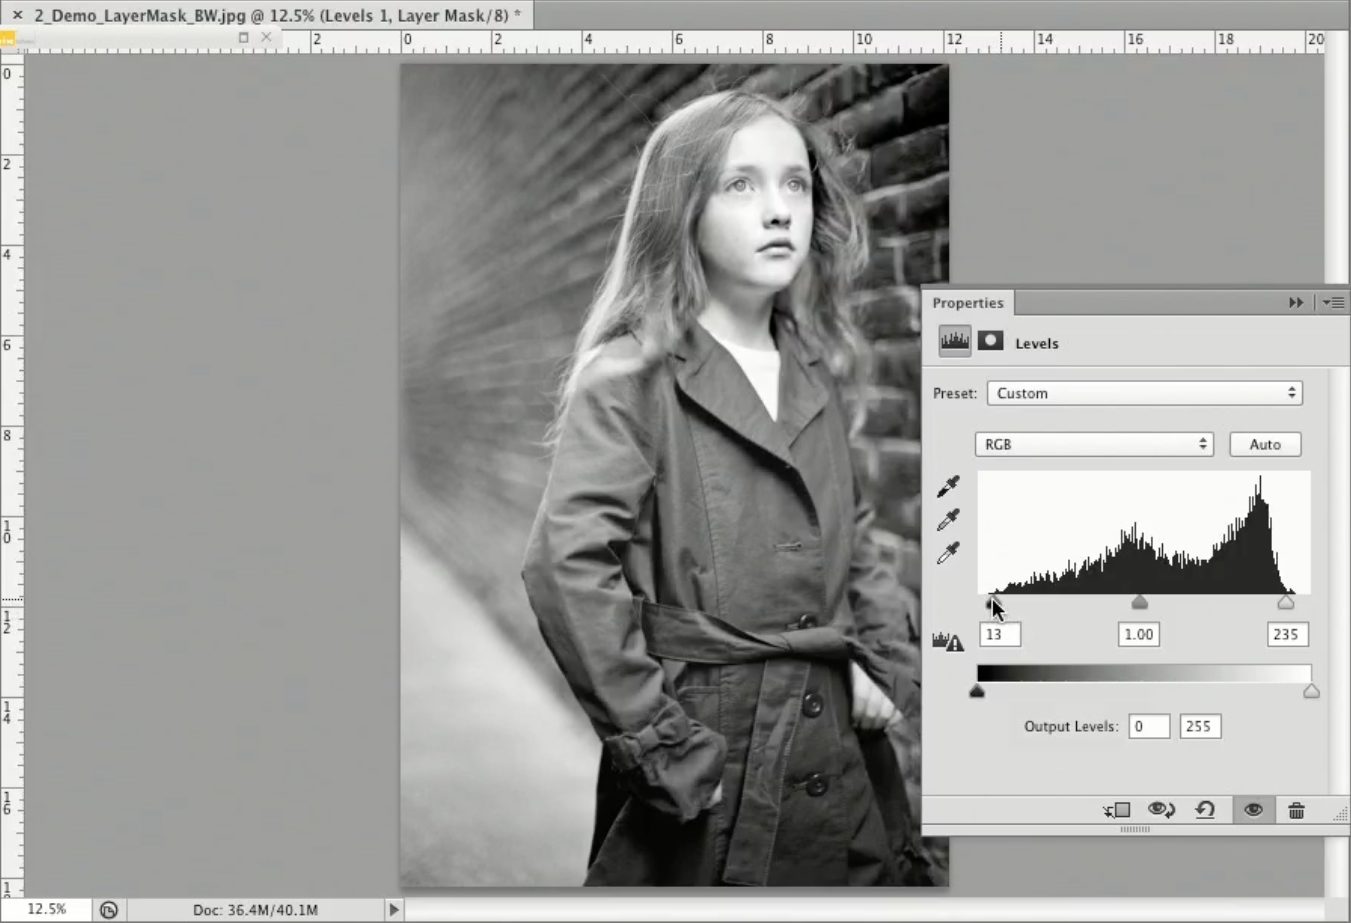
If you work in Lightroom as well, you know that changing the exposure or adding a vignette is difficult to control especially when you want to selectively adjust smaller areas of the frame. By adding a Levels adjustment layer to your image, you can focus on the desired exposure of a given area by dragging the shadows, midtones, and highlights sliders accordingly. Then, by adding a layer mask, you can simply paint the effect in or out as needed. By adjusting the opacity slider of your brush, you can also control the intensity of the effect each time you paint over an area.
Curves

Another important adjustment layer is Curves. By clicking points on either side of the diagonal line, you either brighten or darken the image entirely or whichever color channel you’ve selected. If you have a specific area you want to adjust like teeth or eyes, you can use the Lasso tool to select the area and then feather it (Select > Modify > Feather). Feathering essentially creates a gradient around your selection so your adjustment can be made more subtly depending on the number of pixels entered into the Feather Radius. Once the selection has been made, you can then choose any adjustment layer and the mask will be automatically applied to that selection.
Beauty Retouching
Depending on the subject and your own philosophy behind the final product, a varying amount of beauty retouching may be necessary. For example, fashion photographers who need to prepare their image for a billboard may have a different approach than say a high school senior photographer who won’t be printing any larger than an 8×10”. Still, these following six techniques are requisite for any aspiring portrait photographer.
Spot Healing Brush Tool
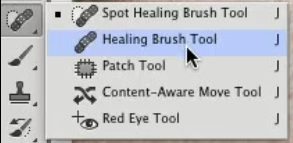
Along the left toolbar, click and hold the icon that looks like a bandaid (above the brush tool) to see a couple options. The first one, the Spot Healing Brush Tool, is amazing for quickly removing smaller blemishes that are surrounded by good areas, like a pimple or pock mark for instance. Adjust the brush size to be slightly larger than the blemish and make sure you’ve selected the Content-Aware option which lets Photoshop analyze the surrounding area to fill in. This tool, however, doesn’t work particularly well when used close to edges, on stubble, or highly textured skin.
Healing Brush Tool
With the Healing Brush Tool, found immediately beneath the Spot Healing Brush Tool, you are given greater control. Similar to the Clone Stamp Tool, you are able to option-click an area and choose where you want to sample from. Unlike the Clone Stamp, Healing Brush blends the edges better rather than copy-pasting pixel for pixel so you have the best of both worlds.
Patch Tool
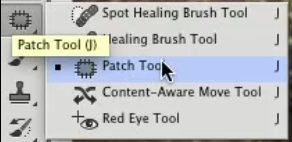
Next in the menu is the Patch Tool which allows you to select any part of the image as you would with the Lasso. Once selected, you can click and drag the selection over to an area you want to replace it with. This tool is ideal for large areas needing correction such as neck or forehead wrinkles, veins, and is also as effective with wrinkles in clothing.
Hue/Saturation
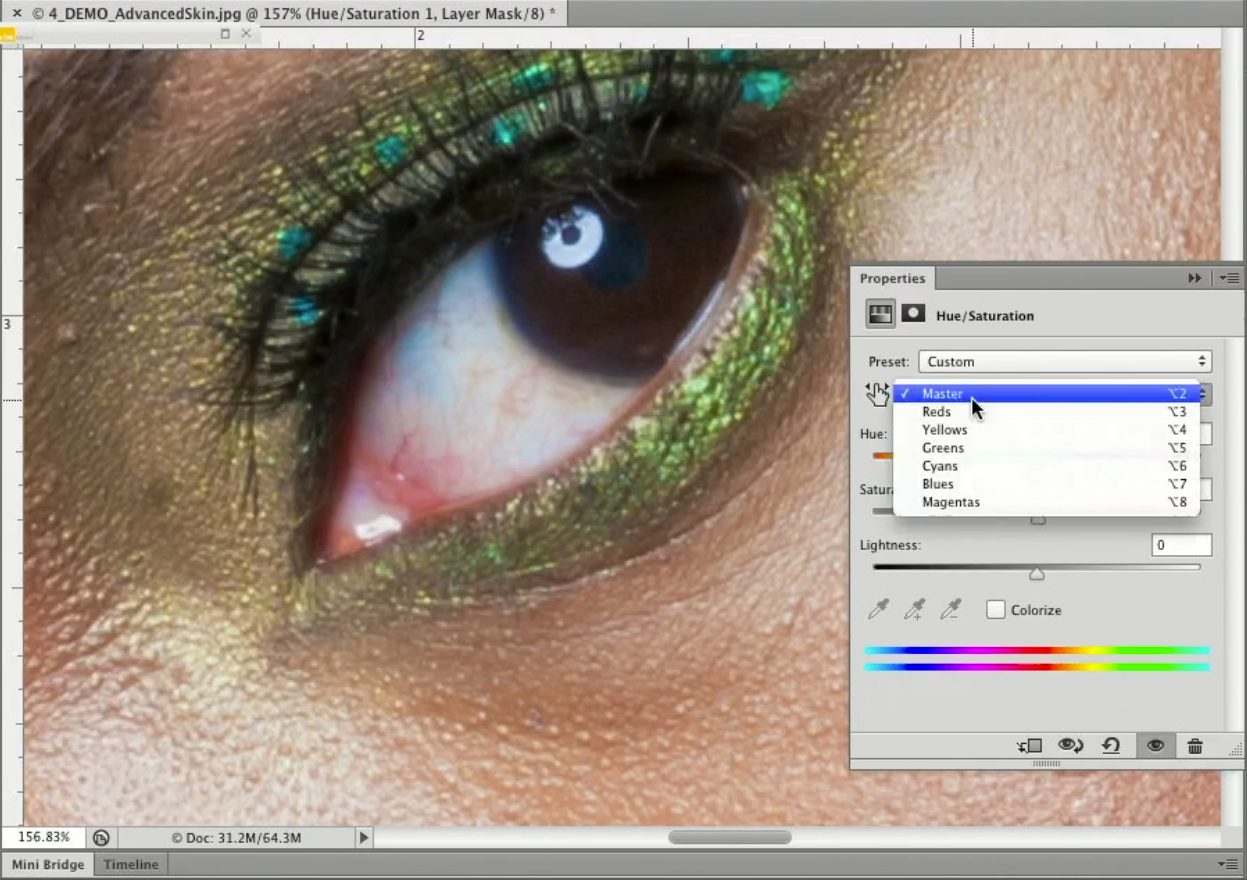
Back to adjustment layers, with Hue/Saturation you are able to control the saturation of the image as a whole or with individual colors. This is especially helpful when dealing with red eyes or teeth that are a little too yellow. Drag the Saturation slider to the left until the desired effect is reached. And again, mask out areas or use a feathered Lasso selection for quicker adjustments.
Shadows/Highlights
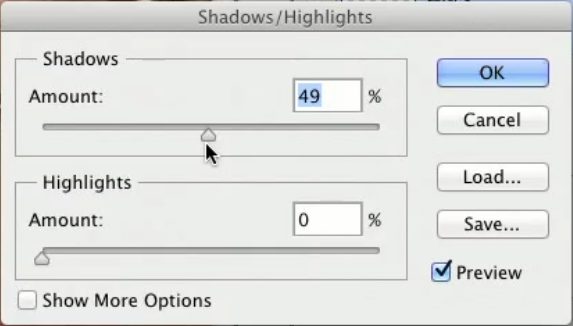
Like the name suggests, with Shadows/Highlights you can bring up the shadows or bring down highlights as needed. If you happen to take pictures outside in the middle of the day and encounter a mild raccoon-eye effect, bringing up the shadows will help brighten the eyes. Results are often more subtle with Shadows/Highlights as opposed to Levels or Curves giving the eyes a gentle pop without looking over-processed.
Clone Stamp with Blend Modes
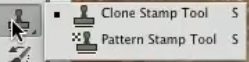
Under the Brush Tool is the easily overdone and often wrongly used Clone Stamp Tool. Many get carried away using the Clone Stamp with a soft brush on low opacity which eventually leads to a loss of detail and elimination of any skin texture. By default, the Mode is set to Normal which, as we alluded to earlier, is a pixel-for-pixel copy and paste of the source to destination. Choosing the correct blend mode will control how the stamp tool interacts with the layer beneath. Lindsay recommends using Lighten and Darken to preserve skin textures and avoid making the portrait look fake.
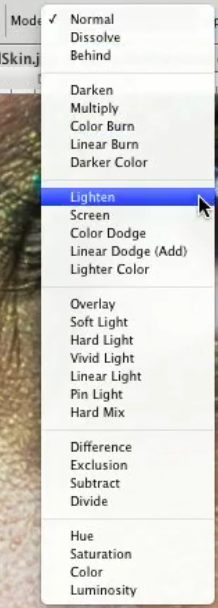
With Lighten, you can fill in dark circles under the eyes and smile lines with better results. Hold option to select a light area to sample from and go over the dark portion and notice how only the darker pixels are affected by the stamping. Conversely, with Darken, the opposite can be achieved. This can come in handy when you have blown highlights on the cheekbones or perhaps your subject has a greasy forehead or shiny nose.
Blend modes can also be used with the Brush and Spot Healing Brush Tools. Cleaning up stray hairs or filling in gaps suddenly become an easy fix.
As with all else, these techniques require a fair amount of practice so stick with it and gradually see an improvement in your portraits. Having these simple tools in your toolbox is all it takes to get over that plateau and reach new heights!
To learn more tips and tricks from Lindsay, be sure to check out creativeLIVE Photoshop Week Feb.24-28!
Please Support The Phoblographer
We love to bring you guys the latest and greatest news and gear related stuff. However, we can’t keep doing that unless we have your continued support. If you would like to purchase any of the items mentioned, please do so by clicking our links first and then purchasing the items as we then get a small portion of the sale to help run the website.
Also, please follow us on Facebook, Google+, Flickr and Twitter.
Get rid of the ads!
Did you enjoy reading this article as much as we enjoyed writing it? There's a way to support us and our reporting, getting ad-free navigation and more as a bonus. Subscribe to us for less than a coffee per month —just $3.99— or take advantage of our yearly subscription with a hefty discount for only $25.- An ad-free experience
- A free mystery box for Lightroom or Capture One
- All the books in our store
- 20% discount on Capture One
- 30% discount on Imalume Photo Theft Protection
- 20% off Herbs and Kettle Tea Company.
- 20% off your order from MPIX printing services.
- 5% off Viltrox Products via their eCommerce store.
- 10% off all film developing, printing and scanning services from Blue Moon Camera and Machine
- 15% off 7Artisans products: The lens and accessory maker is offering a sweet discount for Phoblographer's readers.