Creating the Photograph is an original series where we interview photographers about a photo that they shot and how it was achieved. The results are some knowledge passed on to you. Want to be featured? Email chrisgampat[at]thephoblographer[dot]com
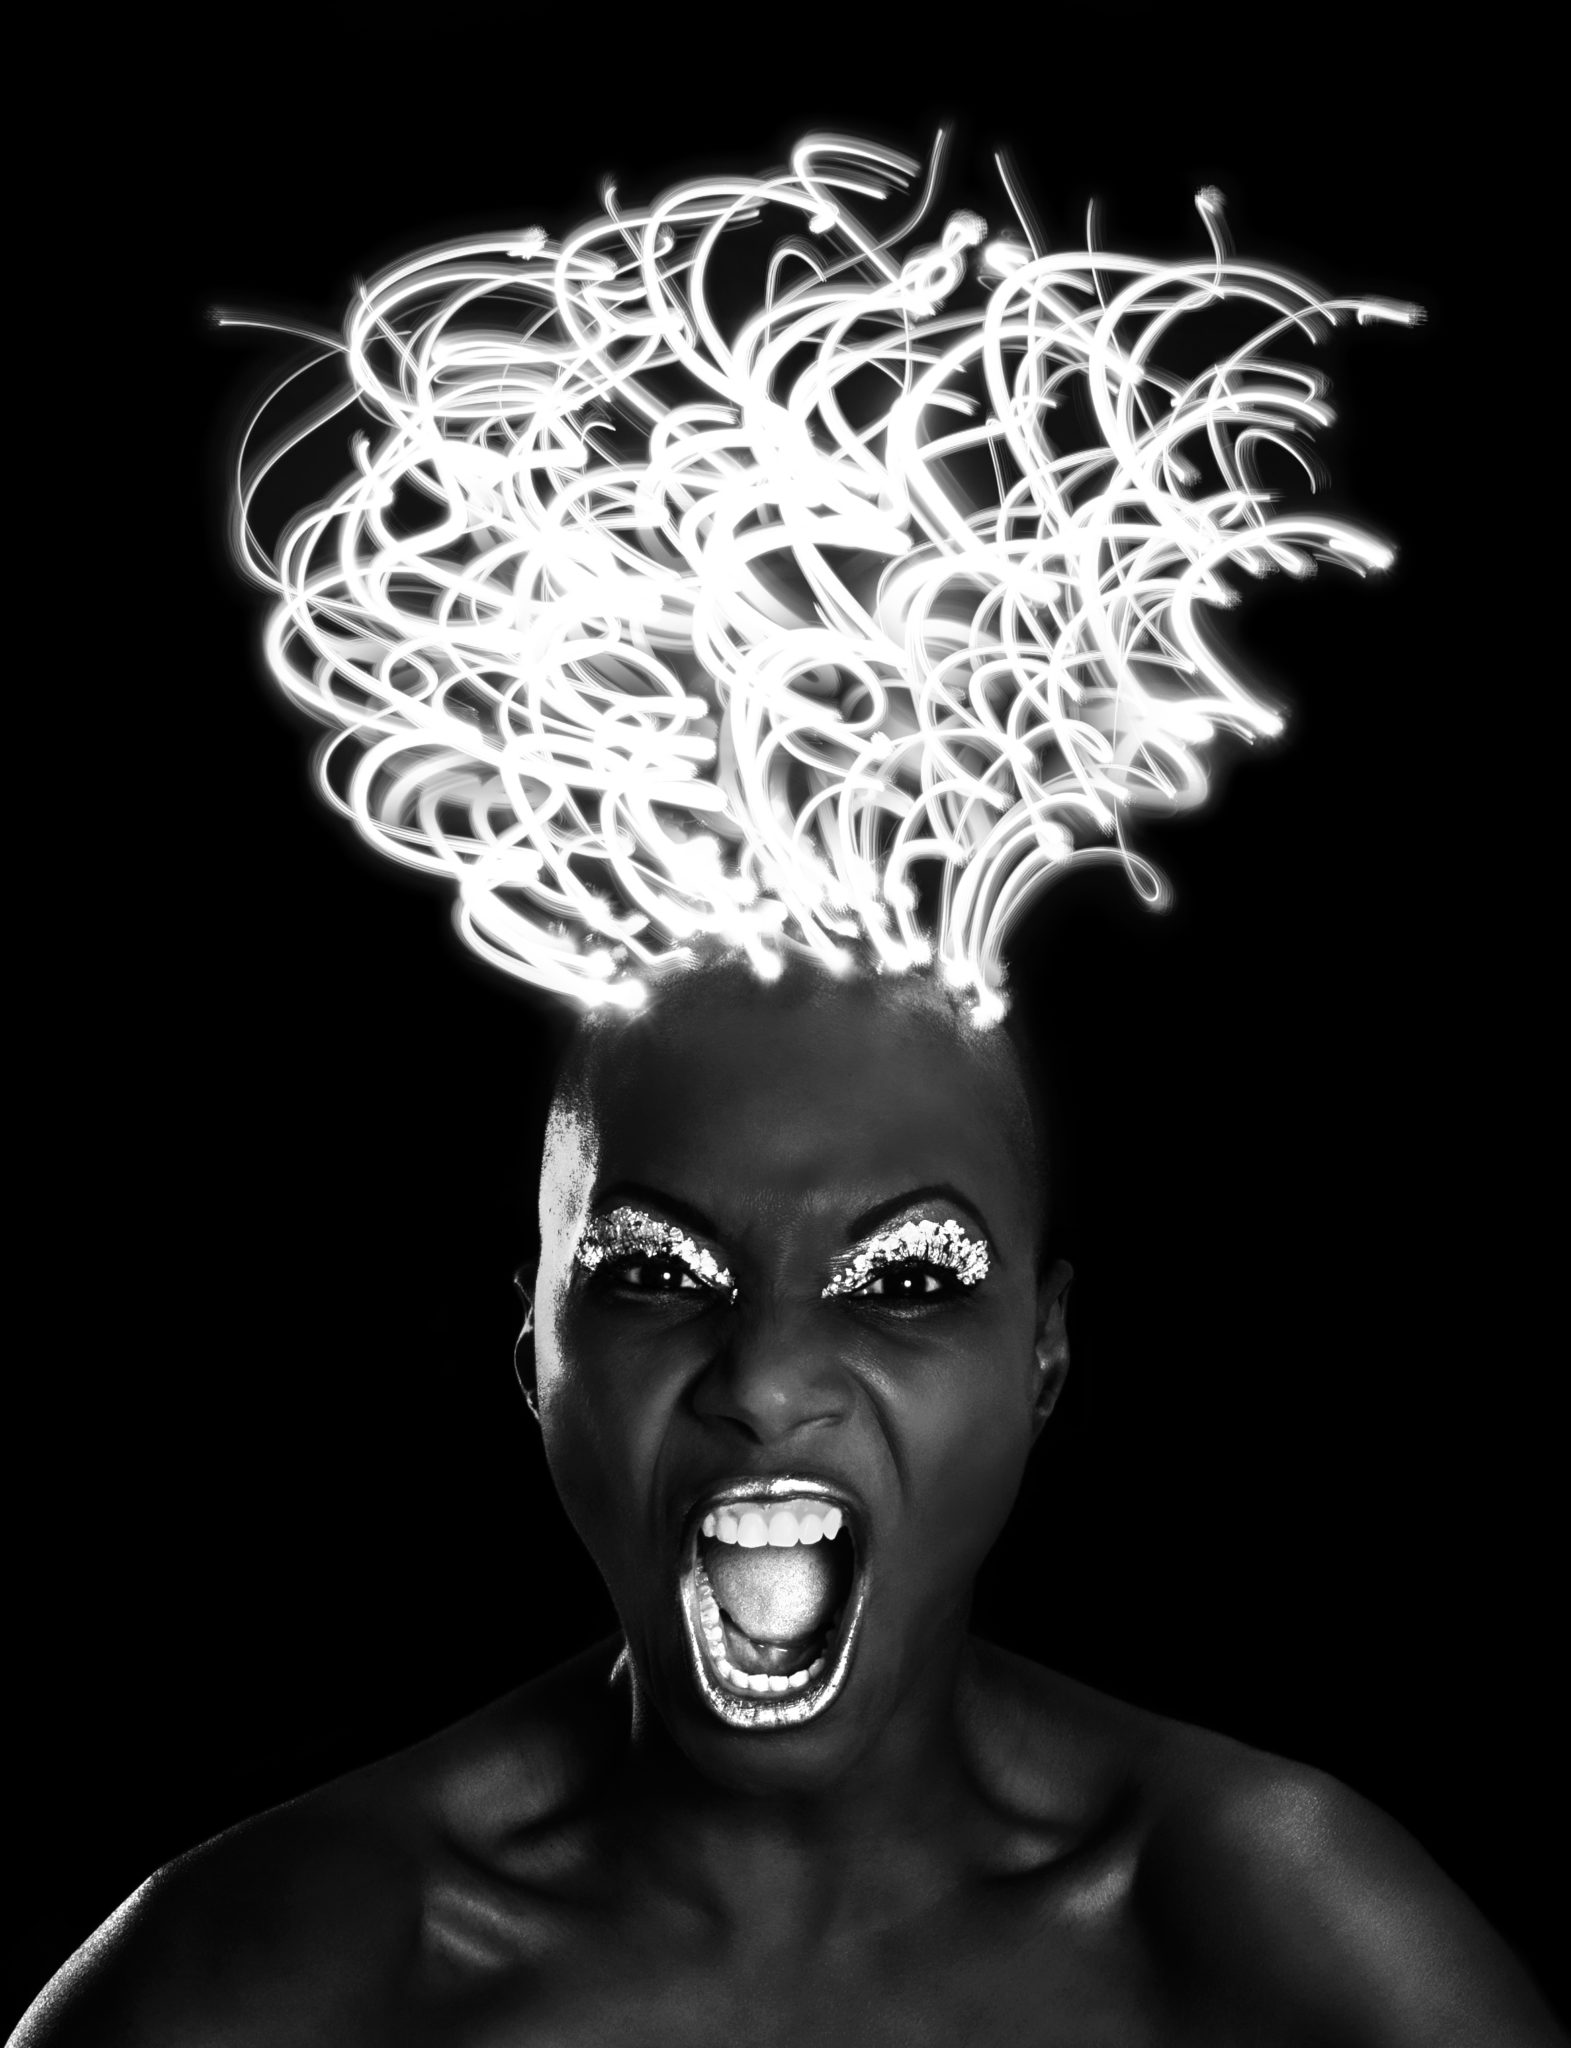
When Adam Baron showed us the photo above that he had been working on, we were immediately intrigued. Adam is a featured artist in the book “Adobe Master Class: Photoshop Inspiring artwork and tutorials by established and emerging artists” Plus, his work has been featured in newspapers and magazines. So when he talked to us about the pure creativity behind this photo, we were eager to share it with you guys.
Here’s Adam’s story.
The Concept
I started the project with the idea of playing around with light painting, a technique I had never bothered to try before. After having come up with the concept of a model whose hair was to actually be made up of trails of light, I knew I needed a bald female model. After much hunting, I found the beautiful and bald Tico Armand. I also hired Erika Mendy, an MUA I had worked with before, who knew the extreme look I was going after. After about an hour in the makeup chair, she was ready to shoot.
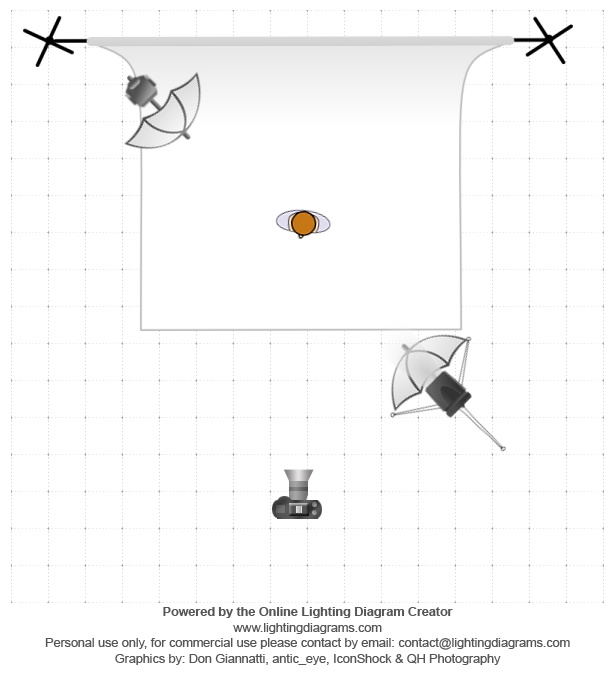
The Gear
– Nikon D7000
– Nikon SB-910 and SB-700
– Umbrellas
The Shoot
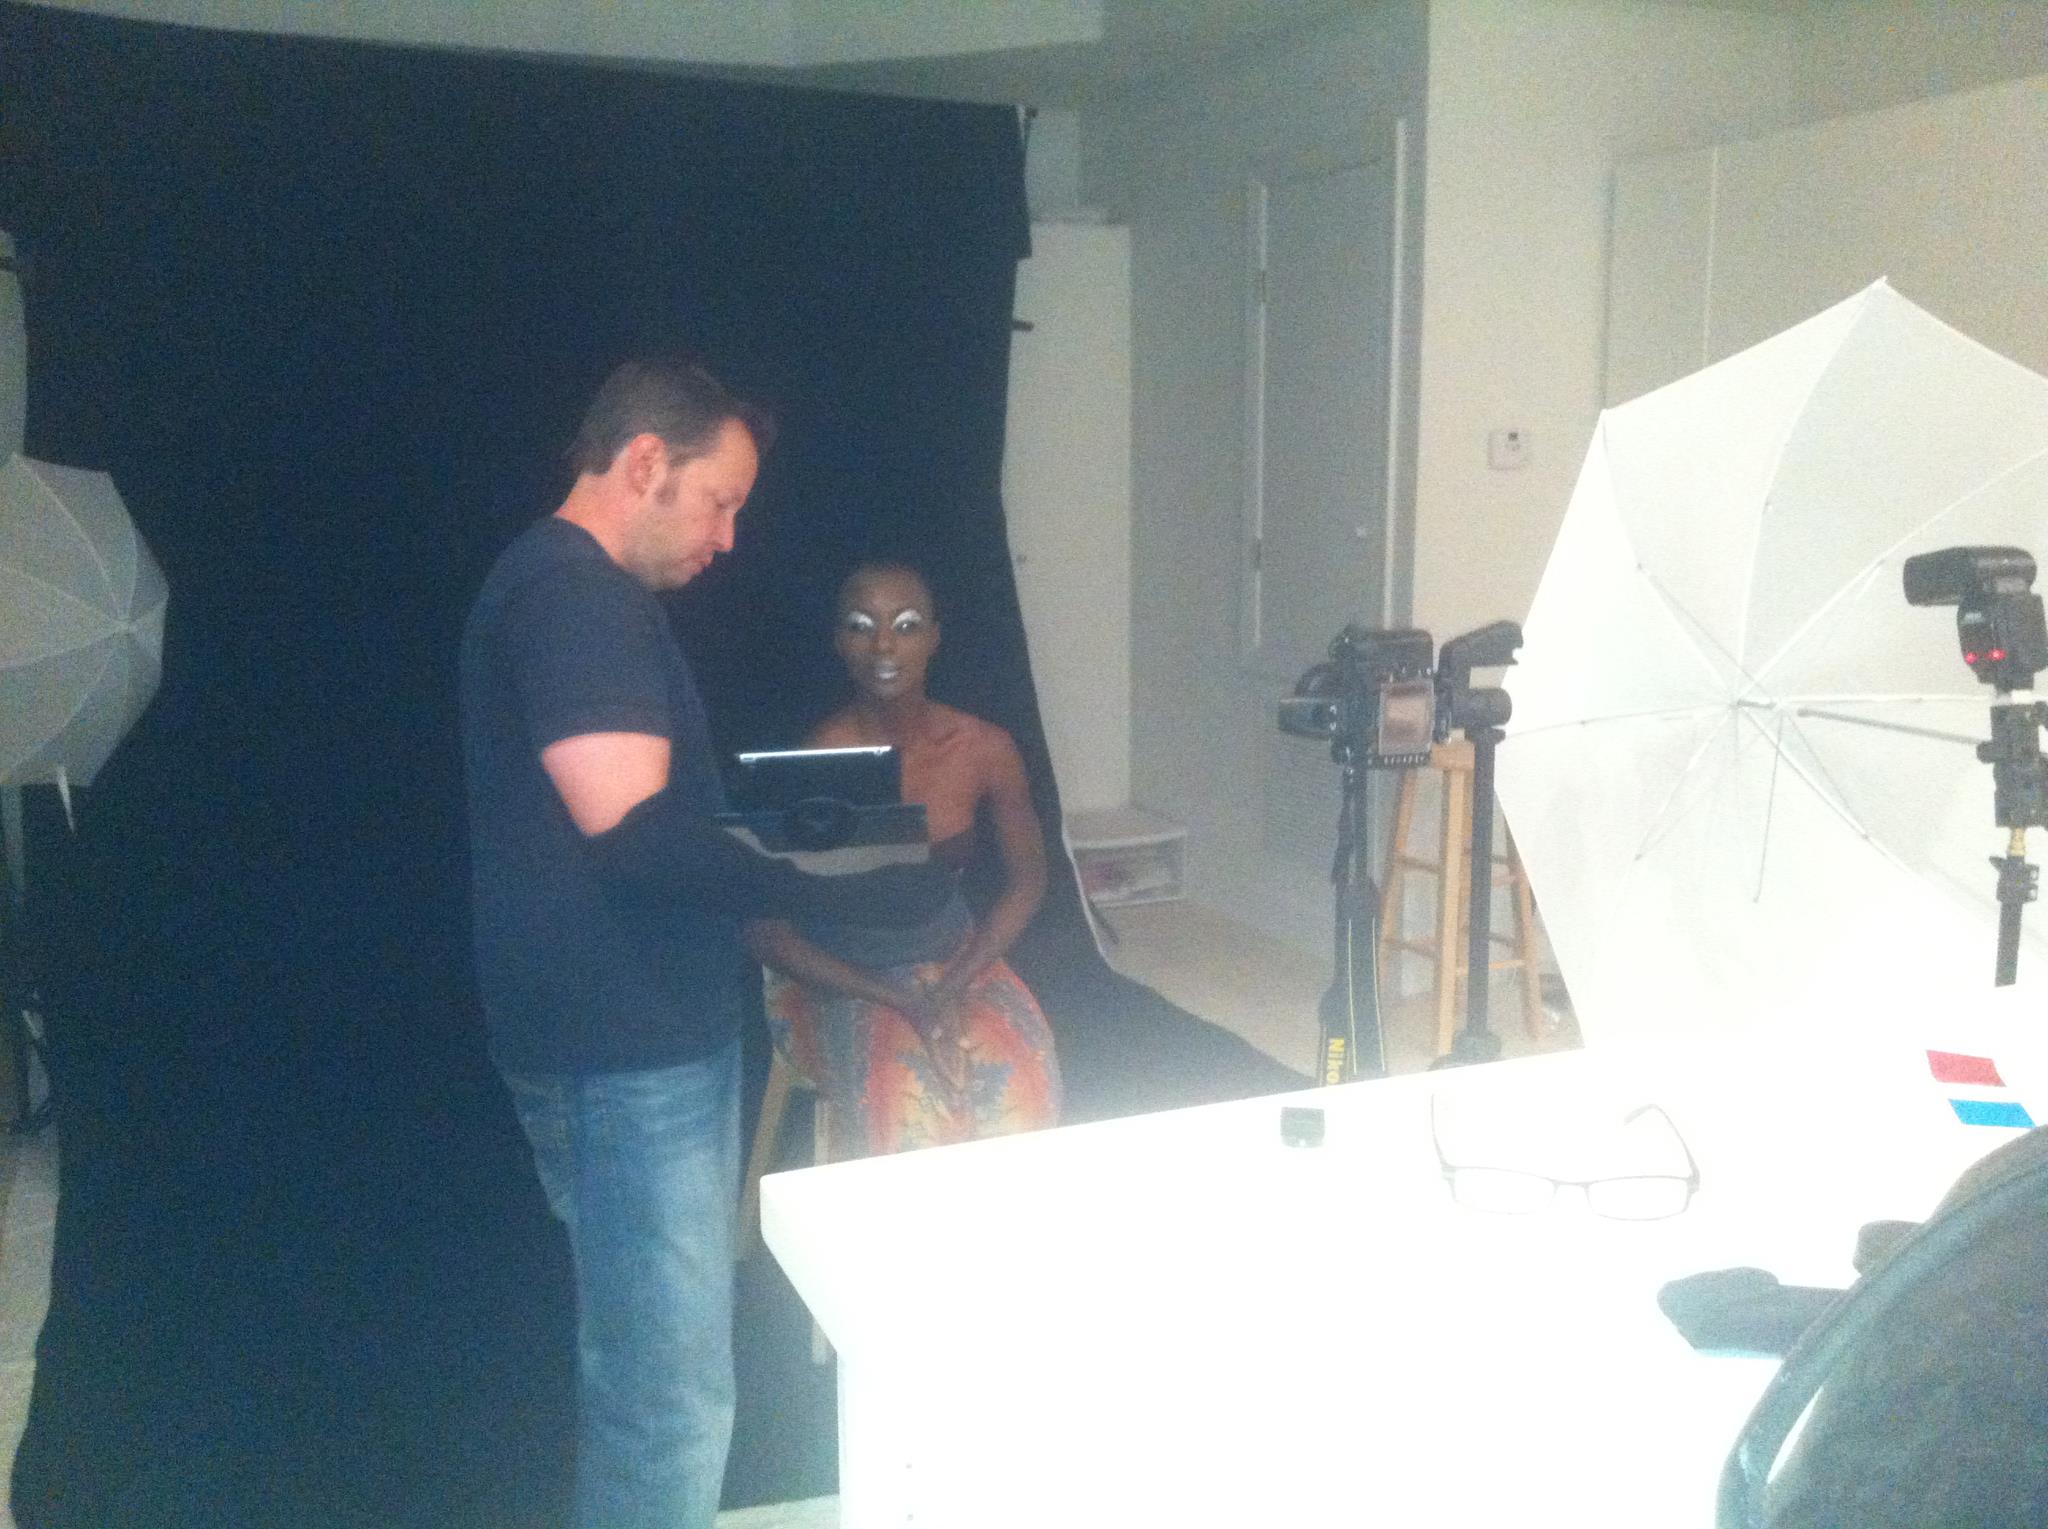
The model sat on a stool in front of a black background and I had the studio very dark. First I would trigger the shutter to open then I would take a small led key chain light that I could trigger by squeezing and I would make the “hair-like” motions starting from just above her scalp and proceeding upward. I had a dark sock over my arm so none of my arm would register from the reflected light. I would then walk away from her and countdown from three which was her cue to make that face while I triggered the shutter to close. As I was using rear curtain sync, just before the shutter would close the flashes would fire. I utilized an Eye-Fi wireless SD card tethered to my iPad so I could show the model her face after every take, and she could adjust accordingly. After trying different “hair patterns,” I settled into a curly-cue motion that seemed to work best.
Post-Production
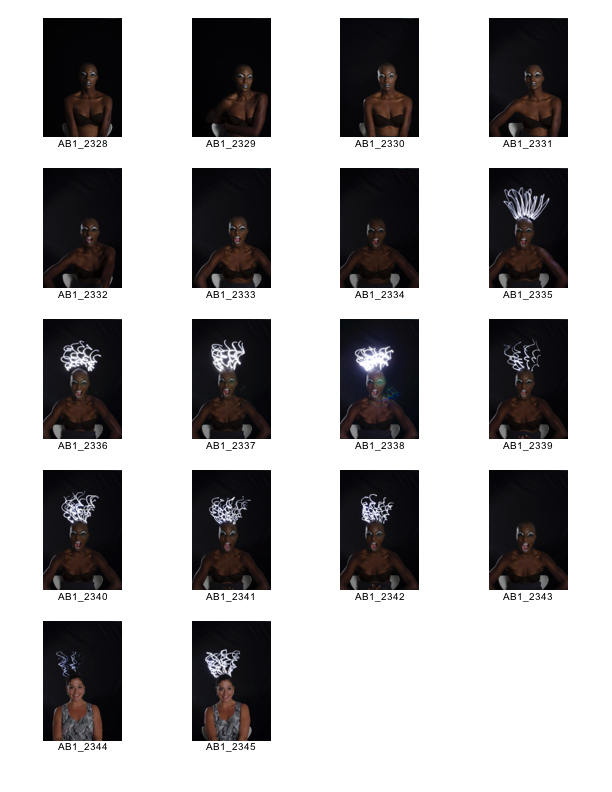
When I had several good takes I decided that they would look best if they were composited together to give the illusion of a neon wig. First I took the best “face” and used that as the base layer in Photoshop. I then took the best takes of the hair and imported them as layers above the head, with the heads masked out. Through the use of masking the multiple layers, I came up with the best overall balance and placement of “hair.”
The one thing I remember the most about this shoot was the accompanying scream she would make every time she would make the face. I can only imagine what the neighbors must have thought!
Please Support The Phoblographer
We love to bring you guys the latest and greatest news and gear related stuff. However, we can’t keep doing that unless we have your continued support. If you would like to purchase any of the items mentioned, please do so by clicking our links first and then purchasing the items as we then get a small portion of the sale to help run the website.
Also, please follow us on Facebook, Google+, Flickr and Twitter.
Get rid of the ads!
Did you enjoy reading this article as much as we enjoyed writing it? There's a way to support us and our reporting, getting ad-free navigation and more as a bonus. Subscribe to us for less than a coffee per month —just $3.99— or take advantage of our yearly subscription with a hefty discount for only $25.- An ad-free experience
- A free mystery box for Lightroom or Capture One
- All the books in our store
- 20% discount on Capture One
- 30% discount on Imalume Photo Theft Protection
- 20% off Herbs and Kettle Tea Company.
- 20% off your order from MPIX printing services.
- 5% off Viltrox Products via their eCommerce store.
- 10% off all film developing, printing and scanning services from Blue Moon Camera and Machine
- 15% off 7Artisans products: The lens and accessory maker is offering a sweet discount for Phoblographer's readers.