Over the last few years, software manufacturers have been creating stand-alone applications and Photoshop-compatible plug-ins, which are designed to achieve beautiful black and white conversions, while providing as little or as much control as photographers might want.
Topaz Lab B&W Effects 2 is the company’s second generation black and white conversion application, which provides a big step up from simply desaturating a color digital file or using the tools found in most photo-editing applications.
Pros and Cons
Pros
-Easy to use global and localized adjustments
– Huge assortment of one-click presets
– Large preview of black and white presets
Cons
-Previews can be a little slow to render on older machines
Minimum Specs
- Windows XP, Windows Vista, Windows 7 & Windows 8 (32-bit and 64-bit)
- Mac OS 10.6 – 10.8 (Requires Intel-based 64-bit Intel based Macs).
- 2GB RAM required (4GB+ RAM recommended)
- Compatible with Adobe Photoshop starting with CS3, Adobe Photoshop Elements 6-11, Paint Shop Pro, Photo Impact, Serif Photo Plus, Aperture 2 & 3, iPhoto, Adobe Lightroom 2 – 4
Gear Used
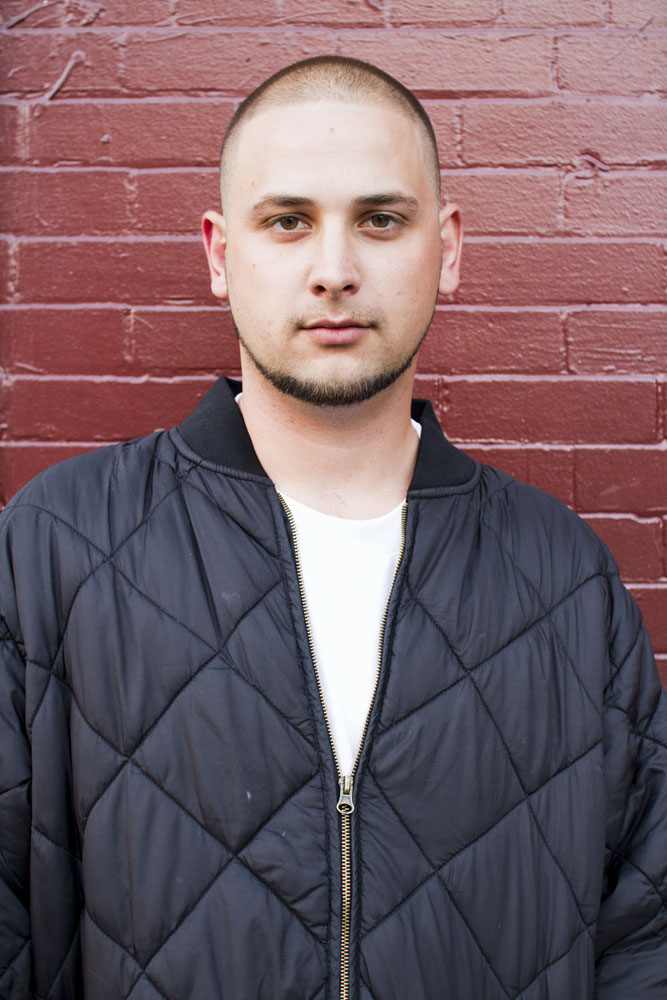
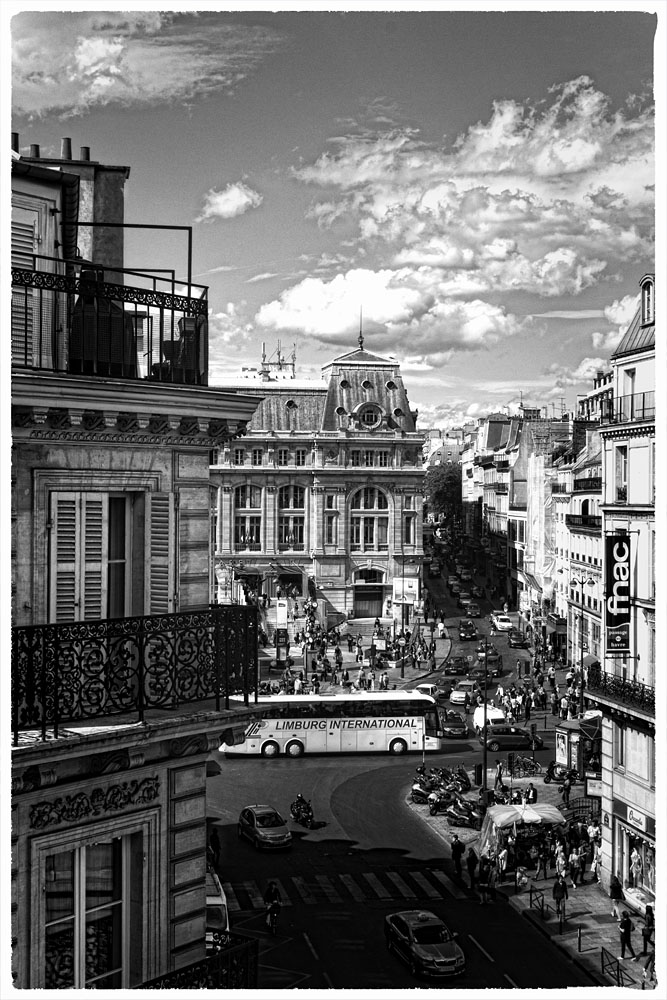
I converted a color image I created using a Canon EOS 60D with a Sigma 30mm f/1.4 lens that was captured on a Sandisk Extreme 16GB SD memory card. The software was used as a plug-in with Adobe Photoshop CS6 on an iMac 21-inch computer using OS 10.8.4 (Mountain Lion).
Main Features
- Dynamically convert images to black and white with maximum contrast control.
- Balance and enhance tonal range of grays while individually controlling the range of blacks and whites.
- Create an authentic feel of film by applying real grain.
- Enhance images with maximum detail and depth.
- Selectively enhance images with color, doge, burn, smooth or detail.
- Add creative styles – like HDSLR, diffusion, painterly effects and more.
- Add finishing effects like vignettes, boarders, quad, toning and more.
Ease of Use
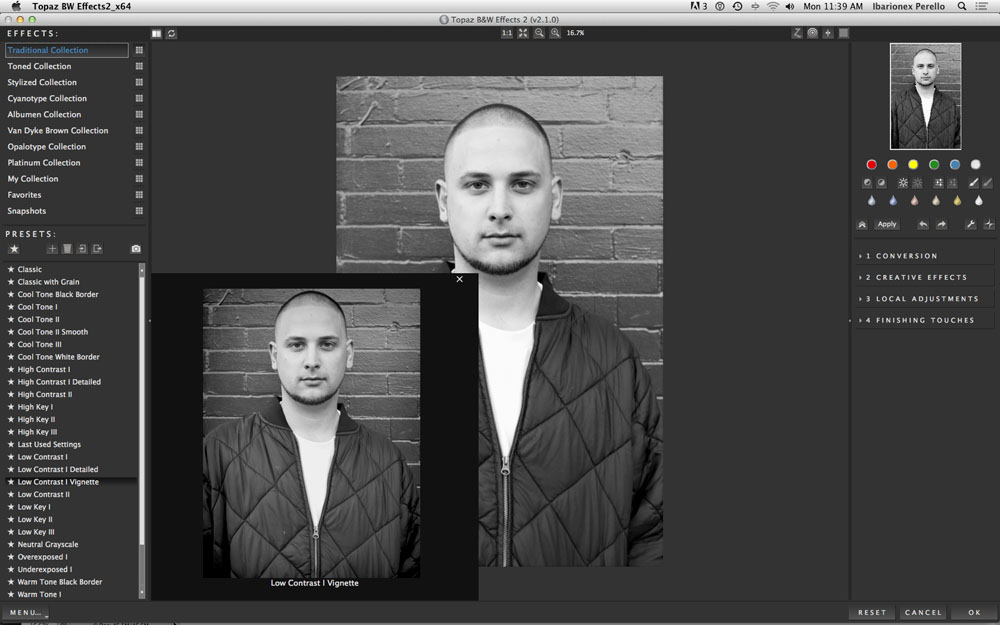
Topaz Labs has made it easy to get specific looks by offering a variety of different presets sorted in 8 collections. With a single click, you are able to create film-like black and white conversions with differences in contrast, sharpness and tone. You can also play with older photographic approaches including cyanotypes and platinum prints. Though you can stop there, the strength of the application is in its ability to refine the look in a variety of ways. So, presets become a starting point for a black and white conversion and cuts down on the amount of time needed to transform an image from scratch.
The presets can easily be collected into personal favorites or collections. This makes a lot of sense in my own experience, because I’m often looking for a specific look for much of my work.
The real power of the software is found on the right panel where the controls are organized into 4 major categories: Conversion, Creative Effects, Local Adjustments and Finishing Touches. The controls found in each allow you to start off with global changes and then logically move down to more localized refinements, including dodging and burning.
Real Life Applications
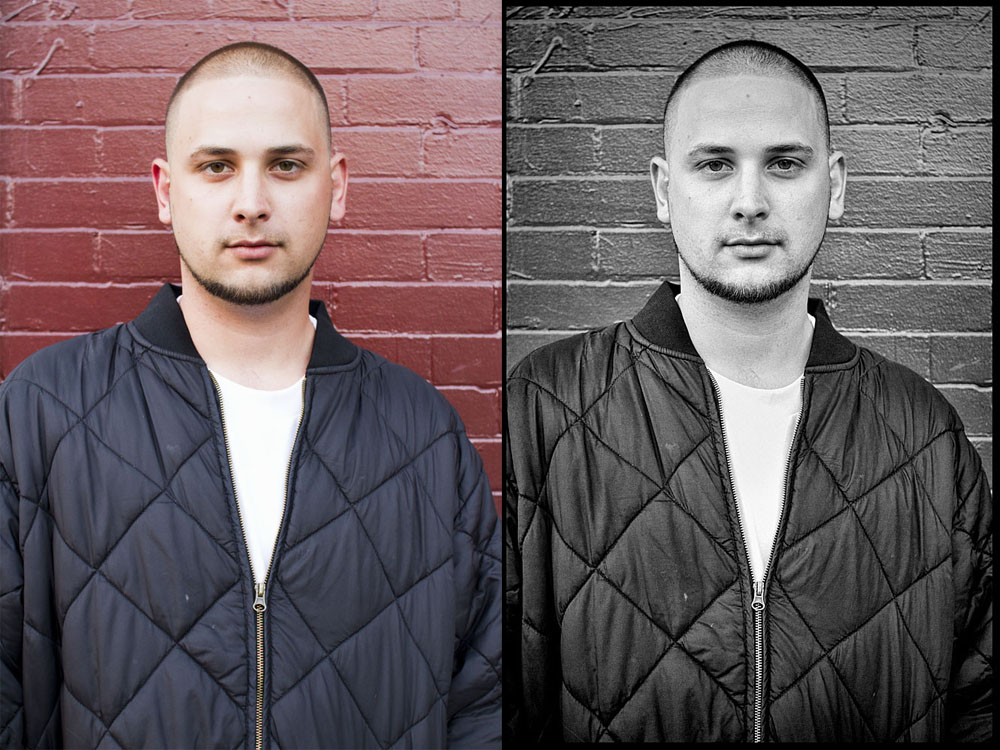
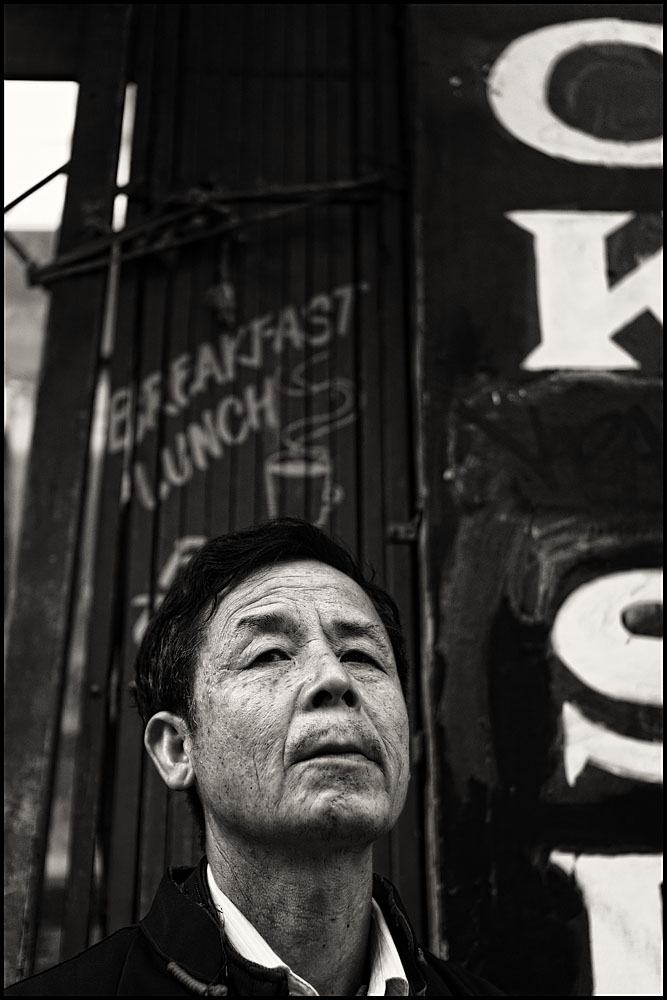
I used a portrait that I made in San Francisco as my example image. Originally, I had thought the play of color between his dark jacket and the red wall would result in a good portrait.
However, the longer I looked at the image the less than satisfied I was with the look.
I realized that the same colors when converted into a black and white composition might just make for a pretty good-looking black and white portrait.
To begin, I stated it off by using the Low Contrast Vignette preset found in the Traditional Collection. I was able to review the look as the cursor moved over each preset. The large preview provided a clear sense of what I would get as compared to the small thumbnails offered by other applications. Though I often go for a high contrast look, I wanted to control that myself by using the controls on the right panel.
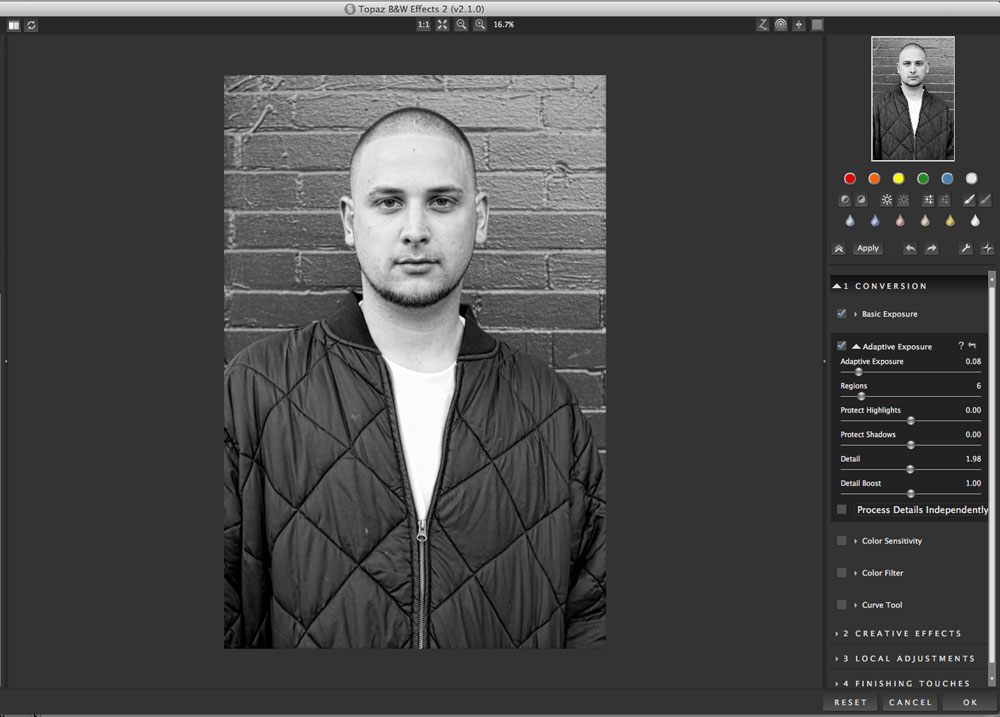
One of my favorite tools for this is the Adaptive Exposure control, which allows me to affect the dynamic range of the image. How much or how little of the image is effected by the adjustments revolve around the use of regions, which isolate the effect to area of shadows, mid-tones or highlights. This is easily the software’s most powerful tool and demands a subtle hand in order to get the best effect.
The local adjustments allowed me to put my wet darkroom skills to use by the ability to apply local adjustments to the image, largely in the form of dodging and burning. It also allowed me the ability to reduce or increase the clarity of certain details just as easily especially since it was all accessed through a single tool.
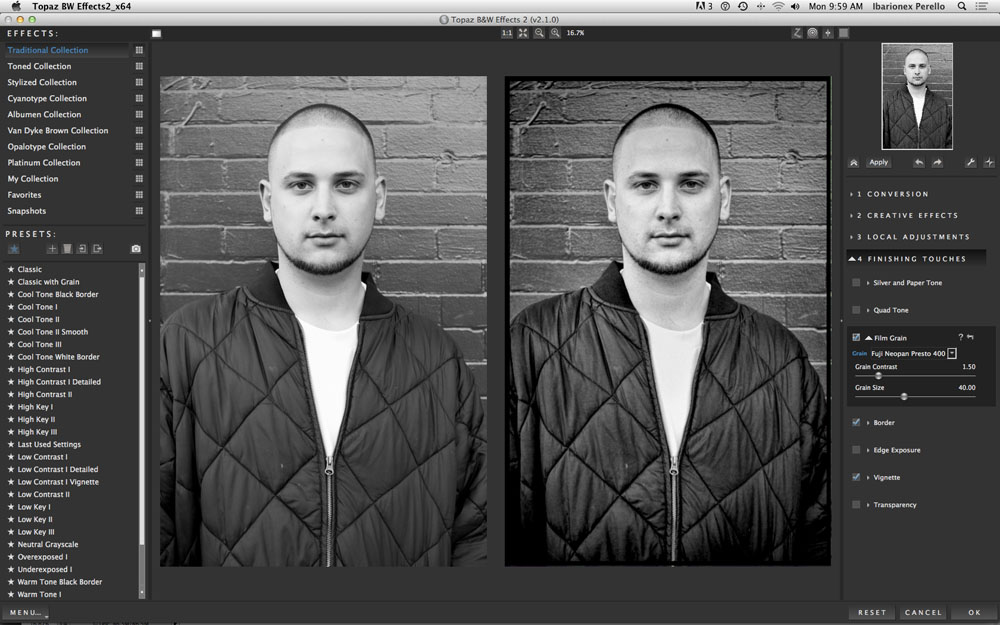
The final set of tools allowed me to apply a vignette,, a border and film grain. There are a lot of options here, but as I mentioned before, I’m often looking for a specific look for my work. However, it’s good to know that there I have this many choices when I choose to experiment more.
Conclusions
Topaz Lab B&W Effects 2 is the kind of application for those new to black and white to photographers with a good deal of experience beneath their belt. It’s a powerful tool that allows me to get a wonderful results with just a few mouse clicks or provide me the fine controls that I need when I went to dedicate a good amount of time to achieve the right look for my photographs. At a price of just $59.99 it’s an affordable additional to any photographer’s digital tool kit.
Please Support The Phoblographer
We love to bring you guys the latest and greatest news and gear related stuff. However, we can’t keep doing that unless we have your continued support. If you would like to purchase any of the items mentioned, please do so by clicking our links first and then purchasing the items as we then get a small portion of the sale to help run the website.
Also, please follow us on Facebook, Flickr and Twitter.
Get rid of the ads!
Did you enjoy reading this article as much as we enjoyed writing it? There's a way to support us and our reporting, getting ad-free navigation and more as a bonus. Subscribe to us for less than a coffee per month —just $3.99— or take advantage of our yearly subscription with a hefty discount for only $25.- An ad-free experience
- A free mystery box for Lightroom or Capture One
- All the books in our store
- 20% discount on Capture One
- 30% discount on Imalume Photo Theft Protection
- 20% off Herbs and Kettle Tea Company.