
It’s been a while since HDR Expose 2 was first released, and we took a first look at the software a while back. HDR Expose 2 is a relatively affordable and easy to use HDR software which still leaves you a lot of options for fine tuning the HDR effect. Anything from a slight dynamic range improvement to over-the-top HDRs with insane colors and local contrast can be achieved with the software. In this review, we take a closer look at its functionality and assess what and who it is suited for.
Pros and Cons
Pros
- Very powerful tool that can do almost anything, incredible amount of options
- Comes with a well illustrated PDF user manual
- Presets allow for quick conversions with good results
Cons
- Amount of sliders and options can be confusing, aren’t always self-explanatory
- Sometimes slow to react on input and apply real-time changes
- Anti-ghosting algorithm is easily fooled
Gear Used
For creating the HDR pictures in this review, I used bracketed exposures taken with a Panasonic G1 camera and SLR Magic 12mm T1.6 and 35mm T1.4 lenses as well as the Panasonic Lumix 20mm f1.7 lens.
Main Features
The following list of features is taken from Unified Colors’ website.
HDR
- HDR Brightness/Output range Histogram
- One Click Automatic Dynamic Range Mapping tool
- Halo Reduction Settings
- Automatic Halo Elimination
- HDR Merge Auto Deghosting
- Veiling Glare Correction
Editing and Interface
- RGB/Bch readout
- Display Brightness Setting
- GPU accelerated (OpenGL) zooming and scrolling
- Fixed/Free Rotate
- Resize
- Brightness/Contrast
- Sharpening
- White Balance
- Multi Channel Saturation Controls
- Noise Removal (Dark Noise, Brightness Noise, Color noise)
- Selective Color Tuning/Brightness Controls
- Tint
- Enhanced B/W conversion (color filters)
Workflow
- Batch Merge to HDR
- Editable Recipies
- Aperture Merge & Edit Plug-in
- Lightroom Merge & Export Plug-in
- Multiple images open at once (tabbed document interface)

File Management
- Input File Types RAW, JPEG, TIFF, BEF
- Input File Types Radience, OpenEXR
- Includes .bef File Format Plug-in For Photoshop
Ease of Use
HDR Expose 2 is a professional HDR software that has an option or a slider for almost any task. That makes it a very powerful tool, but it can also be frightening to the HDR newcomer (for whom Unified Color has a dedicated software called HDR Express 2.) However, once you dig your way through all the options (or through the tutorial, or both), it quickly becomes apparent that HDR Expose 2 can do almost anything to your files. In that sense, it is much more than just an HDR sofware–it is closer to a full post-processing workflow, except that it can’t open raw files.
Here’s a quick walk through the software’s workflow and options, as I regularly used them during the review period.
When you start the program, you’re greeted with a welcome screen that gives you the option to open one or multiple images via a file selector dialog, to open a ‘Merge’ dialog where you can drag-and-drop your source files, or to start a batch processing task.
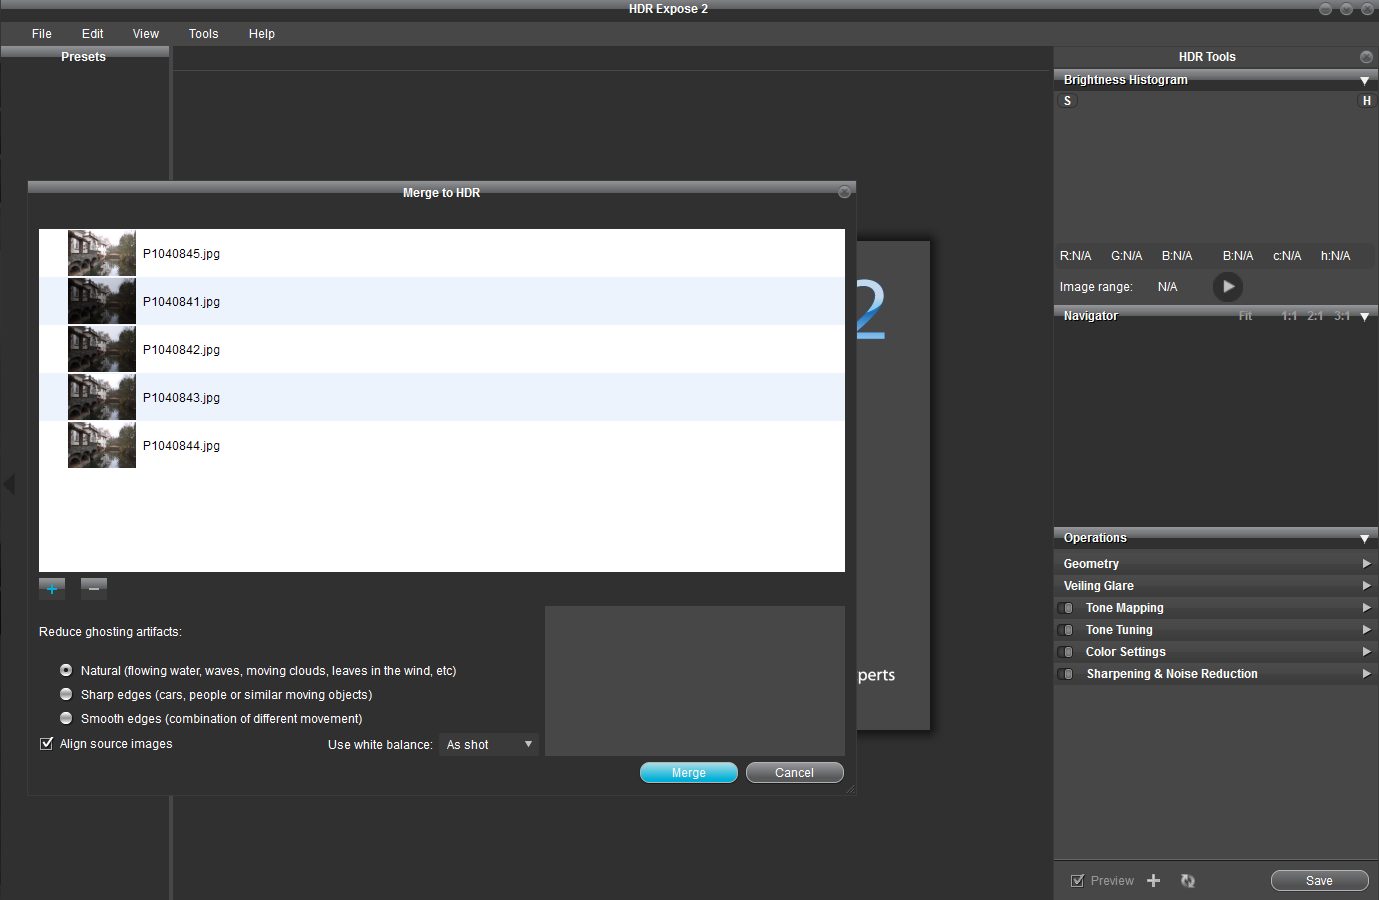
Opening the ‘Merge’ dialog, you can drag-and-drop your source files and select whether or not to have the software auto-align the images and de-ghost them. Excessive motion inbetween the images will quickly push the algorithms to their limits, though.
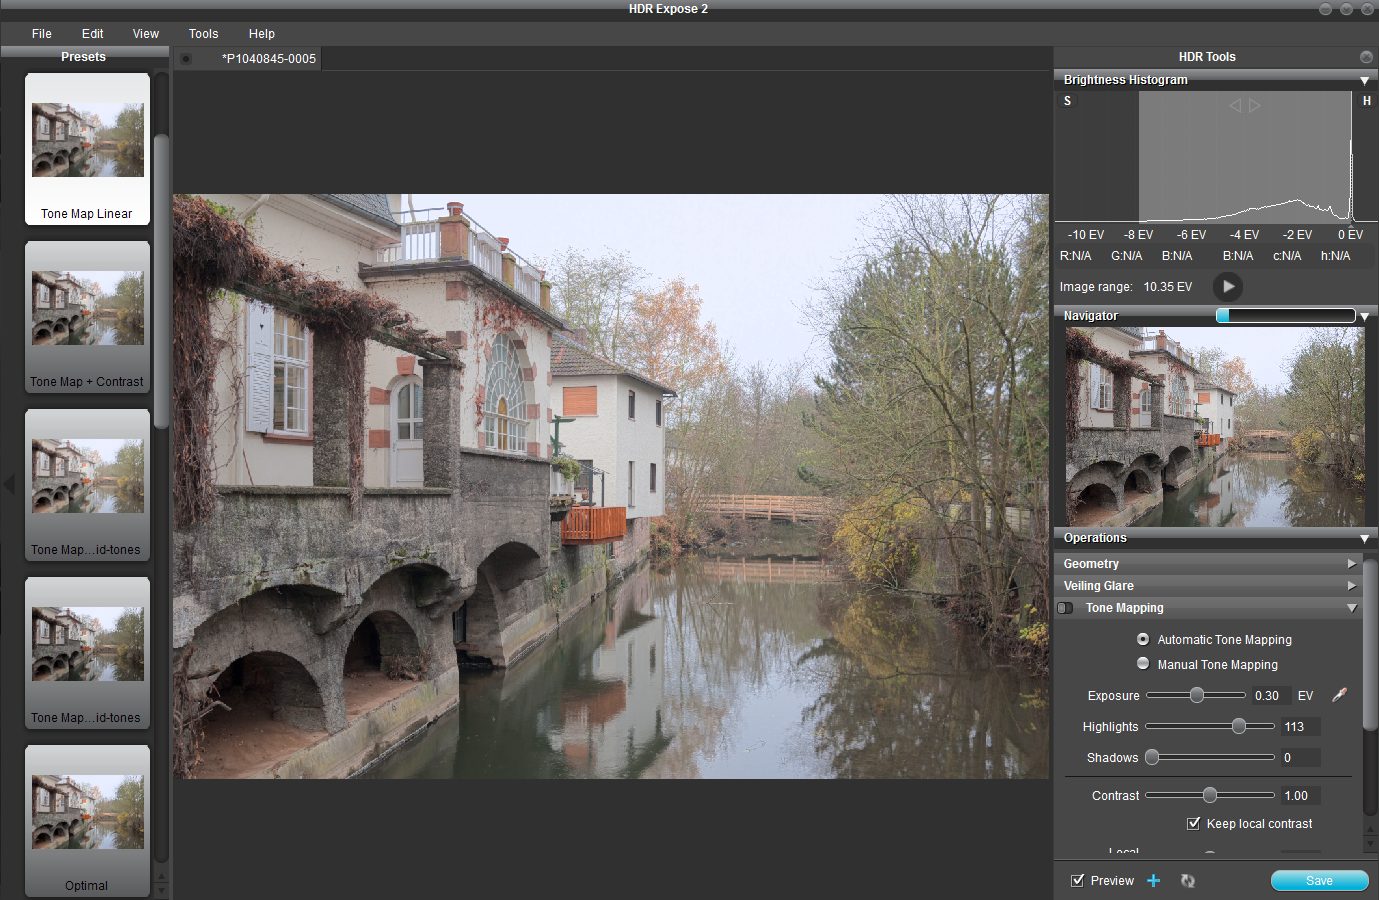
Once the source images are loaded and aligned, you’ll see the software’s main interface. On the left is the preset panel (that can be moved freely to any position on the screen), and by default the preset ‘Tone Map Linear’ is selected. In the center is the preview that shows changes in real time. To the right is the options panel, where you’ll find all of the HDR-related settings.
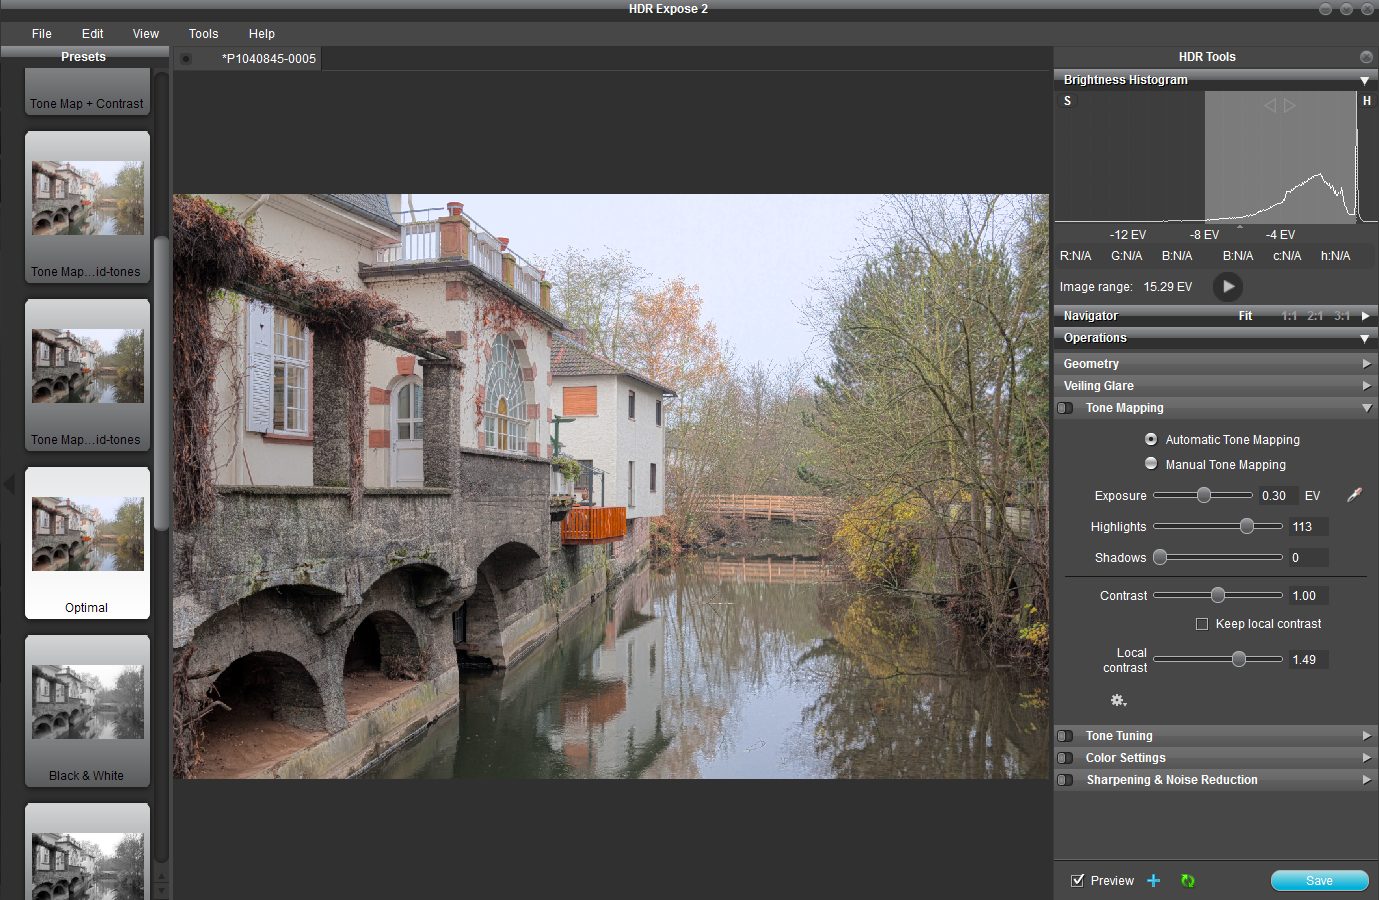
The presets are very handy to get some quick results without the need to do a lot of fine-tuning. Especially the ‘Optimal’ preset creates a nicely balanced HDR picture with one click. There are also presets that are focused on optimizing contrast and mid-tones, and presets for black-and-white HDRs.

The ‘Grunge’ preset creates an over-the-top HDR with crazy colors and exaggerated local contrast, if that is what you like. While I admit that it looks spectacular, it is not an option I’d use seriously.
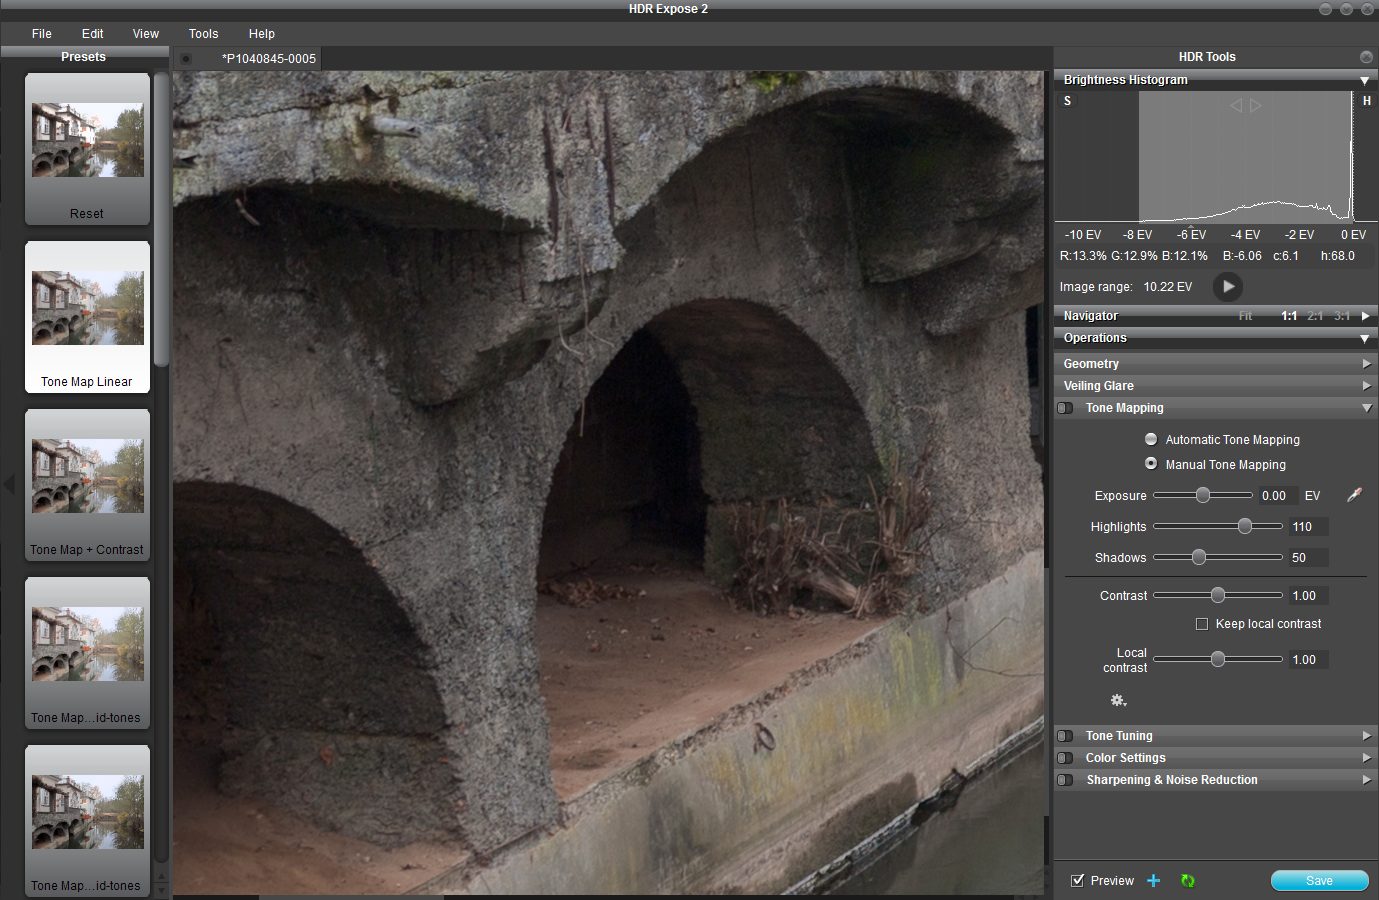
In a typical workflow, I’d use ‘Tone Map Linear’ as the starting point, and then carefully tune the settings in the ‘Tone Mapping’ menu on the right. As you can see from the labels, HDR Expose 2 offers a vast amount of advanced options for geometry corrections, tone and color corrections as well as sharpening and noise reduction. The ‘Veiling Glare’ menu lets you reduce lens glare and haze, according to the tutorial–though I never quite figured out what it does and how it works.

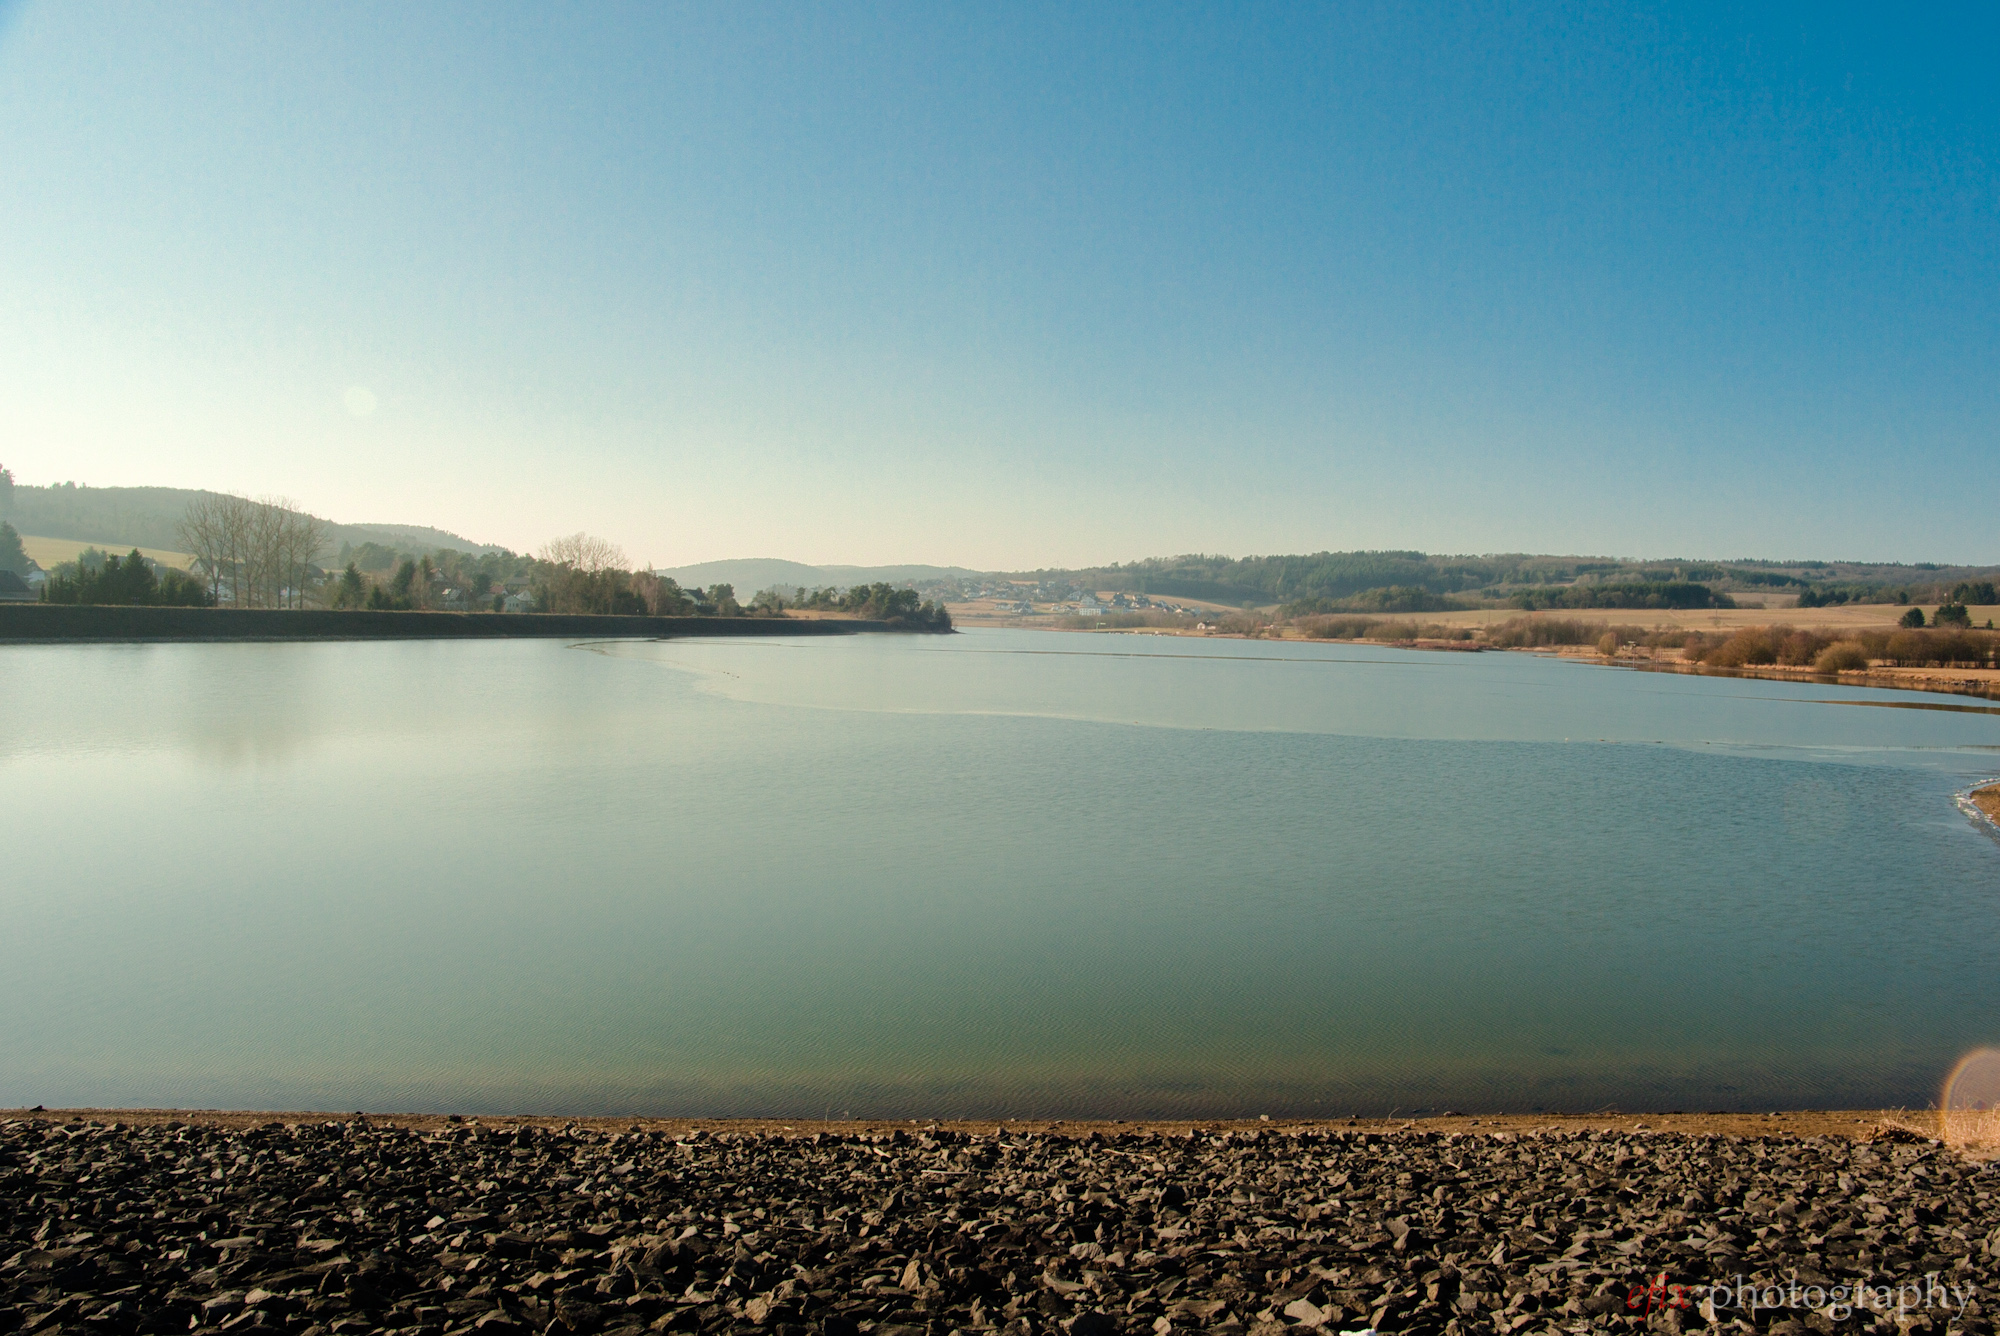
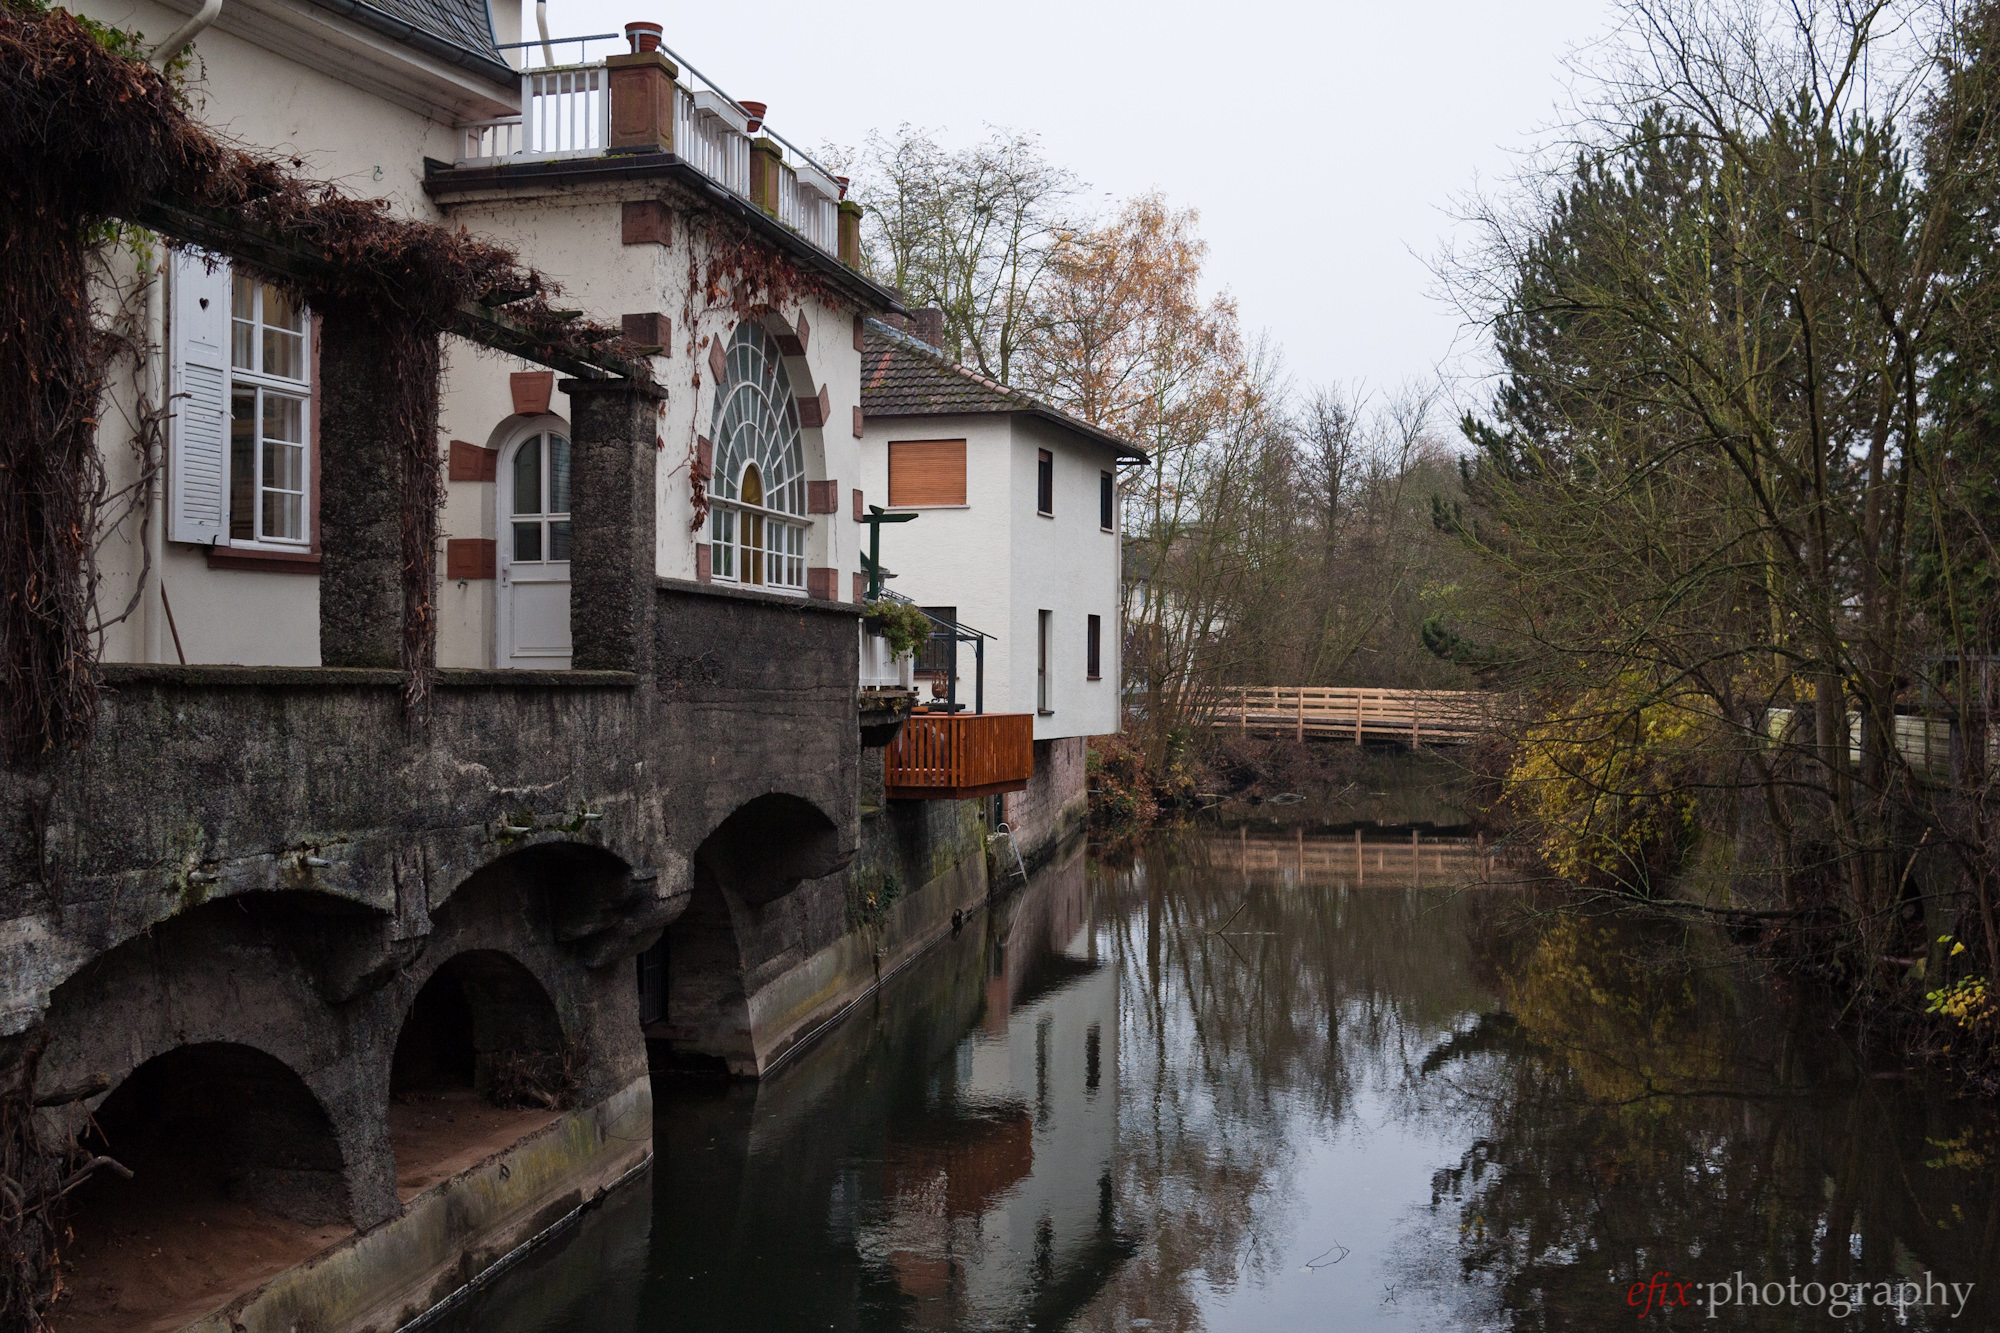
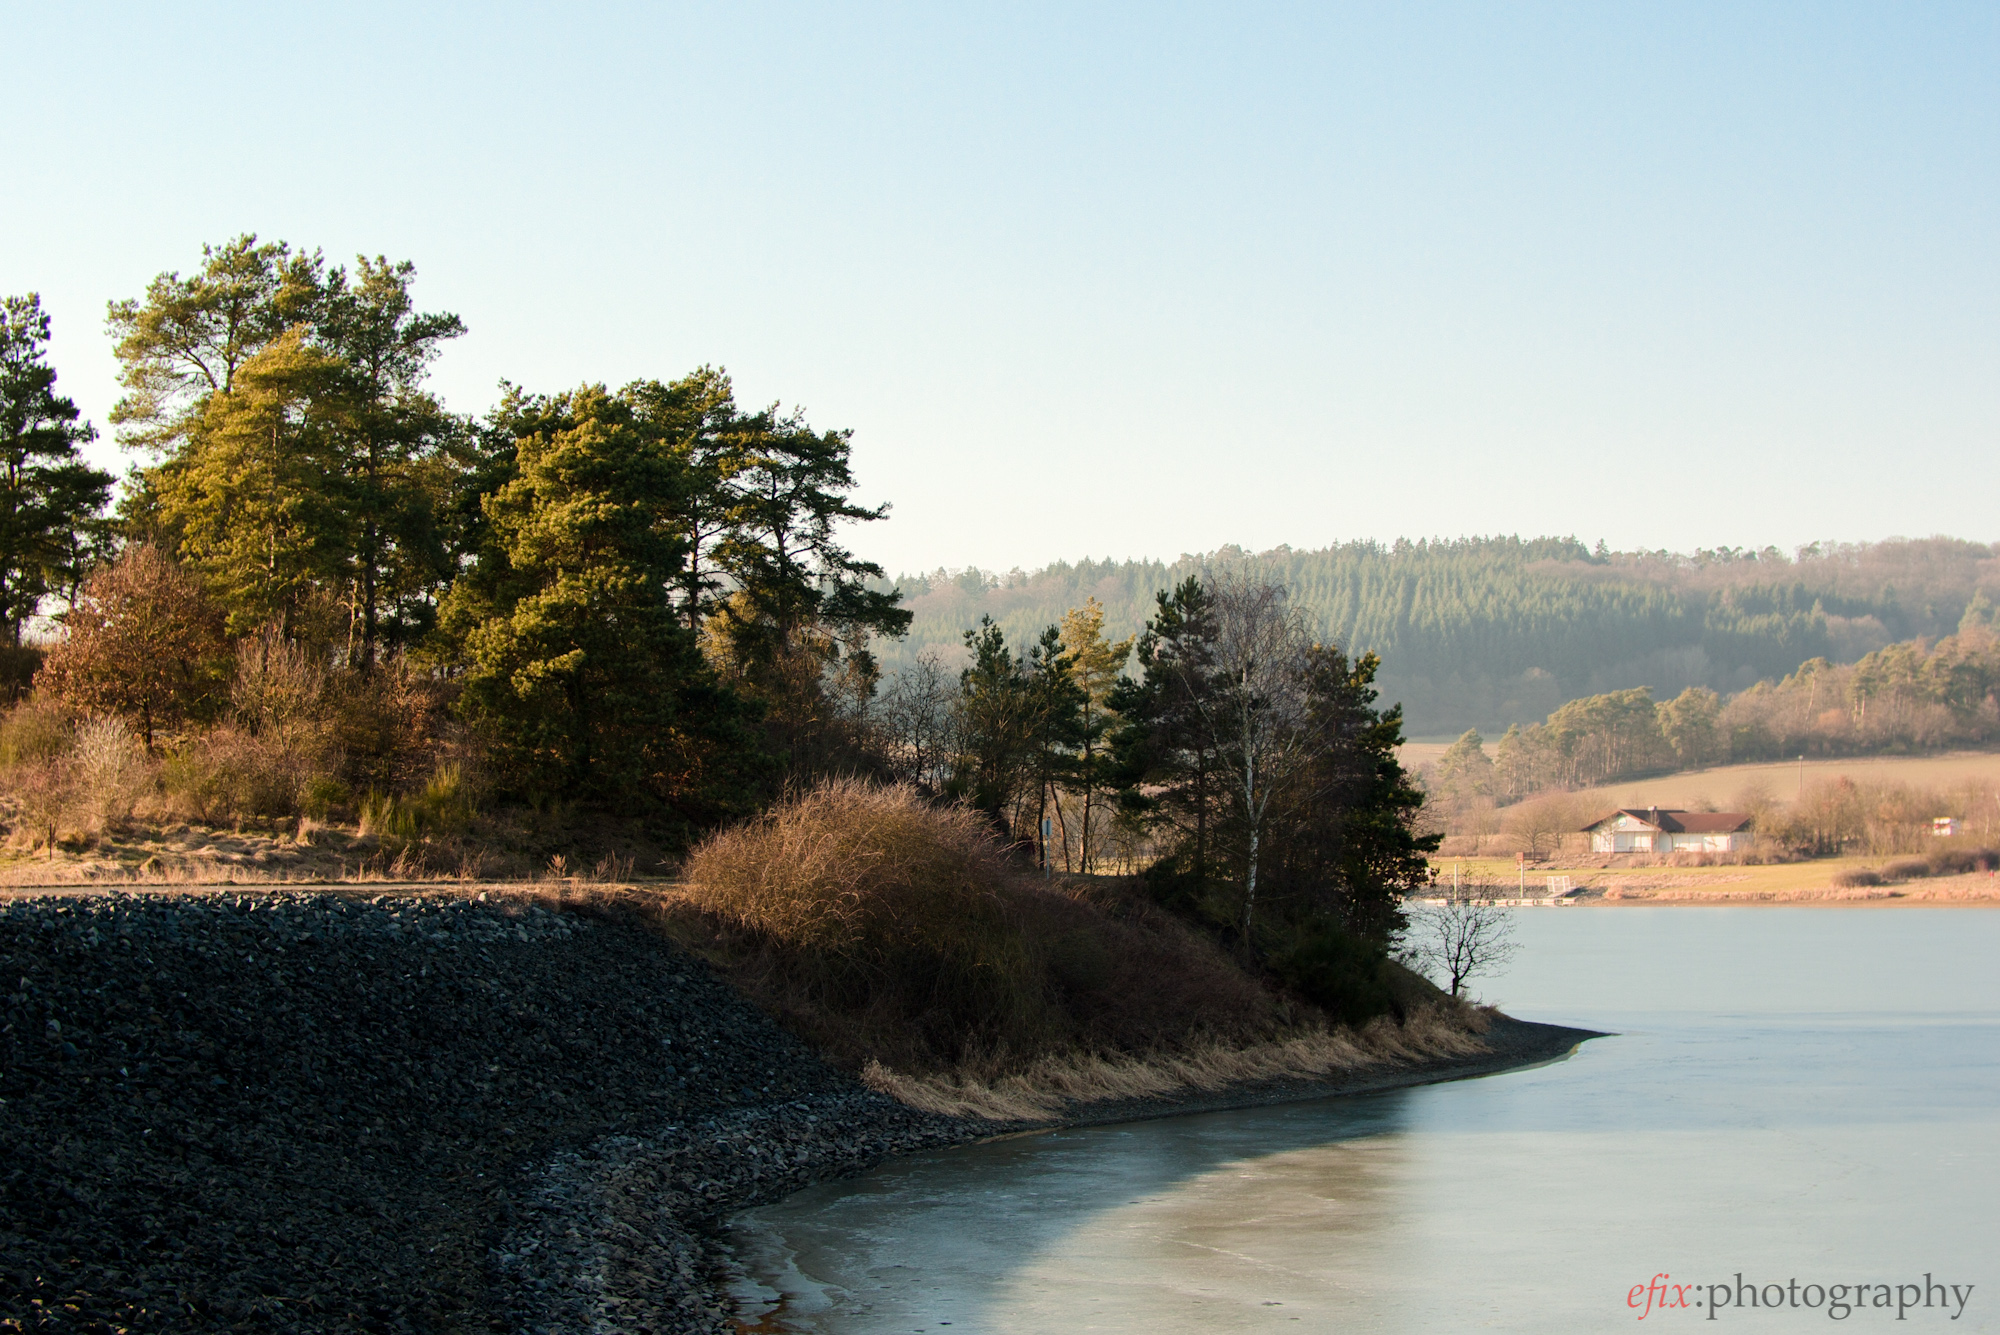
The image above is the result of merging five bracketed exposures with 2/3 EV distance from each other. I used the sliders for highlights and shadows to achieve as high a dynamic range as possible. Since I did not apply any contrast or color corrections within HDR Expose, the result looks flat and dull. In the next step, I’d export a TIFF file and tweak it further in Lightroom.

After going at it with the curves tool as well as slightly tweaking the colors, this is the result of the combined HDR Expose / Lightroom workflow. The image looks well-balanced thanks to the contrast enhancement, without losing any of the dynamic range that was gained by merging the bracketed exposures. While it certainly doesn’t look exactly the same as my eyes saw the scene when I took the pictures, it also doesn’t look overdone. As a comparison, this is the best I could come up with using only Lightroom on a single exposure:
There is much less definition in this picture–especially the mid-tones are far too dark. There’s a lot of noise in the shadows because I had to push them significantly. The colors look dull, and overall the picture isn’t very pleasing to the eye. However, it is much closer to a realistic representation of what my eyes saw.
Real Life Applications
I’ve established above that HDR Expose 2 is a very powerful tool for creating both natural-looking as well as over-the-top HDR pictures. However, even though taking bracketed exposures will in theory always provide a greater dynamic range, it is not always necessary or even recommendable to merge them into an HDR picture. Sometimes, even the output of the relatively small Micro Four Thirds sensor delivers enough processing latitude.
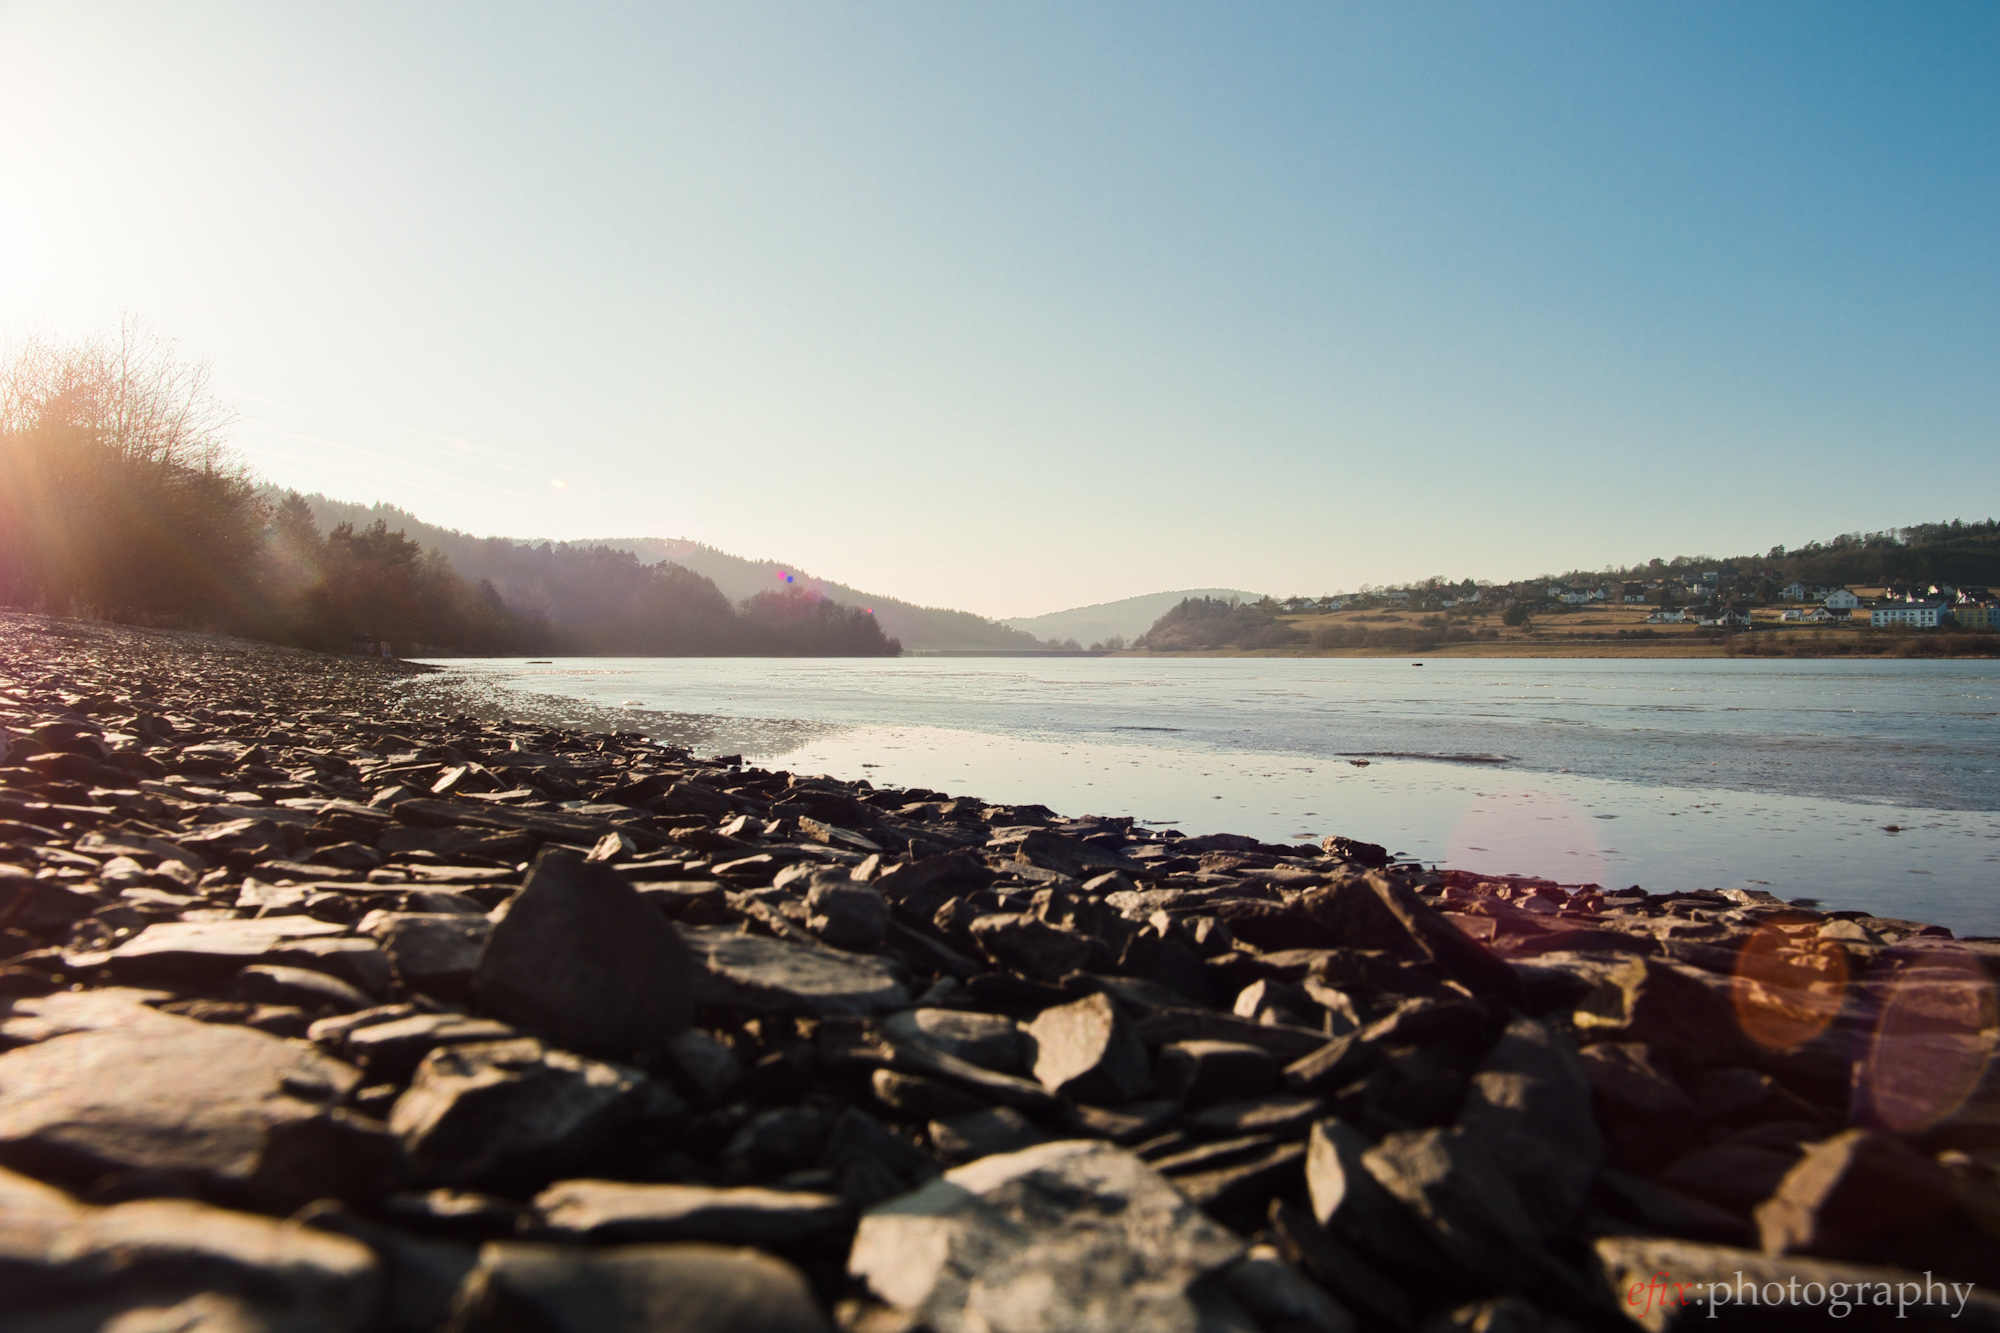
The picture above was created in HDR Expose 2 by merging five bracketed exposures, with the workflow I described above. Still, the shadows are very dark and the sky around the sun in the top left corner is extremely bright. The following picture was created from a single exposure in Lightroom.
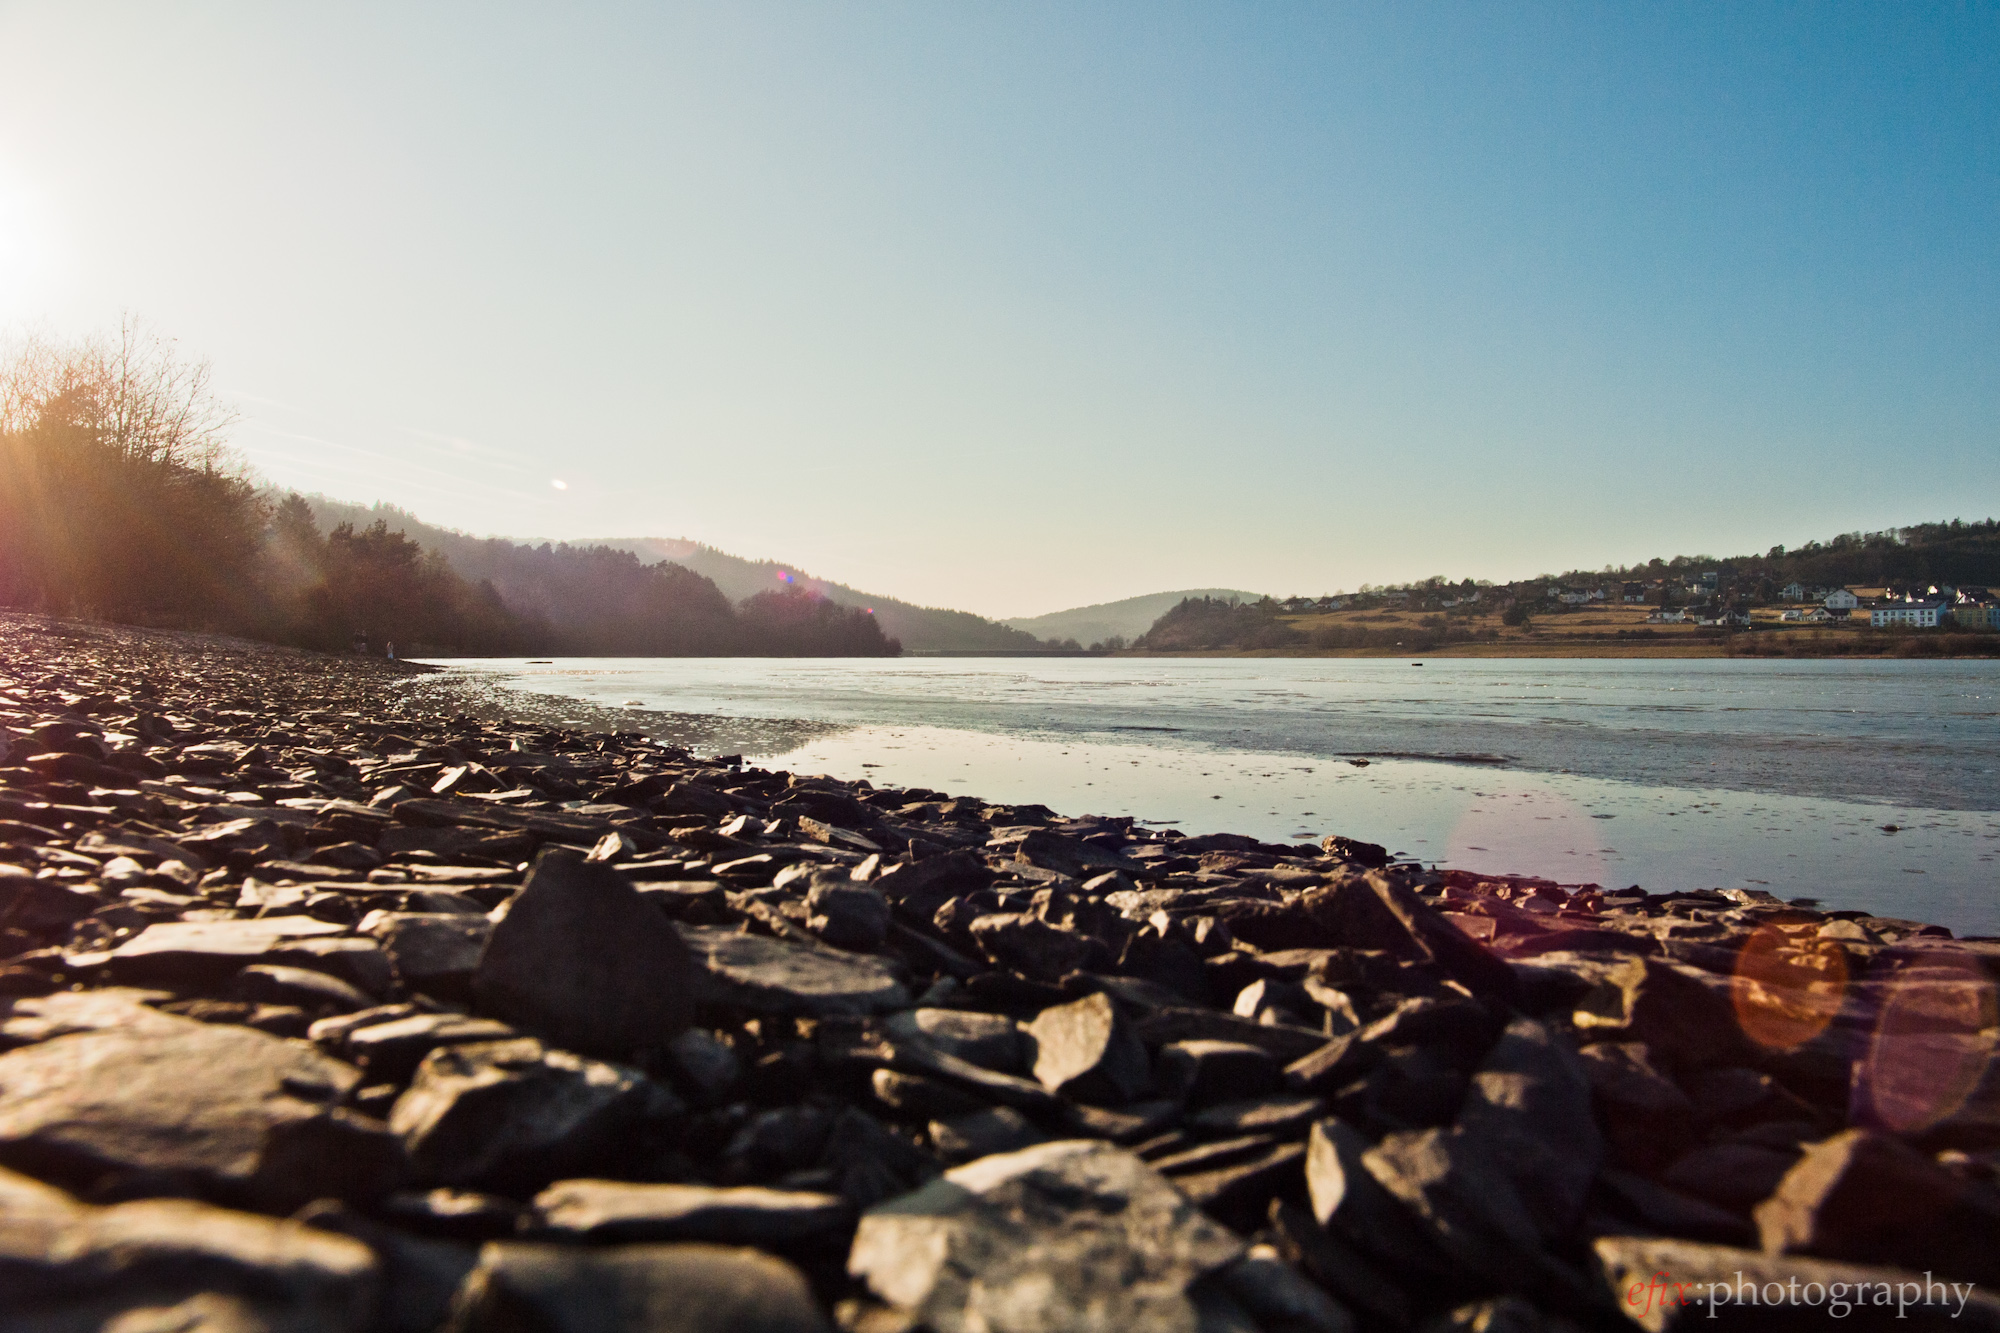
Quite apparent in the Lightroom conversion is the fact that the sky is less bright than in the HDR image. The shadows don’t show any less definition, and overall I find this version more pleasing than the HDR. Since the sun was already very low, the overall contrast in this scene wasn’t too high for my camera’s sensor to capture. Taking the exposure with the best-preserved highlights and pushing the shadows by several stops was enough to create a well-balanced picture. HDR Expose couldn’t do much better even with merging five exposures.
However, if you open the full images side-by-side and take a look at the foreground, you’ll notice that I had to apply quite a lot of noise-reduction in the Lightroom conversion, due to the lifted shadows. This could become obvious in a large print, and would in this case be the main reason to create an HDR over a ‘faux-DR‘ from a single exposure. Also, the tonal range of the HDR is much larger that that of the Lightroom conversion, as can be seen by the noise in the sky.
Conclusions
HDR Expose 2 is a product for the advanced user that wants to be in total control over the software and the results. It’s not so much suited for the beginner who is new to HDR photography, since the vast amount of options can be confusing at first. However, once you spend some time with the software, you will notice that it offers both quick results as well as elaborate tweaking options.
The question when and when not to create an HDR picture isn’t easy to answer. In general, any scene with a contrast that is too high for your camera’s sensor asks for being captured with bracketed exposures and merged to an HDR image. However, in some cases it is possible or even preferrable to create a ‘faux-DR’ from a single exposure.
If you do decide to create an HDR picture with HDR Expose 2, you have all the options you need and more. You can create naturally looking images with extended dynamic range, or totally over-the-top conversions with crazy colors and exaggerated local contrast–it’s all up to you and your taste. The retail price of US-$ 149 may seem a little high, but remember that this is a professional HDR conversion tool. For the HDR beginner or those that don’t need the full range of options, there’s HDR Express 2 which comes in at US-$ 99.
Both products are available via Unified Color’s website.
Please Support The Phoblographer
We love to bring you guys the latest and greatest news and gear related stuff. However, we can’t keep doing that unless we have your continued support. If you would like to purchase any of the items mentioned, please do so by clicking our links first and then purchasing the items as we then get a small portion of the sale to help run the website.
Also, please follow us on Facebook, Flickr and Twitter.
Get rid of the ads!
Did you enjoy reading this article as much as we enjoyed writing it? There's a way to support us and our reporting, getting ad-free navigation and more as a bonus. Subscribe to us for less than a coffee per month —just $3.99— or take advantage of our yearly subscription with a hefty discount for only $25.- An ad-free experience
- A free mystery box for Lightroom or Capture One
- All the books in our store
- 20% discount on Capture One
- 30% discount on Imalume Photo Theft Protection
- 20% off Herbs and Kettle Tea Company.
- 20% off your order from MPIX printing services.
- 5% off Viltrox Products via their eCommerce store.
- 10% off all film developing, printing and scanning services from Blue Moon Camera and Machine
- 15% off 7Artisans products: The lens and accessory maker is offering a sweet discount for Phoblographer's readers.